Bar counter came to our world from the Wild West and for many years firmly settled in cafes and restaurants. If 20-30 years ago people could not imagine that the bar rack can be arranged at home, nowadays it has become almost the usual element of the kitchen interior.
Contents
- Purpose of bar counters
- Steps for manufacturing bar counter for the kitchen
- Table top
- Base of the
- Drawing of the bar for the kitchen
- Bar production for the kitchen
Purpose of the bar counters

Originally this interior was used as a resting and drinking place. It was from ancient times that a wooden bar came. In some cases, such a functional remains today. If you allow a place in the kitchen, the owners of the property arrange a separate place where you can relax, and next to you have a locker with alcohol, a set of glasses and wine glasses, a washbasin.

But more often there are cases where the bar counter performs a wider range of functions. The entire range of bar counters can be defined as follows:
- delineation of the kitchen and dining area;
- differentiation of the living room and kitchen space in the studio apartments;
- use as a dining area in small kitchens where it is impossible to put a full dining table( the corner bar will be appropriate here);
- combination with a dining area( in this case, you must make a stand not so high as to bring it closer in height to the working surfaces( about 90 cm).

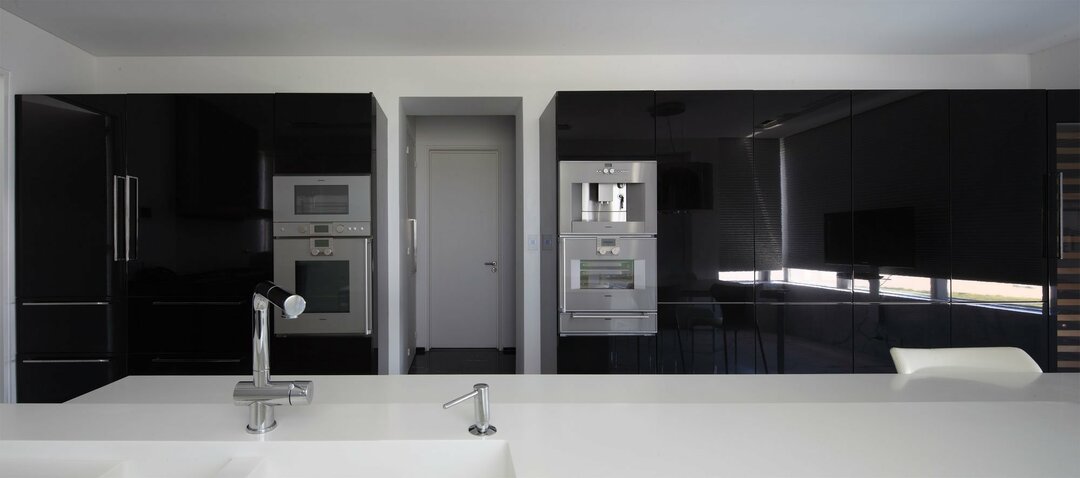
Each living space has its own characteristics. You can buy ready-made option, but the production of the bar with your hands willthe best option for those who wish to draw your kitchen a truly exclusive, but do not spend extra money. In the photo you can see how it will look for the kitchen bar.
manufacturing step bar for kuhnor

The first step is to decide what size is your building, what materials will be used Standard dimensions height - about 115 cm but nothing serious to do it "by itself":. slightly above or slightly below normal, a lot.depends on the area most kitchens.

stylish bar, as in the photo, can be made with his own hands made of plastic, which is very easy to process, chipboard, appreciating for the color gamut. Drywall, used in the work, makes it possible to create countless forms. A more expensive option is a tree. But carpentry skills are needed to work with him.
Table top

The worktop is the main element of the entire composition. It is she who attracts attention first. You can buy a plate for it in the store, you can make it yourself. To do this, the chipboard is taken and the electric jigsaw cut the shape that the bar drawings require with their own hands.
Where there was pruning, the surface must be cleaned and covered with a face band. The table top made of stone is a more expensive option. The manufacture of such an option should be commissioned by a professional, because this material is very difficult to process.
Base of the

rack In order to create a foundation, you first need to determine how many support points you will need and what materials will be used.
- There are options when the table top is attached to one wide and stable base placed in the middle.
- You can make two points of support on the floor.
- Quite common are cases where one pivot point is placed on the floor, and the other uses a wall or kitchen countertop.

Then it is important to determine whether there will be other horizontal surfaces in this structure besides the countertop. Do you need shelves, canopies?
As a base of the bar for the kitchen, it's interesting to look at the brick. This is a very reliable and durable option. In this case, you must add a parallelepiped-shaped construction with a solution. And fix the top on top. The resulting rack should stand separately( the "Islet" option).

Also the base under the countertop can be made from metal corners, which are sealed by welding or from a wooden beam. You can see in detail how to make a bar stand with your own hands on photos and videos. The finished surface of the base is treated with suitable protective coatings. If the structure is wooden, then it is better to additionally attach it to the wall and fix it with overhead angles. After the work is finished, the surface is decorated with wood, plastic, particle board, glass.
Drawings of a bar rack for the kitchen


