When performing the finishing in the bedroom, you need to take special responsibility to finish the ceiling, on which almost all the aesthetic appearance of this room depends. So, in this article we suggest to consider how to make a ceiling from gipsokartona in the bedroom with your own hands, gradually performing the so-called "work operations", of which, in fact, is the whole process. At the same time the process itself is not easy as an example of plaster ceilings and does not require special labor and time.
Contents
- Level and geometry marking
- Assembling of
- guides Assembling of gypsum boards
- Photo of gypsum board ceiling in bedroom
- Video mounting of gypsum board ceiling in bedroom

- marking of level and geometry;
- mounting of guides;
- installation of gypsum boards.

But first, a little about the materials themselves, from which the installation of the ceiling of plasterboard in the bedroom. The first thing to remember is that the plasterboard sheets are ceiling and wall. Ceiling sheets( they are also "lightweight") have a thickness of 9.5 mm, due to which their weight is less than that of the wall.
More importantly, what you should pay attention to is the guides( UD marking) and the profile( SD).There are several modifications of these frame elements, but in order to make the ceiling of gypsum board in the bedroom with your own hands, you will need UD-70 and SD-27, where figures 70 and 27 are the widths of the guide and the profile, respectively.
Level and Geometry Layout

The first thing to begin with is the chamfering of ceiling-level lines along the perimeter at the top of the walls. To do this, you need water or even better - the laser level, which is set level marks in pencil at the corners. Then take a padded cord, stretches from corner to corner on the level marks and fights line on each wall. In addition, along the ceiling every 60cm also beat off the lines.
If the ceiling is assumed to be single-level, that is, one that does not have convexes or slits in the form of various geometric shapes, then all the marking ends on this. However, if the ceiling of plasterboard in the bedroom is supposed to be multi-level, then on the very plane of the ceiling the alleged figure is drawn. Straight long lines are beaten with a cord, short ones by a ruler and a pencil;radii draw with a rope with a pencil attached.
Assembling the

guides This process is performed using an electric percussion tool, and it is it, and not the drill( you do not drill a hole in a concrete slab with a drill YOU).
First, the guides along the perimeter are mounted along the severed lines, then the "U-shaped" holders are mounted along the broken lines on the ceiling every 40-50 cm. Also, in the presence of several levels, the guides are mounted on the plane of the ceiling;all the work is done using dowels of various length and diameter, most often take 6x40 dowels.
In general, the process is simple, but for a better perception, we suggest watching a video on which you can visually see the whole process of editing in nuances.
Installation of gypsum boards

And finally the final stage of installation work. In general, the easiest, if you certainly do this job together. The first one presses the sheet with one hand and screws the screws with a screwdriver, while the second person presses the largest area of the sheet with both hands.
Everything is very clear here, but that's all: mount the sheets of gypsum cardboard "in dispersal", that is, so that the cross seams sheets are mounted in staggered order. The seams can be sharpened at a 45 angle right away, or after installation.

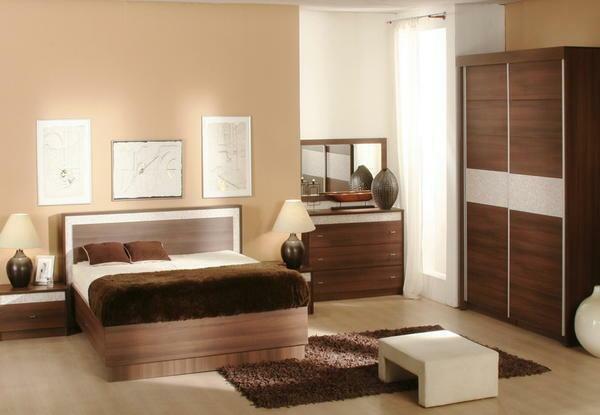
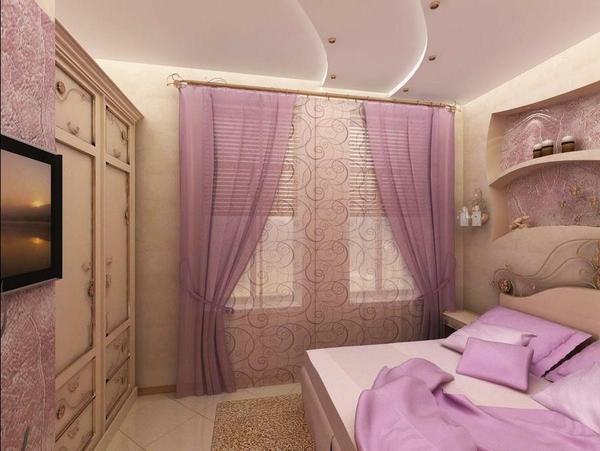
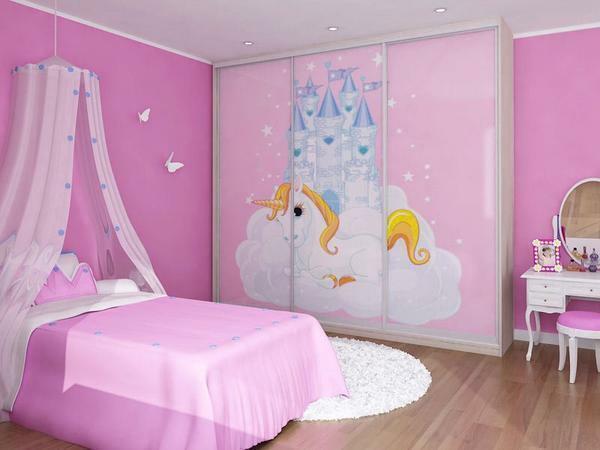
Actually, everything, but to understand what the ceiling of plasterboard in the bedroom looks like, see the photo in our photo gallery just below.
Photo of the plasterboard ceiling in the bedroom