Contents
- 1 Surface preparation for plastering
- 2 Application of decorative plaster to the surface
- 3 Panel from decorative plaster
 Advantages, tools, materials and technology of applying decorative plaster on the walls in-house.
 Decorative decoration has become increasingly popular among many types of wall decoration, thanks to the fact that this finish looks particularly elegant, but if you do it yourself is inexpensive, compared to other types of finishes. In addition, the original design makes this decoration very attractive. Website repair apartments in-house tell how it's done.
In addition, the decorative plastering of the walls with its own hands has a number of advantages:
- No need to pay much attention to the preparation of the wall;
- Ability to disguise existing defects;
- Can be used on all surfaces, for use in the decoration of walls from wood, use a solvent-based mixture;
- After such finishing, no joints or seams remain;
- Ease of use;
- Very wear-resistant, you can not change anything for years;
- Immune to temperature extremes and fireproof;
- Walls can be cleaned with detergents;
- Sound and heat insulation is increased.
 Decorative wall decoration is used for interior finishing as well as for exterior. In addition, you can decorate not only the walls, but also the ceiling. Such work is carried out with the help of a special composition with granular structure. The composition of such a mixture is approximately as follows: :
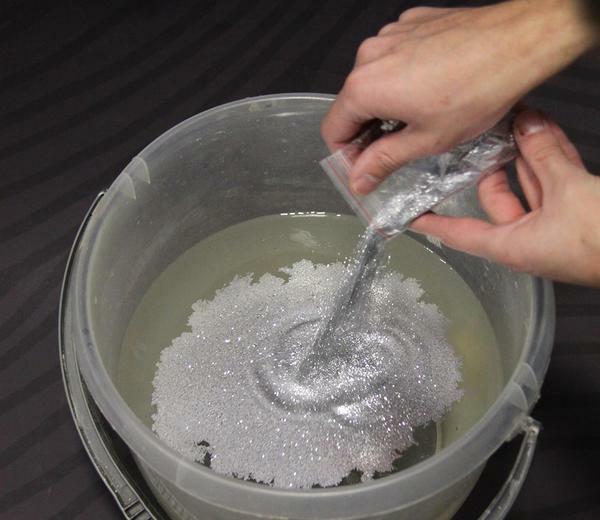
- Water base with a binder;
- Fillers of granite, marble or quartz granite;
- Various additives that improve the quality of the mixture - preservatives, thickeners, antiseptics.
When a person who is ignorant in the construction industry enters the room where the finishing with decorative plaster, he does not immediately understand how this is done. In fact, so do the walls can not only professionals of high profile, but also any person, if desired.
For decoration is more suitable empty large walls of country houses, in apartments according to the advice of designers, it is best to design different niches or walls that have significant cracks in this way. Their use in the kitchen is most convenient because such walls do not absorb odors, and are better protected from dirt.
It goes well with any other finishing materials. Therefore, they can be used with a variety of design solutions.
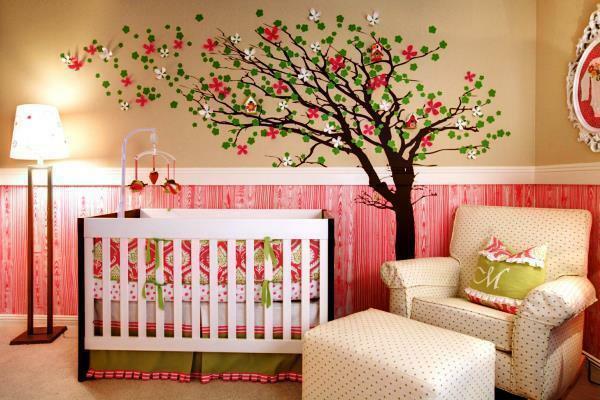
The possibilities of decorative plaster are not limited to creating a surface of an unusual texture, with this method you can make even different patterns, colorful and multi-layer panels or pictures. If you do not paint well yourself, then special stencils are sold in stores. Or you can use various cut out cardboard figures. With the help of them you can create original panels, which will not be anywhere else.
Most often, residential buildings and apartments use silicone plaster, they have increased permeability, and better repel water and dirt. Such mixtures are on sale ready for sale, so they are easier to apply.
Preparation of the surface for plastering
To order. For decorative plaster to be applied easily, it is best to prepare the wall, if previously the walls were pasted with wallpaper - they need to be torn off, the old paint is removed, then the entire surface is washed with a detergent.
Before using the mixture, carefully read the instructions. If the composition should be prepared, then follow all recommendations and instructions on the package. Manufacturers of the compounds most often recommend that they be applied to a surface pre-treated with a primer that covers microcracks. If the surface is absorbent, the primer will prevent it from being absorbed. Surfaces having metal parts, for example nails or pipes, must be covered with a special protective compound, otherwise after a while, a rusty stain may appear on the surface of the plaster. Next, consider in more detail how to apply decorative plaster on the walls correctly.

If the application is made in a newly built building, it is sufficient to cover the surface with a conventional lime mortar. Only after this, it is necessary to dry the surface well for 10-12 hours. All work should be performed at a temperature of no higher than 30 degrees, but not below 5 degrees.
Application of decorative plaster on the
 surface. The work can be done using a relief roller, a knife, a special brush, bristles, a broom, or simply with a brush. Everything depends on the desired pattern, your skill and preferences. If desired, you can use a special trowel - a plastic rectangular spatula, with a comfortable handle.
Structural plasters , smooth with a smoothing or trowel, while the granules, rolling, create bizarre patterns.
Textured plasters are applied with a stainless spatula, roller, or sprayed, then the surface is ground. Thus, Venetian plasters with interesting patterns are made.
After application, the plaster remains plastic and can be given any shape. This can be done with a long pile roller, then having smoothed it with a spatula, or a brush, with broad strokes, but using a special figured roller, or a notched trowel will make the work more interesting.
Depending on which pattern you want to get, it is directly related to how many layers of plaster will be applied. And the formation of the final pattern entirely depends on your imagination. But work should always be done from corners. From the first time plaster certainly will not lie flat. Therefore, first practice on a small area. Do not leave the jar open for a long time. Now look at the photo of how decorative plaster looks with its own hands on the walls:


Panel from decorative plaster
To do this, prepare a sketch first. Then the pattern is applied to the prepared surface. Silhouettes of decorative elements should be glued along the contour with paint tape. After applying the first layer, it is necessary to remove the adhesive tape before the surface has solidified. Then, after the top layer has dried, we pasted its contours with adhesive tape and start applying the top layer to the remaining areas.
3D images are created by applying plaster in how many layers. For the manufacture of more complex patterns, overlaid elements from cardboard or plywood are used. Now a few photos of examples of how the panel looks in the interior of the room.


Photo taken from the website Design Studio by Elena Telnykh.


