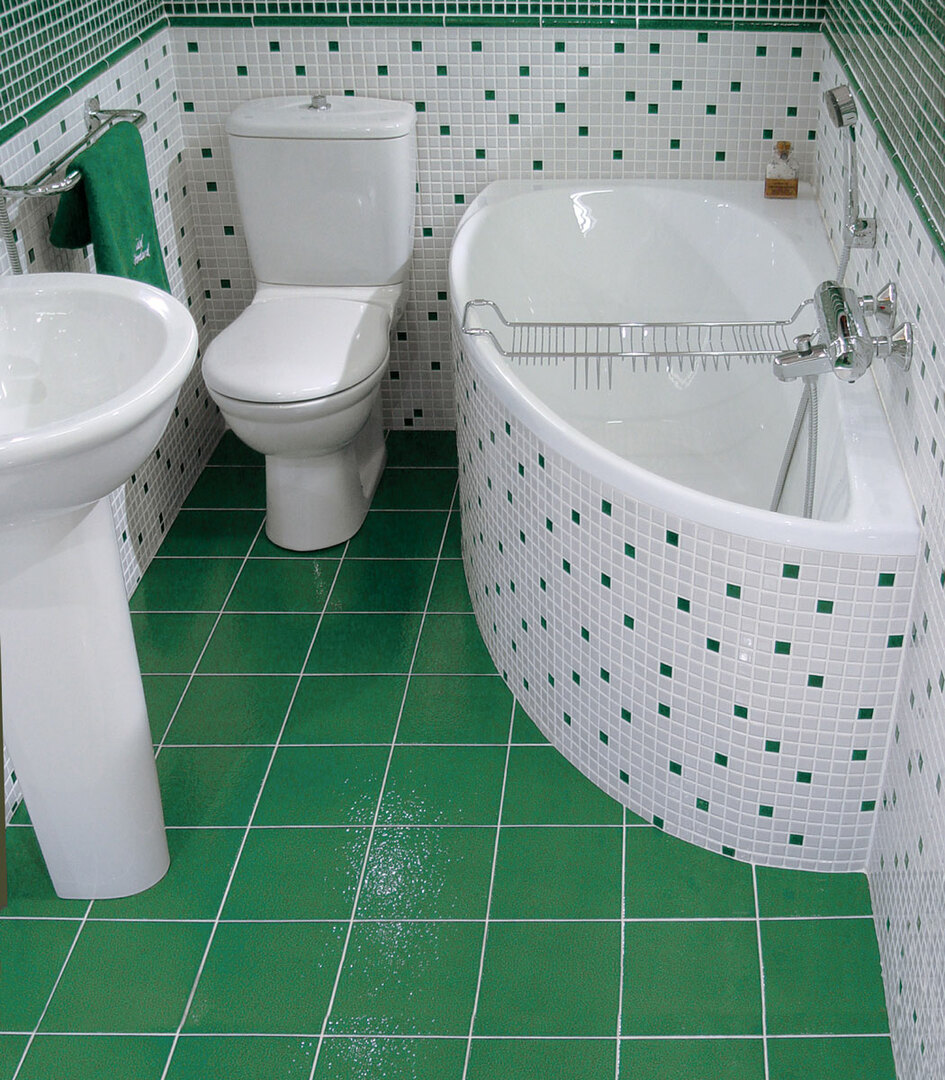
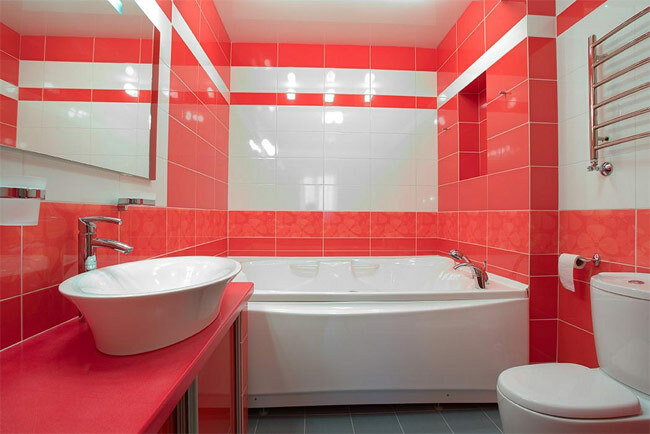
When refurbishing the bathroom is often a dilemma arises, what is better: to make replacement or restoration of an old bath. Each for itself chooses, however the most budget option is to restore. In this article we describe in detail how to carry out reconstruction work using acrylic.

What you should know before starting work
Application of this material may practically for any coating baths: metal, plastic, and of course, acrylic. In the construction market, you can find a large number of different variants of the paint. When it is selected should be extremely careful.

There is coverage for which you want to pour from 3 to 5 daysAt the same time, you can find modern versions of paint, solidifying 24-36 hours. However, no single parameter deserves attention in the exercise of choice.
It is also necessary to pay attention to the following differences:
- Ability to confusion a two-component composition. Low quality, the probability to achieve optimal consistency is extremely small.
- physical propertiesmaterial, such as viscosity, ability to form bubbles and ductility. These parameters will affect the quality of the final result.
- probable differences in shades after solidification. At the same colors from different manufacturers, the finish result may turn out completely different.
- Possible the presence of toxic fumes or odor at work.
- The ability to counteract mechanical damage. By responses, certain brands of acrylic materials can be damaged by falling ordinary bottle for shower gel.
The most basic thing - it is to get a quality finish which will not contain bubbles, chips and cracks, as well as to be smooth and uniform.
The process of restoration of the bath - step by step guide
To start, you need to prepare the tools, materials, and the bathtub.
Advance preparation bath
This is an important milestone to implement that must be approached with complete seriousness, because quality of the work depends on it. The most rational option would be to buy special repair kit for acrylic coating, it can be found: nazhdachku, polishing cloth, resin.
Step 1. Remove all loose items from the edge of the tub. All on-board surface to be cleaned. In some cases, you must remove the tiles around the tub.

Step 2. Further it is necessary to process the surface of sandpaper plumbing in order to create a more rough surface can be. This is due to the need for further attachment of the acrylic material. An alternative sandpaper may serve abrasives and drill with special nozzles.

Step 3. Remove, formed in the previous step, dust and debris
Step 4. Then, a removal of oily stains using baking soda. It is applied for 15-20 minutes to form a slurry and then wash off with warm water.

Step 5. Be treated with resin and a special putty small cracks and chips. Such mixtures are easily cope with such defects.

Step 6. Bath is filled with heated water is left in such a state to 15-20 minutes - it is necessary to better took acrylic layer on the surface.

Step 7. The liquid is drained. Using dry cloth is wiped inner layer baths. It is important that the surface does not contain traces of microvilli, wool and other elements that may remain after drying.
Step 8. It carried out the dismantling of the siphon and drain. Under the empty hole is substituted suitable for the volume of containers, which will be collected flowing acrylic.

acrylic coating bath
As mentioned above, the acrylic cover almost all types of baths. The sequence of actions is as follows:
Step 1. Mix the required components of the mixture according to the instructions indicated by the manufacturer. There are many different manufacturers, compositions and proportions of the mixtures differ and thus require different production conditions.

Step 2. The solution was transferred to the container from which it will be convenient to cause the bath surface.
Step 3. Apply the mixture to a fine stream across the surface of the bath to form a layer thickness 3-4 cm.

Step 4. Without delay, start in the same way to apply a second layer of acrylic.
Step 5. Excess solution is spread over the bottom of the bath, the remains move into the drain hole.

Now the bath should be left to 3-4 days completely intact - any liquid, dust, debris or other materials may irreparably damage the final coating quality.
The restoration of acrylic baths is no big deal, follow our instructions and a great result will not take long!
2017-2018. Copying of materials is possible without preliminary negotiation in the case of a direct hyperlink to our website.