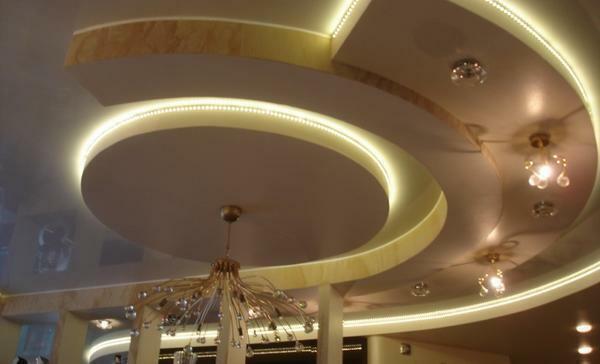
Stretch ceilings have long been a familiar way of finishing the ceiling in homes and apartments. The reason of its popularity is in the set of characteristics. He's not very expensive, attractive looks and the installation of it at least, and has a number of nuances, not yet executed more complex than other types of finishing coatings. But extensive decorative possibilities stretch ceiling allow you to purchase a room in any color, and design solutions - from simple white glossy ceiling to the multi-level designs with drawings and photos.

Typically, installation of suspended ceilings trust special teams. They have equipment and experience. However, it does not always have the opportunity to pay for professional services. In addition, a truly intelligent professionals can simply not be close to you. Those owners who like to equip their own housing, to be confident in the quality, You can install the suspended ceiling with his hands.
Tools and materials
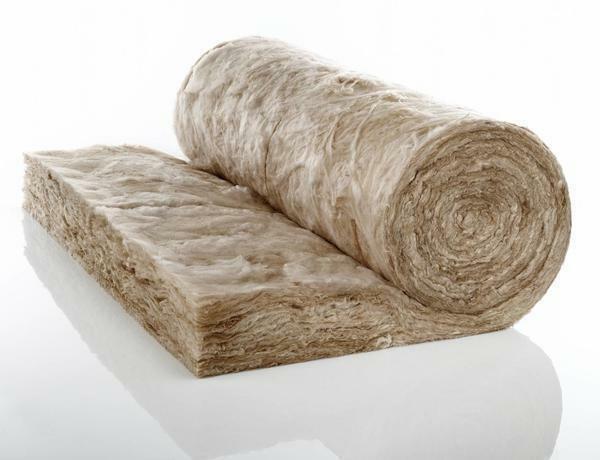
The first thing you need - is the very cloth. It can be foiled and tissue. Better to stay on the film - it is cheaper and easier to install. It needs to be cut out in the workplace, this is due to the technique of fastening. All you need - is to measure the area of the room with all the corners and recesses and contact the manufacturer. Tell him the data, and in the shop have all tolerances.
For beginners, it is recommended harpoon method of fastening. And for him on the perimeter of the cloth need to attach special parking thermally flexible bar, which will be held in the eaves and baguette stretch ceiling. This is also done in the workplace.

More materials will need a special edge masking tape and consumables - dowel nails or screws for fixing the bearing baguettes. Lighting spots, which are often put to the stretch ceilings, need to be universal plastic platforms and perforated metal brackets for attaching them. A minimum of tools needed for independent installation of suspended ceilings with their hands:
- punch;
- hammer;
- sharp knife assembly;
- heat gun;
- special spatula for filling the web;
- stairs;
- laser level.
All of these tools are likely to already be a person who loves to do the work of their own hands. As for the heat gun, then it is quite possible to rent, and not even for a day, and a couple of hours.
Getting Started Installation of suspended ceilings - step by step guide
Step 1. Marking. To start counting costs from the lowest point of the room. If you plan the installation of wiring and lighting spots, the tension must be lowered to 70 mm from the main ceiling. Once you found the lowest point, fought back her all the walls with a laser level. Twine stretched between the marks - this is the bottom line of fastening.

Step 2. Fixing baguette bars and platforms under the lights. every 20 cm in the wall of drilled holes in them are laid plastic dowels. Then applied to the wall molding and nailed dowels, nails. Fasten planks butt, sharp edges are sanded and glued tape, so as not to damage the film. At the corners, strips are cut from the back side hacksaw and bent at a right angle. Butt straps on the corners is not recommended.

Route the wires and attach them to the ceiling, to avoid sagging, mounted under the mount spots. Platform trimmed with a knife under the diameter of the lamp, fastens it to a perforated mounting, bend the letter P. Dowel nails reinforce the entire structure in the ceiling.
Step 3. Installation of the cloth. After you deliver the cloth, it is necessary to carefully deploy and hang on the corners with special clips. Turn heat gun and cherishes her cloth. Warm up is necessary at regular intervals. The room temperature may rise to 50 degrees, But the film is soft, supple and easy to stretch.

Standing on a ladder, it is necessary to fill the rim on the edge of the film in a special harpoon mechanism plate. This is done in a curved spatula. The procedure works as follows: alternately tucked opposite corners, then dressed with cloth on the opposite wall. After cooling, the film is stretched and becomes smooth ceiling.
Step 4. Installation of lighting and decorative slats. We need to find a film platform and carefully cut the tape around. Over the set termokoltso. Connect the wires and insert the lamp in the opening of the platform. Outside the joint position will be closed termokoltsom. Around the room in a gap between the wall and the baguette is inserted masking tape.

Council. All work is easier to produce at least one assistant - it's faster and safer.
2017-2018. Copying of materials is possible without preliminary negotiation in the case of a direct hyperlink to our website.