Suspended rack ceiling - a relatively new invention. In Russia, we learned about it about 20 years ago, initially suspended ceilings were only German, were very expensive, but now the price of even the most exclusive ceilings quite
The advantages of suspended ceilings:
- inexpensive;
- lungs;
- fireproof. Do not burn and do not emit toxic chemicals during combustion;
- eco-friendly. Do not emit harmful substances during heating;
- easy to clean, if necessary;
- easily camouflage disadvantages ceiling surface;
- visually increase the area of the room;
- save energy, because they reflect light;
- easy to do design structures using slats of different colors and textures.

The disadvantages of suspended ceilings:
- You need a certain skill for installation;
- slightly reduce the height of the ceiling;
- very difficult to repair. In case of damage of one rail will have to disassemble the entire ceiling.
How to make a rack ceiling itself - step by step guide
Step 1. First, you need to inspect the ceiling, and if there are heavy pieces of peeling plaster, remove them.

Step 2. Then it is necessary to make measurements of the ceiling. If the ceiling has a complex geometry, it is recommended to hire a professional - gager not to miscalculate with the purchase of materials.

Step 3. Followed by drawing to make the connection of luminaires, if they are provided in the ceiling, and hanging wires away in boxes.
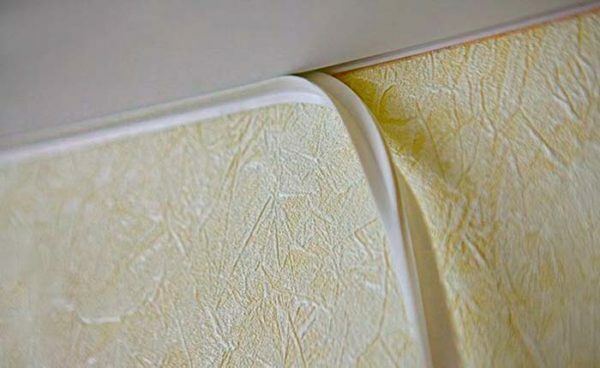
Next, you need to make the layout of the walls under the line trim or U-shaped profile. These corners or profiles through a pad thickness 10 mm then will rest on support rails.
Experts say that it is preferable U-shaped profileAlthough it will require a more accurate installation.
On distance 20 cm from the ceiling on all the walls by the level of the horizontal line, this line around the perimeter and will be attached profile. It is a mistake to draw a marker or pen: they then scrub hard. It is better to use a pencil. Profile fastened by dowels or screws.

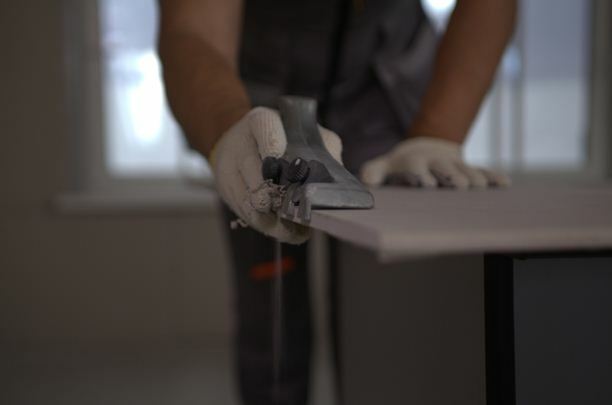
Step 4. The next step is produced cutting rods. Industry typically produces rail length 3 or 4 meters. For the vast majority of premises that is enough: the rake of at least one of the amount of the guaranteed block the room. For example, if the room has a size of 4 to 5 meters, then fit the rack 4 meters long. Reiki is cut slightly narrower than the width of the room, so they can be inserted into the grooves of the profile.
Usually recommend cutting less than 10 mm the real dimensions of the room. Sometimes it happens that the room has an irregular shape, then you have to make a few measurements, numbered rack and trim each one for a different amount.

Step 5. Device support rails and styling strips. Support rail (stringers, traverses) - light metal beams, which are fastened to the ceiling in a direction transverse rails. They are used for mounting rails. Tires must be pre-cut to length, and they can be attached in various ways:
- self-tapping screws directly to the ceiling;
- self-tapping through the spring;
- needle with an adjusting spring and screws;
- Universal Ceiling suspension - perforated tape.

Hangers secured to the ceiling with screws or dowels with a pitch 1 meter. To secure the fixed suspensions mounting rails. Tires pave at intervals of 1200 mm along the rails and 300 mm across the rails.
Pre-mounted tires is checked and, if necessary level is adjusted (for example, change the length of the adjusting spokes suspension).

Step 6. At this stage, lights are arranged, if required. For this purpose, rails, metal scissors cut holes for light fixtures. Since they are heavier construction, then around them make a couple extra hangers and run the wiring. Be sure to make sure that the wiring does not touch the bare metal parts of the ceiling.

Fix the lamps in rail, attach the wires and put the river in place, fixing it spiked clamps DIN rail (rail easy to snap them). Consistently fixing rails to mounting rail, carefully filled into the entire area.
Finally check the operation of lamps, no ceiling cracks and wipe with a clean cloth.
2017-2018. Copying of materials is possible without preliminary negotiation in the case of a direct hyperlink to our website.