Skirting for stretch ceiling - how to select items and place them on their own
Table of contents
- 1 types plinth
-
2 The working process
- 2.1 Materials and tools
- 2.2 The working process
- 3 Output
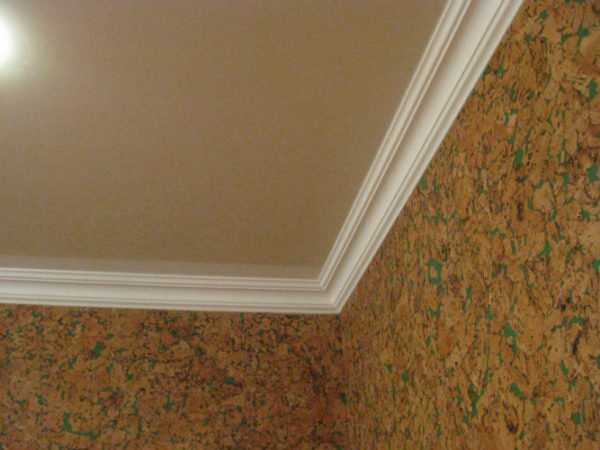
Skirting hiding place of a stretch ceiling installation and gives the design an attractive appearance
I share their experiences and discuss how to fix the ceiling moldings for ceilings, and what options are best to use products. If you do the repairs yourself, do the work in accordance with my recommendations, and get a great result.

The most important requirement for installation plinth on the suspended ceiling - accuracy, contiguity has to be perfect around the perimeter
types plinth
On sale there are plinths for suspended ceilings 3 types:
| Illustration | product Features |
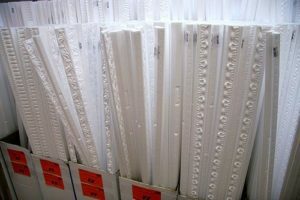 |
Skirting Styrofoam. This is the cheapest and most affordable option. Price per unit length of 200-220 cm is from 20 to 40 rubles. Fillets are very light, but their strength is not high, if you strongly hit the surface with bonding, it can remain on the fingerprints. |
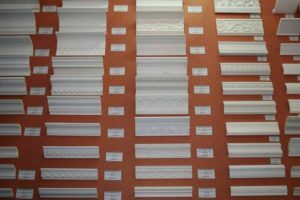 |
Products from expanded polystyrene. This is a more robust embodiment, which is made of expanded polystyrene and characterized by the small pore structure. He is much stronger than the foam. Cost element 1 is about 100 rubles. It is this version, I believe the best in terms of value for money. |
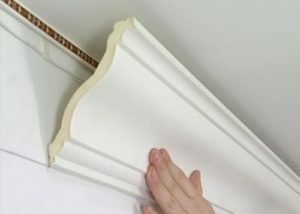 |
Plinth made of polyurethane foam. The most durable option, which is characterized by high quality and similarity with plaster moldings. If desired, you can purchase the flexible elements and draw a semi-circular or oval surface. The only drawback of this type of product - the high price, polyurethane moldings will cost 500-600 rubles apiece. |
Decorative rubber tape, which often cover the joints, does not apply to the plinth. It does not provide the desired decorative effect, but simply covers the visible part of the profile, ennobling joint. To put it simply, the protrusion on the back side tucked into the profile groove.
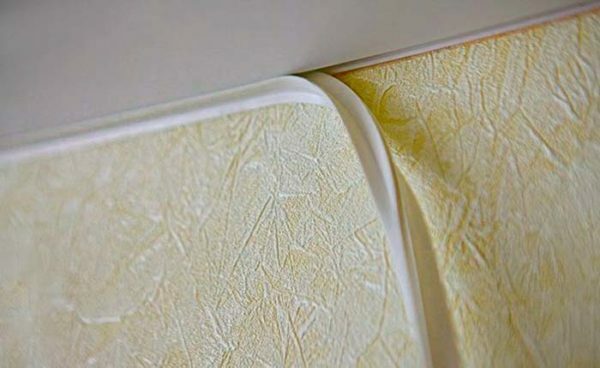
Decorative tape simply closes the junction of wall and ceiling, and is inserted in the profile groove
Which is better for suspended ceilings, hard to say. You can use any option if it fits the design space.
The working process
We see what you need for work and how to organize the process.
Materials and tools
From the materials you need the following:
| Illustration | Description of material |
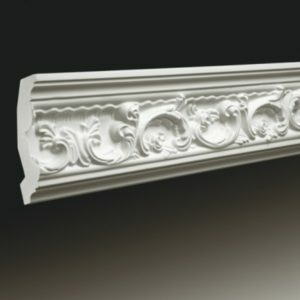 |
plinth. Choose one of the above options, and then looking for optimum performance. There are many nuances - the width of the pattern on to the surface. The requirement for one thing - the elements should be combined with the surrounding environment. |
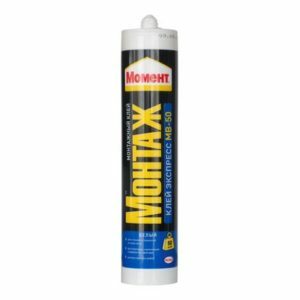 |
adhesive composition. "Moment Mounting CF-50" liquid nails suitable for all types of moldings. I recommend this option as it can be bought at almost any hardware store. Clay has a high strength and ductility, it perfectly sanded and painted. |
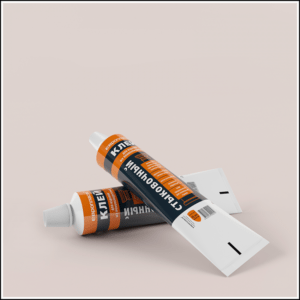 |
Adhesive for joining the fillet. Used only for polyurethane skirting and allows very reliably connect the ends of the elements. For products made of expanded polystyrene foam and such structure is not needed, it is possible to manage and liquid nails. |
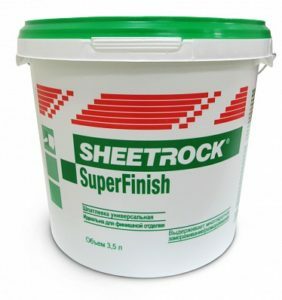 |
Ready putty composition. It is best to use a mixture of "Shitrok", it is very easily erased and perfectly applied. This structure will be used for joints. |
Tool:
- Miter box or miter saw. Better and easier to work with power tools, but if not, then you can always just do a simple miter box. The main thing - to get the kit to him a hacksaw with fine-tooth to cutting quality was as good as possible;
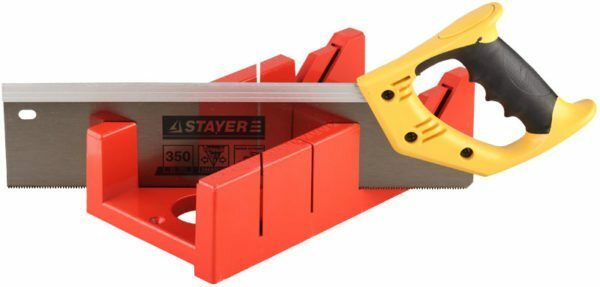
Miter box allows perfect stab plinth at the junction of the outer and inner corners of walls
- pencil building;
- Silicone pistols. Suitable variant under any standard 310 ml capacity tubes;
- narrow spatula. Better to use the so-called Japanese version. It is flexible and well suited for joint fillers on the baseboard. Optimum width - not more than 5 cm;
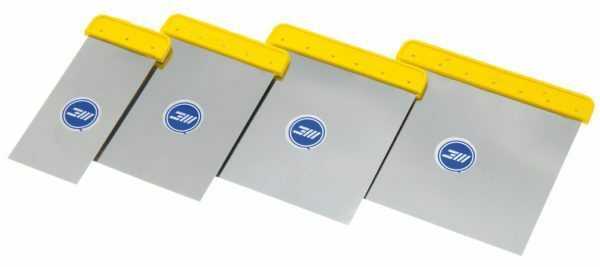
So look Japanese spatulas, they are sold in DIY stores, and the stores of body car repair
- Nail bar. Is a sponge, which is applied on the surface of the abrasive material. With the help of this device is the easiest way to overwrite the seams and joints on the baseboard.
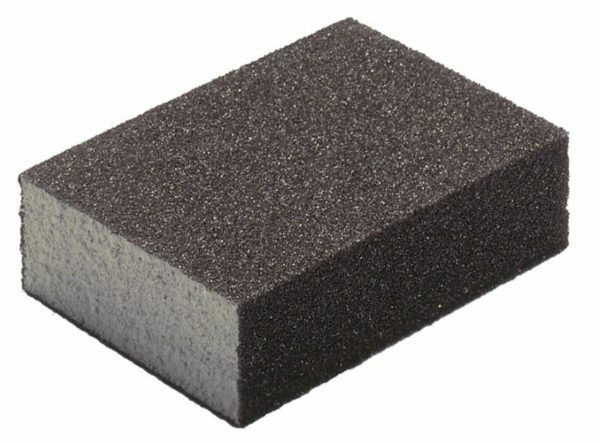
Shlifochny bar allows you to quickly and efficiently remove excess putty on joints of baseboards
The working process
Plinth installation is done as follows:
| Illustration | Description stage |
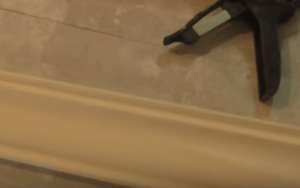 |
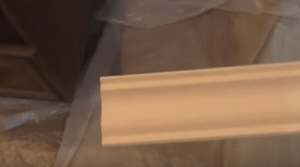
plinth painted. Better to do it in advance, so you do not have to paint the elements very carefully. Then still have to produce tinting plinth to the ceiling, but it takes a little time. |
 |
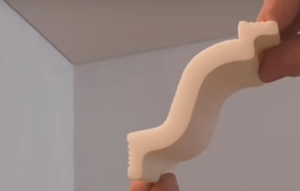
All the better to cut off the ends at a right angle. Any ceiling moldings for ceilings, in the process of transportation and storage is inevitably damaged. Angles jams do occur, and often in the factory cut quality is imperfect. Just trim the ends in the miter box and you will be assured that they will dock is perfect. |
 |
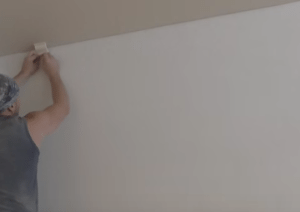
Cut a small piece of a template. Stop member 3-4 cm wide. It is important to understand that the product will be glued to the side of the wall, while the upper part should be just touching the stretch ceiling. |
 |
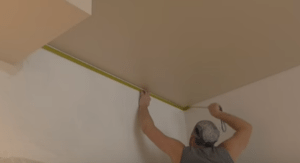
On the wall makes a mark on the bottom line of the plinth. To do this, the pattern is applied in such a way that the upper part gently touched the tension polotka and the lower fully relied on the wall surface. Optionally draw a continuous line along all the walls, you can just put a mark in 30-40 cm, it will be enough for a guide. |
 |
measurements are made. It is necessary to determine the exact length of the wall, if you want to cut moldings before installation. If an item breaks a whole, then the measurements are carried out on a second piece of fact, after gluing the whole fillet. |
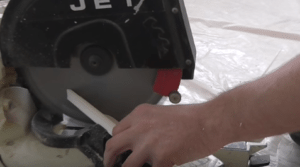 |
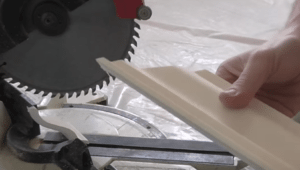
Cut corner joints. The plinth can be cut by hand and electric saw, the main thing - exactly the mark and clearly expose the elements before they are sawing. During the cutting element is firmly hold that he did not move, otherwise you will spoil the product. |
 |
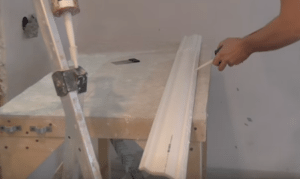
The ends are processed. After cutting, inspect carefully skirting end. If it has burrs, then gently abrade their bar to the joint turned out perfectly smooth. |
 |
Applied adhesive composition. Before you glue the plinth, clean the part that is adjacent to the wall with a clean cloth. Then, using the gun accurately apply a liquid to the surface of the nails. |
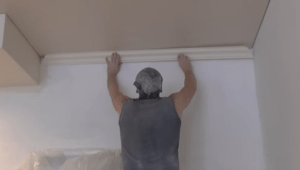 |
The element is attached. For this purpose he is set on labels, and then firmly pressed against the surface. Adhesive sets so well, that it is sufficient to hold the plinth a few seconds, and it will stay. |
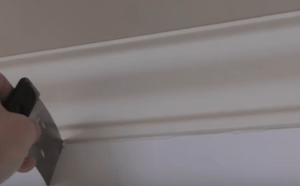 |
Excess adhesive immediately removed. When pressed fillets from under it performs adhesive composition. It must be removed carefully with a spatula as shown in the photo. Spend along the joint - and extra easy to remove. |
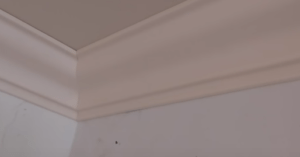 |
Checking if the corner joint. Never apply the adhesive composition, without checking whether the connected elements of the well. If everything fits perfectly, it is possible to apply the adhesive. If there are problems, they are eliminated by sanding the bar. |
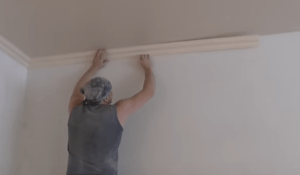 |
Produced gluing all the other elements. Instruction is simple:
|
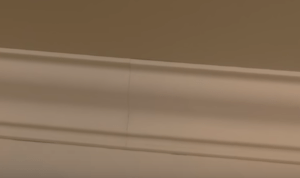 |
So you should look straight joints. When they are slaughtered and ground, the connection is obtained almost imperceptible. The main thing - a well-pressed elements to each other when mounting. At the ends of the applied liquid nails if plinth of foam and polystyrene. If you have a polyurethane version, it applied a special glue joints. |
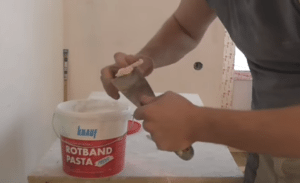 |
On spatula typed a little putty. After it is applied to the joints to line the surface completely. This is done carefully so as not to remain on the surface of the excess. |
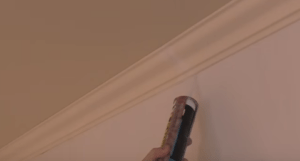 |
Joints baseboards and walls filled with liquid nails. When bonding gap may remain due to non-uniformity of coating composition or wall irregularities. They are neatly filled in using the entire length of the gun. |
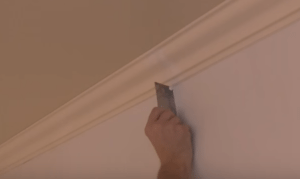 |
Excess composition from the joints gently removed with a spatula. If necessary, into individual sections added to the composition and leveled. It is important to achieve an ideal result, to avoid any gap between the wall and the skirting. |
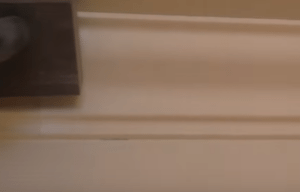 |
Joints in polished bar. This is done after drying putty after 6 hours or more. It must be carefully sanded connection to get perfectly smooth plane. |
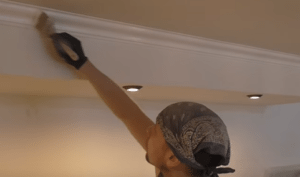 |
colored with Skirting. If you have colored elements in advance, you need to perform the following work:
|
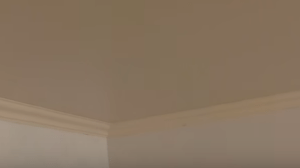 |
Here is the finished result. Between the ceiling and the skirting no slits elements fit snugly to the walls. |
Output
Using this review as a guideline, you can easily install the plinth in the suspended ceiling. Videos in this article will help you understand the topic better, and if you do not understand something - ask in the comments.
