How to align the wall - all you need to know the beginner
Table of contents
-
1 Plaster beacons
- 1.1 preparation of materials
- 1.2 Preparing walls
- 1.3 installation guides
- 1.4 Plastering
-
2 drywall
- 2.1 preparation of materials
- 2.2 marking
- 2.3 frame assembly
- 2.4 installation of drywall
- 2.5 rough finish
- 3 Output
This article is aimed at beginners who come on their own to make repairs in their homes. Below I will tell you in detail how to line the walls of the most common modern technologies.
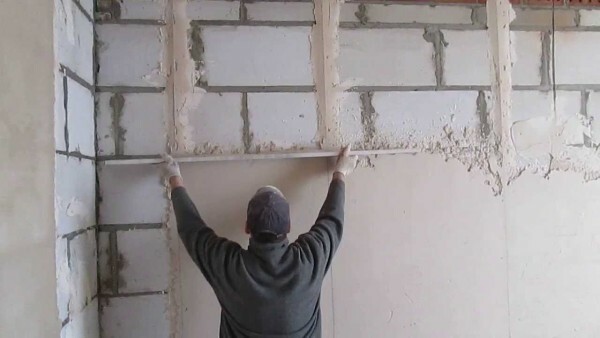
Leveling plaster walls on beacons
So, to align the walls in one of two ways today:
- plastering wet beacons;
- by dry stucco.
Below we get acquainted with both embodiments alignment walls.
Plaster beacons
Despite the fact that in recent years have increasingly used the method of dry rough finish, surface leveling plaster walls does not lose relevance.
This is due to the following advantages of this method:
- solid surface is obtained that allows to attach to the wall heavy furniture and other items;
- cost of such finishing lowest;
- alignment process is quite simple, though time-consuming and messy, that must also be considered;
- suitable for any room - heated and unheated, dry and with high levels of humidity.
Process alignment plaster walls can be divided into four stages:
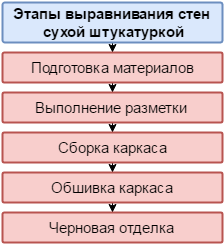
The sequence of work
preparation of materials
To align the walls with plaster, you must prepare the following materials:
- dry plaster mixture - of course, plaster can be prepared and independently. But, I still recommend not to do it. The price of the finished mixture not much higher than the cost of a separate sand and cement, however, the coating quality is noticeably better.
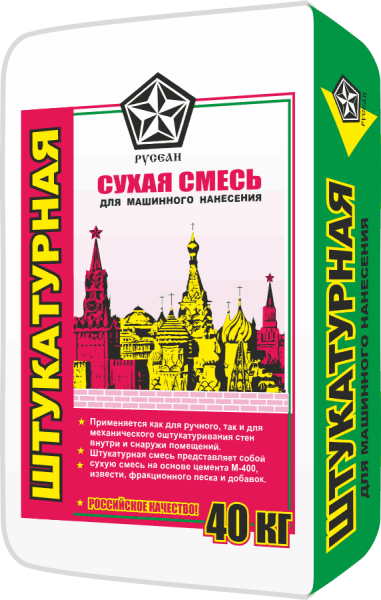
Dry mortar
Keep in mind that plastering mortar, depending on the type of binder, there are several kinds. The choice depends on the operating conditions.
If you need to plaster the walls in a dry environment, it makes sense to use plaster, gypsum-based. If you are going to plaster the walls in the bathroom, for these purposes suitable cement mixture, as such coating is not afraid of moisture;
- primer for the walls;
- guide profiles;
- angular plaster profiles.
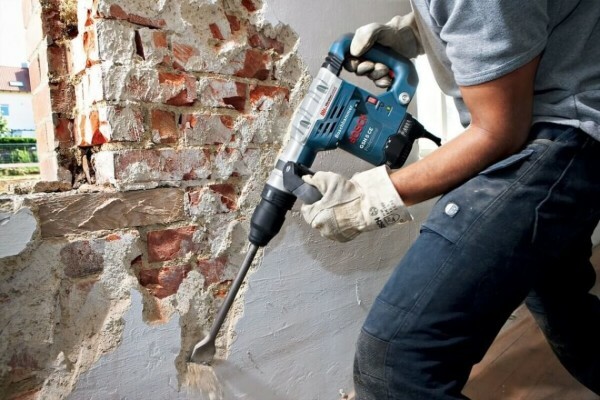
Removing old plaster hammer
Preparing walls
Before you align the wall, they definitely need to prepare by following these steps:
- first of all remove the old coating using a puncher or a chisel and hammer. If you see that in some areas the old plaster firmly "grabbed" at the base, it can not be removed. In this case, bring down only sites that hold bad, and grab 5-7 centimeters of plaster, which is holding up well;

Cleaning the surface of the wall sander
- peeled walls should be clean with a stiff brush or sander, as shown in the photo above. This will get rid of the remnants of the old pavement and crumbling surfaces;
- then wipe the surface with a damp cloth or vacuuming;
- prepared the walls necessarily prime with. It is necessary to choose the right primer.
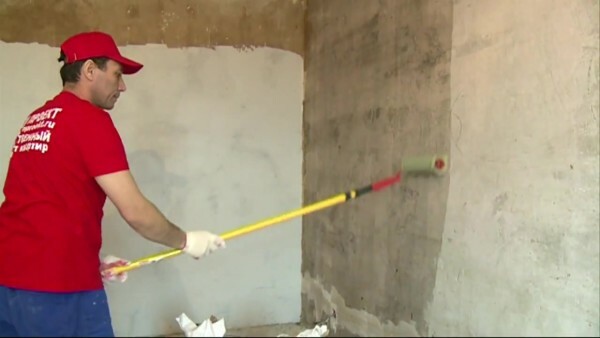
Priming the wall surface
For example, prior to align the concrete wall, i.e. smooth with poor adhesion, it is necessary to cover the adhesion primer. In other cases, you can use the universal soil.
For primer use a brush or roller. Apply a thin layer of liquid. After the walls dry out, a procedure must be repeated;
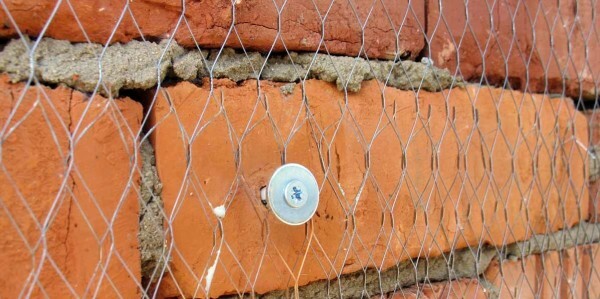
Installation of stucco mesh
- if the alignment layer coating is thick, i.e. more than one centimeter, wall mounted grid. You can use the self-tapping screws or dowels, nails. Keep in mind that the fabric mesh should overlap by 15 centimeters.
In this preparation the walls completed.
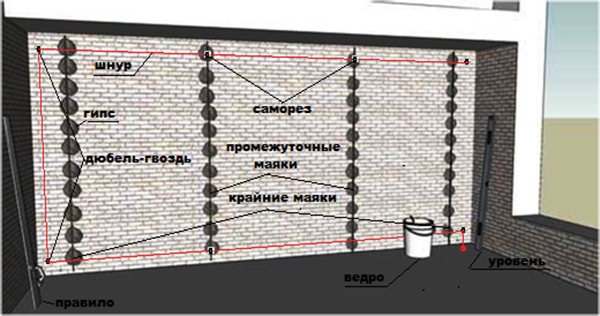
Scheme mounting rails
installation guides
To align the walls of high quality, it is necessary to properly install guides.
This operation is performed in the following sequence:
- turn from an angle of 30 cm and position the first profile. To do this, screw the screw on the ceiling, or even install plug-nail. Note that the distance from the surface of the cap wall to determine a thickness of the plaster layer;
Then, near the floor of the second set screw. During installation or use plumb level to a beacon located vertically; - cut the guide profile on the height of the room and attach it to the screw. In this case, check the position of the guide level. To adjust the position of the profile, screw or unscrew the contrary one of the screws;
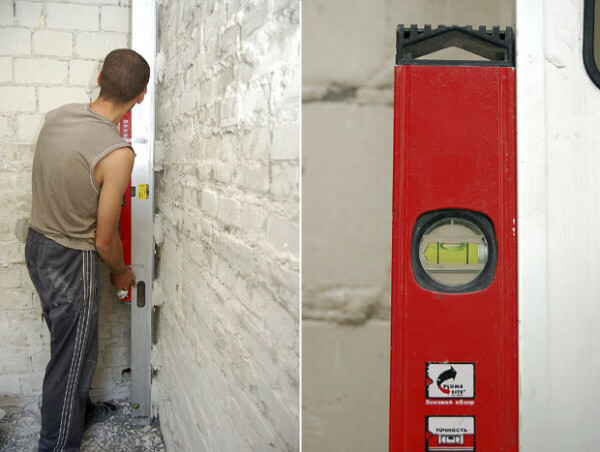
Checking the position of the beacon
- lighthouse position when the profile is adjusted, prepare a plaster solution and place its "lyapuhami" between screws. Lumps must rise above the level of caps screws;
- then drown rail in gypsum lumps, so she lay down on the cap screws;
- in the same way, set the guide on the opposite side of the wall;
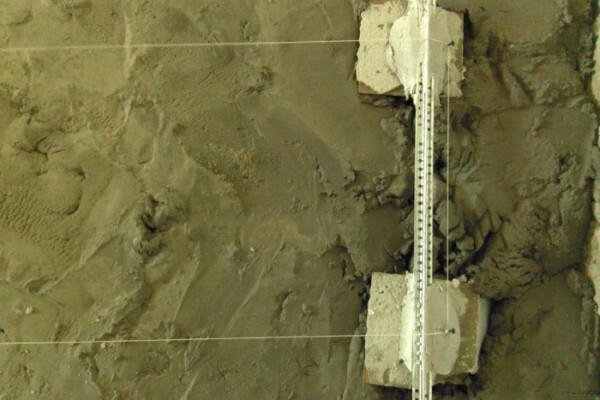
For extreme beacons tie thread
- After hardening plaster lumps stretch between the extreme beacons few cords at different levels, and then install the intermediate guide them. The optimum distance between them - 130-140 mm;
- according to this principle, set the guides on all the walls;
The maximum thickness of 70 mm plaster limited. If the difference walls more to use another way to align the walls.
Keep in mind that doing all the above procedure must be very carefully and attentively to eventually get perfectly smooth wall.
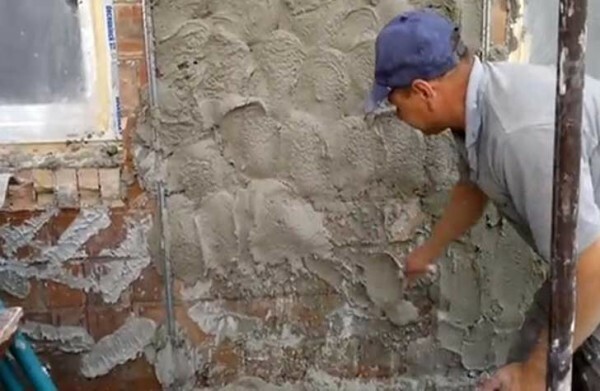
The application of the rendering using the scoop
Plastering
Plastering is as follows:
- Prepare plaster. For this purpose, pour the mixture into a suitable clean container, for example, plastic bucket. Then pour the contents of water and stir with a mixer or a drill with an appropriate nozzle.
The composition must get quite runny consistency; - then the wall must be applied a first layer of plaster, called the rendering. To do this, use a scoop, as shown in the photo above.
The solution should be a force to throw on the surface of the wall, so that he stuck to the walls, and at the same time filling all the cracks or depressions. Thickness of spray should not exceed 5-7 cm;
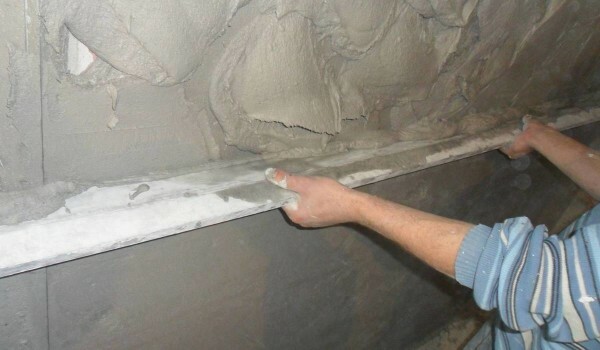
Leveling of surface by means of rules
- after the first layer of grabs, it is necessary to prepare a thick solution;
- Further the prepared plaster layer was put basis. Can operate in the same manner as in the application of spray, i.e. sketching his scoop.
The layer thickness must not exceed 5 mm. If you want to get a thicker plaster, apply the solution in several layers. Note that embarking application of each subsequent layer as possible after a previous drying; - Once the plaster starts to go beyond the guide, you need to take a rule and use it to smooth the surface. For this press down the instrument to the guide, and slide it from the bottom up, a little shaking from side to side.
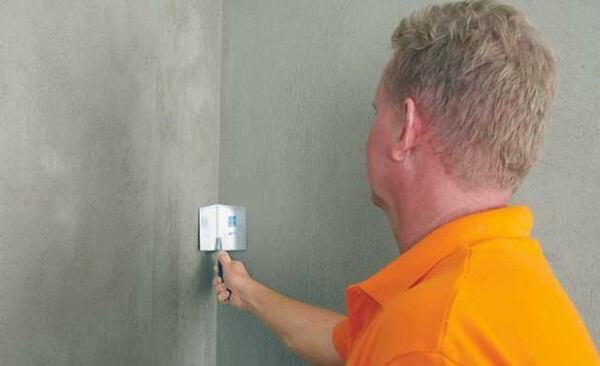
Alignment angle trowel
As a result, rule remove excess solution and fill them areas where plaster is missing. Thus, all the walls are aligned.
To align the internal corners, use the corner trowel. On the outer corners of the paste plaster corners. Their position Be sure to check the level;
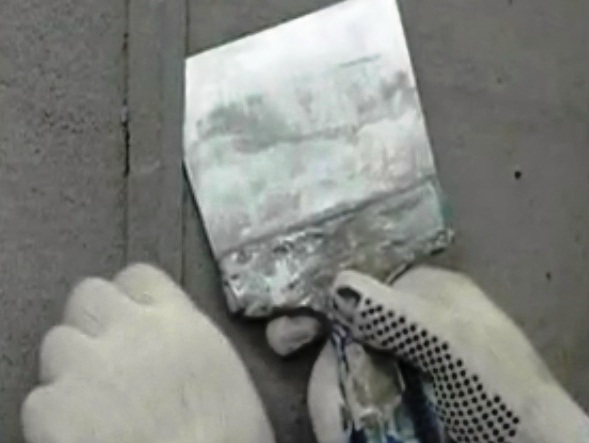
Removing guide
- remove the guides after setting solution and afterwards fill the remaining traces of the solution;
- then apply a thin layer of plaster trowel or Malka. For consistency it should be the same liquid as the scratch coat. This layer is called the finish coat.

Grout plaster
When nakryvki seize, powertrowel the walls with his own hands with the help of a plastering trowel.
In this alignment of the wall is completed. Now it remains only to apply putty to remove small flaws of plaster.
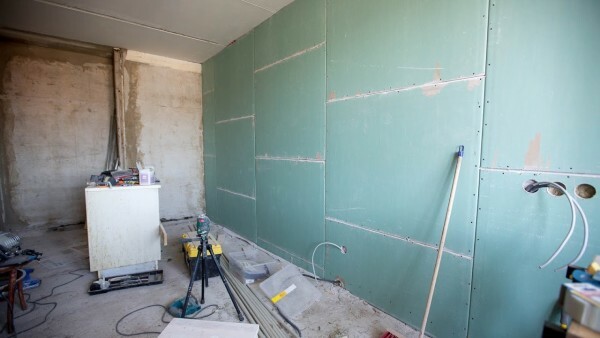
Alignment walls drywall
drywall
Now look at how to align the walls of drywall, or, more simply, plasterboard. This technology has many advantages, to wet.
such moments can be distinguished among them:
- work is more clean;
- Drywall installation less time consuming than the plastering of the walls;
- during the alignment can be performed in a wall niche if needed;
- it is possible to eliminate any unevenness, i.e. No limitations layer thickness as in the case of plastering.
The process of alignment walls this method also includes the following stages:

The sequence of work
preparation of materials
First of all, you need to determine the choice of the GCR. One of the main choice of parameters - is the thickness of the sheet of drywall. For walls use GCR 12.5 mm.
If the wall decoration will be done in the kitchen or, for example, in the bathroom, ie in a room with high humidity, it is necessary to use a moisture-resistant drywall. Externally, it differs from the usual green cardboard.
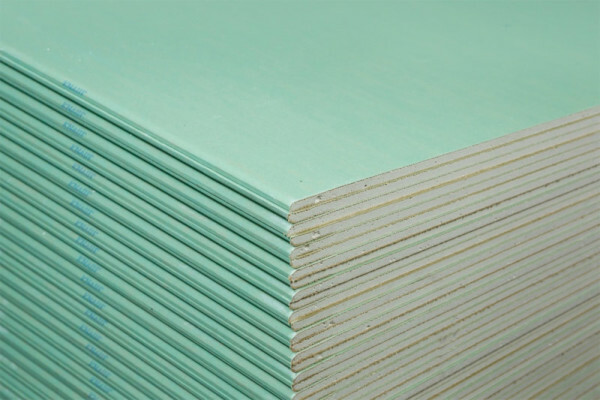
Moisture resistant gypsum board
In addition to the GCR are also needed to prepare and other materials:
- rails and rack profiles, as well as direct suspensions;
- primer;
- starting and finishing putty;
- armirovochnuyu tape;
- plastering corners.

marking scheme under the framework of the walls
marking
When installing drywall is extremely important to know how to perform the layout, as this operation depends largely on how smooth pouchatsya wall.
Operation is as follows:
- defined with the distance from the wall to the main frame. If you are not going to insulate the wall or hidden behind drywall communication, the distance you need to do the minimum - 3 cm.
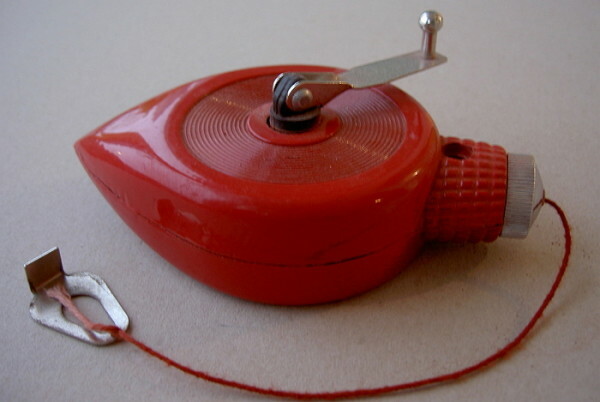
Beat off the line cord can be a paint
- Now repel the ceiling line NP profile. To do this, pull back 3 cm from the wall and mark the ceiling near a corner point. Then apply the same spot on the ceiling near the opposite corner.
If the wall is uneven, to add 3 cm value of differential wall. Those. If in any place of the wall section protrudes at 0.5 cm, 3.5 cm to retreat follows.
The two points are connected together by means of a paint line cord;
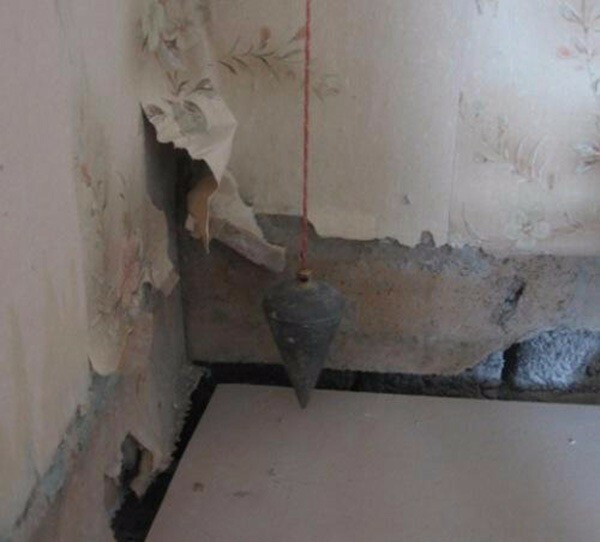
To move the line on the floor, you can use the plumb line
- line on the ceiling need to be projected on the floor. To do this, you can use the plumb line.
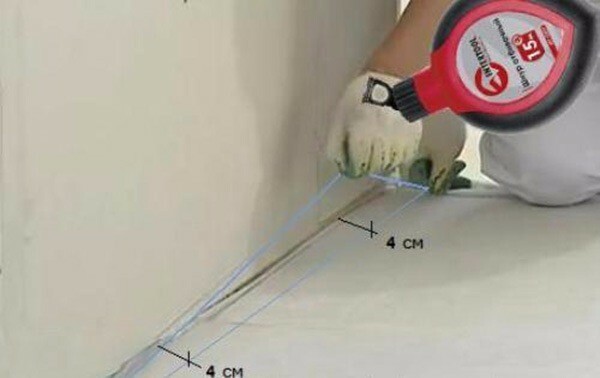
Repel a paint line cord
If the plumb bob was not at hand, draw a floor to ceiling vertically adjacent walls. Then connect them to the floor line;
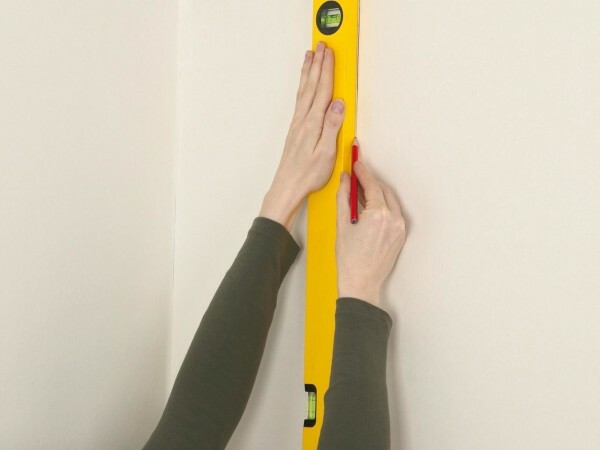
Note the vertical lines with a plumb
- Now draw a vertical increments of 60 cm on the wall, you will sheathe plasterboard;
- received on the lines put risks in increments of 50 cm, departing from the floor and ceiling of 20-25 cm. These risks indicate the location of the seat suspensions.
To suspensions were placed evenly apply the risks strictly perpendicular to the vertical lines.
According to this scheme to mark the walls, that you are going to level with the help of the GCR.
frame assembly
on the frame assembly instructions look like this:
- First, install the guide profile on the ceiling. Align it with the layout and fix the so-called "fast assembly";
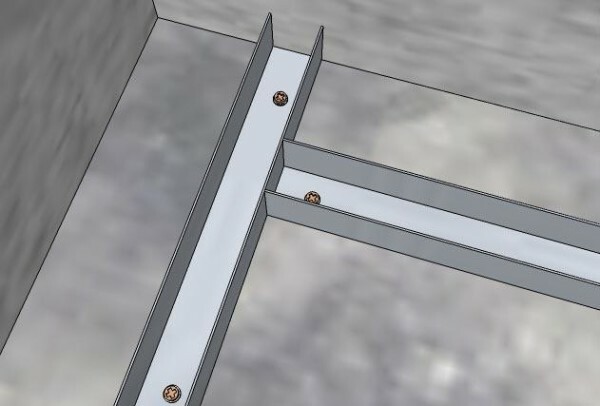
Scheme NP mounting profiles on the floor
- then just set the guide profile on the floor;
- Now fix the wall hangers. As a rule, they attach "quick installation";
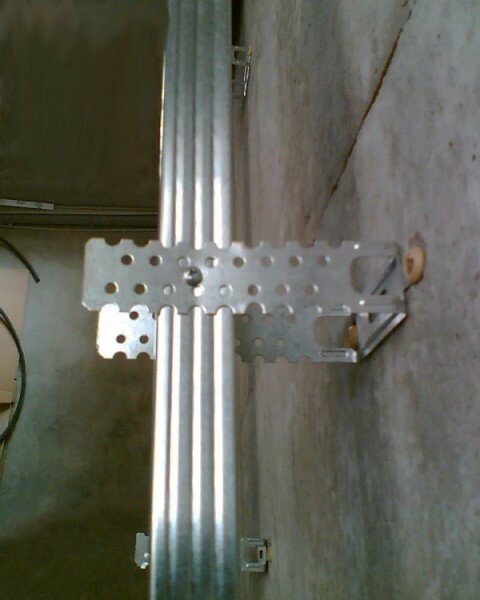
EXAMPLE suspension mounting to the wall
- SP slice profiles height of the room, and lock in suspensions. Keep in mind that the rack is often sag under its own weight, especially if the ceiling in a room high.
To get a smooth surface of the wall, attach the suspensions to the extreme corners of the profiles, aligning their rule. Then pull between multiple twine and align the intermediate profiles on them;
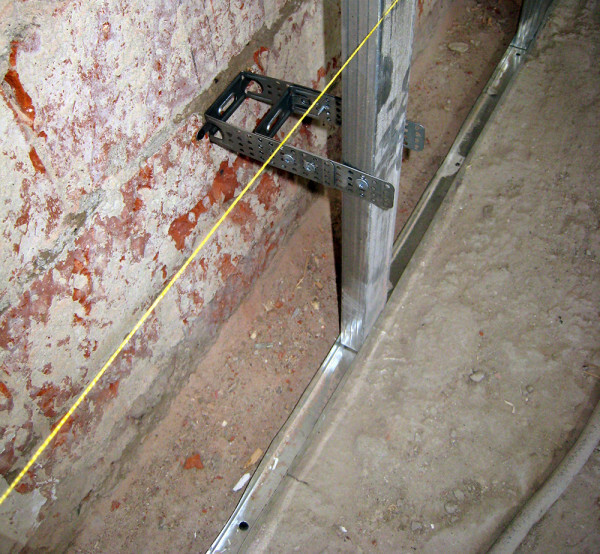
Align the rack on a tight thread
- to strengthen the design, set Mezhuyev jumper struts. To do this, cut the guide profiles on the diagram above. Jumpers are especially needed in the locations of window and door openings.
To enhance the framework in the rack profiles can be inserted wooden beams. This will allow the mount to the wall with heavy objects.
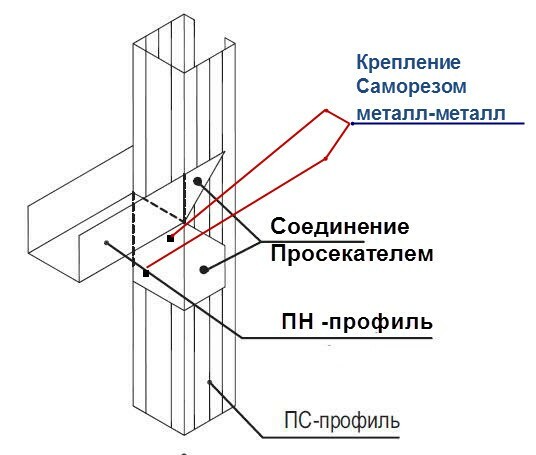
Scheme manufacturing webs of the guide profile
According to this principle assemble the frame on all the walls.
installation of drywall
Now you can start the installation of drywall. The sheets are fastened to the frame with screws, so in general, nothing complicated in this operation there.
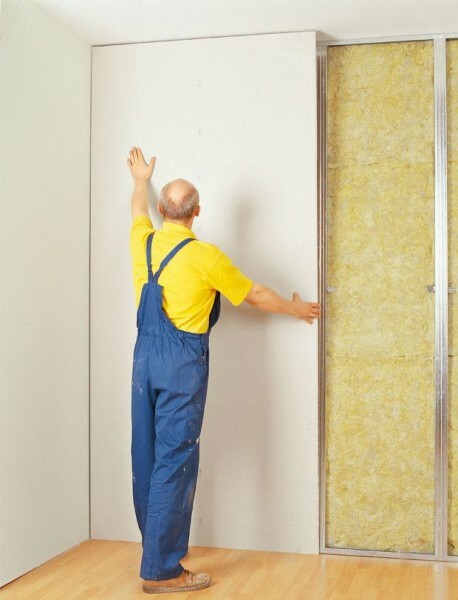
installation of drywall
The only note the following nuances in the installation process:
- the edges should be based on the profiles, so that the joints are not cracks occur;
- seams sheets should not be the same, ie, The surface should be of cruciform joints;
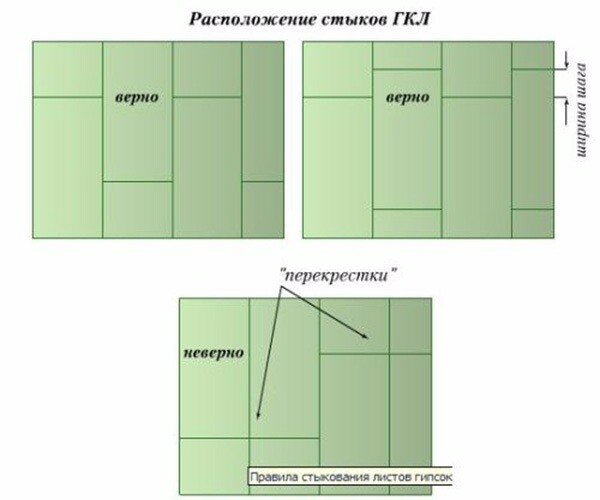
The scheme is correctly positioned on the frame of the GCR
- self-tapping screw the strictly perpendicular to the surface of the walls;

Scheme dowel location plasterboard
- from the edge of the sheet to the fixing should be a distance not less than a centimeter;
- Fastener step should be 250 mm;
- the screw cap must be placed below the surface drywall by a few millimeters. At the same time strongly bury screw can not be, as it will break through the cardboard and, accordingly, will not fix the sheet.
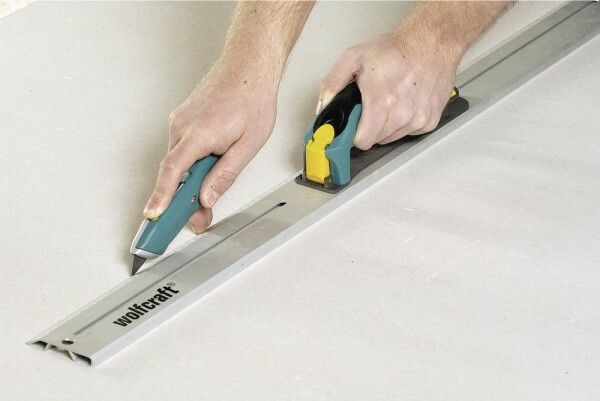
Cut the plasterboard with a sharp knife
During installation of sheets, some of them you will have to be cut.
This procedure is performed as follows:
- apply generally to the cutting line;
- then along the right cut the cardboard with a sharp knife;
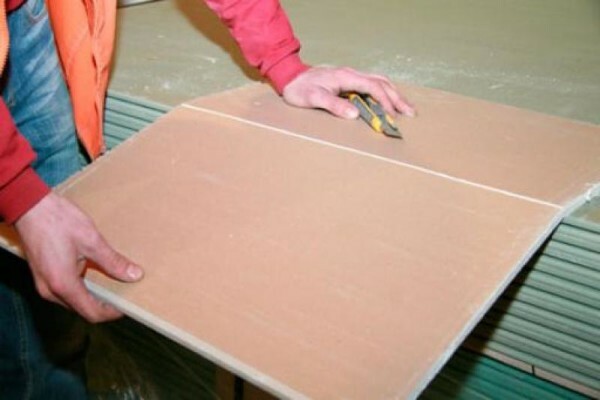
Fractures of the sheet along the cutting line
- more fractures sheet along the cutting line and bend it;
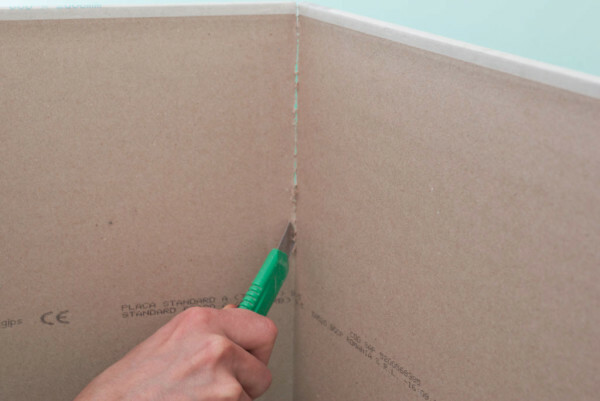
Cut the cardboard along the fold line
- Cut the cardboard from the back side of the fold line.
Not to embroider the edges after installation, the ends of the sheets can be treated with special a plane for the FCL.
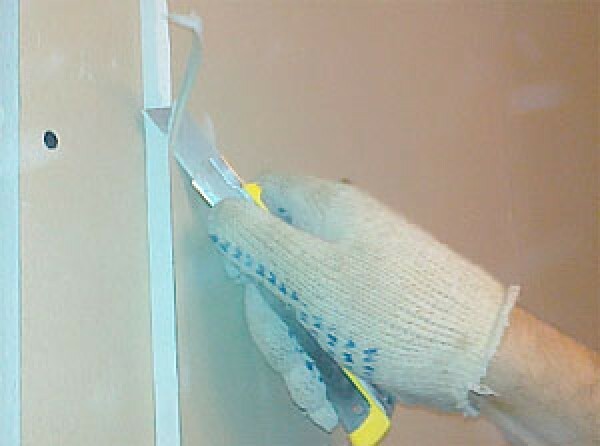
Cut with a sharp knife chamfer
rough finish
Roughing decoration plasterboard walls sheathed is carried out as follows:
- Adv seams GCR, for it cut off with a sharp knife with chamfered edges about 5mm. In areas where the edges are rounded, chamfered cut, of course, it is not necessary;
- before proceeding to the rough finish of sheets, be sure to prime with drywall. For this, use a roller or brush. The primer is applied in two layers;
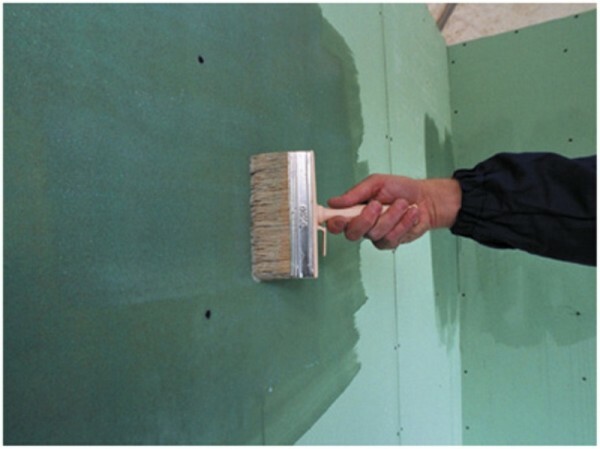
Priming wall surfaces
- then zashpatlyuyte holes from screws. To do this, enter the starting putty on a spatula and run the tool on the screws;
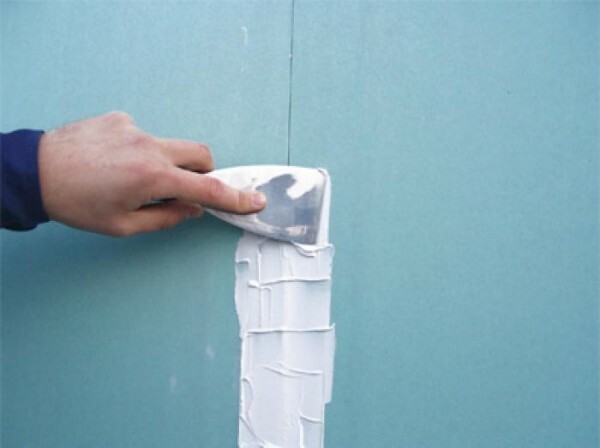
Filling the joint filler plates
- further with a spatula fill the seams starting putty, striking her across the joint. Once the suture is full, slide the spatula along it and level the surface;
- until the surface is frozen, attach to the seam tape, and its top cover filler by the above procedure;
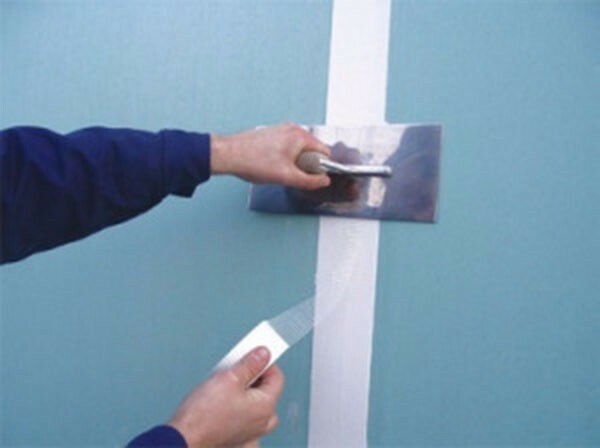
Bonding tape
- after drying the surface, apply a starter layer on the walls of putty by using a wide spatula. At this stage, stick perforated corners on the outer corners, always using the level;
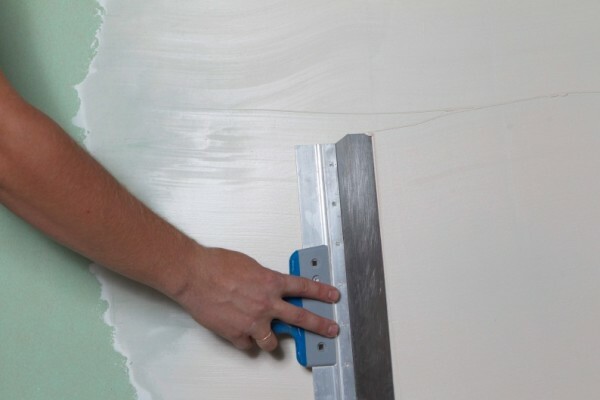
wall Shpatlevanie
- after curing putty surface should be roughened by sand paper or abrasive grid with large - P80-P100. Try to remove all at the same time significant irregularities;
- Next you need to clean the wall of dust and prime with;
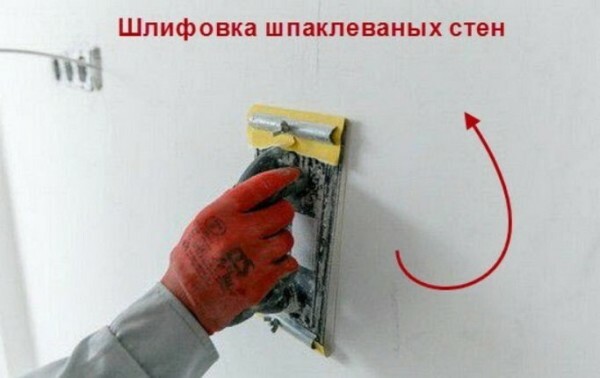
The photo - a sanding walls
- if you plan to paint the walls, the surface must be covered with a thin layer of finishing filler, to get rid of traces of polishing and other tiny flaws;
- puttied surface abrade with fine abrasive mesh and then prime with another.
Here in fact, all the information on how to align the wall with drywall.
Output
Now that you know how to line the walls of quality on modern technologies. Review the video in this article, and safely get to work. And if you have any questions - write in the comments and I will gladly answer.
