Polymer Pavement: laid waterproof material for all the 6 steps
Table of contents
-
1 Polymer based products
- 1.1 How to make a tile?
- 1.2 Features and advantages
-
2 Polymer products Mount Technology
- 2.1 What do you need for laying?
- 2.2 6 steps to correct paving sidewalks
- 3 conclusion
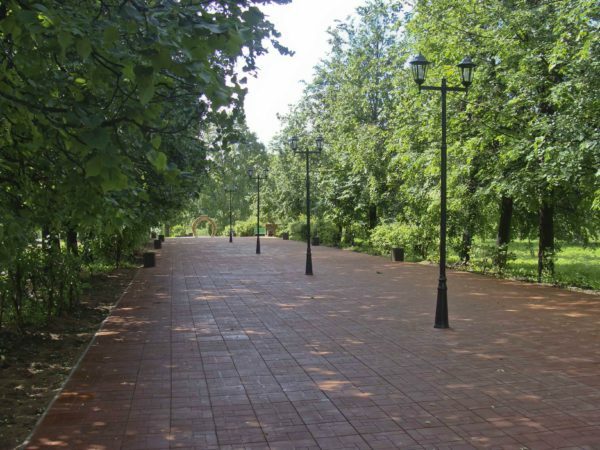
For paving can use water resistant paving made from polymeric materials
Polymer paving tiles in many respects superior to the more common varieties of products of cast and extruded concrete. The advantages of this material contribute to the growth of its popularity - and therefore, it is necessary to take the time and explore the features of the most tile and its mounting method.
Polymer based products
How to make a tile?
Polymer tile was originally developed as a material with a long service life, good performance durability and frost resistance. The main competitor in this segment has been and continues paving on concrete base, because of polymer products to compare, we will just her.
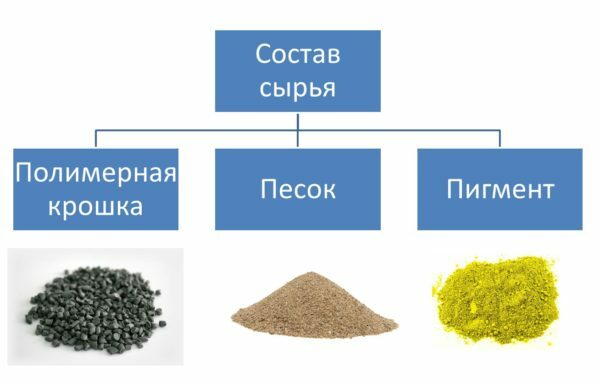
Composition of raw materials for the production of paving pavers
The composition of the raw material for the production of a paving tile includes three main components:
- binder (About 25% by volume) - comminuted polymers. Upon melting, under high (approximately 250 ° C) temperatures, they become fluid and connected to the filler.
For reasons of economy in the production of tiles used products recycling for example, polyethylene film. Due to the cheapness of the raw material price decreases tiles, and it has almost no effect on the final strength.
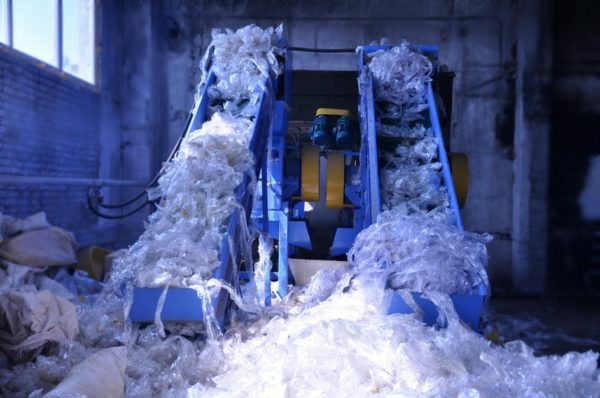
Cheaper to use recycled polyethylene products
- Filler (75%) - srednefraktsionny sand grain is not more than 3 mm. Prior to mixing with the polymer crumb sand carefully sieved to remove organic impurities and kibbles, which reduces strength. After heat treatment sand firmly sintered with the polymer, forming a stable structure.
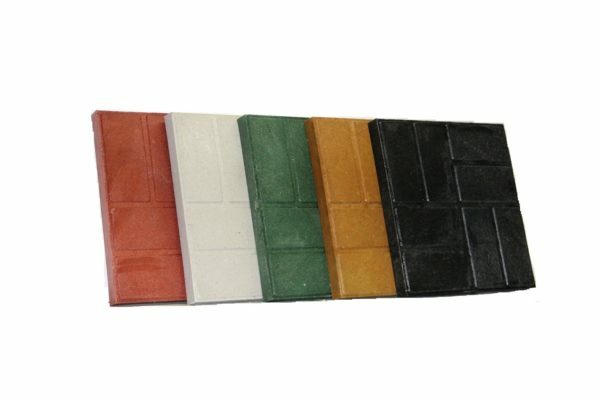
The addition of pigments produces tiles of different colors
- Dye - added in small quantities to give the desired shade tile. Low temperature melting plastics allows a broad palette of pigments, so that the range of polymer-tile obtained extensive.
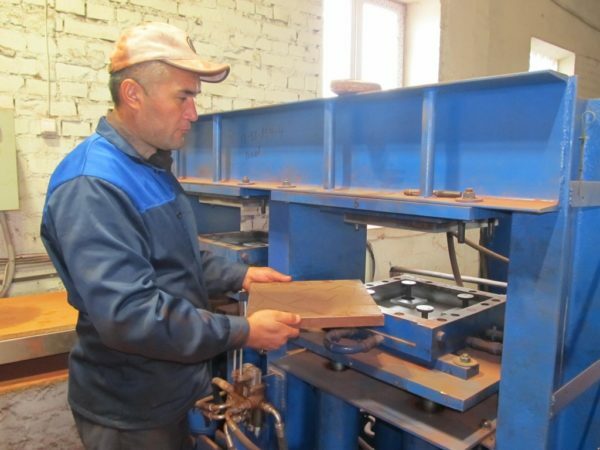
When stamping material is compacted, thereby increasing the strength at times
In the production of paving slabs of polymer molten mixture of sand and resin is formed by molding. As a result of the material almost completely removed air: obtain paving dense and, therefore, more durable.
Features and advantages
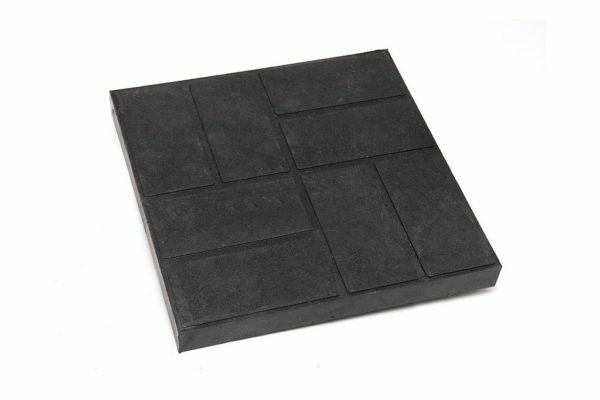
The product is a standard size and shape: a square with sides of 330 mm
Technical characteristics of polymer tiles are presented in the table below:
| Characteristic | unit of measurement | Value |
| Density | kg / m3 | 1600–1800 |
| Dimensions | mm | 330h300, 330h165, 500h250 |
| Thickness | mm | 17–33 |
| Weight | kg | 2,6–4,4 |
| Compressive strength | mpa | 17–25 |
| Water absorption by volume | % | 0,15 |
| wearability | g / cm2 | 0,05–0,1 |
| frost-resistance | cycles | at least 300 |
| Lifetime | years | 50 |
The average warranty period for the products of polymer raw materials - from 10 to 20 years depending on the manufacturer and model.
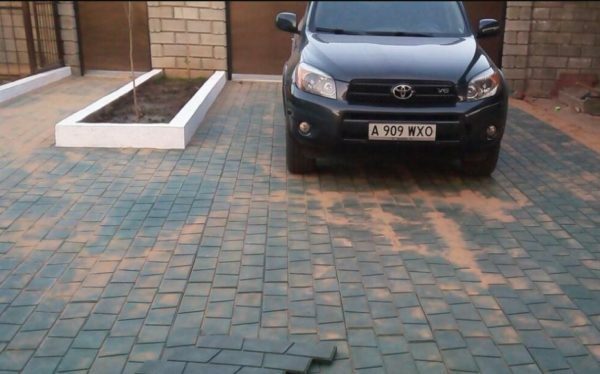
This material is strong enough even for paving driveways - for example, areas in front of the garage
The main advantages Tiles for paving sidewalks:
- The strength and wear resistance. The coating is resistant to foot traffic and slowly wears away.
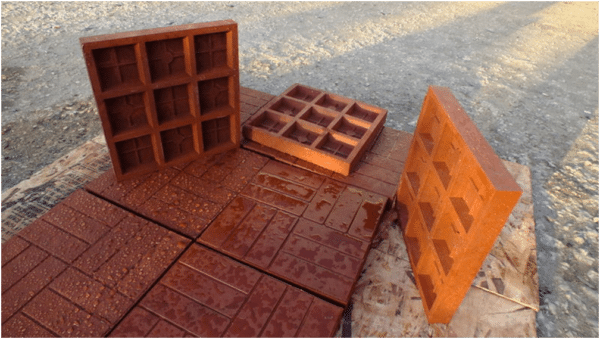
Polymer base provides increased moisture resistance material
- Humidity resistance and resistance to low temperatures. Use of a polymer as a binder provides products of good protection from moisture. Accordingly, during the freezing cobbles will not have intense effects.
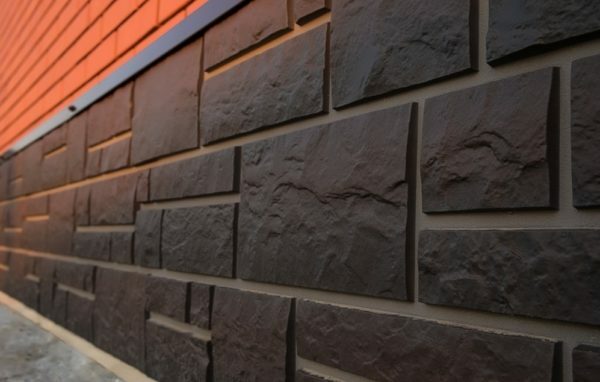
Good moisture resistance allows the use of polymer products, including, for the plinth
- Environmentally friendly. Even at high temperatures (+30 ° C and above), the material does not emit volatile toxins, it can be used virtually anywhere.
- Processability. Material simply fit into their own hands, while it is not too picky about the quality of the base. mounting technology allows the partial disassembly of the pavers, if necessary, repair or access to underground utilities.
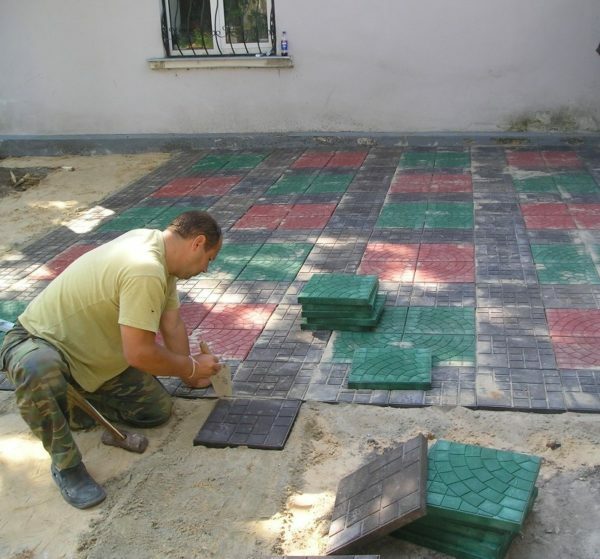
Lay tile is not difficult, but it is necessary to take into account its thermal distortion
Despite its simplicity, stacking technology must be strictly observed. Very important is the proper selection of the width of the joint, if laid paving close, then the thermal expansion cover deforms.
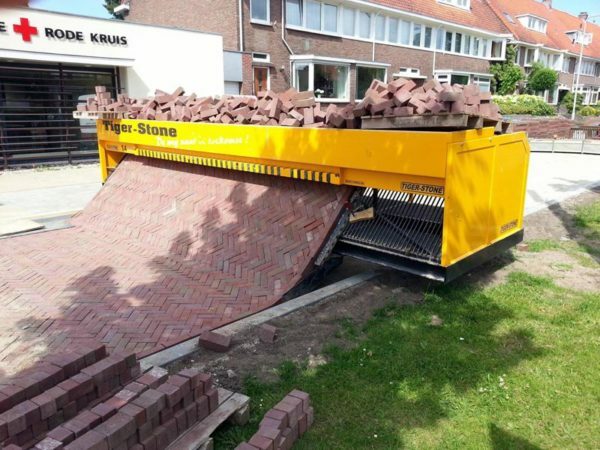
The material is also suitable for laying with the help of special machines
Polymer products Mount Technology
What do you need for laying?
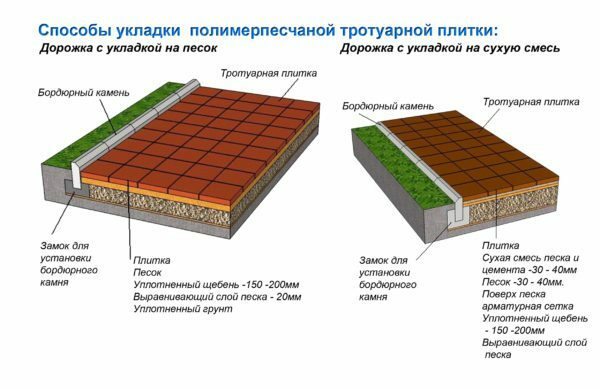
layers circuit device to different installation
Tiles can puncture on a sandy base, to the solution or mixture tsementnopeschanuyu. The third option seems preferable, because at work I usually use his name.
Styling need such devices:
- Gardening tools for excavation works (crowbar, shovel, pick-ax).
- Typically the mix.
- Master OK.
- Rubber mallet.
- Cords styling benchmark.
- Level.

Tools that are useful for working with Polymer products
The question of what to cut such products often becomes an occasion for discussion. Manufacturers recommend to use the "grinder" with a diamond disc, but for large-scale works, you can take a conventional machine for cutting paving slabs.
6 steps to correct paving sidewalks
Technology laying of polymer tiles involves a large amount of preparatory work. Guide device for the track is as follows:
| Illustration | stage work |
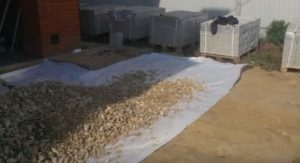 |
Step 1. Formation of pillows. The base mark up, and then remove the layer of fertile soil to a depth of at least 15-20 cm. The surface area covered with a layer of sand of about 10 cm. Sand moisturizes and ramming. On top of sand laid geotextile. |
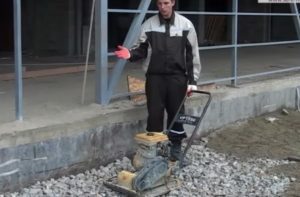 |
Step 2. Ramming foundation. Geotextile fall asleep gravel layer which will provide the necessary base stability Gravel ramming and leveling. This can be done manually, but you can - with the help of tamping machines. |
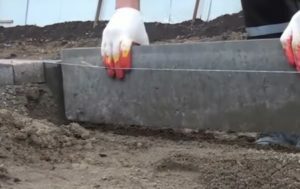 |
Step 3. Setting borders. The grooves on the pad or the edges of the track set curbstones. Anchoring curbs using grout. |
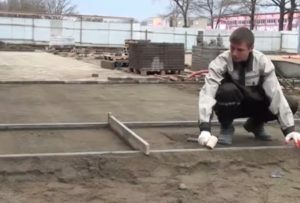 |
Step 4. Distribution of the mixture. The cement-sand mixture was poured on laying gravel layer and carefully leveled rule. If necessary, the mixture is set beacon rack for level control. |
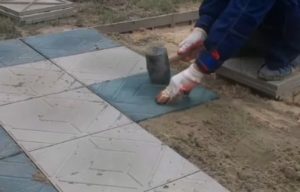 |
Step 5. Laying tiles. Put tiles on top of the mixture, carefully align and upset, using a rubber mallet. The optimum gap between the tiles - about 4-5 mm. |
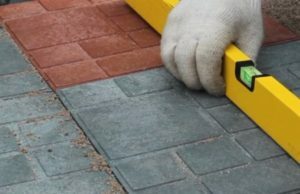 |
Step 6. level control. The plane of the track or platform carefully controlled level. If necessary tile or more upsets, or adding a small amount of the mixture under the stacking base. |
After completion of the seams can be filled stacking cement-sand mixture. Composition scatter on the surface and sweep away excess brush or broom. After this, moisten the surface of the tiles: water enters the joints and provide the hydration of cement.
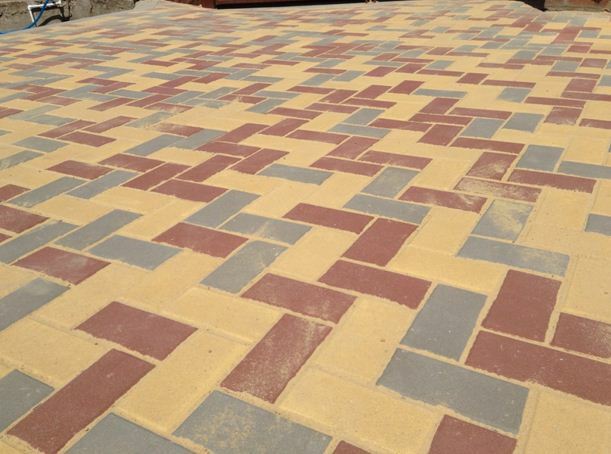
Photos surface after grouting: Excess of you want to delete
conclusion
The process of laying tiles on the basis of polymer is quite simple: if you previously were able to pave the borders, then this material is guaranteed to cope. Beginners are also worth exploring video in this article, and all questions - ask in the comments!
