Shtroblenie walls - to the process, the types of tool requirements and a description of the work of independent
Table of contents
-
1 What it is in the workflow
- 1.1 Preparation and planning
- 1.2 Carrying out work hammer and chisel
- 1.3 Using the Hole puncher
- 1.4 Carrying out work using grinders
- 1.5 Carrying out work Wall Chasers
- 2 Output
Think shtroblenie walls for guiding the hands - a process that only by professionals? Read this review and you'll get the job done easily. Just follow all the recommendations and you get a great result.
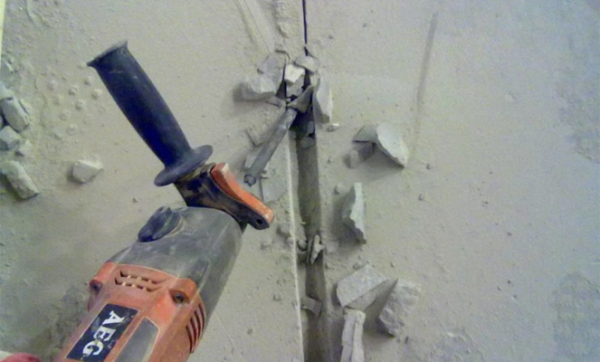
Photo: shtroblenie by wiring a lot easier than you think
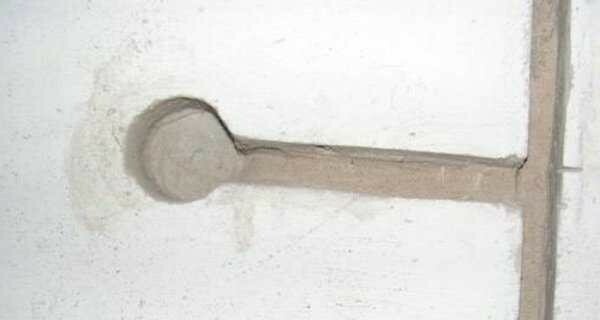
Well-made Stroebe can hide wiring and pipes
What it is in the workflow
In order to properly carry out the work, you need to know the requirements of SNIP 3.05.06-85 "Electrical devices", there are registered the basic requirements for cabling. It is also important to choose a tool for shtrobleniya and organize workflow correctly. All these aspects will be discussed below.
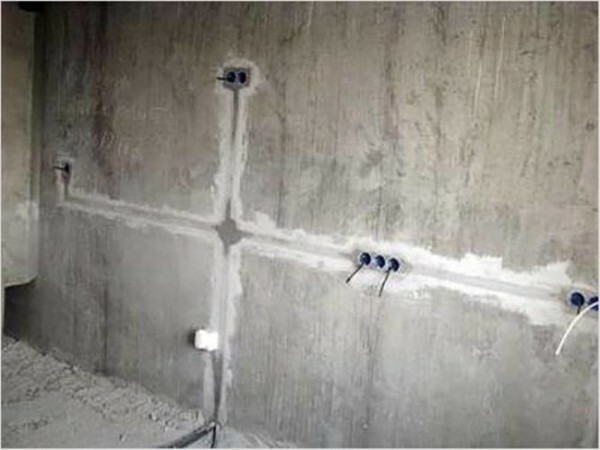
Proper wiring layout - a prerequisite of system security
Preparation and planning
Shtroblenie walls should be done with the following requirements:
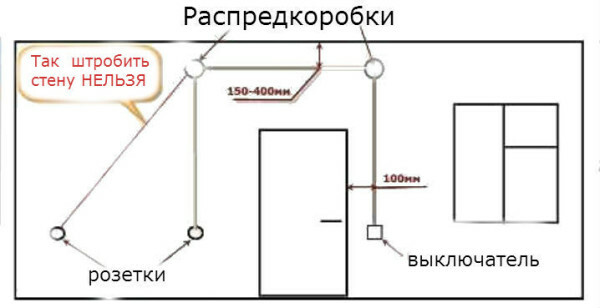
In this diagram, there are the basic requirements for workflow
- Grooves must run parallel to the main structure of the building. That is, they can only be done in a horizontal and vertical direction. Running wires diagonally in any case it is impossible;
- The distance from the ceiling to the line passing wiring must be not less than 150 and not more than 400 mm;
- Distance to doorways and wall corners must be at least 100 mm. Before the gas pipe should be not less than 400 mm;
- The bearing walls of concrete depth and width of the gates should not exceed 25 mm, the reinforcing carcass damage is excluded;
- Grooves must have a minimum number of turns. Ideal if it is one, that is, you run the wire in a straight line, and then dip it up or down or start up the side to the connection point. Led wiring steps can not be.
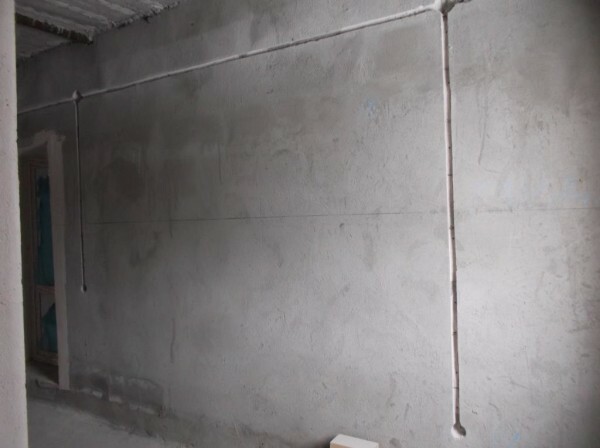
Here's a perfect location Stroebe, all very smoothly and accurately
When you know the basic requirements, you can proceed to the markers work, and it requires a specific set of tools, which list is specified in the table below.
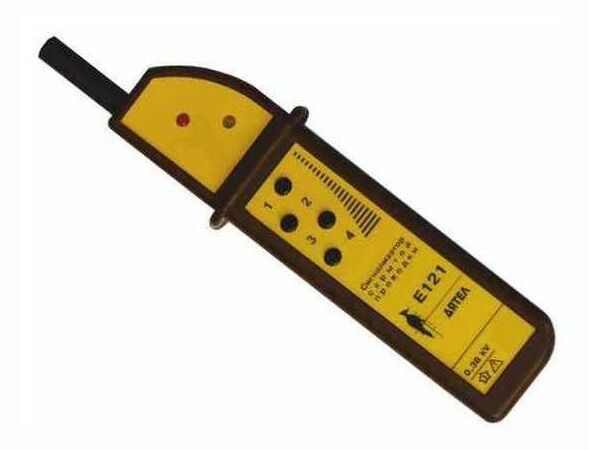
Alarm wiring to avoid damage to the communications
| Tool | Description |
| wiring indicator | It can be used as special devices, called searcher flush and conventional indicator screwdriver. The main thing that was handy tool to help you find your own hands cabling line in the wall and do not damage it when you spend shtrobirovanie |
| Level | With it, you can otcherchivat vertical and horizontal lines. Can be used as a conventional construction variant and laser level, it can work in general carried out in minutes |
| Measuring tape and pencil | Roulette is needed to measure the distance and indents, and a pencil for Scribe lines in the field of the future location of the cutting grooves |
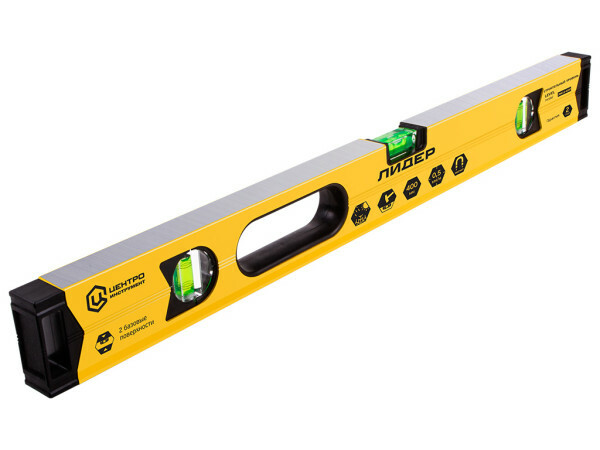
The level will allow to do the exact markup
Instructions for the layout is very simple:
-
First, let's consider all the elements of layout: junction boxes, switches and sockets. You must be guided by the standards set forth above and the considerations of convenience, because the placement of furniture in a room can be different.
Below is a scheme by which to make the wiring project is not difficult, According brown lines are best laid Stroebe, sockets and switches can be placed where it is convenient;
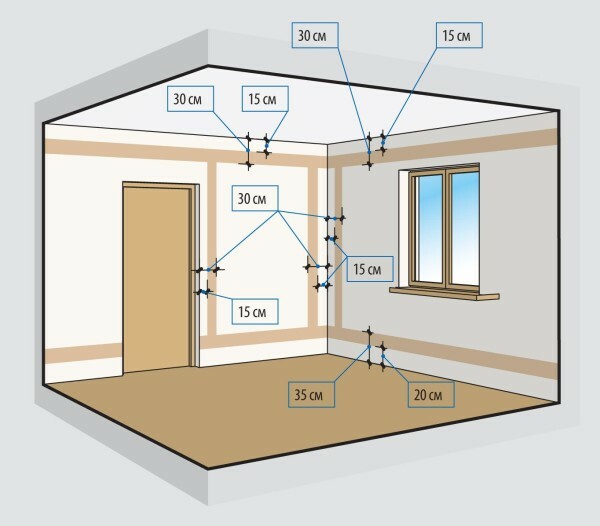
Here is a simple cheatsheet in planning the wiring arrangement
- First, you need to check all surfaces for hidden wiring. Take the device that you have in your hand, and with the help of wires taped to the wall, if available. Easy to use tool, in a place where there is a wiring indicator lights;
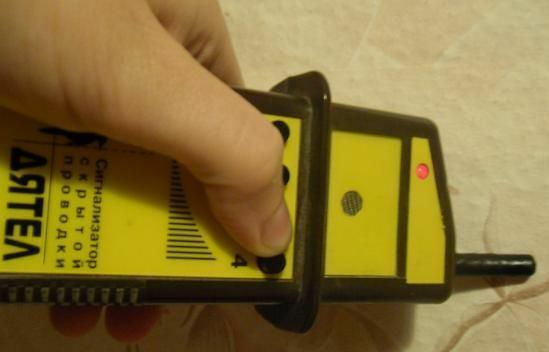
First of all, make sure that where you plan to carry out the work, do not pass the wire
- The horizontal layout of the walls under the wiring is easiest done with the help of a spirit level. Just draw a line at the desired level by controlling it to be strictly horizontal. Below or above the poverty line is one that will determine the width of the future shtrobleniya;
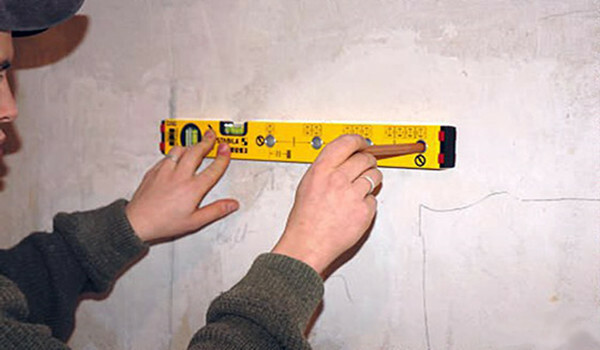
Level enables quick horizontal lines
- Vertical lines can be done using the same level, but you can use plummet. With this simple device to carry out the markup will not be difficult.
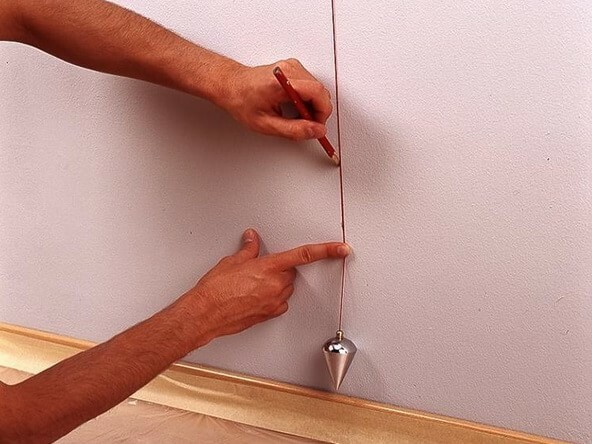
Plummet allows for vertical lines
Carrying out work hammer and chisel
If you need to shtroblenie on soft surfaces: in the plaster, foam and aerated concrete blocks, etc., you can use a simple set of hammer and chisel.
The workflow in this case is as follows:
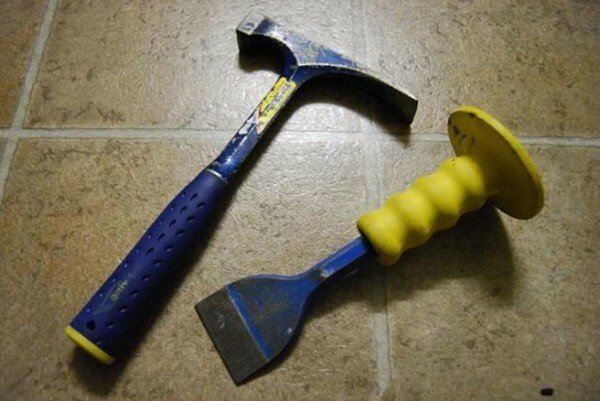
This kit is suitable for soft surfaces
To work better to use a chisel with protector, as in the photo above. So you do not injure your hands, which is important, because the beat on the device will have a lot, and the risk of injury is very high.
- First and foremost you need to break through the surface of the line on both sides to a depth of 5-10 mm. It is important to select a future line Stroebe that when the upper layer is not destroyed and filmed strictly defined borders;
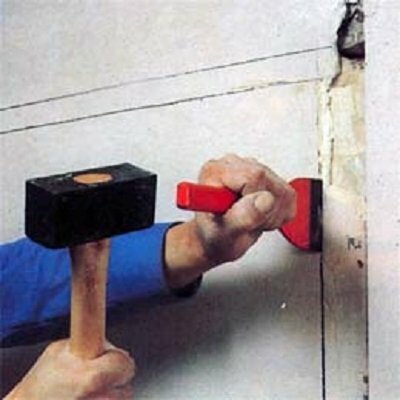
At first, it breaks the line on both sides
- Further, the chisel is placed at an angle and the top layer goes astray. It is a small furrow, which will be our guide in the works;
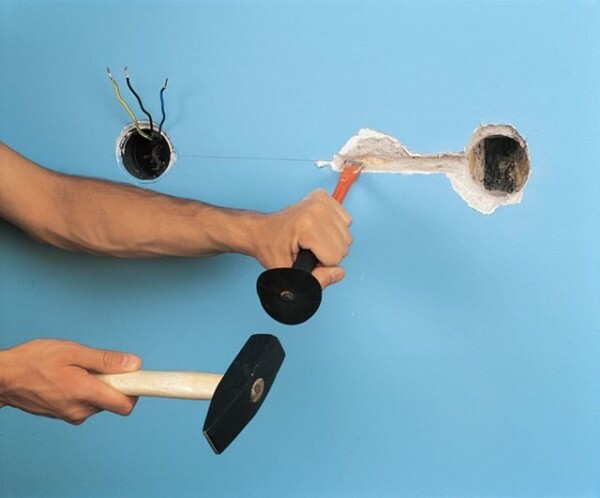
Such Stroebe is not very accurate
- Further deepen the furrow should be up to the required size to us. Then all carried out in the same manner as in the first case: the side punched line to not split off from the surface of large pieces and then gets off the excess material. Work carried out as long as you do not achieve the desired result;
- If you want to place a box or circuit breakers, then knocked out the squares slightly larger size. Depth is determined depending on the type of design you.
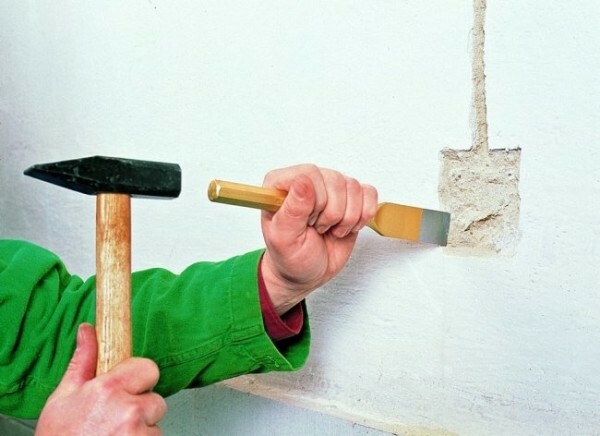
So much to be a deepening of the box
Using the Hole puncher
It is the most popular tool for shtrobleniya walls under wiring. The advantage of this option is its simplicity of operation, a sufficiently high speed, and low dust generation.
Among the shortcomings is to provide noise workflow and not very neat end result, but if then the walls will get off, then this aspect is not important.
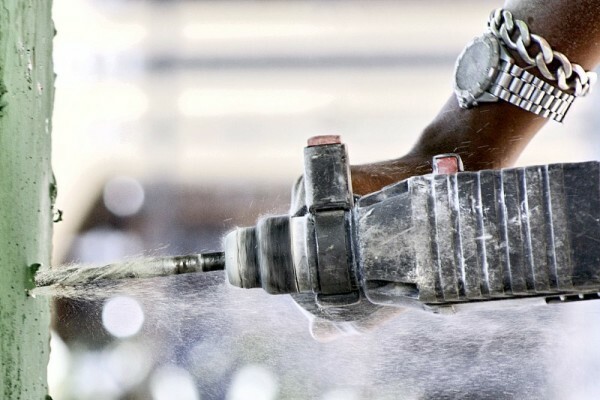
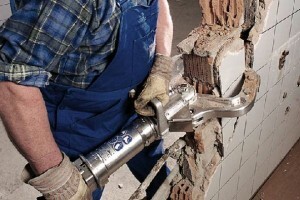
Puncher allows shtroblenie concrete and other hard materials
In this case, except for the punch need the following equipment:
- Bur 12-20 mm and a length of 200 mm;
- Flat or semi-circular blade for sampling Stroebe.
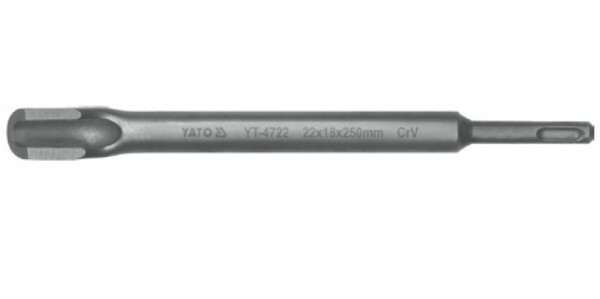
Semicircular blade is well suited for shtrobleniya
The working process in this case is as follows:
- Through the future recess 1.5-2 cm through each drilled hole to a depth of 2.5 to 3 cm. For simplicity, it can be pasted on the drill electrical tape to control the penetration;
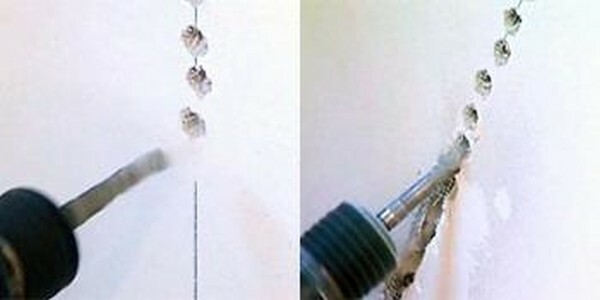
Holes further simplify workflow
- Then, the blade wears or breaks and peak cutting grooves. It will not be very accurate, but you'll quickly get the job done. In addition, later deepening still is embedded solution;
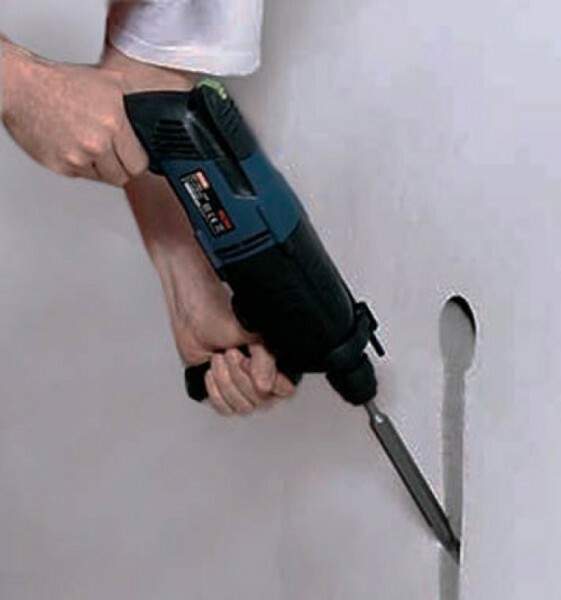
According nasverlennym holes pierce trough easy
- Holes box in this case, made with special crowns with pobeditovymi tipped. With their help you quickly make a well a desired depth, and they will have the perfect shape. The main thing - do not get to the valve during operation;
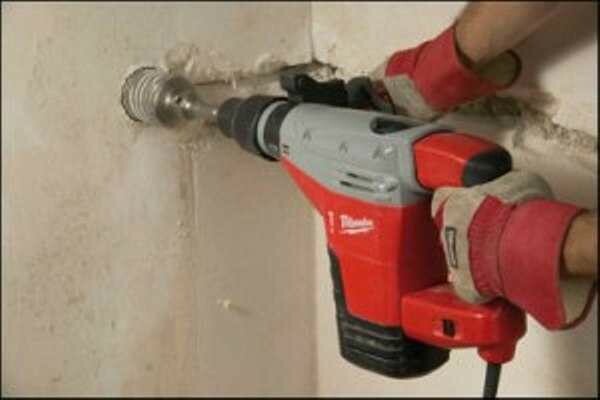
The crown allows you to quickly make a hole of the desired diameter
- If shtroblenie made of brick walls, try to keep horizontal lines and vertical seams combine with joints, so as not to weaken the structure.
Carrying out work using grinders
This variant is different in that you can get straight Stroebe. But the amount of dust in this case is such that work without a respirator and glasses you can hardly.
The workflow includes the following steps:
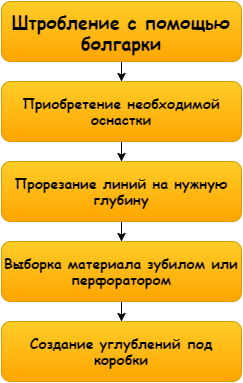
The workflow is simple enough
- To start, you need to purchase a special drive on the concrete. If a lot of work, it is better to buy 2-3 items, as they tend to wear out with the active use;
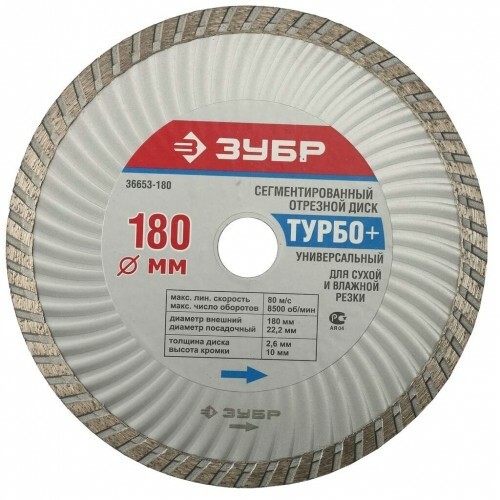
Concrete disc allows you to work with any hard surfaces
- The disc is placed on the grinder and begins work: lines are cut to the desired depth. The process is very dusty, so we can try to bring an assistant with a vacuum cleaner to minimize dust. It is important not to cut too deep surface so as not to weaken the wall;
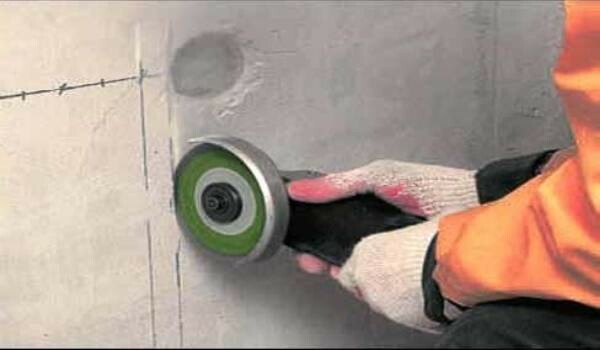
It is important to cut the surface to the desired depth
- Then drill is taken with a lance, and the excess material is knocked out of the groove. Due notch Stroebe get flat and neat;
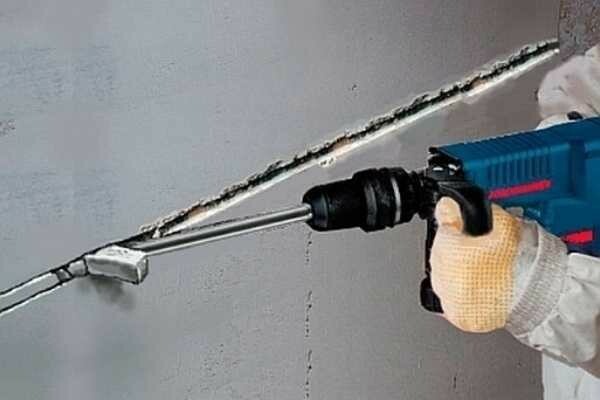
By slotted line material is selected easily
- Holes box selected either crown or grinder cut contour, and then all selected hammer or chisel.
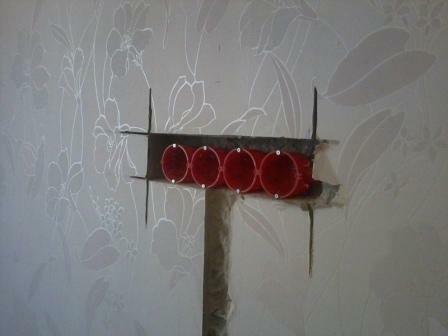
Bulgarian is the contour, then work gradually completed puncher
Carrying out work Wall Chasers
There is a special tool for shtrobleniya concrete walls.
It is called the wall chaser and mostly used by professionals, in this case, the workflow looks like this:
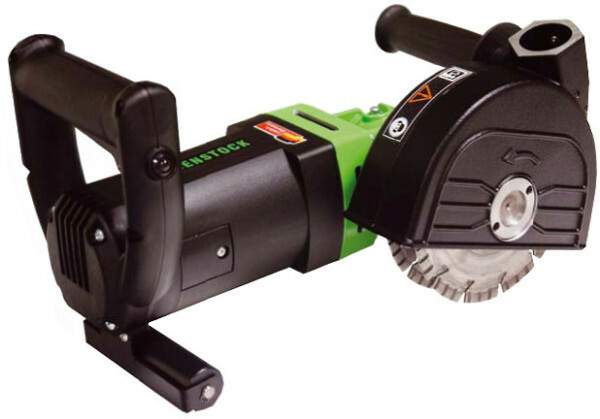
In this device there are two disc concrete
- Primarily it exhibited the desired width and depth. It is important to remember that shtroblenie concrete surfaces can not be produced to a depth of more than 25 mm;
- Next, the tool is run, put on the line and held groove cutting. Everything is simple and fast. The presence of a casing to which can be attached a vacuum cleaner, will eliminate most of the dust at the. When working with gas concretes use the vacuum cleaner is not necessary;
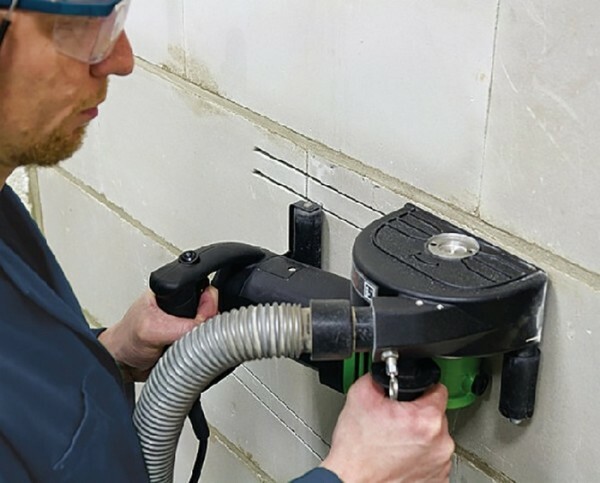
To work with such a device is very simple
- After the cutting groove of material it is knocked or chisel hammer. Holes for sockets and boxes also do better puncher and a crown.
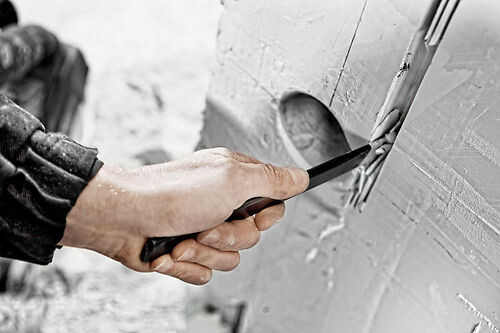
Holes box is best to make a crown
Independent execution of works allows substantial savings, since the wall shtroblenie price varies from 300 to 700 rubles per square meter. If large volumes of work, you will save tens of thousands.
I recommend that you use the version with hammer, this is the most simple and quick solution. In addition, when the dust will not be formed post as a grinder.
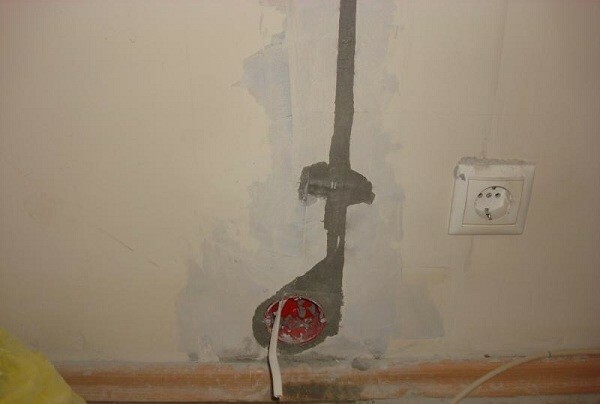
After wiring Stroebe are sealed, and the surface can be plaster or putty
Output
This review will help you to conduct yourself shtroblenie walls under wiring or pipes, because the process is simple and understandable, if you know all the nuances. Videos in this article will help to better understand the process, and if you still have questions, please write them in the comments below.
