How to make a hinged garage doors with their hands - a unique way, accessible to everyone
Table of contents
- 1 Types of doors for garages
-
2 Subtleties of the assembly and installation of gates
- 2.1 Tools and materials
- 2.2 Assembling the support frame under the gate
- 2.3 How to cook the leaf for the gate
- 2.4 Sheathes and insulate the gate
- 3 Output
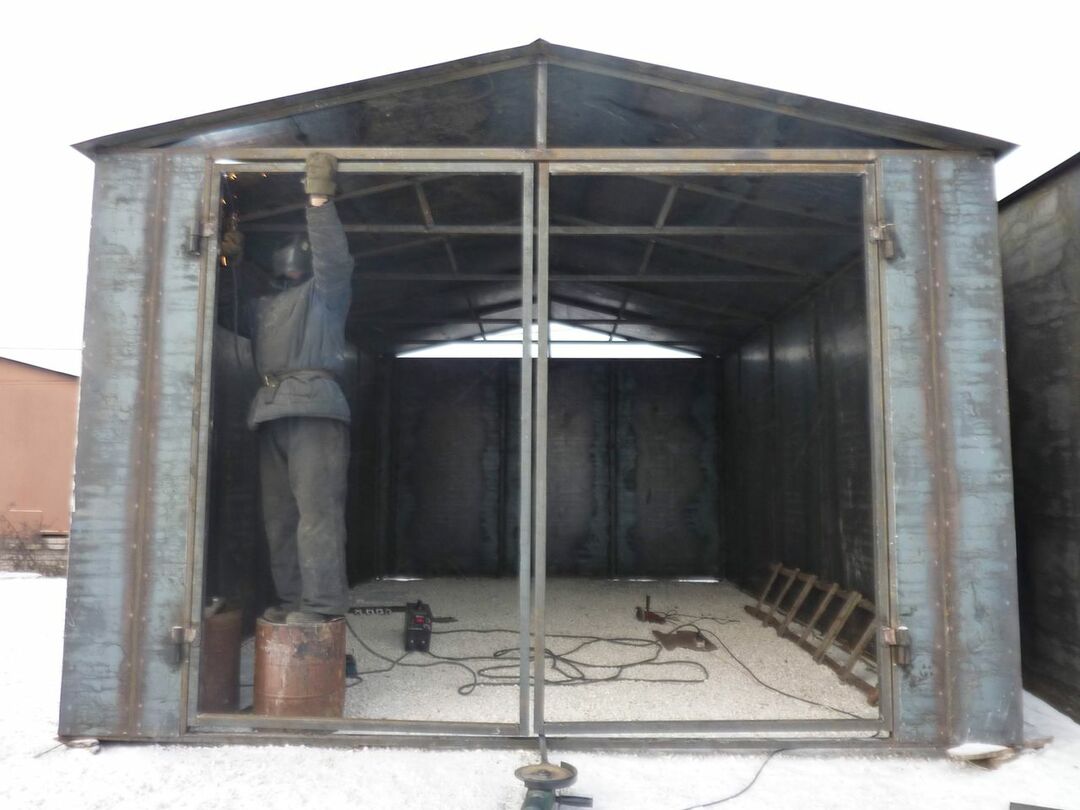
Assemble and install garage doors can each, no special preparation for this purpose is required. But experienced craftsmen have their secrets. I'll tell you how to make a garage door with your hands and what you should know before you get started.
Type gates to choose before the construction of the garage.
Types of doors for garages
| Illustration | General characteristics |
 |
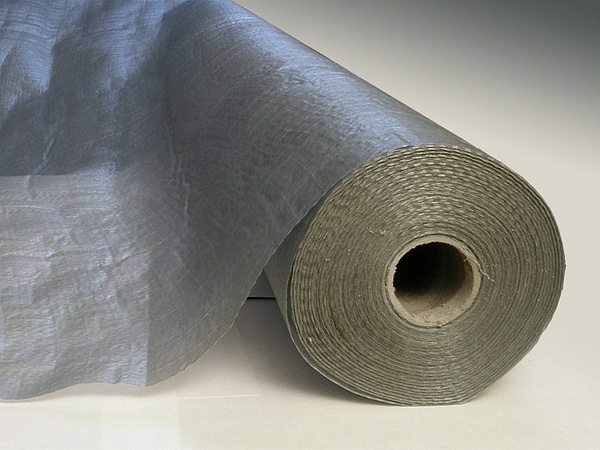
Tilt-up construction. Gates are a single, monolithic flap which rises to the ceiling and become parallel to it. Independently can be done, but a lot of fine adjustment, plus the necessary drawings and high-quality hinge assemblies. |
 |
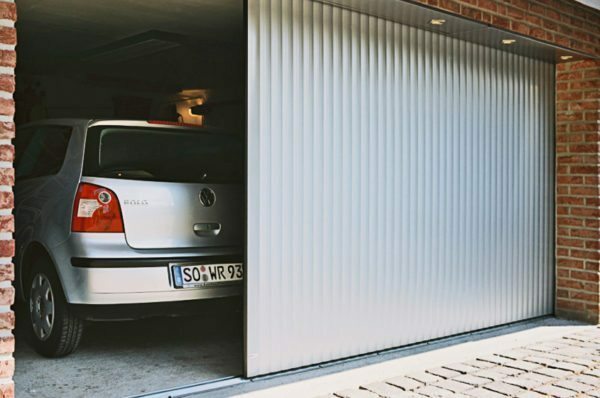
Hoisting-sectional design. Door leaf consists of individual horizontally oriented sections. When opening section refracted and design pulls up parallel to the ceiling. Such gates for the garage with his hands to make unrealistic. You can either order a turnkey job, or buy ready-made system and install it yourself. |
 |
Sliding gates. Fold here drive off to the side, parallel to the wall of the garage. The design is similar to the door wardrobe. almost never used in the private garage, it is more suitable for sheds or warehouses. Independently can be done, but it does not make sense, since the tightness and strength of constipation in these gates are extremely low. |
 |
Rolling design. The flap is made up of aluminum fins, it is collected in a special box at the entrance. This conventional shutters, only larger. Made to order and are only installed by professionals. |
 |
swing gates. The most reliable and inexpensive option. The design consists of a base frame around the perimeter of the entrance and the two gate leaves based on standard hinges. These swing gates to the garage with his hands to do the easiest way, which is confirmed by the statistics - 70% of modern garages equipped with such designs. |
Subtleties of the assembly and installation of gates
Since, now let's talk about the kinds of designs sorted out how to make the gate to the garage with his hands. Whichever design you choose, there are general guidelines for absolutely all garage doors:
- Width. The distance from the frame to the car, should be at least 30 cm on each side, typically the width is in the door frame within 2.5-3 meters. Now there are garages for several cars with a wide races, so that's the most for them is 5 m;
- Height. The minimum opening height of 2 m, but if the garage is still under construction, do at least 2.20 m, preferably 2.50 m. The stock will not be superfluous, perhaps tomorrow in the garage is necessary to put an SUV or a high minibus;
- The space inside. It is desirable that the side frame of the gate adjacent to a perpendicular wall is not less than 80 cm.
Tools and materials
We assume that we have a new garage, which is built of brick or cinder block and opening under the gate does not amplified and is not accessible.
Cooking tools:
- Welding machine. The price of this unit starts from 5000 rub .;
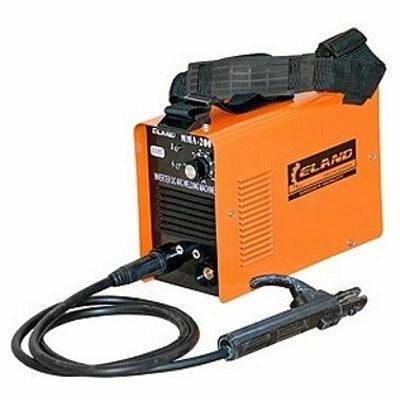
Compact welding machine - an indispensable thing in any private home.
- Bulgarian. In addition to disks for cutting metal necessarily take another nozzle with metal cord-brush;
- drill with a set of drills;
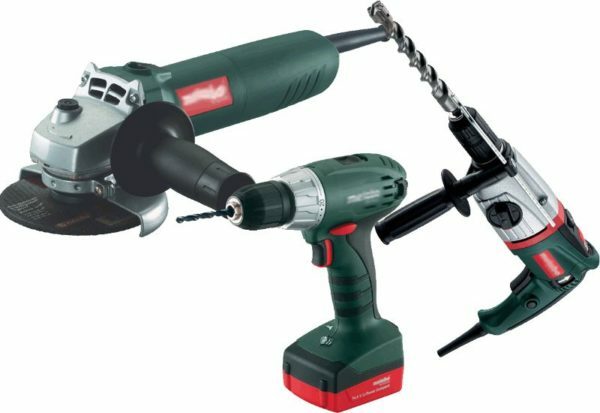
Make a garage door without the gun and grinders unrealistic.
- Hammer. Furthermore it is desirable to still be at the hammer;
- Level joiner and the level of the liquid;
- Screwdriver, pliers, core, tape measure, plumb.
Cooking materials:
- Area. To assemble the door frame, I recommend using the corner of 100 mm. Supporting frame under the flaps, we will make of angle steel 50 mm;
- steel strip. Lintel on the support frame can be made from steel strip 50h6 mm or fiftieth corner;
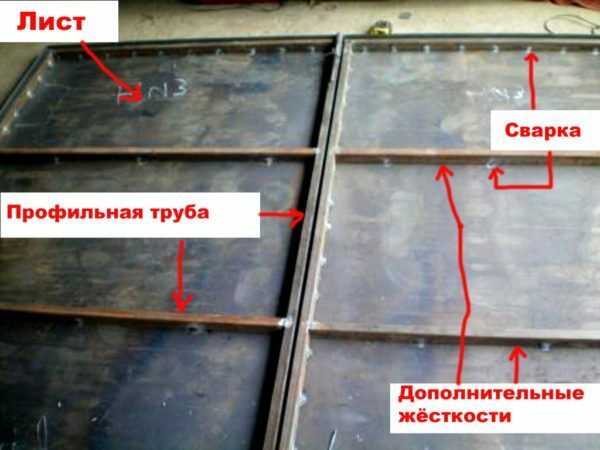
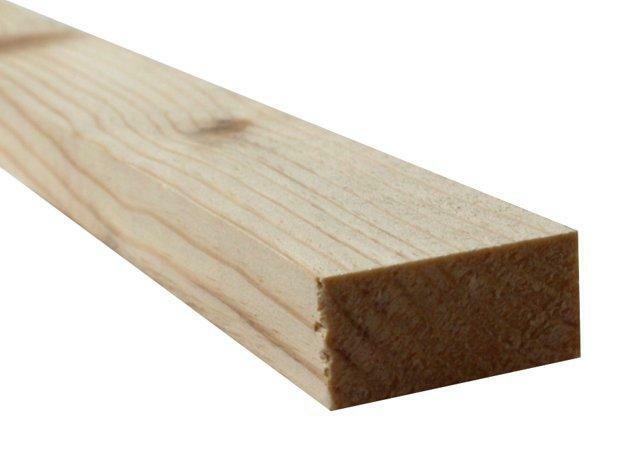
Woodwork of the profiled pipe with characteristics almost equal from the corner of the frame.
Instead, angle steel can be used profiled pipe 60x40 mm.
- reinforcing rod. It will take several meters 10-14 mm;
- Steel sheet. To take sheathing frame cold-rolled sheet at least 3 mm thick.
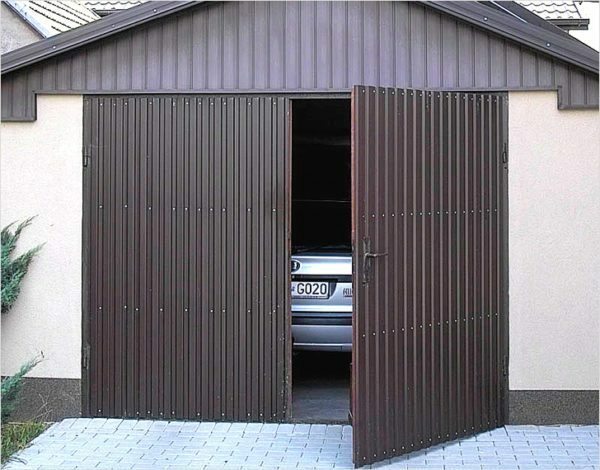
Steel sheet for covering the gate is used only in the protected area.
- Garage sheds. For standard 2.5 m gate width sufficient sheds 4 (2x2), if the opening is wide, it is desirable to make reinforced suspension of 6 sheds (3x2), tos exterior use.
Assembling the support frame under the gate
The base frame - is a reinforced metal frame, mounted on the perimeter of the door opening and collect the most powerful parts. This framework then we'll hang the gate leaf.
While we are talking about how to make the gateway to the garage with his own hands, let alone do it is very hard, so try to find someone that will just maintain the details, as long as you cut them and cooking.
| Illustration | instruction |
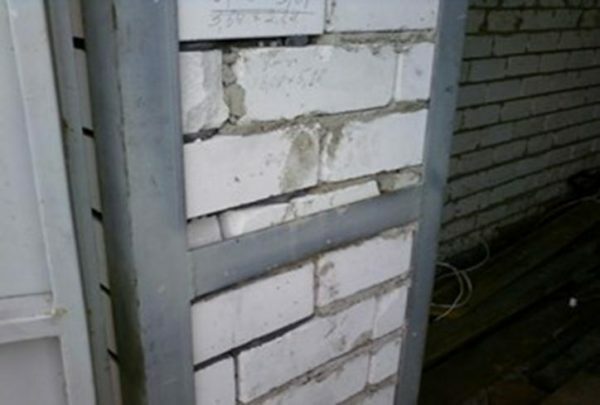 |
The side of the frame. As a basis we take the steel angle to 100 mm. The first mount 2 side vertical section, this height measured from the corner of the opening 4 and cut them off. |
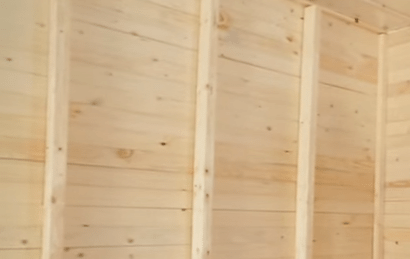 |
put Area. The width of the front wall in the garage can be up to half a meter.
|
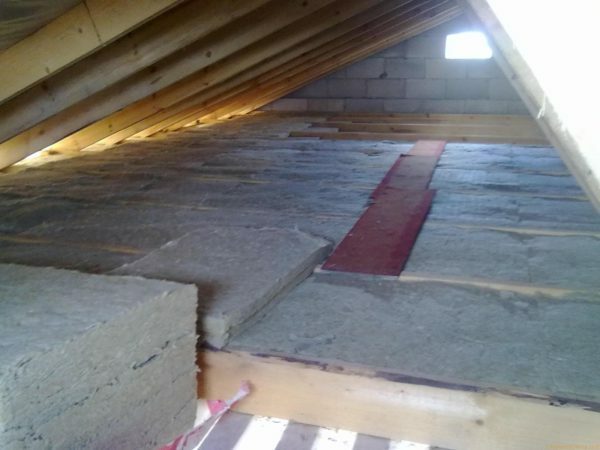 |
welded cross members. Welded frame must be solid, so we welds strip 50h6 mm between the corners. The strip is mounted horizontally with a pitch of about one meter. If the strip is not present, instead you can use the corner of 50x50 mm, but then you need a horizontal corner fender will drown in the wall, for it between rows of brick or cinder block will have to choose a groove depth of 50 Bulgarian mm. |
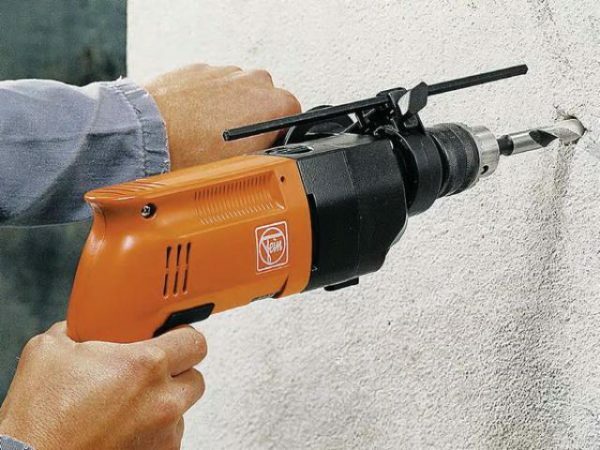 |
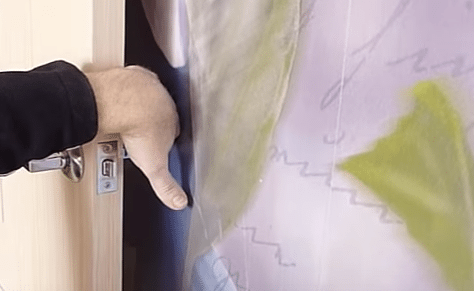
hammered clips. Although the skeleton we get U-shaped and tightly put on the wall, it is necessary to further consolidate. Such attachment does not allow the frame to deform, respectively, the gate does not lead and does not jam; Locking frame we will be using powerful pins from armatures. To do this, on both sides of the strip are welded before, on the bottom edge of the hole we drill hammer depth of 200 mm. The diameter of the holes in the thickness select valve; |
 |
We fix the frame.
|
 |
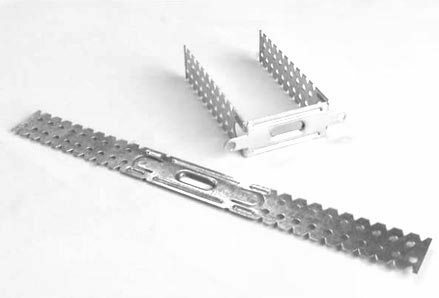
slugger horizontal. When the side frames are welded and fixed rack, you can proceed to the upper and lower sectors. Area is exposed clearly on the horizon, for marking more convenient to use gidrourovnya, carpenter will not give such accuracy. |
 |
frame welding. The upper and lower sectors are collected and recorded as well as the side. Only in the beginning you have to weld on the label bearing the corners on both sides, and after that welded cross members of the band and fix the frame on the basis of. The hooks at the bottom of the fixture should not do, it will be ugly and they can interfere. |
 |
Finishing. If the opening was initially not quite even, between the wall and the frame you still have gaps, these gaps then you fill in the cement-sand mortar. But in general it is completely flush with the plaster all areas. |
How to cook the leaf for the gate
I offer a fundamentally different approach: we are creating a common frame, and then cut it into separate flaps.
| Illustration | Process description |
 |
is welded gussets. Creating a framework for the valves start with installations 4 gussets in the corners:
|
 |
Welded frame perimeter.
Before cook a single upper and lower frame corner, the wing, which is arranged horizontally, completely cut exactly in the center, the corner will be held only on the vertical, facing the facade wing. |
 |
welded tabs.
|
 |
Stiffening rib. Now you can start the installation of ribs:
|
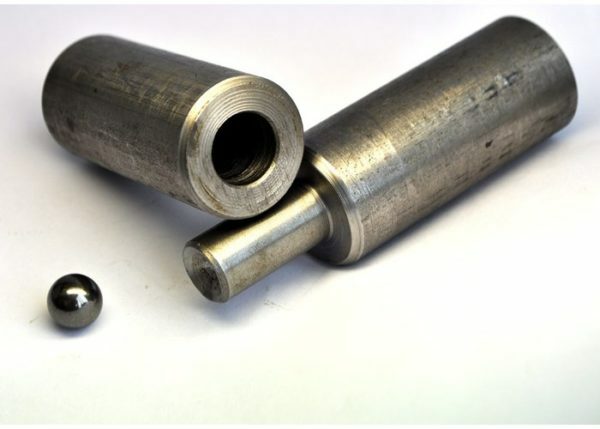 |
installation of canopies. Take the simplest garage sheds, which are machined and assembled on a "male-female". "Pope" (part of the canopy with pin) must be welded to the frame of the garage, and the "mother" (part of the canopy in the form of a cup) is welded to the gate leaf. |
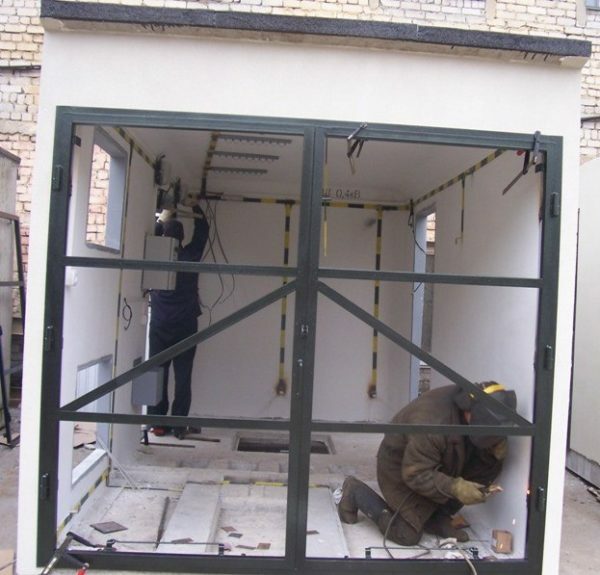 |
cut leaf. In principle, the design of the frame is assembled. Now we dorezaem to end those cuts upper and lower corner in the frame under the gate leaf; |
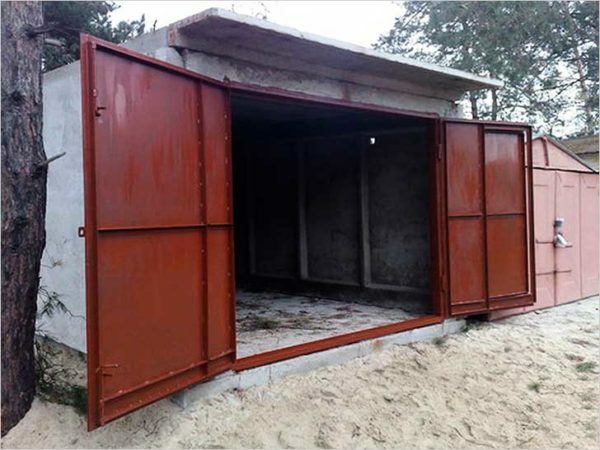 |
Cut away scarves and bookmarks. But the leaf is not yet open, it will interfere with gussets at the corners and welded inside the mortgages on the perimeter.
|
Frame door built into one of the door sections welded on exactly the same technology, ie welds gussets are welded inner perimeter of the door frame and welds canopies. After that scarves are cut off and the doors open.
Sheathes and insulate the gate
| Illustration | Process description |
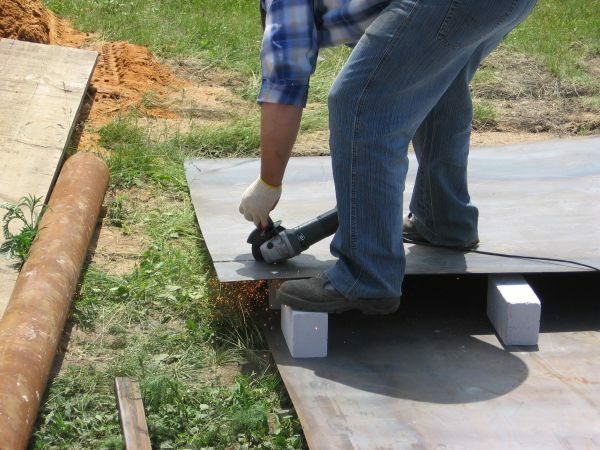 |
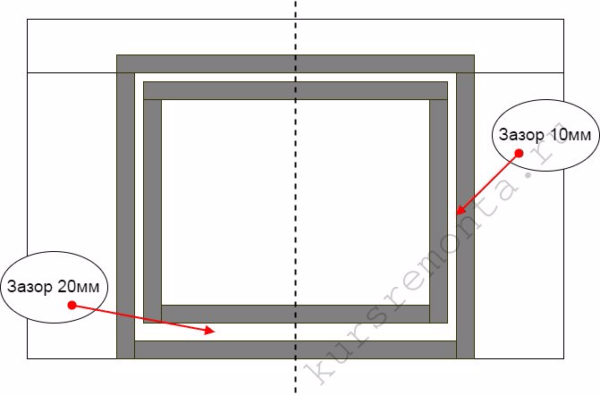
Measure out and cut sheets. The steel sheet for covering the gate leaves on the sides and the top is 20 mm wider than the frame, and the bottom is 30 mm wider than the frame. Sheet should completely cover the gap between the frame and the target frame flaps plus 10 mm go on woodwork. |
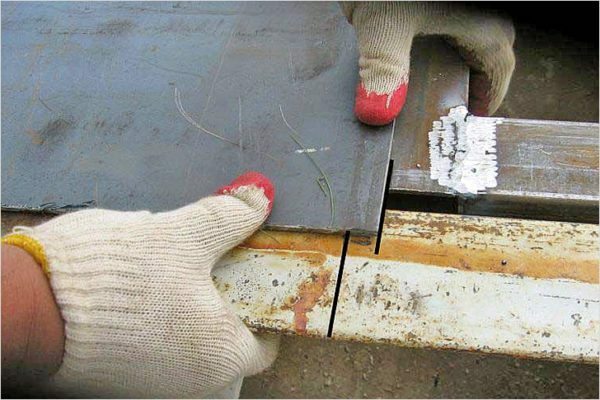 |
We provide overlap. Central connection between the flaps is done with overlapping. On one of the wings is wider sheet, it spans the gap between the doors and enters the frame adjacent flaps 10 mm, and the second leaf sheet becomes longer by 10 mm. As a result, the sheets you will "meet" on the corner and the gap will not be visible. |
 |
welded sheet. Under mounting canopies need to make small cuts, these cuts are determined by the size of the place and the edges of the sheet necessarily scald on the edge of the cutout. If the welding machine you "communicate" at the amateur level, the inside ribs and frame should not be welded to the sheet with a continuous weld, you can accidentally burn a leaf. Here the list of the best weld dot increments of 50-70 mm. |
 |
We clean the gate against corrosion. Finishing garage door begins with stripping the metal cord-brush. |
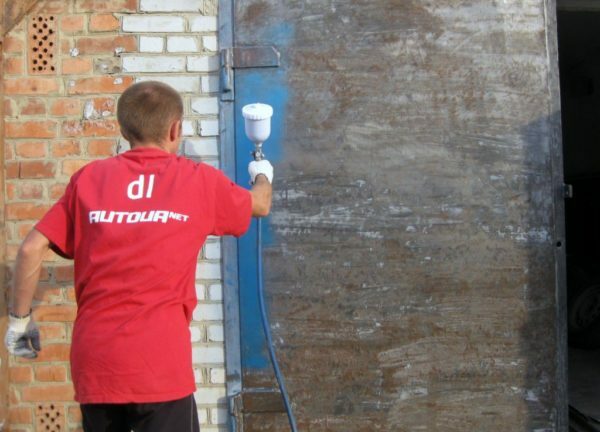 |
gates staining. Metal need to be degreased with acetone, and start painting. The paint is applied in at least 2 layers. |
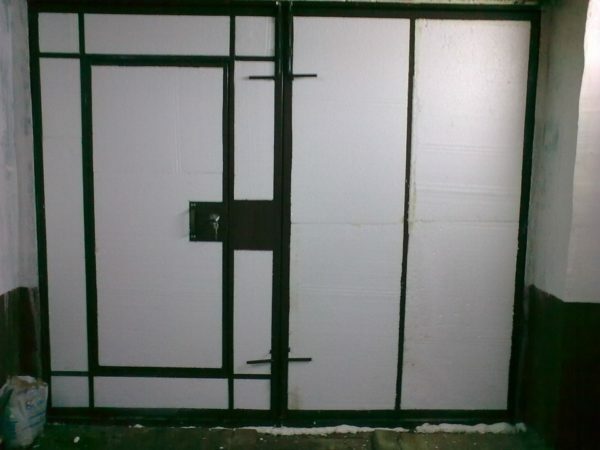 |
Warming foam. The easiest way to the gate to the garage with his hands to warm foam PSB-C25 50 mm thick. It needs to be cut out in size and paste between the ribs on the mounting foam or some special glue. |
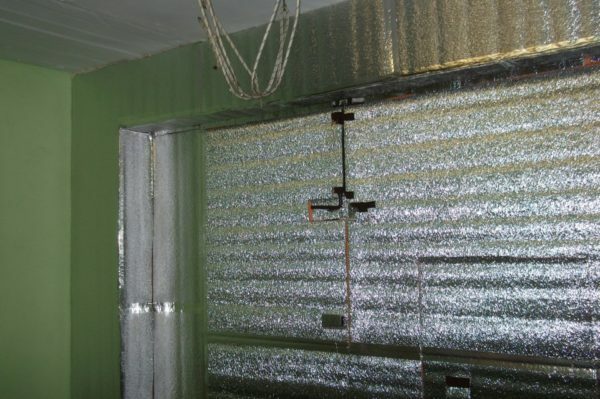 |
effect thermos. On top of the foam can be glued canvas izolona foil (polyethylene foam, covered with foil), as a result you get the effect of a thermos. |
 |
Facing clapboard. sheathe clapboard garages often, in this case, before you cut out the foam inserts need to be fastened to wooden beam stiffeners 50x50 mm. Then the remaining space is sealed with foam on top of the timber and stuffed lining. |
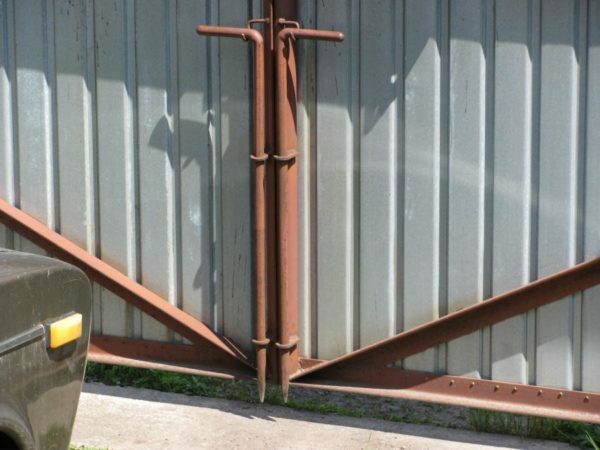 |
Locks for doors. The choice of castles and various ingenious secrets of a personal matter. The only thing I can advise is to install on the corners of each door bolts, 2 on top and bottom. Metal studs of bolts must be in the garage area of the frame. It will be a kind of insurance in case the attackers will cut off the outer loop. Padlock is better not to use sense of it is not much, but for the eyes for such a lock can be picked up the steel cable and pull out the garage door with the help of a good truck. |
Output
Presented by way of construction of garage doors repeatedly tested by me in practice. The photo and video in this article to gather additional material on the garage door. If you have any questions, ask them in the comments, I'll try to help.
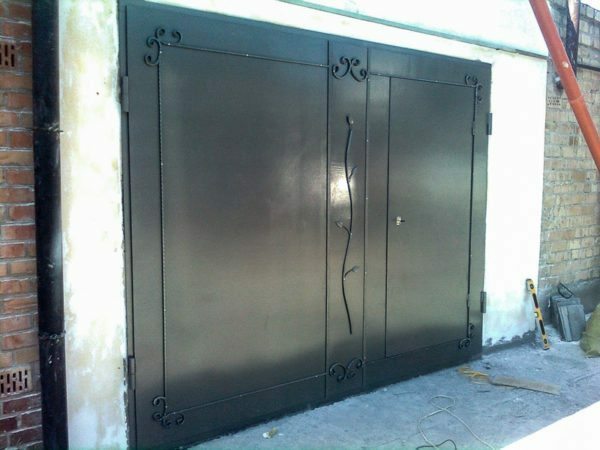
Garage oar gates - the most reliable and time-tested option.
