Electric mower with your hands: 7 Steps to implement the planned
Table of contents
-
1 Description of the assembly process
- 1.1 Step №1: produce frame
- 1.2 Step №2: select and install the engine
- 1.3 Step №3: manufacture and fasten knives
- 1.4 Step №4: Fasten the protective cover
- 1.5 Step №5: select and set the wheels
- 1.6 Step №6: select and install the handle
- 1.7 Step №7: set the power system elements
- 2 conclusion
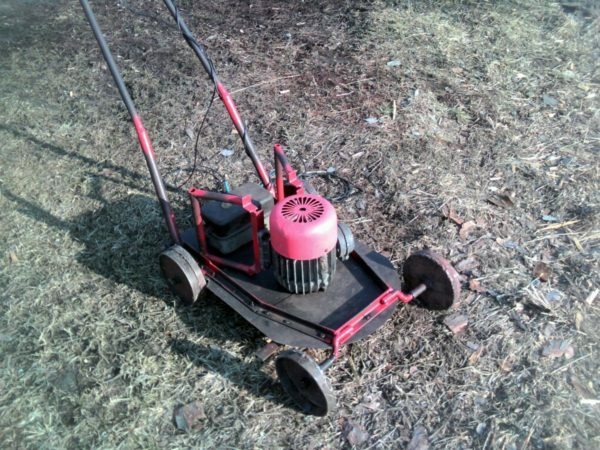
Homemade lawn mower will cost you much cheaper than buying the factory model
Tired of mowing the grass on a suburban area of the manual skew? Then you have two options: buy or make the lawn mower factory assembly of its own. In terms of saving more preferred the second option, and I'm ready to tell you how going to the mower with your hands of the old parts.
Description of the assembly process
The electric lawn mower comprising:
- frameOn which to fix all functional elements;
- engineProviding rotation of the working part of the mower;
- knivesCarrying grass mowing;
- housingProtecting the operator's feet;
- wheelsAllowing the mower to move on site in the course of work;
- control knobsGiving control of the apparatus;
- Fragments of the power supply system, Which include an RCD (residual current device) and the power cord with a plug.
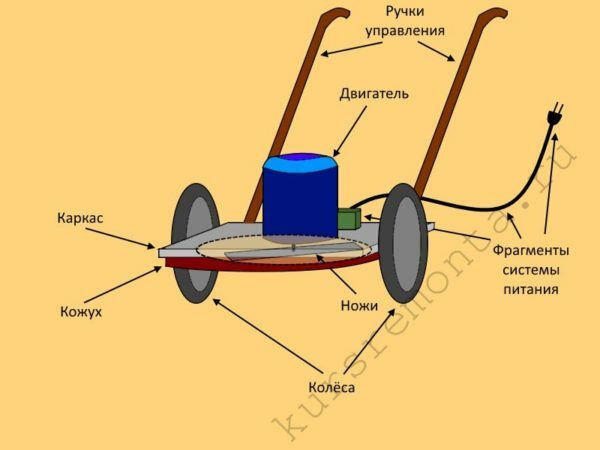
Apparatus electric lawnmower includes unnecessary items that are stored in a garage or shed
Step №1: produce frame
To make the mower with your hands, you first need to frame:
| Picture | Description |
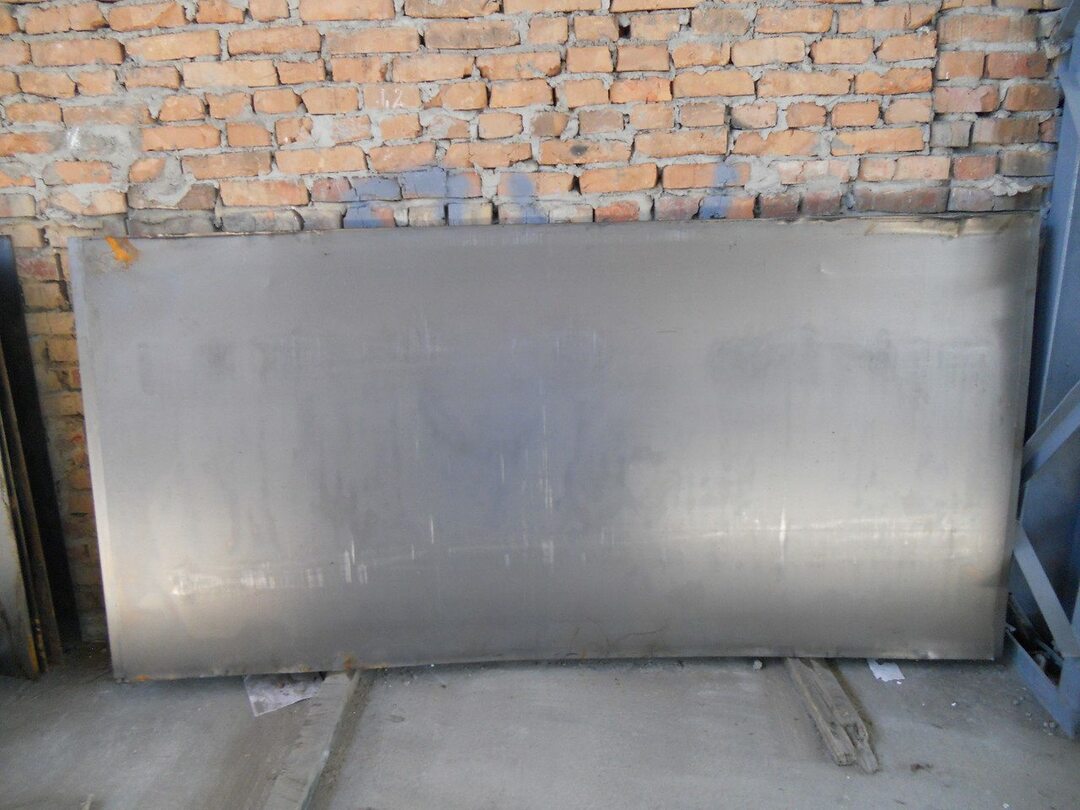 |
select material. The ideal embodiment as a raw material for creating the carcass becomes the metal sheet 2-3 mm thick. |
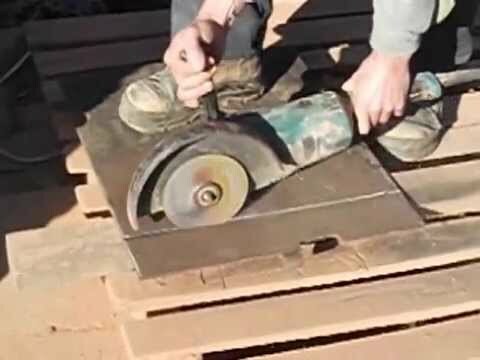 |
cut metal. If the sheet is too large, it should be cut using a grinder. For the present undertaking is fine square with a side of 500 mm. |
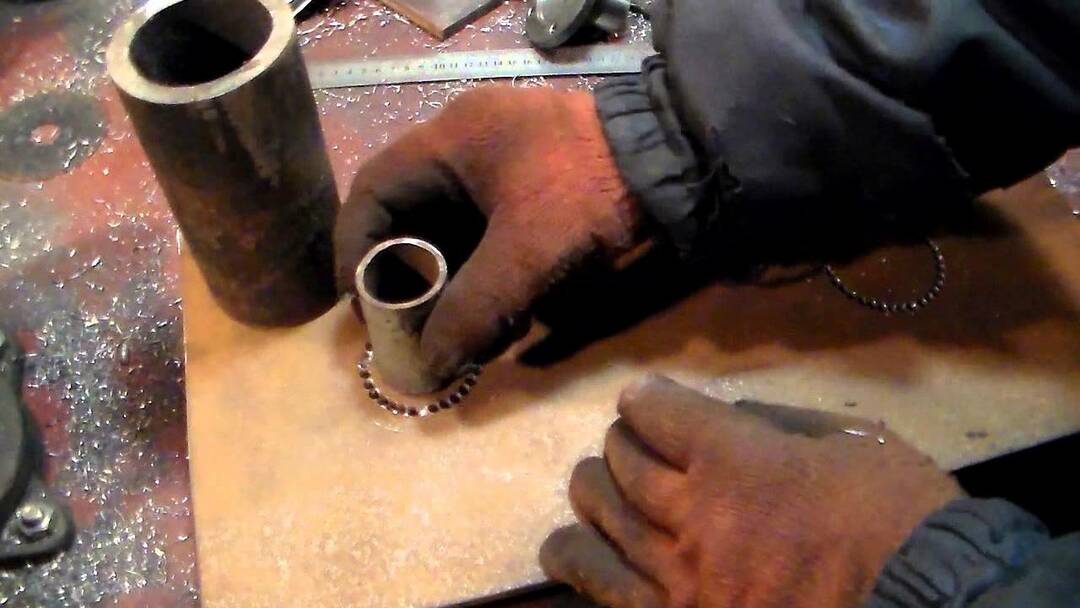 |
punch. In the middle section resulting need through hole under the engine shaft. Make it two ways:
|
Step №2: select and install the engine
Homemade electric lawn mower can be equipped with motors that can be found in the household:
| Picture | Comments |
 |
A vacuum cleaner. Electromechanical mower - the second life of the old vacuum cleaner. |
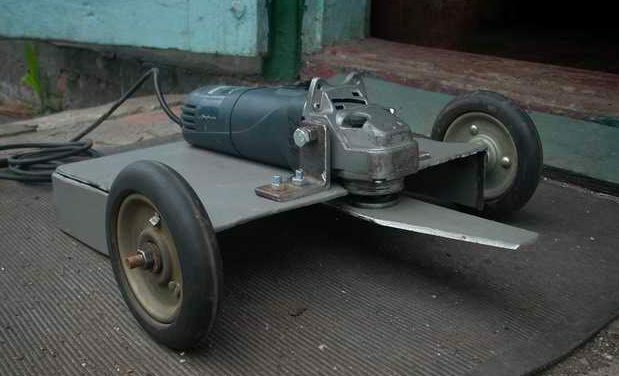 |
Bulgarian. Assigned to the frame angle grinder is also able to be a driving force for the self-made knives mower. |
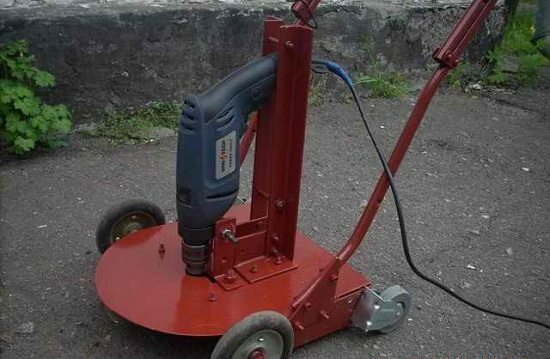 |
Drill. And even drill fit for mowing grass. |
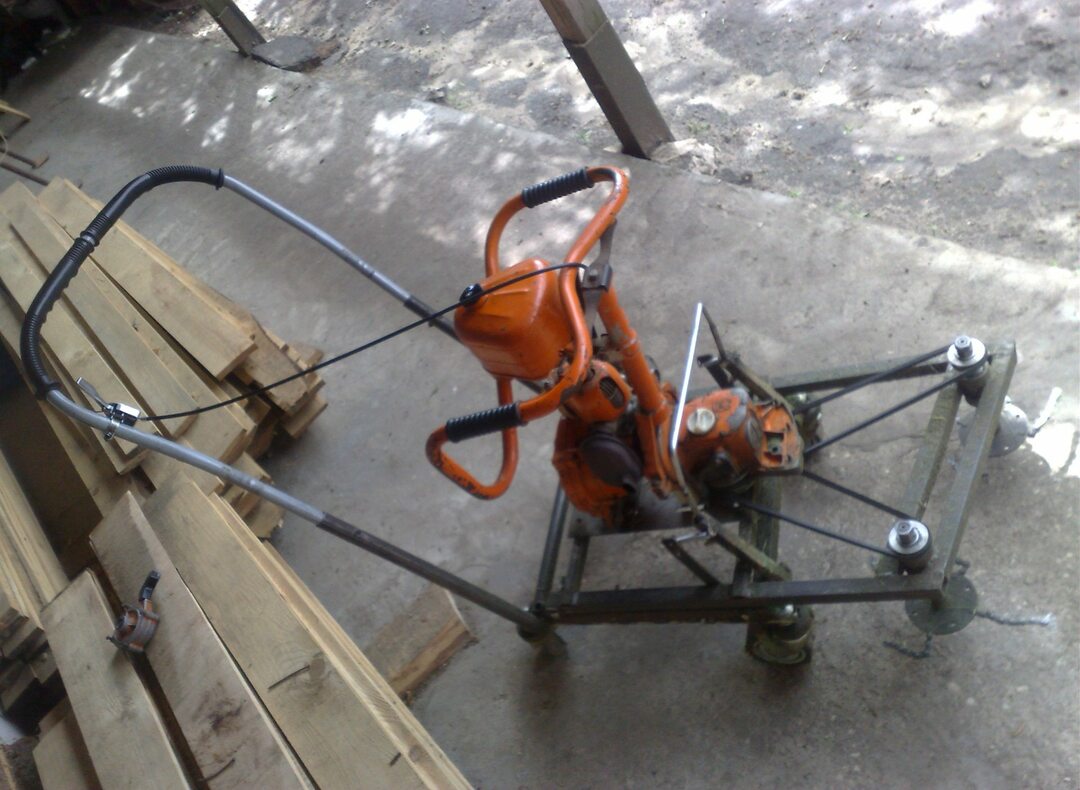 |
Chainsaw. In this case, you'll have a petrol lawnmower that frees you from wires and sockets, but bind to the purchase of gasoline. |
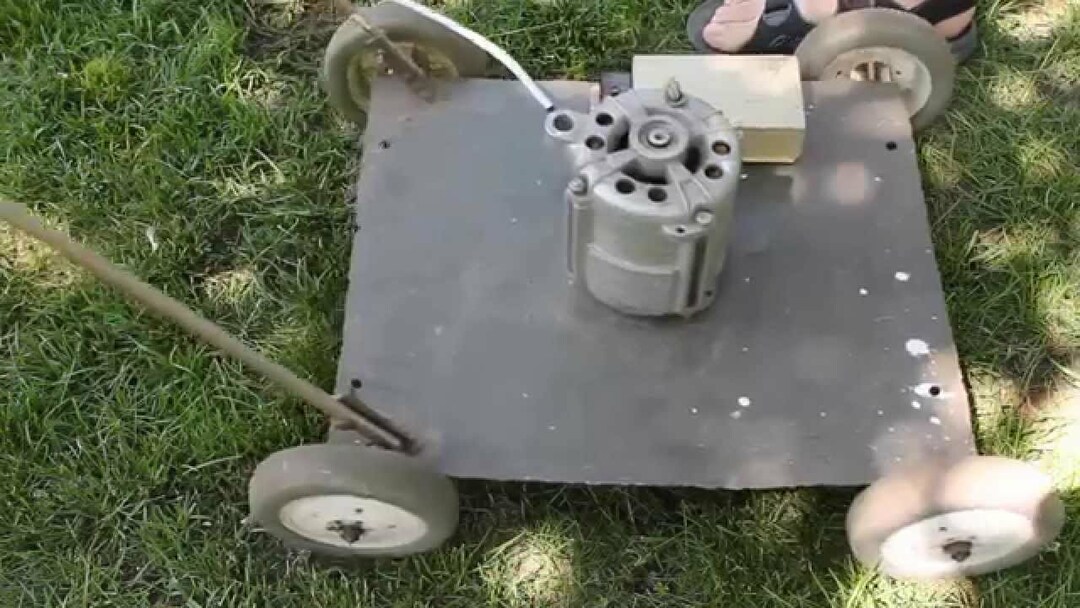 |
Washer. Another representative of household appliances, which is very often used by home craftsmen. As you can see from the photo - drawings in the assembly is not used, the price is insignificant details. |
I recommend using the asynchronous motor from a washing machine. He is able to work for a long time without a break, and at the same time produces a very low noise level.
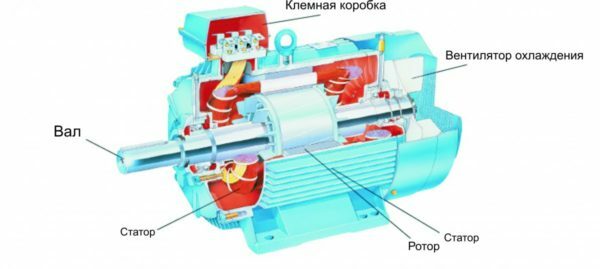
asynchronous motor type device allows him to work long and relatively silent
The power and number of turns should be chosen in accordance with the length of knives mounted. For example, for capture of 400-500 mm is enough of the following parameters:
- Engine power - 1 kW;
- Rpm – 1500.
If the knives will be shorter, and the motor will require more powerful and with a lot of committed revolutions per minute.
More should pay attention to mount:
| Picture | Comments |
 |
flanged motor.
|
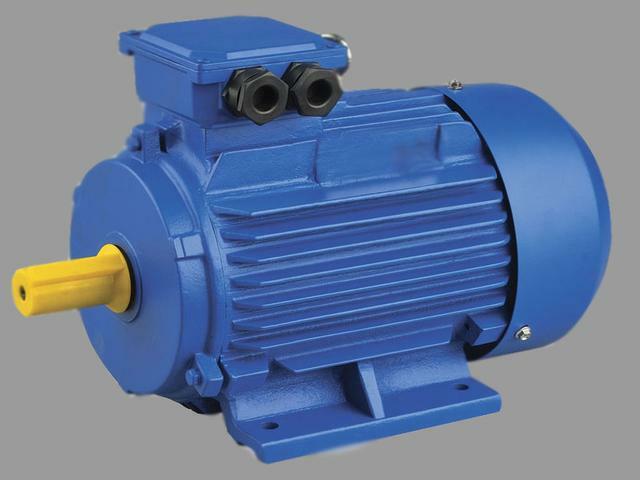 |
conventional engine.
|
It is possible to improve the system of mounting a conventional engine. It's enough to drill a few holes in the corners at different heights. Then the motor when needed can be raised or lowered, thus changing the height of the grass being cleared.
Step №3: manufacture and fasten knives
For if the mower blade is made with his own hands, is perfect saw blade for wood thickness of 2 mm.
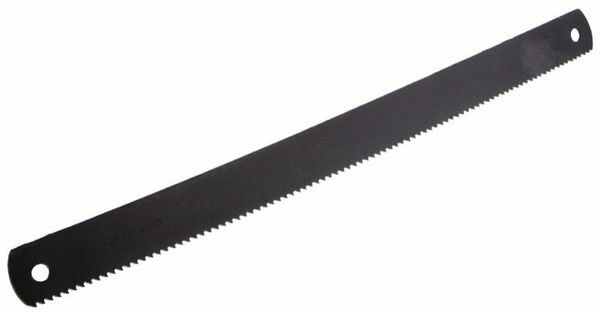
Saw blade for wood solid enough to not grow blunt quickly, and brittle, not to fly away at the slightest contact with possible debris
On the thickness I want to stay alone:
- Thin the knife better quality cut grass;
- Thick Knife better tolerate blows against the rocks.
Therefore, consider the features of your portion when selecting this parameter.

For upgrading groomed lawn on which the presence of possible debris, can be made thinner blades
Instructions hacksaw becoming a working part of the lawn mower is as follows:
- Has cut the web in accordance with the frame dimensions. In our case it is 400 mm;
- Middle drilled or punched by the punch hole for the motor shaft;
- Sharpen edges on opposite sides to each other according to the rotation of the motor;
If for each half of the blade to fold along the cutting edge of the bumpers, as is done in the factory model, while the unit will blow the grass clippings from under lawn mower.
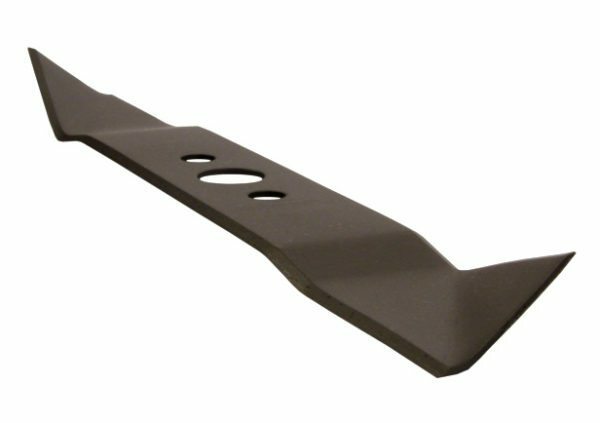
The operating principle of the factory due to the curved edges of the blades resembles the rotation of the helicopter blades
- Fasten the resulting knife to the motor shaft to the lower side of the chassis.
To be sure to use fixing-grower washer and lock nut, or by vibration of the blade will be spun down and fly off the shaft.
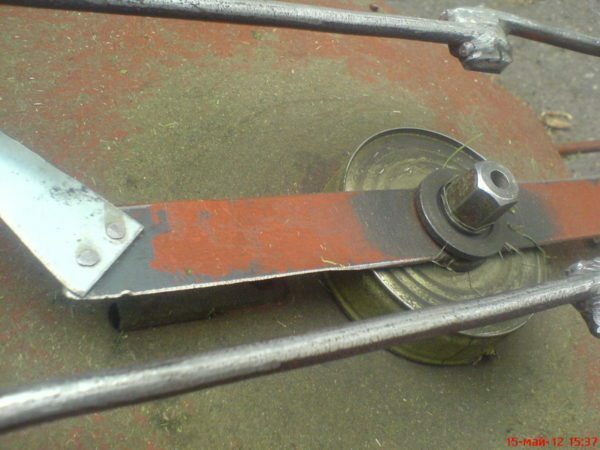
To protect the shaft and the bearing of debris can install the simple tin can
Step №4: Fasten the protective cover
The protective cover is a metal strip rolled into a ring and mounted under the frame around the knives. Thanks to him, the operator's feet are not threatened by any flying out from under the mower trash or accidentally unscrew and jumped out of the shaft knives.
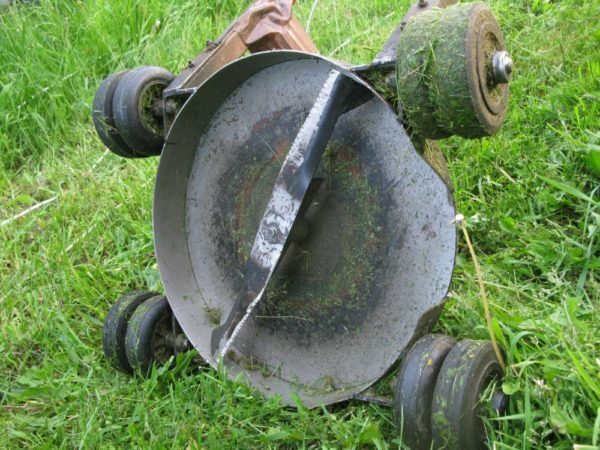
Steel casing reliably protect your feet during operation lawnmowers
Manufacturing Process:
- cut out sheet metal strip 150-200 mm wide. If you have an old farm in a cylindrical washing machine, to obtain the desired steel ring can be cut off part of her body;
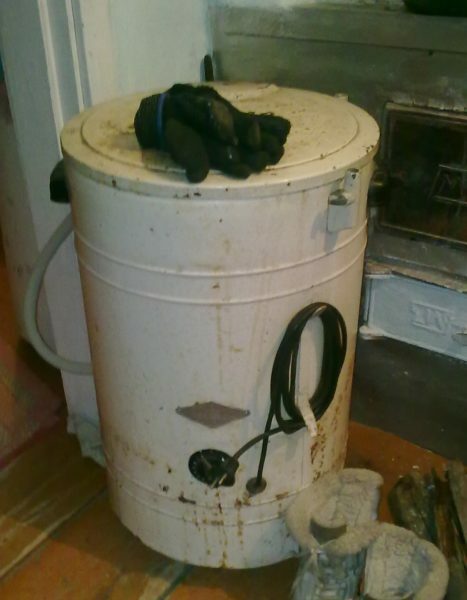
Cylindrical housing of the washing machine can cut a huge amount has almost finished Enclosure
- bends in the ring. It is necessary that the left side of the hole through which will be disposed of mown grass. You can even adjust the grass catcher for lawn mowers, which supplies the factory model.
Step №5: select and set the wheels
As for the wheels, it is important to decide on two main points:
- amount. Two wheels provide maximum maneuverability of the lawn mower. Three or four set to be the exact distance to the ground, thereby allowing more evenly mowed grass;
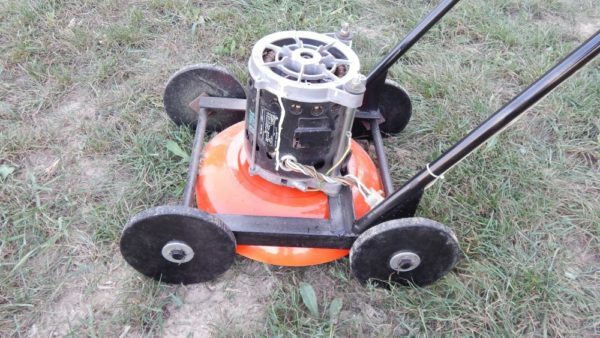
Four wheels ensure an equal angle mowing grass throughout the lawn
- Height. Calculated so that the knives as a result turned out to be at a height of 50-60 mm above the ground. Placing them above, you would simply bend the grass, not mowed, and lower - risk crashing into the working part into the ground on uneven terrain.
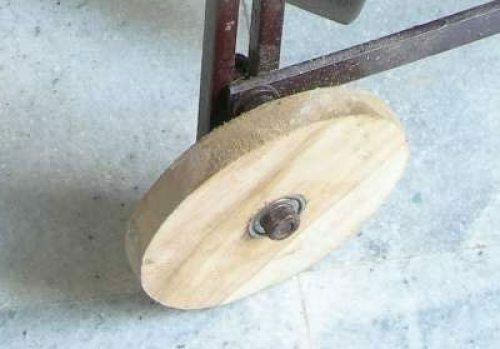
If a suitable pair of three-wheel in your household is not present, they can be made of wood, and bearing its own, as shown in the photo
Step №6: select and install the handle
There is absolute freedom for your imagination. The main thing is to observe two rules:
- acceptable height. The handles should be at a level that allows you to hold on to them without bending. Otherwise, you will earn back pain before you finish give the lawn in order;
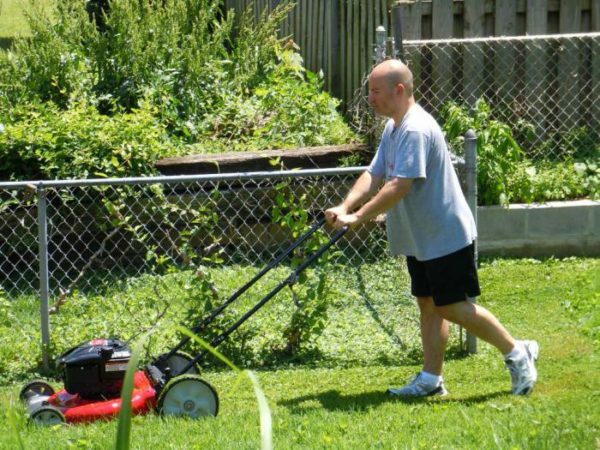
The height of handles should allow the device to operate with back erect, otherwise you will quickly get tired
- Correct location. If you collect a lawnmower with three wheels, the handle must be installed by two. Then you can easily rotate the unit by simply lifting the front wheel.
The handle of an old wheelbarrow or stroller can solve this problem.
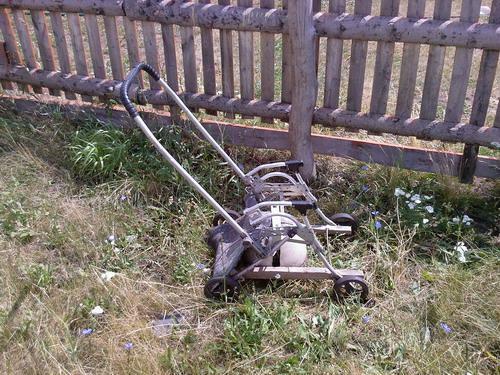
Handle thickness of 23 mm from the carriage can continue their service has on the mower
Step №7: set the power system elements
To manufacture parts for lawn mowers come responsibly supply arrangement, since damage to electrical shock - is the second greatest danger in its operation after opportunities departure knives.
Adhere to the following rules:
- Lift cord. Fix the tape along the handle - it will protect it from departing from under the debris of the unit;
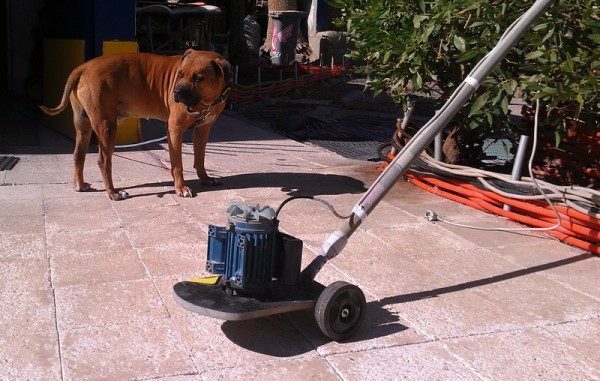
The above wire, the smaller the risk that it will be damaged by debris or departing wheels
- Set the start button on the handle;
I recommend to use a switch that closes the contacts in the process of pressing and opens as soon as you release it. This will eliminate the possibility of the apparatus without your participation.
- carefully insulate All the junction of wires. This applies particularly to the connection point of the RCD.
conclusion
You are familiar with the stepwise assembly of a self-made lawn mower. Videos in this article contains additional materials related to consideration of the topic. In the comments, you can ask any questions you may have.
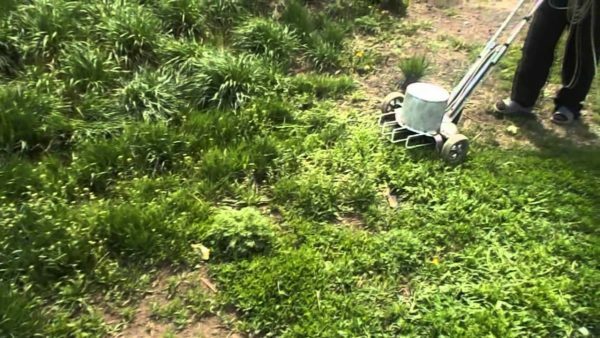
Made with their own hands would allow the mower to tidy up the grass on a suburban area at a relatively low financial cost
