A fence made of polycarbonate - a simple and ingenious solution for your site
Table of contents
-
1 Description workflow
- 1.1 Preparatory work
- 1.2 Materials and tools
- 1.3 Setting columns
- 1.4 The construction of the frame
- 1.5 Fixing polycarbonate
- 2 Output
If you need to quickly and inexpensively build unusual fence, the fence made of polycarbonate will be a great solution. After reading this review, you will easily cope with the work, because the process is very simple and does not require special equipment and skills. Just follow all the recommendations, to get high quality results.
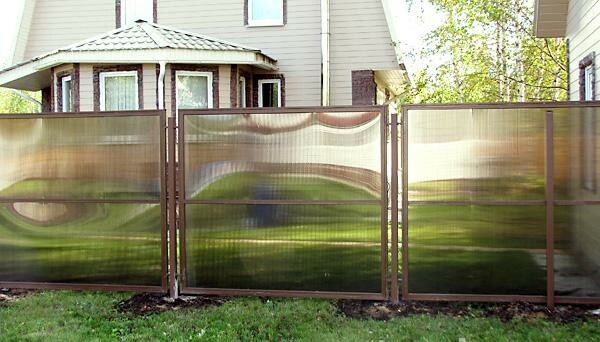
In the photo: a fence, for all its simplicity looks great
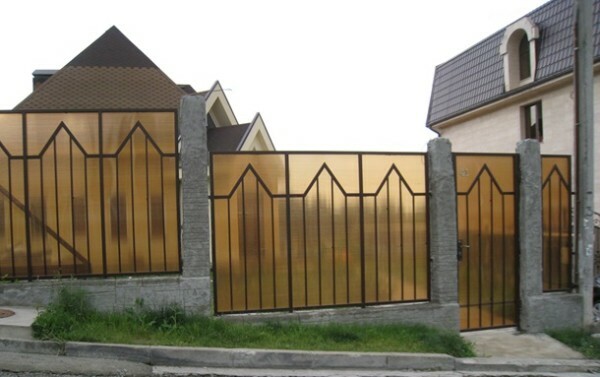
If we make the original frames and attach them to the polycarbonate, you will get a very stylish fence
Description workflow
I'll tell you how to do the most simple and inexpensive fence made of polycarbonate. If you master this version of the work, you will be able to implement more complex projects, but better to learn from a simple structure.
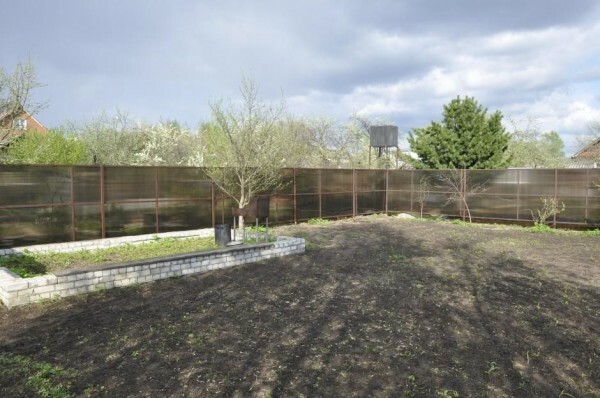
The material transmits light, so it's perfect for gardens and vegetable gardens
Preparatory work
Fences made of polycarbonate are built quickly, if you are properly conducted training and stocked with everything you need.
First of all it is necessary to conduct a series of preliminary activities, which we will cover in this chapter:
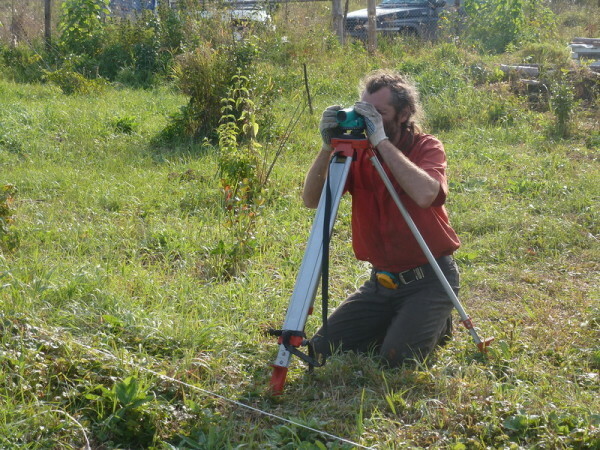
If a new site is fenced, the whole layout is done using leveling
- The first is to determine the location of the fence line. If you are putting a new fence to replace the old, or you can focus on neighboring sites, it's simple enough. But if you have not yet defeated the area, it is better to invite a specialist with levels, so as not to make mistakes;
- By design, the location of the line is stretched cord or a construction scaffold. This will allow to always have before our eyes clear guideline and not to be mistaken with the layout and future operations;
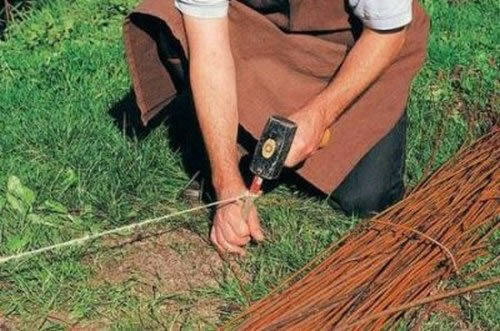
It is important to place the cord on the fence line
- It is determined by the arrangement pitch of the pillars. Then we can proceed from polycarbonate width if you put it vertically (it is 305 cm). If you put horizontally, keep in mind that the standard length of 6 meters sheet and choose the parameters such that you have to do but waste;
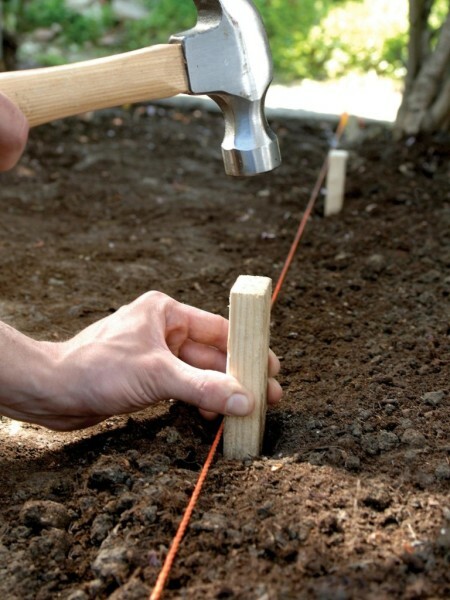
For a guide, you can drive the pegs at the place of location of the poles
- Calculate the number of columns. After marking to make it simple. You can also calculate how much you will need a polycarbonate, for this you need to know the height and width of the span. As regards height, the more likely it is 1.5 or 2 meters to cut sheets without waste;
Materials and tools
For the construction of the fence from polycarbonate will need a specific set of materials. The list is presented in tabular form.
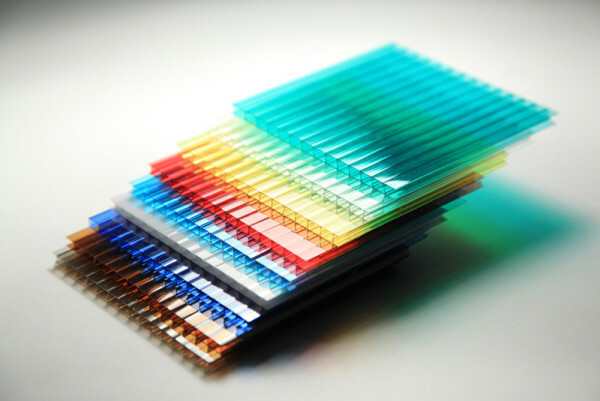
Variety of colors allows you to choose the best solution for any fence
| Material | Recommendations for choosing a |
| polycarbonate | We will only use cell variant as a cheaper and affordable. Standard sizes of sheets of polycarbonate 3,05h6 meters. With regard to the thickness, it varies from 4 to 12 mm for the fence is better to take options on 6-8 mm, and their price is slightly higher, but the quality is better |
| metal poles | Best shaped pipe sizes 60x60 and more, personally I usually use a 80x80 or 100x100, extra strength does not happen. You can buy ready-made products, they are completely ready to install, they have attachment, they are painted. The main thing - to choose the correct length of the bars, so it will fit under your fence |
| Metal for the frame | The most commonly used tube shaped section 40h20 or 60x30 mm. The required amount is calculated in linear meters. If possible, just order the product already cut to the required size, it will simplify workflow |
| fasteners | Polycarbonate roofing is fastened either with screws or conventional wire products through the special washer. The first option is much easier and cheaper, so I recommend that it is his |
| Paint | Be sure to treat the carcass protective structure. To work part of "3 in 1", combining the ground are best suited, and anti-corrosive paint composition |
| Materials for concrete | Columns necessarily concreted. For operation can use a solution of cement sand and gravel. Rubble can be replaced with stones, bricks and chunks of concrete, which throws into the pits. In this case, shading is performed grout of cement and sand |
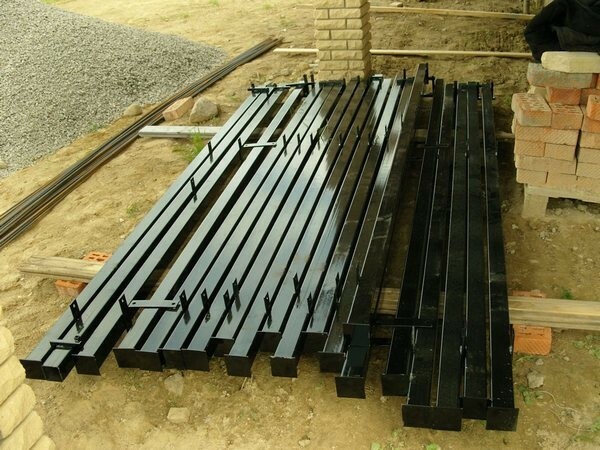
Ready columns greatly simplify your work
We deal with the tool:
- If the structure is welded, it can not do without the welding machine. If you can not work with him, it is better to attract specialist a couple of hours;
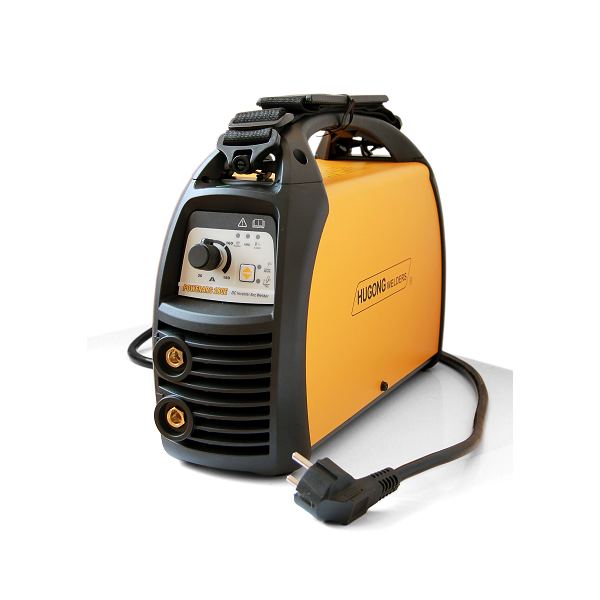
Modern welding machines are compact and easy to use
- It is possible to frame assembly without welding. In this case, you'll need an electric drill with a drill and a screwdriver to tighten the screws on the metal;
- Metal cutting required Bulgarian with cutting discs. If you cook the design, the reserves and Grinding Discs;
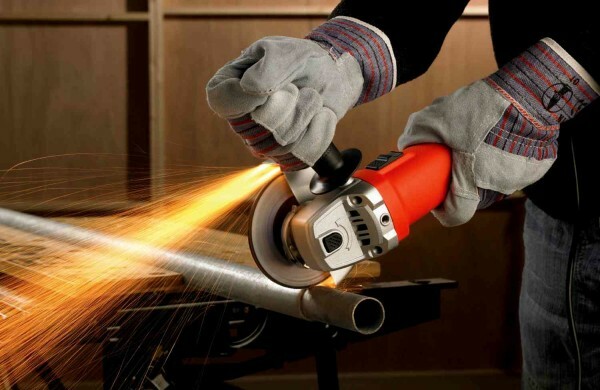
Bulgarian - an indispensable tool when working with metal
- For digging holes under the posts, you can use a shovel or special drill;
- Preparation of the solution can be carried out both manually and by means of mixers;
- For measurements will need a tape measure and a pencil. To control the position of the elements needed building level;
- Staining is done with a brush size is convenient for you.
Setting columns
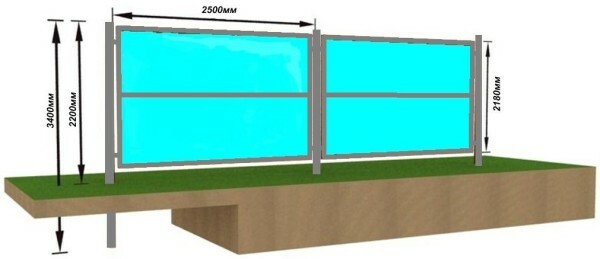
One of the design choices that often use experts
polycarbonate fence will be attached to the posts, which should be level and securely.
Installation instructions for this part of the work is as follows:
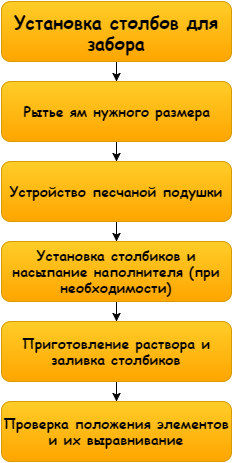
The scheme is simple enough
- digs a pit. Columns deepened about 100-120 cm, such variant eliminates the pushing supports for freezing the soil. Digging shovel possible and, as a drill can be used, its diameter must be at least 200 mm, as will be subsequently concreted pillars;
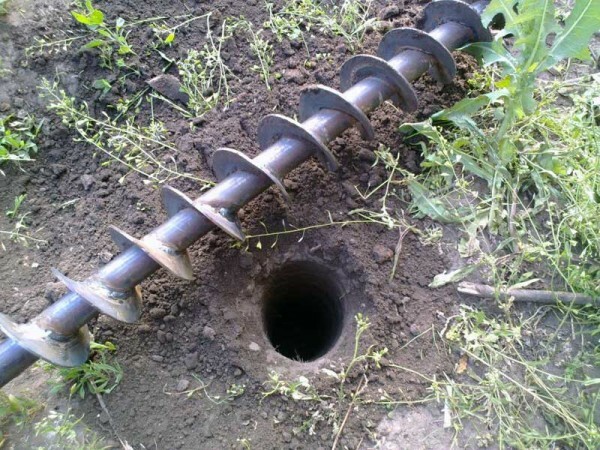
Borer can make a neat hole desired depth very quickly
- Sand bed poured layer of about 10 cm. It is necessary to ensure that the bars were more reliable, and the solution is left in the ground, and, soaking the sand, creating a solid foundation;
- In the pit are placed columns, you need to check their location tape. If the support is very high or very low, that its position is adjustable. When using a filler made of stones and bricks he is filled almost to the top, along the way do not forget to check the position of the column, so that the stones it is not skewed;
To improve the concrete pillars at the top of the spacer can be made from roofing material, as shown in the picture. The material does not give moisture to escape from the upper layer into the soil and provide a higher concrete strength after solidification.
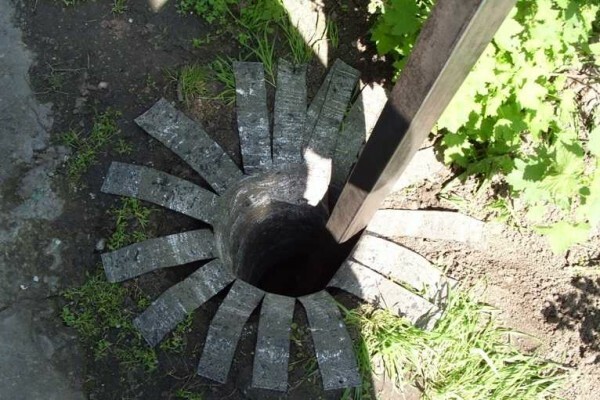
That's how you can strengthen the pit
- Preparing a solution, and the pillars are concreted. There is no big deal if you have used stones and other fillers, it is preparing a liquid formulation of 1 part cement and 3 parts sand. If you do not have a filler, the composition additionally introduced 4-5 pieces of rubble. Usually casting produced to ground level, if you want to make it up, then put a small formwork;
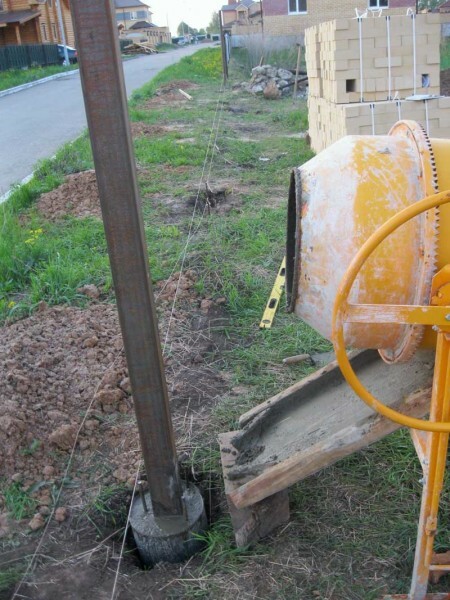
For durability can be inserted into a hole several reinforcement rods
- Check the position of the column. It must be exactly on the cord without pressing on it. Also, be sure to check the vertical on both sides, everything is simple: the level applied and the position is adjusted, if necessary,.
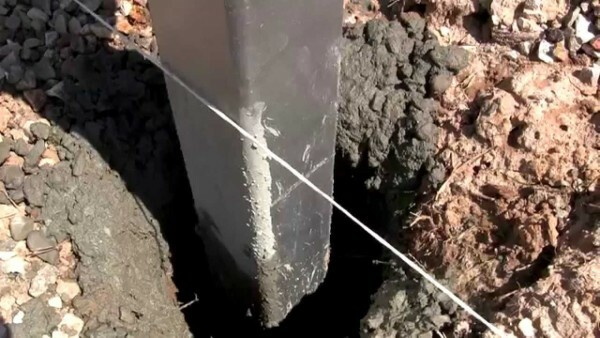
Post should be perfectly straight
After the concrete pillars of the shaped tube is necessary to wait 5-7 days, so that the concrete has dried up and gained strength. Therefore, to put better support in advance.
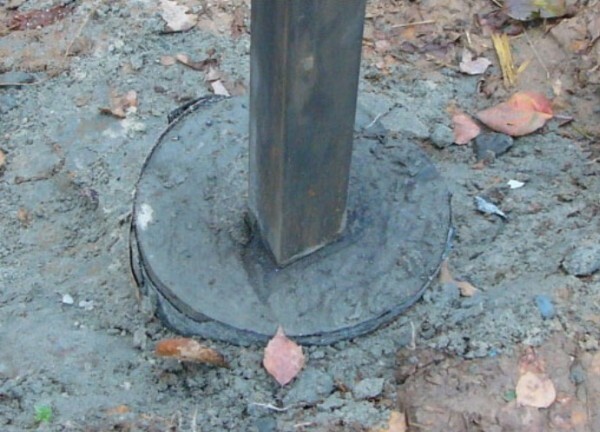
Concrete must be to stand for about a week, to gain strength
The construction of the frame
Fences made of polycarbonate, in most cases mounted on a metal prozhiliny, which can be from 2 to 4 depending on the height of the design and material thickness. There are two versions of the work - prozhiliny welding and welding individual sections, which are attached to the posts. The second option is more complicated, so I recommend you use the first one.
Let us examine how to carry out the work with his own hands:
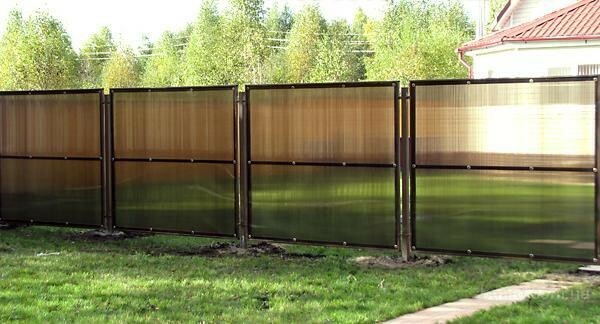
For sections of the individual frames to be boiled and then fasten them to the posts
- The first measurements were taken in the distance between the posts. I advise everyone to measure separately the lumen, and to do it from above and below. When installing inevitably turn out error, so you need to check all distances;
- Produced materials cutting. prozhiliny length should be approximately 5 mm less than the distance between the supports. This will allow freely to place elements in the right position and accurately fix them;
- If prozhiliny mounted on the outside, it is not necessary to cut them. It is desirable that the length of allowed weld end to the posts and do not weld in the middle of the span;
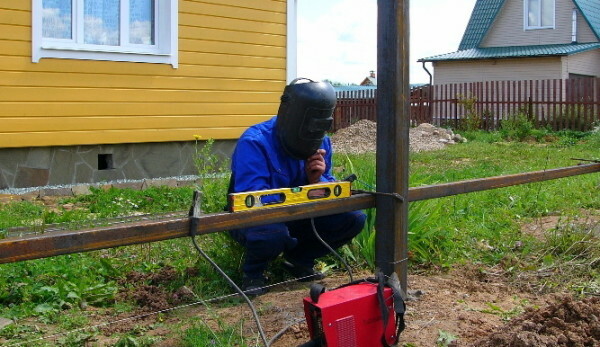
At first we catch elements to secure them on a level, and then made basic welding
- weld. The element is exposed by level (better if it stick two Assistant), whereupon prihvatyvaet to the posts. If everything is on the level, then made a thorough provarivaniya all the seams;
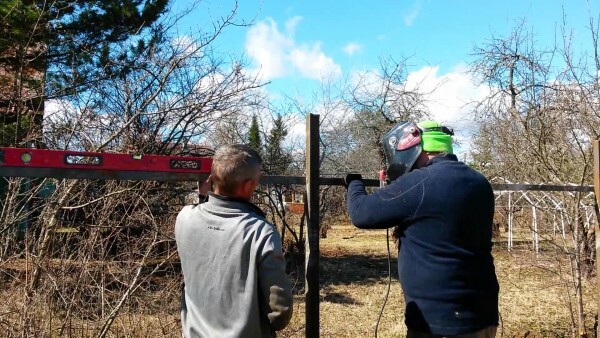
Once the element prihvachen Assistant can not keep it
- If you are attaching prozhiliny screws, the installation process will be different. Initially, the jumper is set exactly at the level, and then drilled a hole through it Wizard. The hole diameter should be less than 3 mm diameter fasteners. After drilling element is fixed, everything is quite simple, the main thing - to use a reliable self-tapping screws;
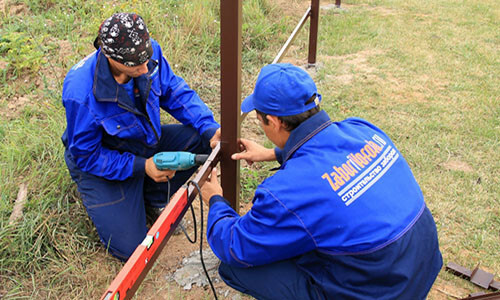
you can do with this method of fixing without welding machine
- The design is painted. For this purpose the surface is cleaned, polished welds and degreased metal. The paint is applied in two layers, attention is the welding point, as there are metal is weakened and needs to be especially reliable protection. The second layer is applied after drying the first.
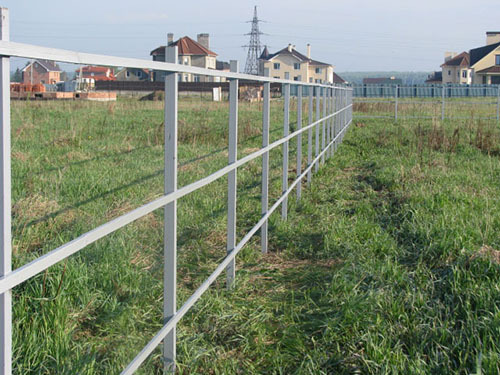
Painted design necessary to fence made of polycarbonate and has been an attractive and durable
Fixing polycarbonate
After the construction of the metal carcass can proceed to the finish stage of the process, which is as follows:
- To begin with prepared material. Polycarbonate is cut into pieces is very simple: mark up on the marker line otcherchivaetsya surface. By line is placed level or rake and a conventional construction or a sharp knife cut through the top layer. Thereafter, the sheet is easy to break in two at the cutting line and dorezaetsya from the reverse side;
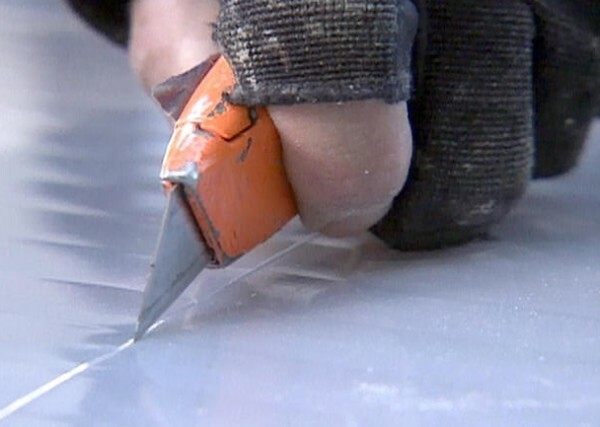
Easy to cut material
- With the screws mount is made very simple. The sheet is set in the desired position, after which the fastening is carried via roofing screws. It's very important to have the hardware, so it does not push for the surface, but at the same time firmly holding the material, the scheme below helps to understand the issue;
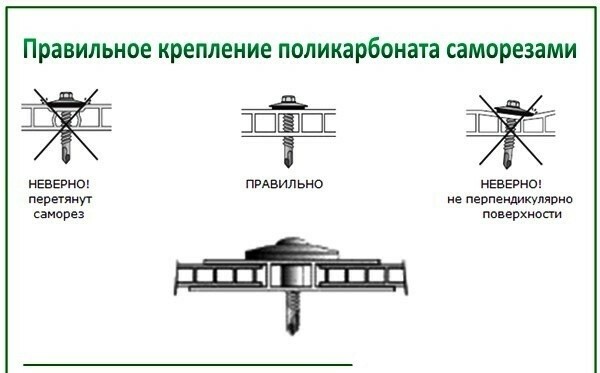
That's how you need to strengthen the material, so as not to damage it
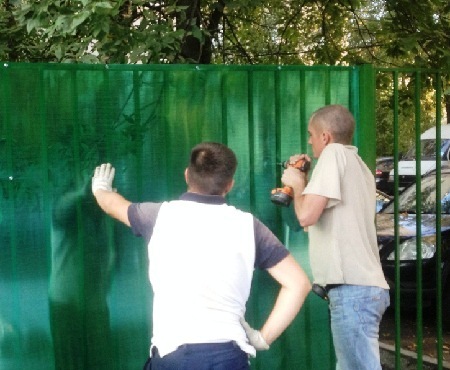
This part of the construction of the fence is made using the screwdriver
If the roofing screws on hand there, you can use the option to press the puck under which further increased the puck is enclosed M5. Here it is necessary to work very carefully so as not to push the surface, because there is a washer rubber spacers.
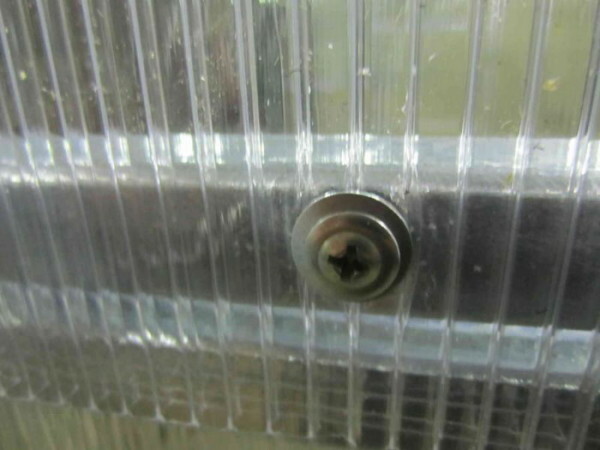
The most budget option for fixing
- Fixing by thermowasher has its differences. In this case, you will have to pre-drill a hole 40 mm in diameter. Next, put a special thermowasher which is fixed by self-tapping metal through plastic plug.
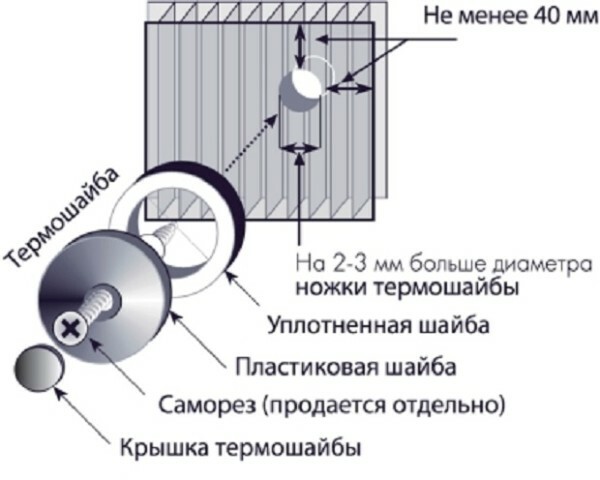
If the installation of the fence is made using thermowasher, this scheme will help to understand the working process
The finished design does not require additional treatment. Is it necessary to remove the protective film on the surface, if you have not done this before. I'll take off the oilcloth before mounting, as then it is very difficult to tear out of the washers.
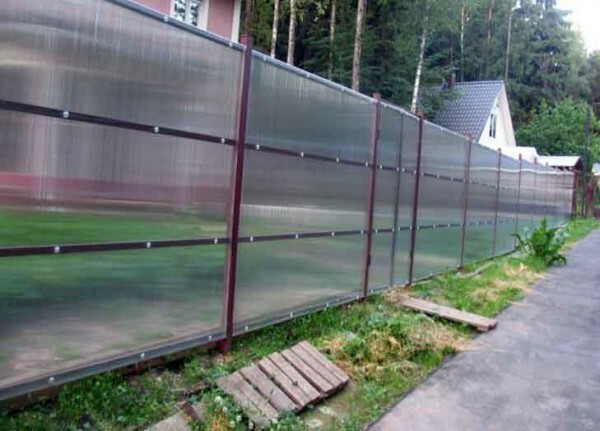
polycarbonate fence is being built very quickly
As for maintenance, it is all very easy: once a year, you can wash the surface of the hose, nothing more is needed.
Output
I am sure that this review only if you yourself have built a fence made of polycarbonate and spent a minimum of time and effort. Videos in this article will help you understand the work better, and if some nuances you are unclear, then ask your questions in the comments at the bottom of the page.
