How to install CCTV on its own - a detailed description of the process
Table of contents
-
1 The working process
- 1.1 Accessories and Tools
- 1.2 The primary assembly
- 1.3 Installation and Connection
- 2 Output
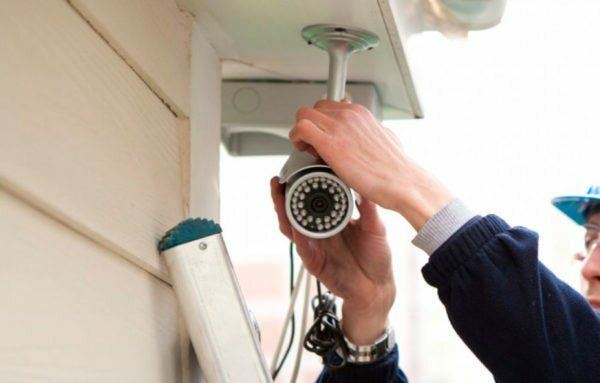
To install a video surveillance system can be anyone
Wondering how to install video surveillance without assistance? With experience in this matter, I will give the exact technical aspects of installation, and step by step guide will confirm my words. The work is so simple that it can handle almost any person.
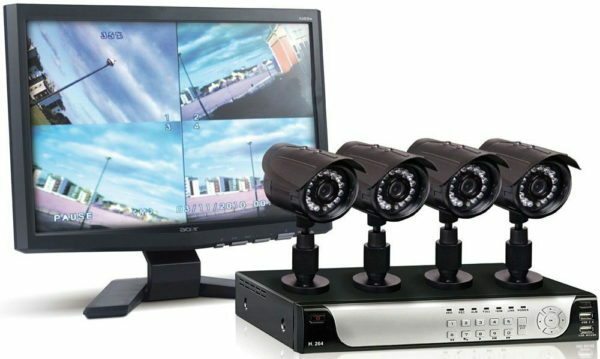
You can put any number of cameras, it all depends on your requests
The working process
Installing CCTV with their hands consist of the following:
- Acquisition of components and tools;
- Initial assembly and inspection systems;
- Installation of cameras in the location and connection of video surveillance systems.
Accessories and Tools
For work you need the following:
| Illustration | Description |
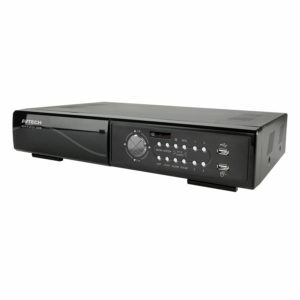 |
DVR recorder. This control unit is the entire video surveillance system. It can be calculated by a different number of cells, to determine in advance which option is needed in your case.
The equipment allows to obtain high-quality digital image. To quickly reset the required information on the case should be provided a USB port. |
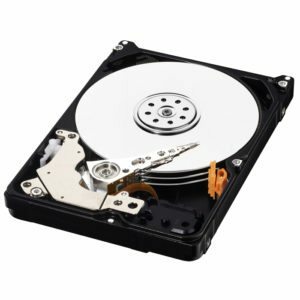 |
Hard drive for video recording. If you need to not only monitor the situation in real time, but also record video, the recorder placed in a hard drive. I recommend to use options with capacity of 500 gigabytes and more information be retained as long as possible. Determine in advance the type of camera, to know how much memory takes an hour of video recording and on this basis, select the drive. In order to save space on your hard disk, often put motion record. When everything is static, it does not record. |
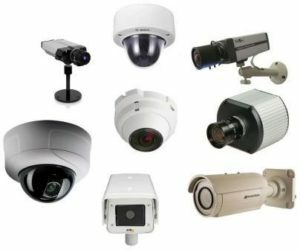 |
CCTV Cameras. There may be from one to ten or even more. The equipment is chosen depending on the use. Taking into account the following factors:
|
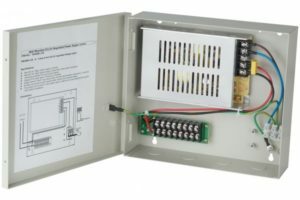 |
Power supply chambers. For a single standard used for this design, reminiscent phone charger. And if you want to power up multiple cameras, the special unit is used, to which are connected all the video elements. |
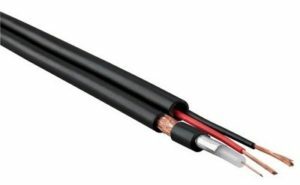 |
Power and Video Transmission Cable. In Example I will discuss the installation of a cable embodiment KWK-p-2 2h0,75. It combines and power, and the transmission of video, which is very convenient when connecting one or two cameras. If you have a lot of video surveillance points, then for power and signal transmission using different types of cable. |
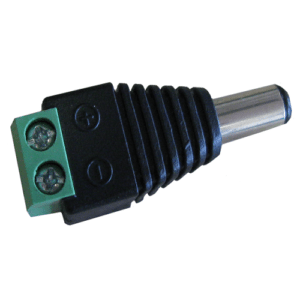 |
Power connector. Therethrough wire is connected to the camera. The number of elements is considered in the number of cameras used. |
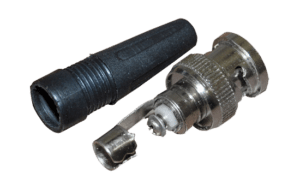 |
PNC connector. Used to connect a video cable. Included should be the cap that protects the place of wire connections. |
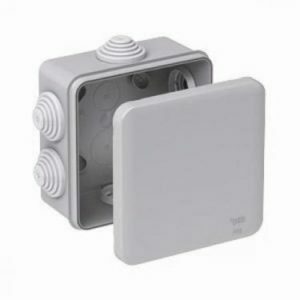 |
Terminal boxes. Used to protect the connectors and connections from moisture. Outside the installation of these elements is required, inside, I also recommend to use them. Choose the options with a high level of protection against moisture in their place input wires are made of rubber plugs, and the lid is clipped or screwed on the screws. |
In addition to these elements, you will need hardware that you fix the camera. For wooden surfaces using self-tapping screws, and for brick and concrete need plug-Nails. Sometimes it is necessary and a cable-channel to hide the wires and make a neat system.
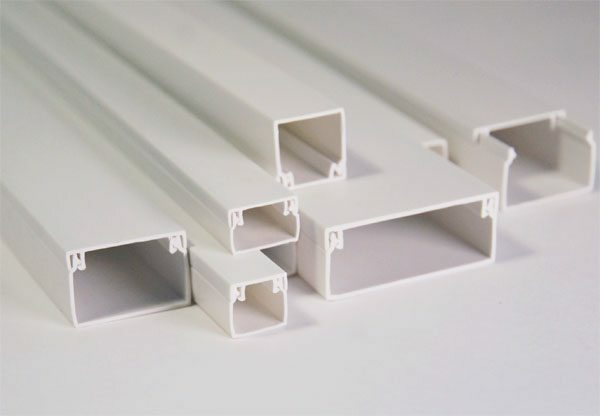
Cable channels may be of any size, you need to choose the best option for your work
set the price depends on the number of cameras used recorder, hard disk capacity and length of wires. Average kit with four cameras, disk 500 GB and a cable length of 40 meters is from 16 to 20 thousand rubles (prices are relevant for the spring of 2017). With the installation of the cost rises to 6-10 thousand, so it makes sense to understand the topic and do everything yourself.
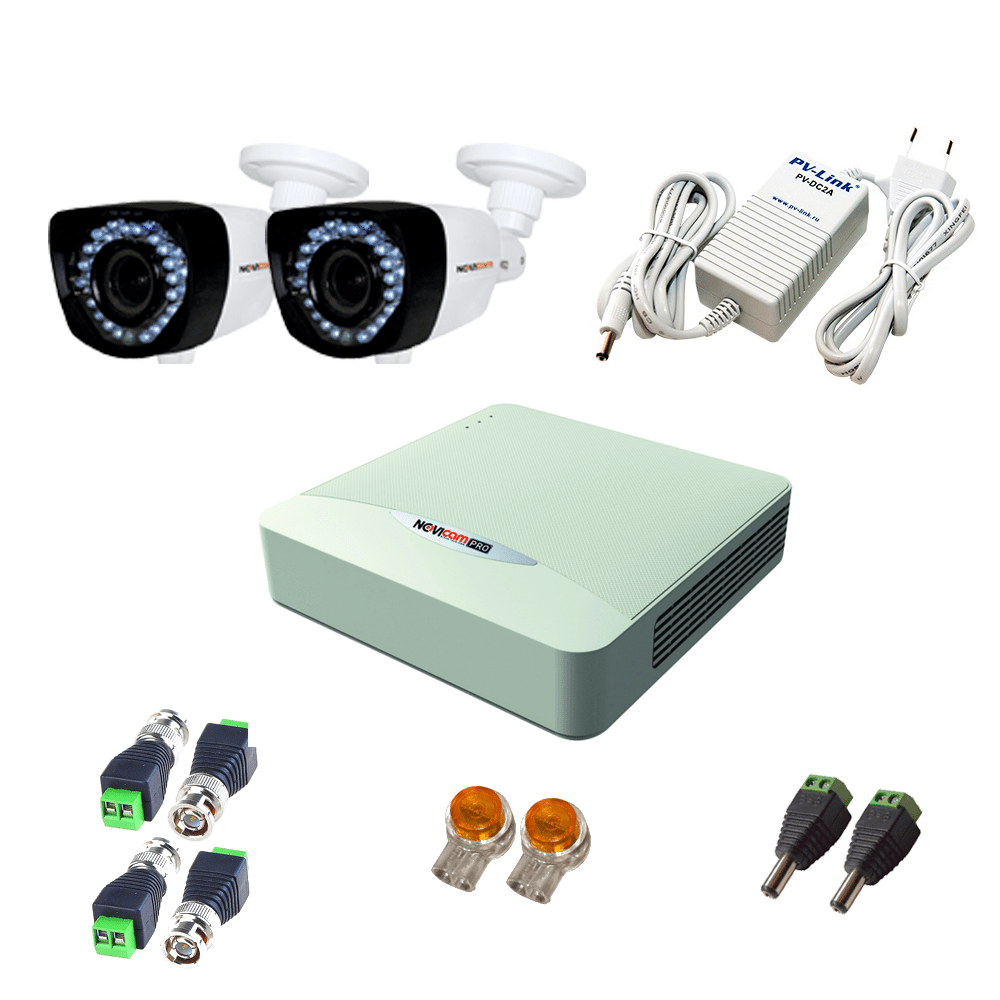
Simply purchase equipment set, in this case, the set will have all components
To set the camera requires a certain set of tools:
- drill. Used if necessary to fix the camcorder to a concrete, brick and other hard substrates. The kit must be drilled, corresponding to the diameter of the fastener;
- pliers. This device is used to clamp the contacts on the connectors and performing other installation work;
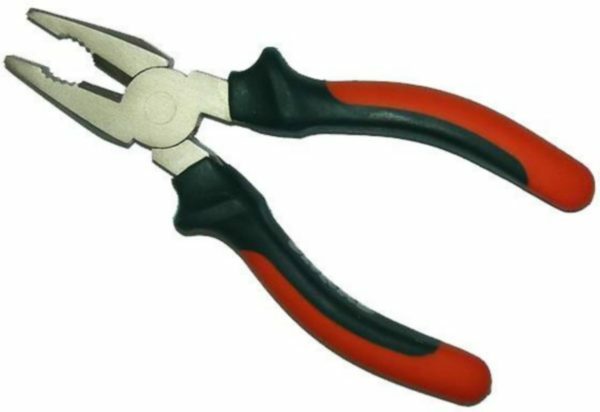
Pliers - an indispensable tool for electrical work
- bokorezy. It is best to use small variations in length of 180-200 mm. With their help it is very convenient to bare ends of the wires, bite off the excess insulation and other such works;
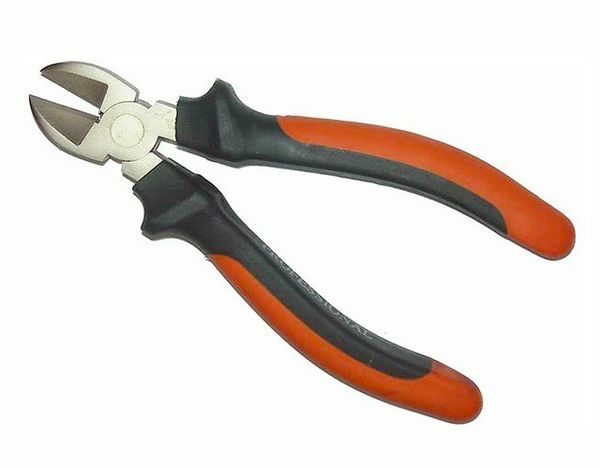
Side cutters are used for removing the insulation and shortening wires
- Screwdriver Set. Set of screwdrivers of different sizes and configurations should be in every home. For work can be used as complete sets of different devices, and a screwdriver with interchangeable nozzles. The main thing that sets were flat and cross-shaped tip of a small size;
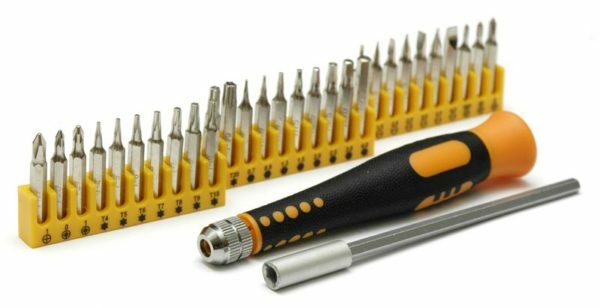
Such a set of nozzles for a screwdriver to help perform any electrical work
- knife construction. With it, you can quickly make an incision in the insulation. Of course, it is better to have a special knife electrician, but if it is not, and construction option is perfect;
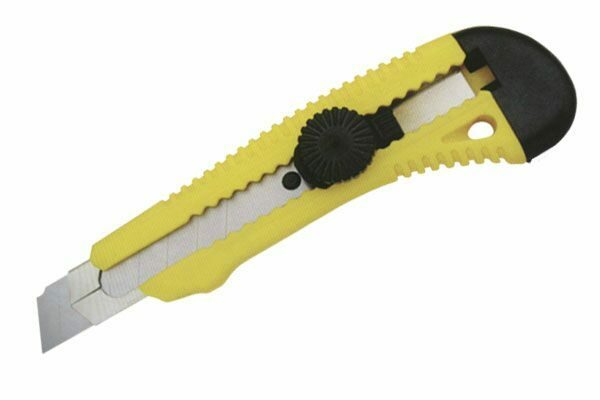
Building a knife is great for cutting insulation
- Stairs. What set the camera on a wall or somewhere else, you need a ladder certain height.
The primary assembly
To make a video surveillance with your hands, you must first collect all elements of the system and test the results.
To begin, consider the scheme of work, following detailed instructions with photos.
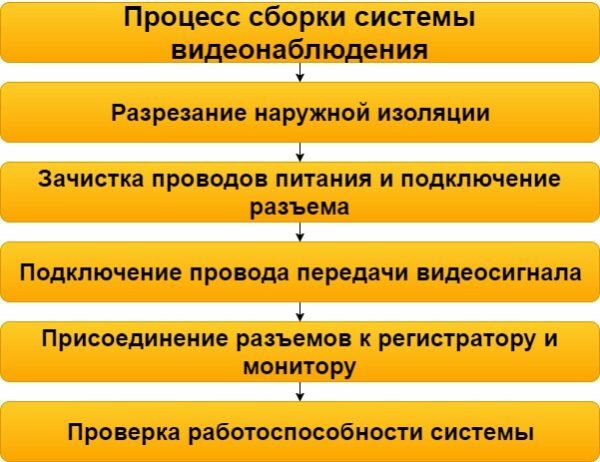
The works are not complicated, but requires care
Let us examine the process in detail:
| Illustration | Description stage |
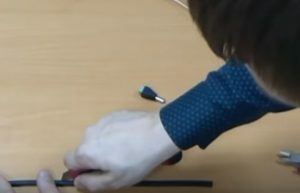 |
Incision outer cable insulation. Work carried construction knife which is placed in the middle at a distance of 20 cm from the edge. When cutting should make a modest effort to penetrate only the outer layer, without damaging the wires that go inside. The cable is placed on a flat surface and adheres to the one-handed. |
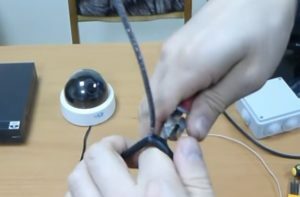 |
insulation removed. First, it is necessary to separate the section, after which any excess can be cut, but it is much easier to bite Round. |
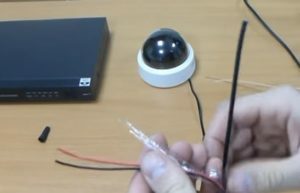 |
With the wires removed the polyethylene protection. Inside there are two power supply wires - red and black, as well as the video transmission cable. All wires are separated and moved apart to the side for convenience. |
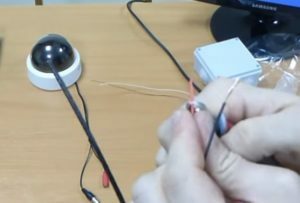 |
We clean the ends of the power wires. To do this via side cutters is cut insulation in the region about 10 mm from the edge. Carefully hold core to separate insulating layer, without damaging the wire. The open portion of the wire twist to core dissolves. |
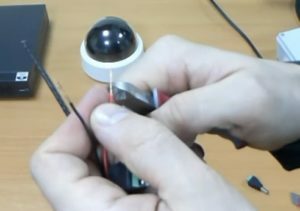 |
Bare wires are shortened. To the exposed parts do not protrude from the connector contact, their length should not be less than 5 mm. Carefully cut off all unnecessary side cutters or other suitable device. Thus preparing two power wires, wire transmission while not need to touch. |
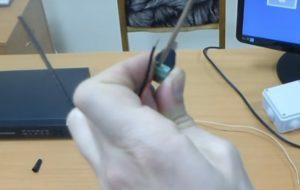 |
Fastened to the wires in the connector. Performed these actions:
|
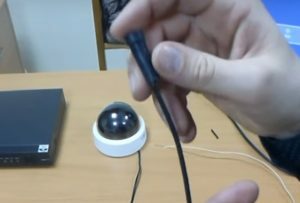 |
In video signal transmission is carried out primarily worn plug. After assembly, it closes the connection and provide reliable protection from moisture. Novice masters often forget about it, and then have to dismantle or assembly, or pull the plug on the other end of the wire, which is very inconvenient, if it is long. |
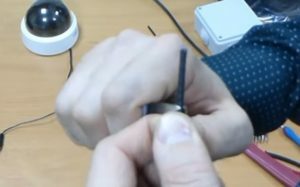 |
With the wires removed the upper insulation. You need to remove it at a distance of about 30-40 mm. The easiest way to make an incision in the beginning cover the diameter of a side cutter, and then gently remove it to prevent damage to internal components. |
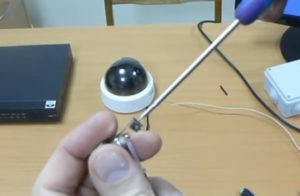 |
The stripped inner conductor is fastened. He put the screw in the middle carefully bent and securely. It is important to ensure good contact for high-quality video transmission. It is not necessary to clamp screw is very strong, so as not to damage or break the wiring, if after all this happened, it is better to clean up another piece and redo mount. |
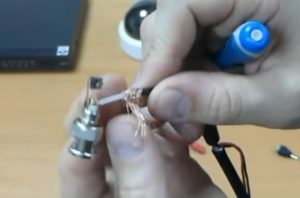 |
Gently swing the outer sheath around the inner insulation. None postings must not touch the central core fixed in contact. Therefore, pay close attention to this thing - collect braid, and tape it to a distance of 15-20 mm from the center pin. |
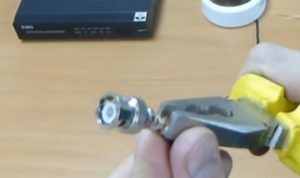 |
The clamp is attached to the wire. Connector is fixed with a clamp, which is visible in the photo above. Between the two projections is inserted into a wire, after which it must be well fixed pliers. Again, do not press too hard to avoid damaging the insulation. Once connected again, inspect the unit, without regard to whether any slippage of the central contact entries. |
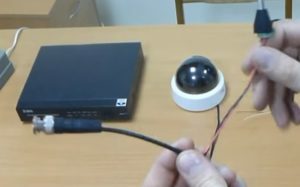 |
In connection cap is worn. He sits tightly on the metal part and seals the contact. Wear element is easy, you'll see when it snaps into place and is securely fastened to the connector. On the other hand held exactly the same manipulation. Sometimes put the connector on the power supply is not necessary, as the registrar wires can be fixed contacts. But in the video cable connector is placed at all times. |
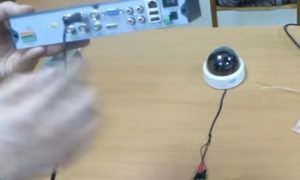 |
The wire is connected to the DVR. If you have a camera, then put it into the first port if more, then plug in your desired order. Food is placed in the corresponding port, which may have different configurations depending on the type of equipment. |
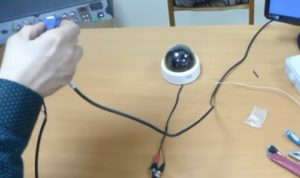 |
Connected monitor. The most commonly used conventional computer version suitable size. He has a special connector, so you do not mix up the connection port, it is suitable only where and should be placed. The connection is secured with two cogs, which are always on the sides. |
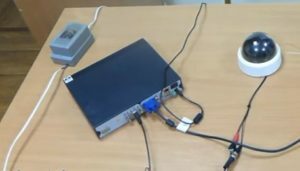 |
All system components are included in the network. Once connected, you need to wait 1-2 minutes for the recorder to load. |
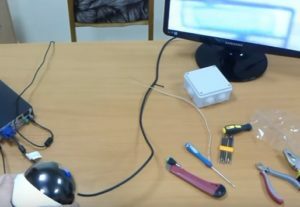 |
Checking system operation. After loading the monitor should see the image from the camera. If all goes well, then you yourself have collected a workable system and saved a few thousand. Next we will examine how, where it is necessary to install cameras there. |
Installation and Connection
We look at how to install CCTV camera at home or on the street:
| Illustration | Description |
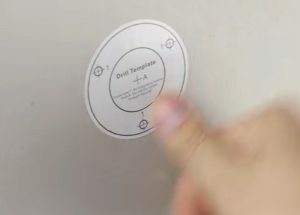 |
If there is a sticker set, it is glued at the place of attachment. In many cells for simplicity and convenience, there are stickers that allow you to define drilling locations of holes. What should be done? Remove the protective layer and paste member in place of the fastening element location chamber. |
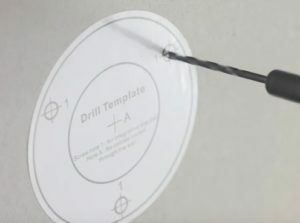 |
Performed drill holes. If the plugs are placed, the drill diameter and depth must comply with fixture. If screws are used, then under them drilled hole by 1.5 mm smaller than the diameter of the screws to facilitate screwing. |
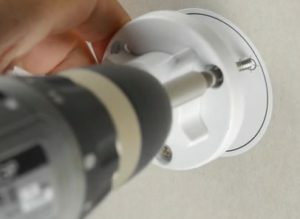 |
Mounted camera base. Most often it is a plastic unit, which is fixed and the rest of the design. Element is firmly pressed to the surface, but without excessive force, otherwise the plastic will crack. |
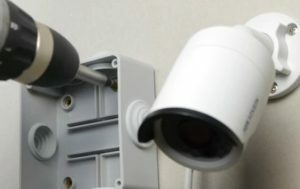 |
Next to the camera is put terminal boxes. It will be hidden all the connections. It is attached to dowels or screws. |
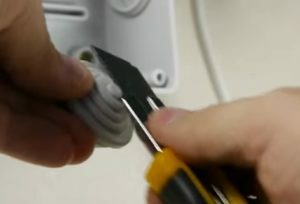 |
With rubber plugs is cut to the desired item holes for cable. It is important to do it carefully so that the wire tightly to the rubber. |
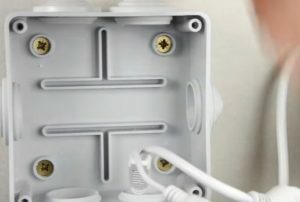 |
Wires are on the lower side. It is in this version the probability moisture inside the box the least. |
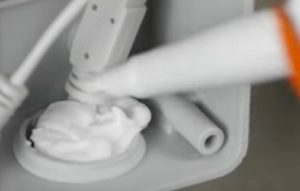 |
All connections are sealed with sealant. The composition is applied on the input wires and screws or dowels. It is necessary to achieve maximum tightness and prevent any trouble associated with moisture. If the box is standing inside a house or apartment, then sealing it is not necessary. Exceptions are areas with high humidity and risk of splashing water. |
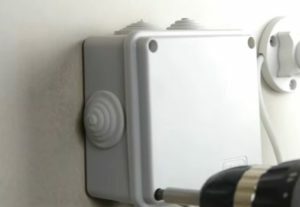 |
The compounds are stacked neatly in the box and close the lid. The cover must have a rubber seal for sealing the connection. Better if it will be fixed with screws, so you definitely firmly commit it. |
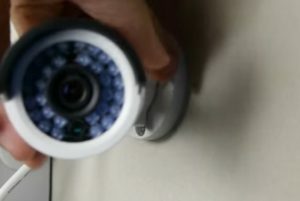 |
At least regulated camera angle. Set up and fix it so as to ensure the best possible surveillance of the house. |
Output
Now you will be able to assemble and install a video surveillance system inside or outside the house. I recommend to view the video in this article, and if you have any questions - ask in the comments.
