Remote lighting control - detailed instructions for self-assembly
Table of contents
-
1 How is a system for remote control of light
- 1.1 What You Need
- 1.2 Description workflow
- 2 Output
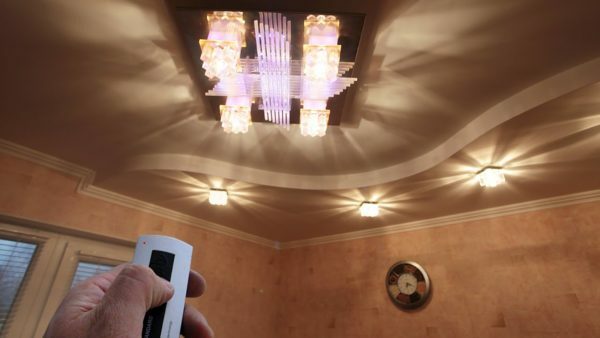
Modern "smart home" assumes the maximum lighting control convenience
We buy remote control lighting, but not confident that you can install and configure it? Our experience allows me to say that anyone can cope with this task. And how to do it, you will learn from this article.
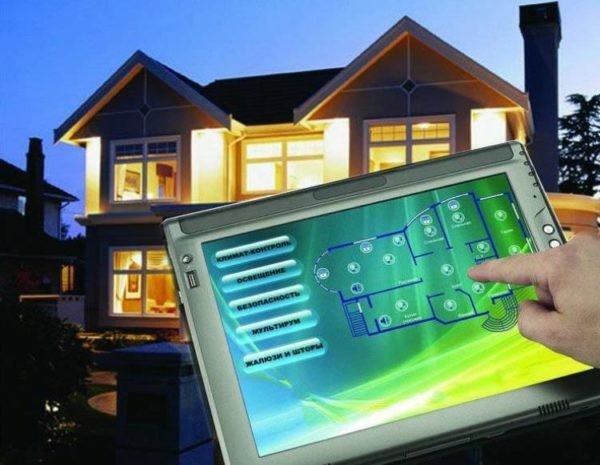
The most advanced systems allow you to control both domestic and street lighting using a computer, tablet or smartphone
How is a system for remote control of light
Currently, there are several management options:
- Infrared. This option is suitable for home use, as it does not operate more than 10 meters. It has the advantage of simplicity and functionality - the system can operate even with the TV remote control. The downside is that the signal receiver should be placed within sight, and if you have TV stands close to the outlet, it will be switched off and when he turned off the light;
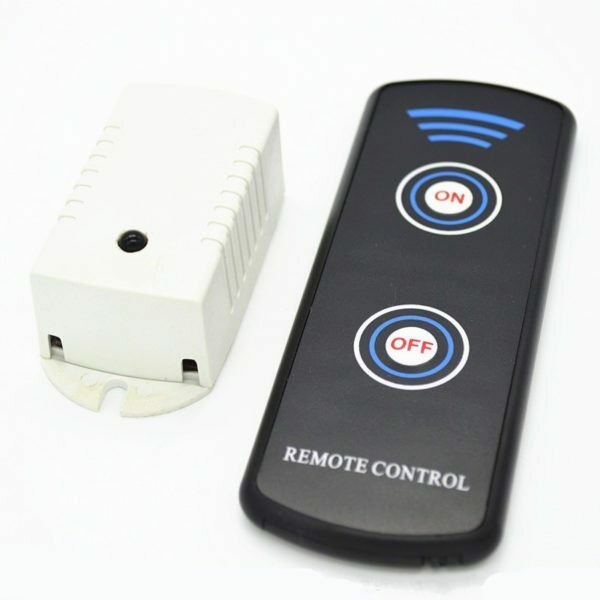
Infrared controller lighting control must be within sight, which is not very convenient
- Lighting control via radio - the perfect solution for both indoor and outdoor use. In this case, the lighting controller has a signal receiver and the antenna can be disposed outside the visibility (in a wall, a ceiling wall, and so on. D.). The signal is transmitted by about 100 meters, numerous obstacles cut distance remote operation. This solution can be considered the best in terms of price and quality;
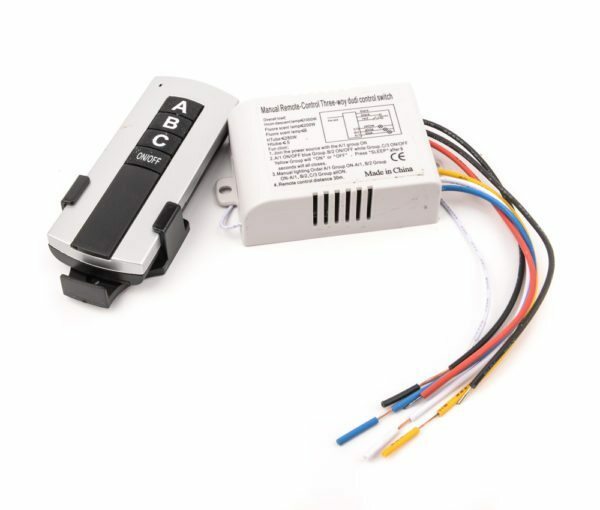
Controller for remote control lighting, powered by the radio signal can be arranged and out of sight
- Control via WI-FI controller. This option allows you to control the light in the house and on the street using a smartphone or computer special application. The signal is transmitted via the home network and allows you to manage all the lighting devices, which are connected to the system. It is very convenient and practical;
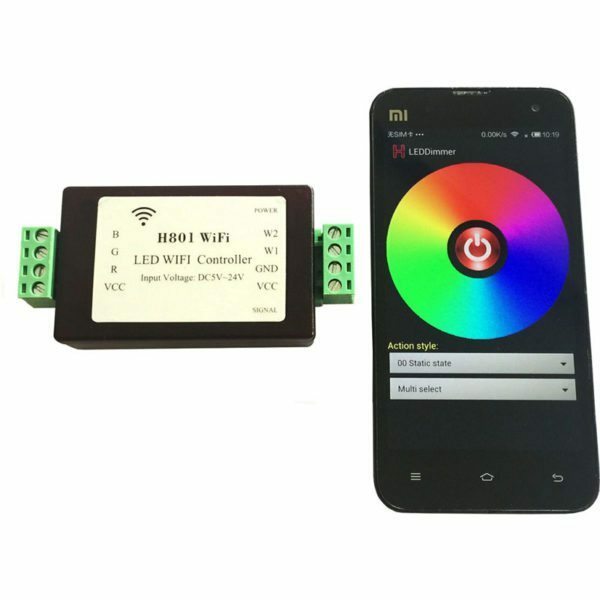
remote control lighting controller, acting through the smartphone - it is very convenient
- light control via the Internet. It is the most progressive and advanced option allows you to control the light in the house and around it from anywhere in the world where there is Internet. The house is set and the controller is connected to a network and a computer or smart phone is put special software. You can create the effect of presence, if you are worried about the safety of property, which is very convenient.
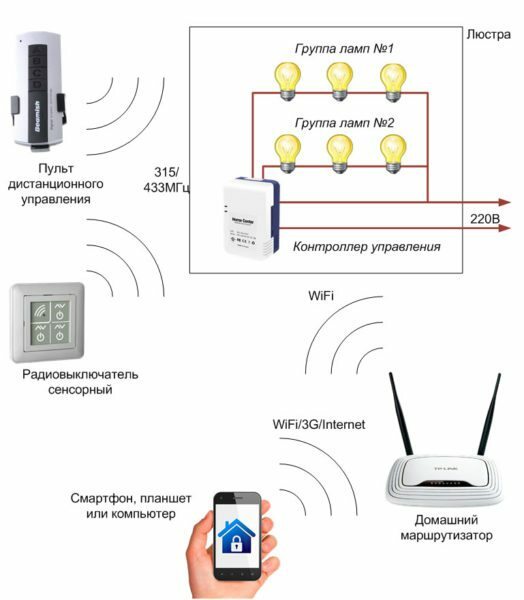
Modern controllers allow to combine several control options for maximum convenience
On the street, in addition to the remote control system is often put in motion sensors to light turns on itself when you go out into the yard.
I will talk about installing lighting control system on the example of a controller operated by a radio signal. This is an easy and convenient option, having mastered that you can deal with other solutions. The principle is always the same, differs only in the list of actions and characteristics of the equipment used.
What You Need
Let us list the necessary materials and tools:
| Illustration | Description |
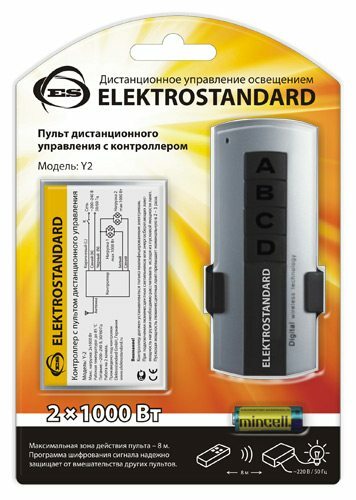 |
Controller with remote control. Kit is sold in a set and cost about 1,000 rubles. Designs differ in the number of channels, ie, the modes used. Determine the appropriate option, you can by the number of lighting devices or modes of operation of one element. The most popular and widely - dual-channel controller. If time is suffering, you can order a kit from China. Then it will cost you half the price . |
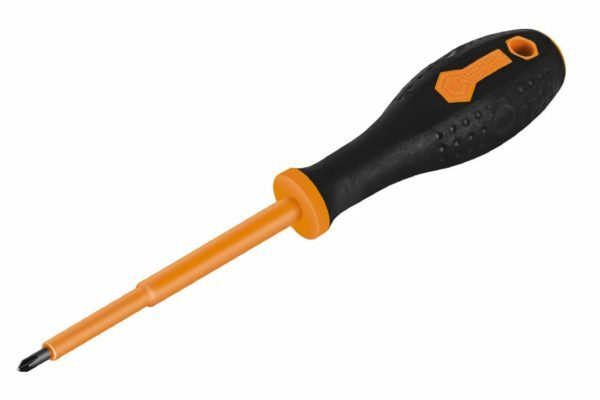 |
screwdriver dielectric. We have to work with a network of 220 volts, so use only a secure tool that eliminates any problems during installation. The tool is sold in all building and electrical stores. |
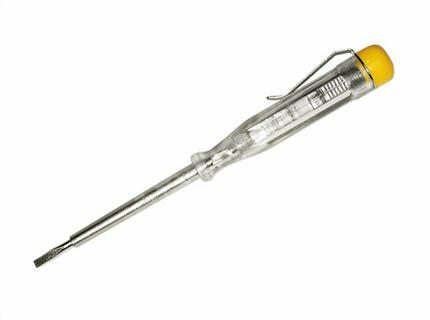 |
indicator screwdriver. It is used to find live wires, and check the wiring before starting work. To begin installation of the equipment is possible only after you make sure that there is no tension in the system. |
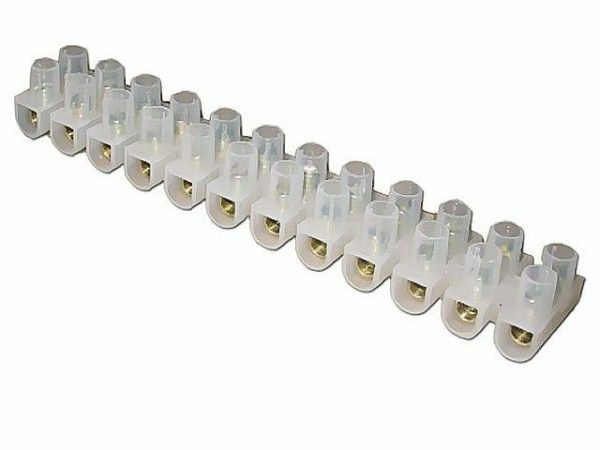 |
Connecting block. Need for fast and high-quality connection cables. There are numerous variants of different configurations, I showed the most common and inexpensive one. When choosing shoes, pay attention to the quality of plastic. It must be non-flammable, it increases the security of the connection. |
Remember that before starting work it is necessary to de-energize the system. Therefore, try to trim the time in which electricity is not necessary for you and your household.
Description workflow
We look at how the installation is done with his own hands:
| Illustration | Description stage |
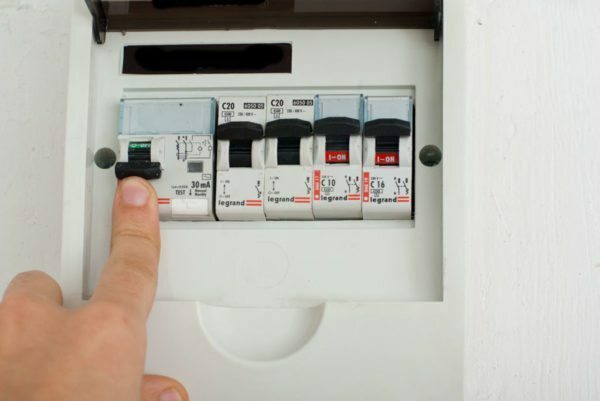 |
system is de-energized. Any work on electrical wiring starts to shut off the power at the input of the house or apartment. If you have a separate machine on the light, he turns off if it is not, then made a general shutdown. Be sure to tell everyone that you work with the electrician, so that no one turned on the machine during operation. Additionally, you can hang a piece of paper that says that you can not turn on the system . |
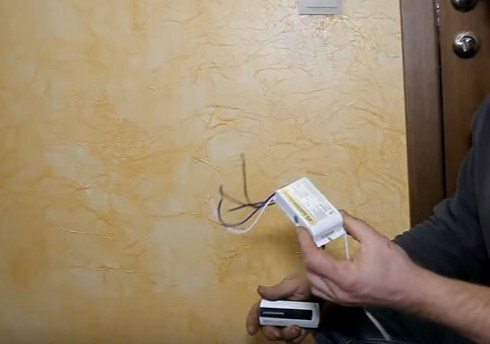 |
Unpacks the remote control unit and. The first refer to the wiring diagram. She was always there on the controller. There, everything is simple: two wires go to the lighting elements, a supply current, another is a zero phase. White postings on the other hand - this dish, it will not need to be connected. |
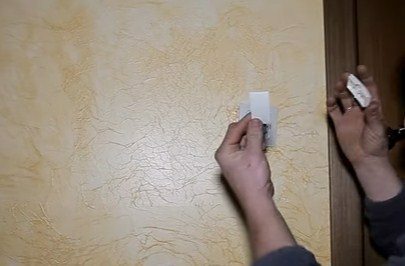 |
With the switch key removed. To this end, the gap between the button and the frame is inserted into a thin screwdriver, and gently element vyschelkivaetsya from clamps. Quite simply, the main thing is not to press too hard to avoid damage to components and not to scratch the plastic surface. |
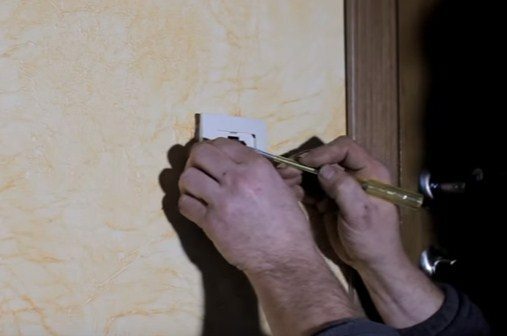 |
Remove the plastic frame switch. It can hold snap and can be fixed with two screws. After removing the button, you will see the fixed element, and can quickly remove it using a flat or Phillips screwdriver. |
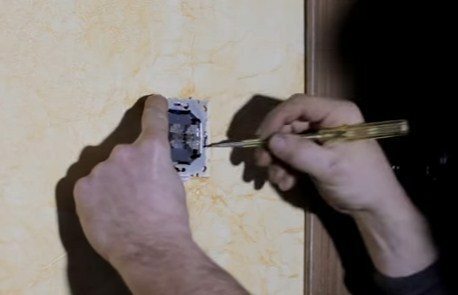 |
Switch disconnects itself. It is fixed to the back box with two screws that need to unscrew. It is important to put all the fasteners in one place, so it does not get lost in the process. |
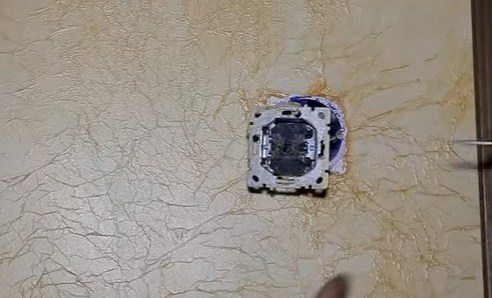 |
Switch gently taken out. Sometimes he holds without screws tightly, it should be gently pry the screwdriver and remove as much facilitates the connection on the rear side of the wire. |
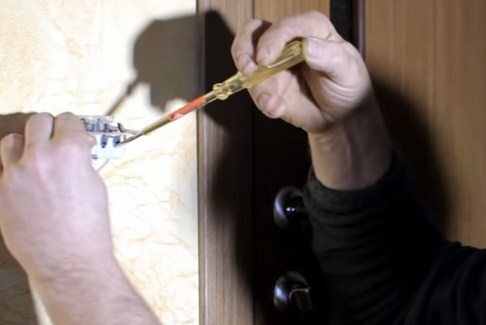 |
Using wire verified indicator screwdriver supply voltage. Even if you turn off the current, be sure to check the system before you start. There are different situations, so it's better to be safe than get an electric shock. |
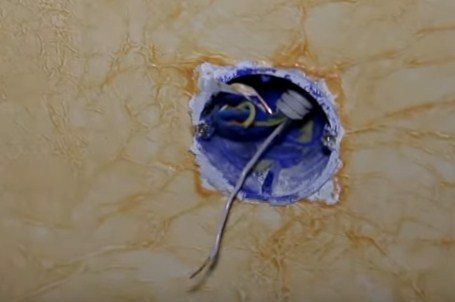 |
disconnected wires. It is important to remember the purpose of each of them, so do not mistake during installation. If you doubt that you can keep everything in memory, it can be pasted on each core piece of masking tape to the label to be easily distinguished conductors. |
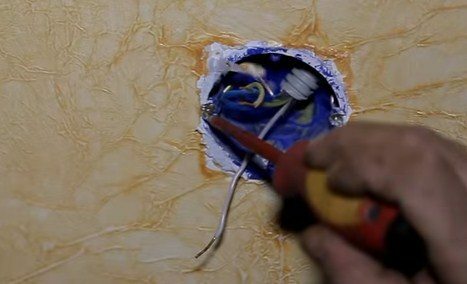 |
The plenum box is released. In our case, the wall is made of gipsokratona and to make podrozetnik need to tighten two screws through the holes on the sides, they can be clearly seen in the photo. They reduce the latches on the back side, so that the structure can be removed without damaging the gypsum board. |
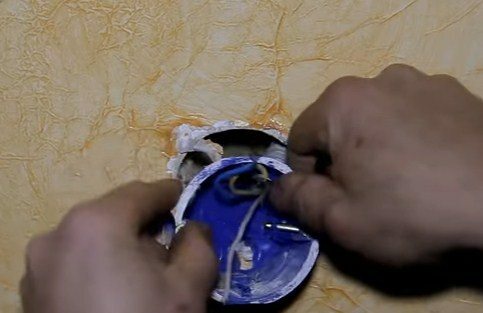 |
The box is removed. After his release get the item will not be difficult. He put aside, so as not to interfere in the process. |
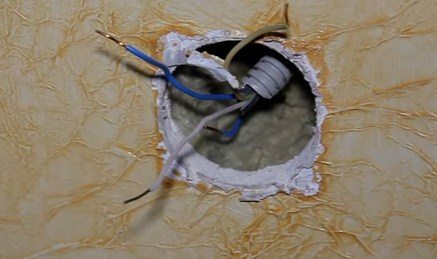 |
The wires are bent in different directions. Gently pull them out as much as possible, and then unfold the way to work with each of them to be comfortable. |
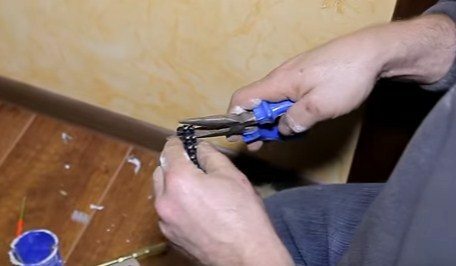 |
With the desired number of pads separated connectors. In this case, you need 4 elements. Better not to use them as a single unit, but individually. It is easier to connect the wires and place the controller on the wall. Whole block occupies a lot of space and are not very useful when mounting due to different lengths of wires. Disconnected shoe knife or pliers elements on the joints are easily broken. |
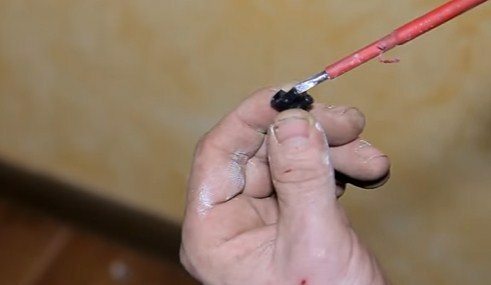 |
The connector is unscrewed the fixing screws. They must release the hole, but much of it is not necessary to turn out to hardware has not dropped and will not be lost. If the bare ends of the wires are too long, they have to be shortened to 5-10 mm, simply snap off with pliers. |
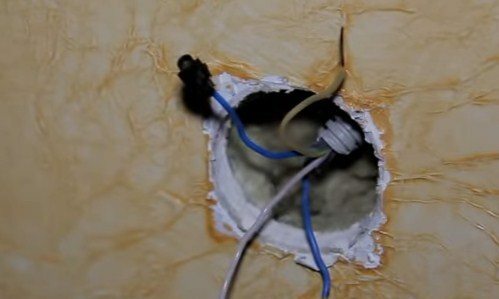 |
The connector is fixed to the first wire. The sequence of connection does not matter. The main thing - to fix the wires securely with screws and not to mix the elements. Assembling is very simple: the wire is inserted into the connector so that the bared portion located inside the plastic frame and pressed against the screw. |
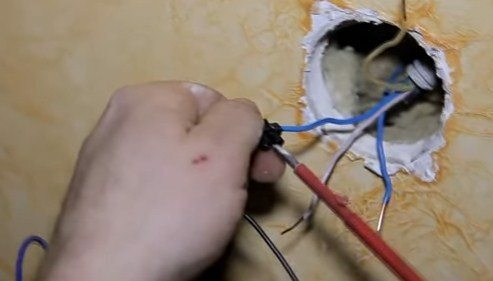 |
Joins wire controller. Here all produced in a similar manner: the corresponding element is inserted in the connector and securely fixed in the screw therein. After completion of work, check for loose, gently pulling the two wires, they have to stick firmly. |
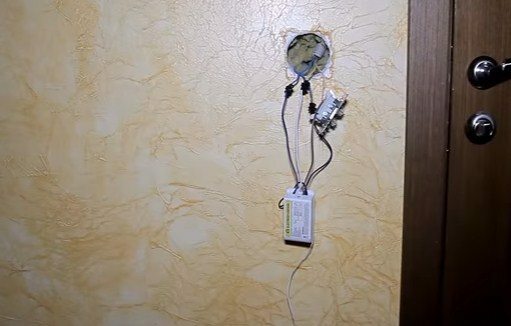 |
Here is the connection node. Wires are fastened to the controller and switch on the circuit, and then you need to test it out. For this power supply is switched on and switch keys are pressed. Everything should work normally. If there are problems, then most likely, you make a mistake when you connect, you should fix all the flaws and be checked again. |
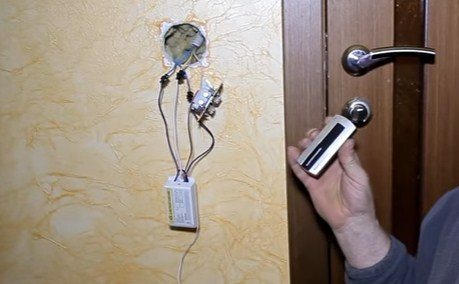 |
Checked remote control. Lighting control with the remote control is made by means of a few buttons. In the order, click each of them to test mode and verify the correct operation of the system. The remote is powered by penlight batteries short, if it was not included, do not forget to purchase a battery. |
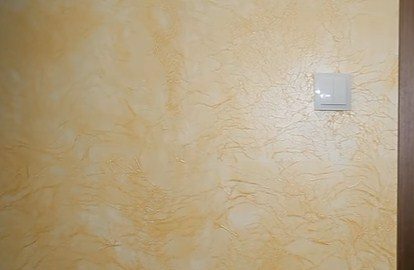 |
Construction going back. Initially, the wall controller and start up neatly wire unit does not need to additionally fix in the cavity. Next, put the box assembly and the switch is going in reverse order. As a result, outside of all will remain the same, but you can turn off and turn on the lights as the buttons and the remote control. |
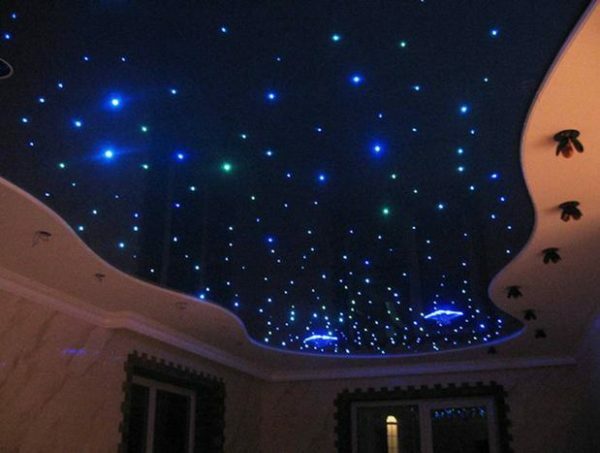 |
Now you can change the light modes, without leaving the couch. You can turn on the backlight, or change modes, it all depends on what equipment is connected to the controller. |
Output
Using the overview as a guideline, you can install the system for remote control of light in the house or apartment. Videos in this article will help you understand the subject even better demonstrate the workflow. If you do not understand something, all the questions you can ask in the comments.
