How to make a folding table with his own hands: 2 master-class
Table of contents
-
1 Master-class №1: Folding table
- 1.1 Materials and tools
- 1.2 progress of work
-
2 Master-class №2: Table with legs tucked
- 2.1 Necessary materials
- 2.2 progress of work
- 3 conclusion
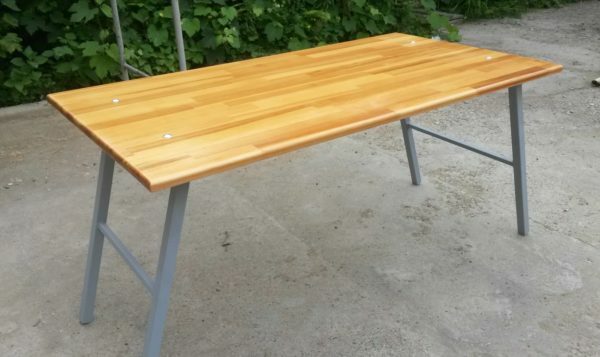
Folding table makes outdoor recreation more comfortable
Folding table can accompany you on a camping trip, to help receive guests at their summer cottage, become a stand at the fair, or even the counter in the store. Feature-rich and useful thing to the same is not necessarily to buy, but you can make your own hands. I offer 2 master class, how to do it.
Master-class №1: Folding table
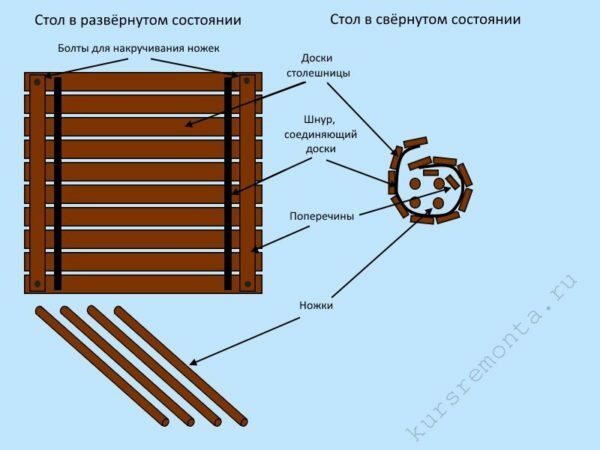
Mobile folding table into a kind of convolution is perfect for a picnic, and for trade
Before you make a folding table with your hands, you need to get everything you need:
Materials and tools
| Photo | Title |
 |
A round barHaving the following dimensions:
|
 |
|
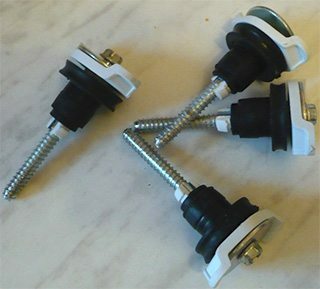 |
Four shipping bolts |
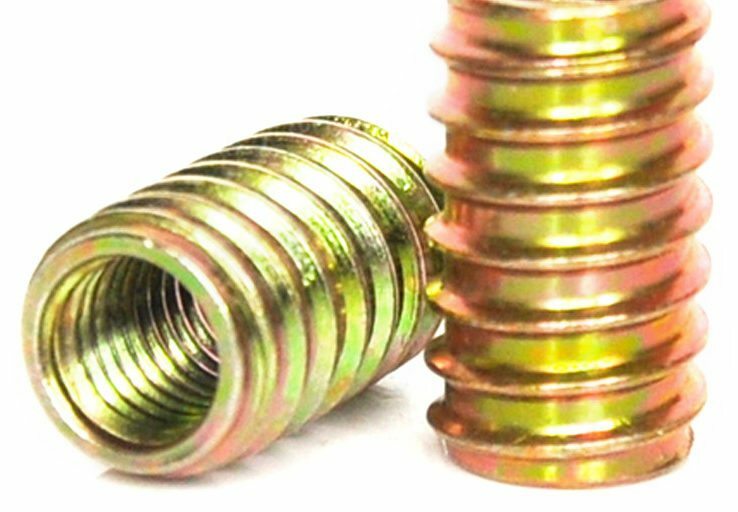 |
Four threaded nut inserts of brass |
 |
Flat nylon cord |
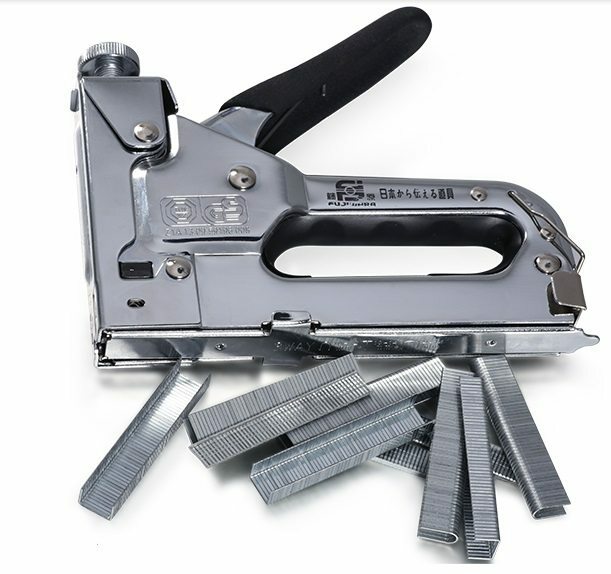 |
mounting Stapler with six-millimeter clips |
 |
Hacksaw on wood |
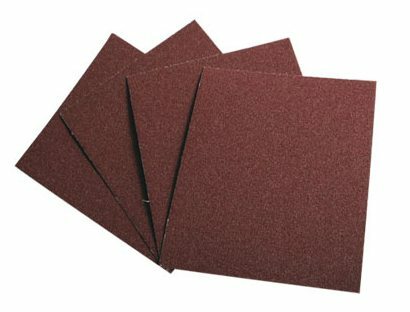 |
Sandpaper |
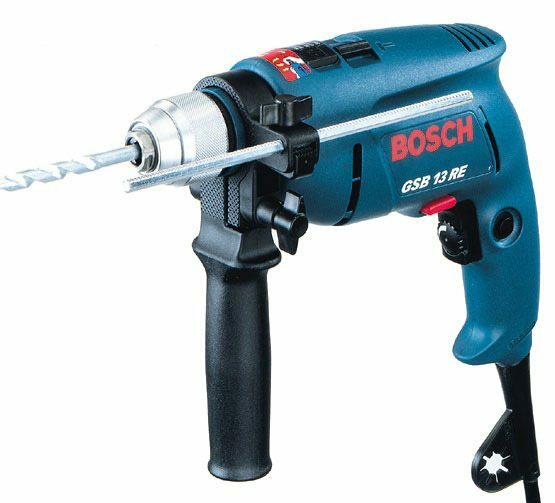 |
Drill with drill bits 6 and 7, diameters mm |
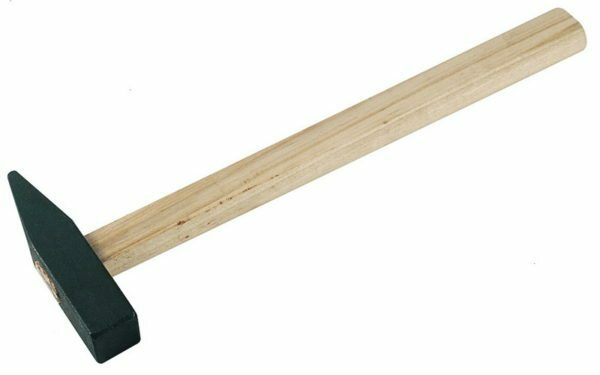 |
Hammer |
progress of work
After preparing all the necessary start manufacturing the folding table with his hands:
| Picture | Description |
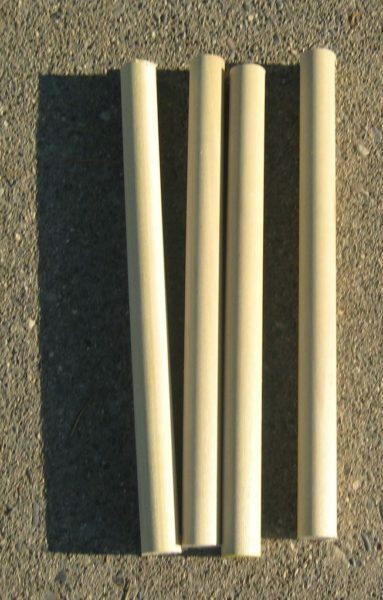 |
saw upround bar into 4 equal parts |
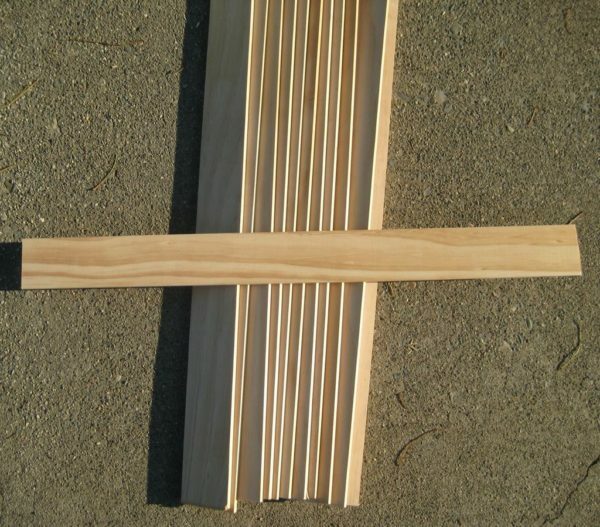 |
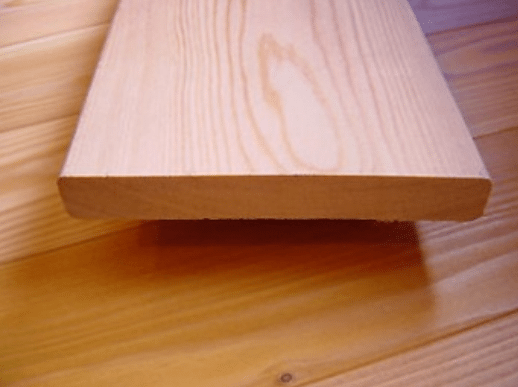
Sawn hardwood boards so that the result was:
|
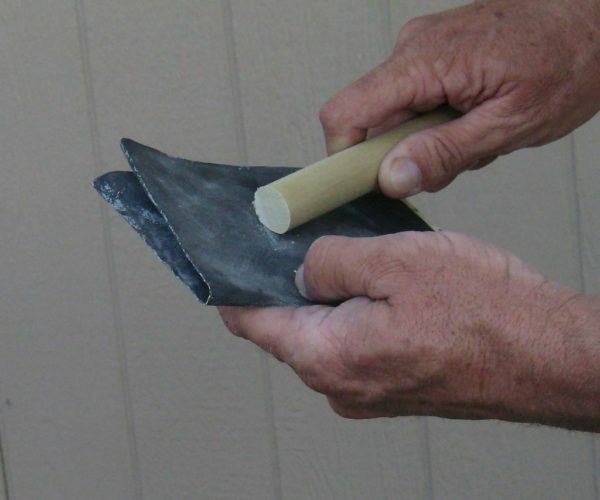 |
We clean the sand paper cut edges of the resulting round bar sections |
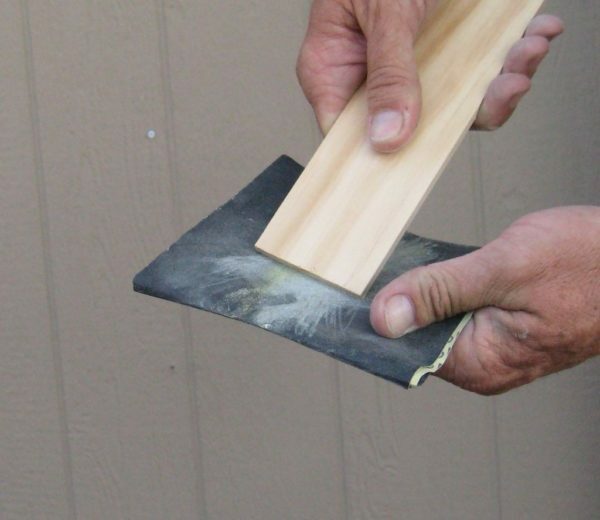 |
We clean the sand paper the resulting cut edges of segments floorboards |
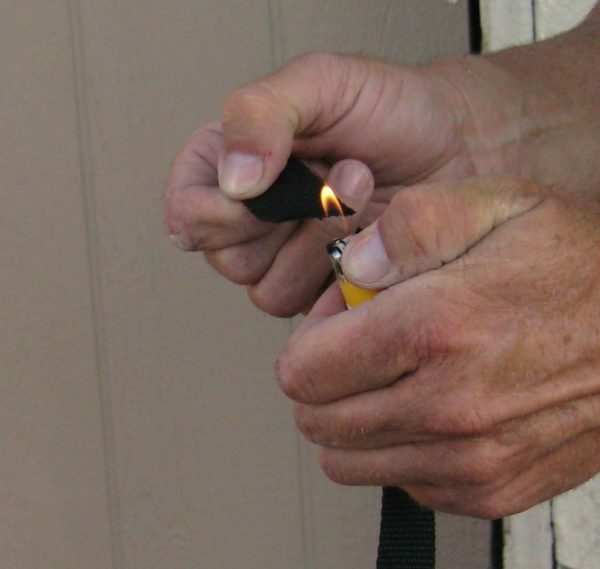 |
Prepare nylon cord:
|
 |
Put the boards on the flat underside surface facing up, placing spacers between them of uniform thickness |
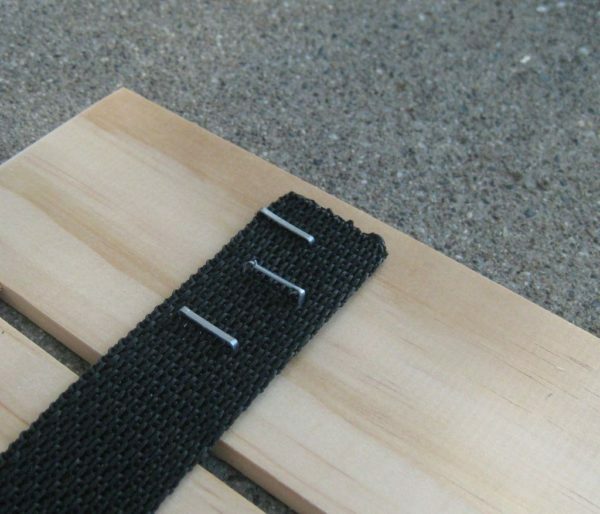 |
connect boards nylon cord, retreating slightly from the edges and fixing it using staples |
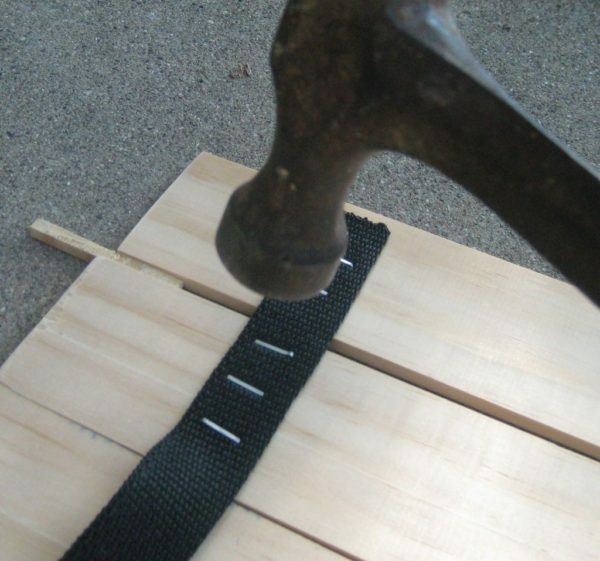 |
strengthen mount a few strokes of the hammer, if the stapler is turned weak and was unable to drive the staples to a sufficient depth |
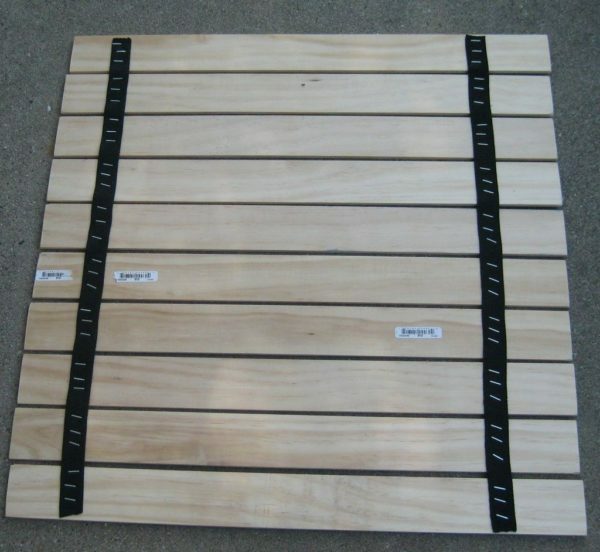 |
The second segment nylon cord battened on the other side and get in the end is almost finished countertop |
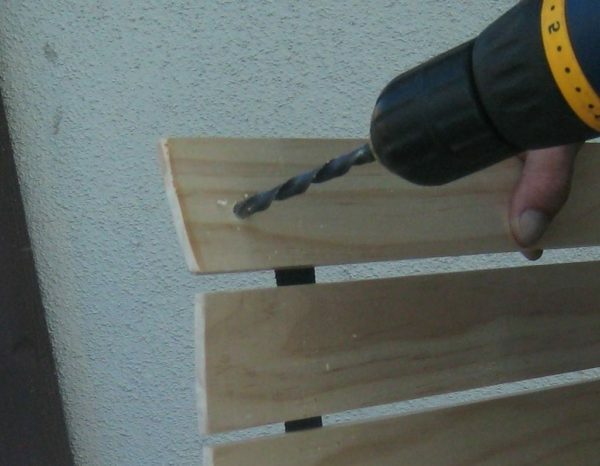 |
drill holes in the corners of table tops 6 mm diameter |
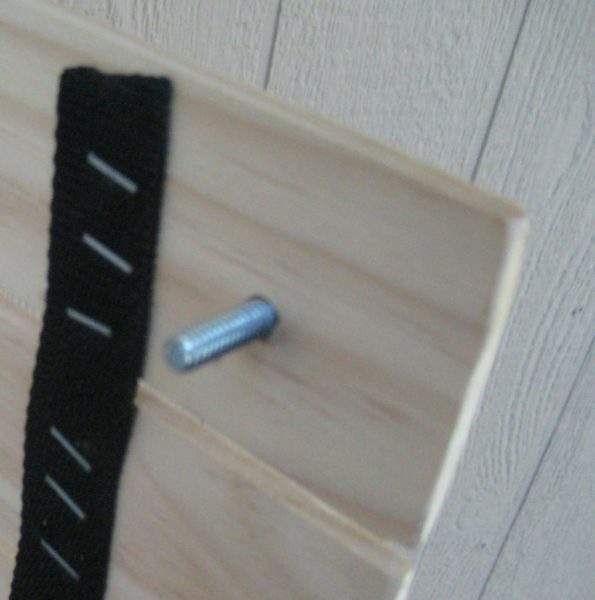 |
insert the bolts in the resulting hole |
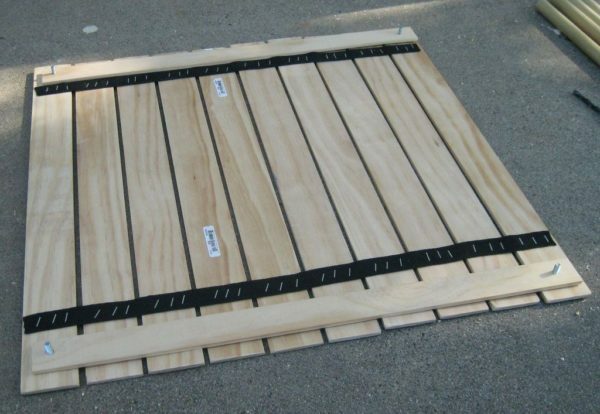 |
install the crossmember:
|
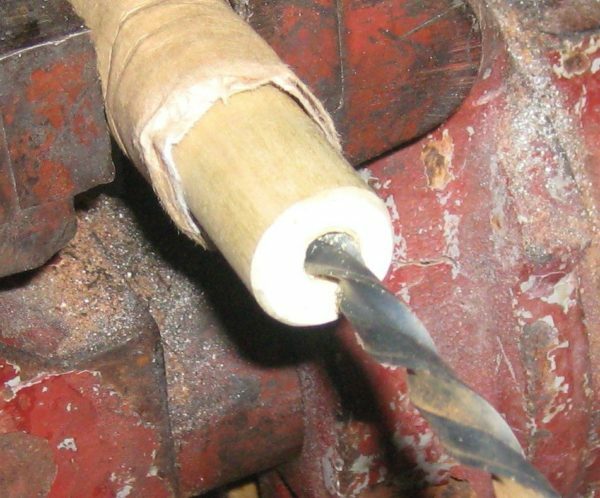 |
Prepare legs:
|
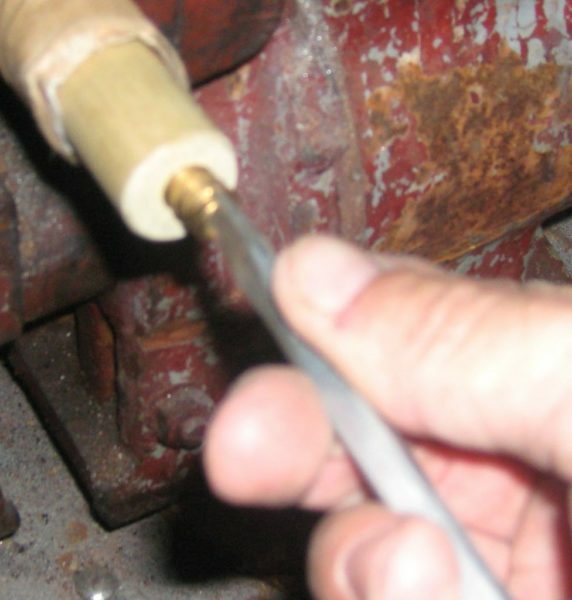 |
install into the prepared hole brass nut paste |
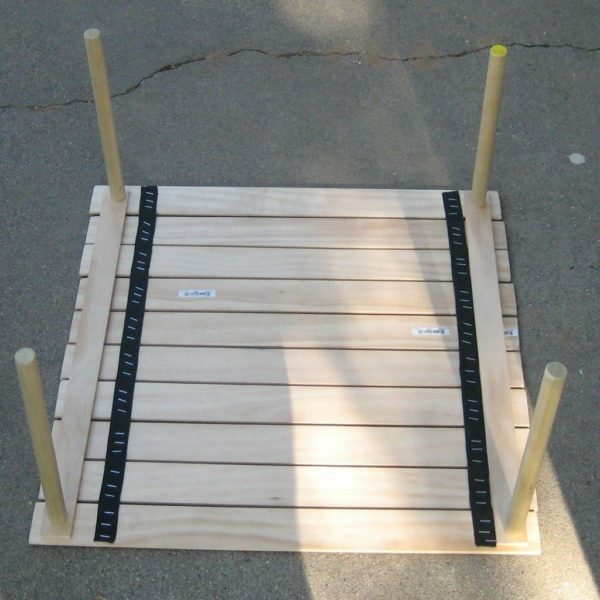 |
Screw feet on the bolts protruding from the cross-members |
 |
Turn over and put on legs ready to use table |
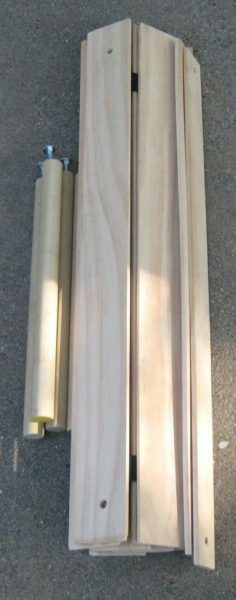 |
after the operation:
|
I recommend the model under consideration collapsible table immediately to sew or buy a bag. Then it will not deliver the transportation problems even in the campaign.
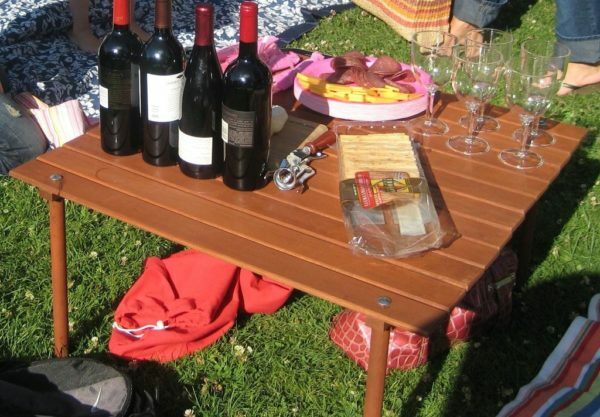
Collapsible folding table is easily transported to the site of the picnic in the appropriate bag size
Master-class №2: Table with legs tucked
Next folding table with his hands going from being divided into two parts countertops and tuck the legs of the system, similar to that installed on camping chairs.
pros such a construction:
- High stability and strength;
- The absence of removable parts.
Minuses:
- More complex instructions manufacturing;
- Some loss of compactness. Tourist folding table, still a little wins in this regard.
Necessary materials
Tools for the most part subject to the same as in the embodiment described above, so I will not repeat. But with all the material is not the case, then you will need:
| Photo | Title |
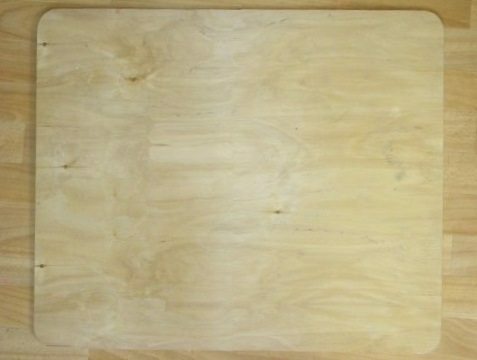 |
plywood:
|
 |
round bar with a cross section of 24 mm and length 32 mm |
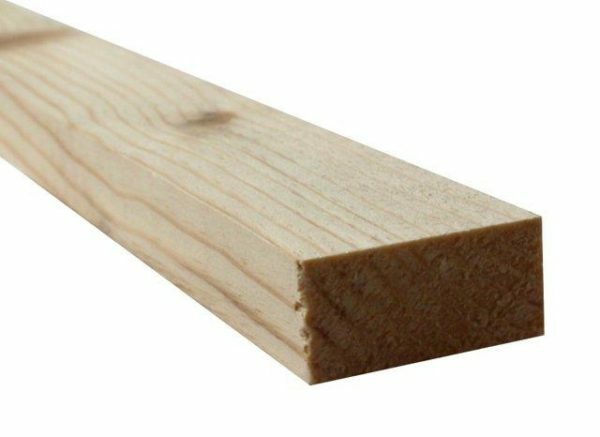 |
timber 20 with a cross section 40 mm |
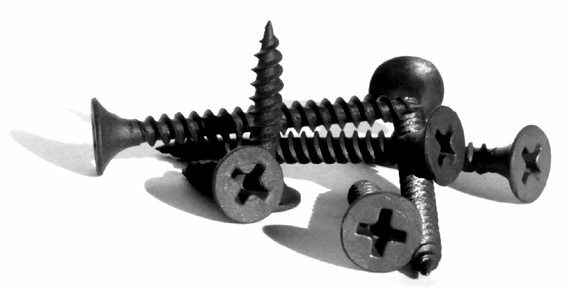 |
Screws |
Instead of a sheet of plywood, you can use a ready-made countertop from the old table. In this case, the project will even cheaper.
progress of work
Consider how to make a folding table:
| Picture | Description |
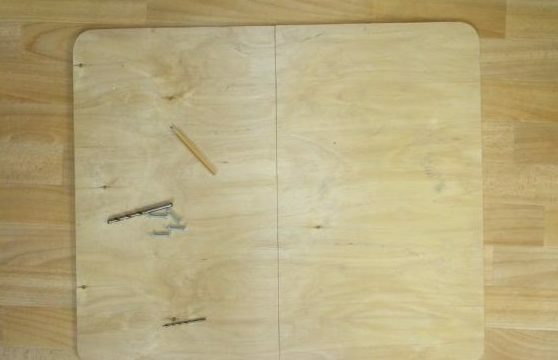 |
Making the worktop:
|
 |
|
 |
|
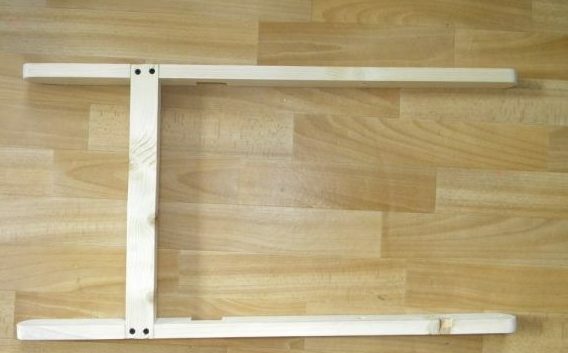 |
Putting inner feet:
|
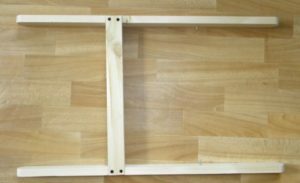 |
Putting outer feet:
|
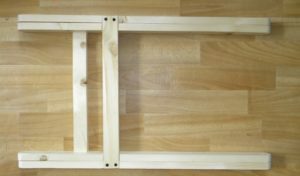 |
insert inner legs to the outer |
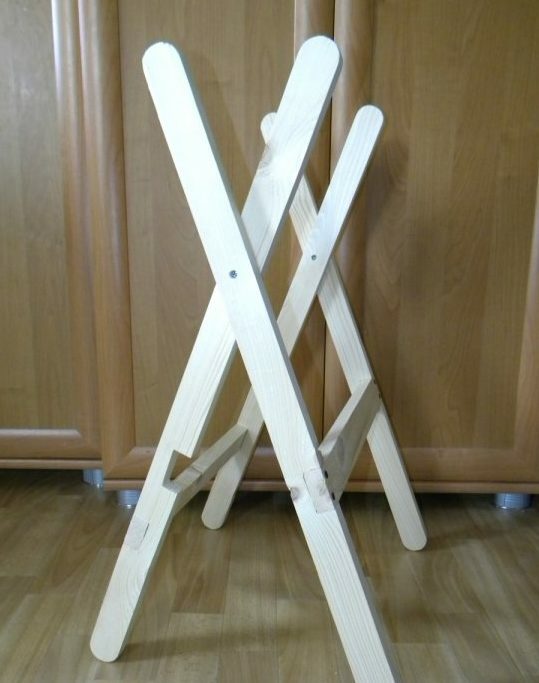 |
|
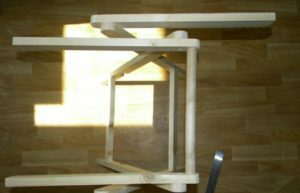 |
Fasten previously harvested bars to the top of the legs, as shown in Figure |
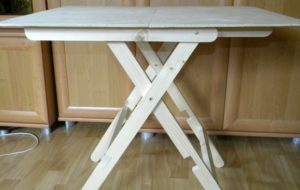 |
install both halves of the table top |
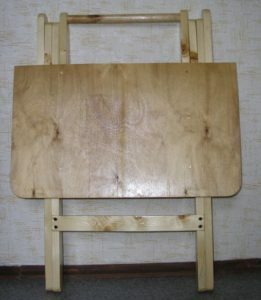 |
Grind and varnish all details |
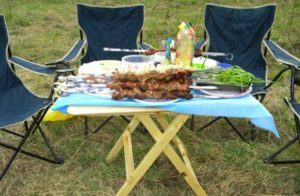 |
Testing ready picnic table |
As you can see, the price of each option is for the most part only of the cost of lumber. If you find them on his farm, the tables can turn and even free of charge.
conclusion
Now that you know how to make a folding table with his own hands. As a result, the finished product may look different, have a different build system. Choose the option that you most preferred.
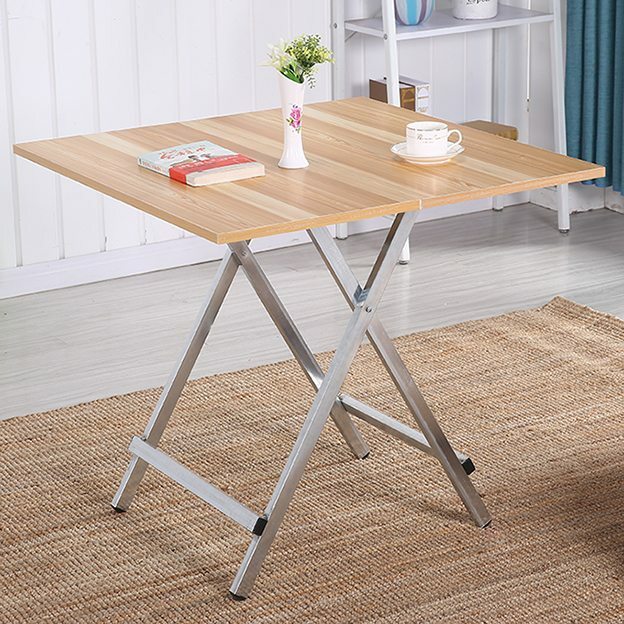
Ready foldout table can be used not only in the campaign, or on a picnic, but in the house
