LED lights: the parameters of diodes + 2 stage mount technology
Table of contents
-
1 LED equipment
- 1.1 types of diodes
- 1.2 The density of the diodes
- 1.3 tape security
- 1.4 Optimum power supply unit
-
2 additional equipment
- 2.1 direct materials
- 2.2 Tools for work
-
3 LED strip installation technology
- 3.1 Step 1. installation of a plinth
- 3.2 Step 2. Assembly and electrical connection
- 4 Pluses LED-illumination
- 5 conclusion

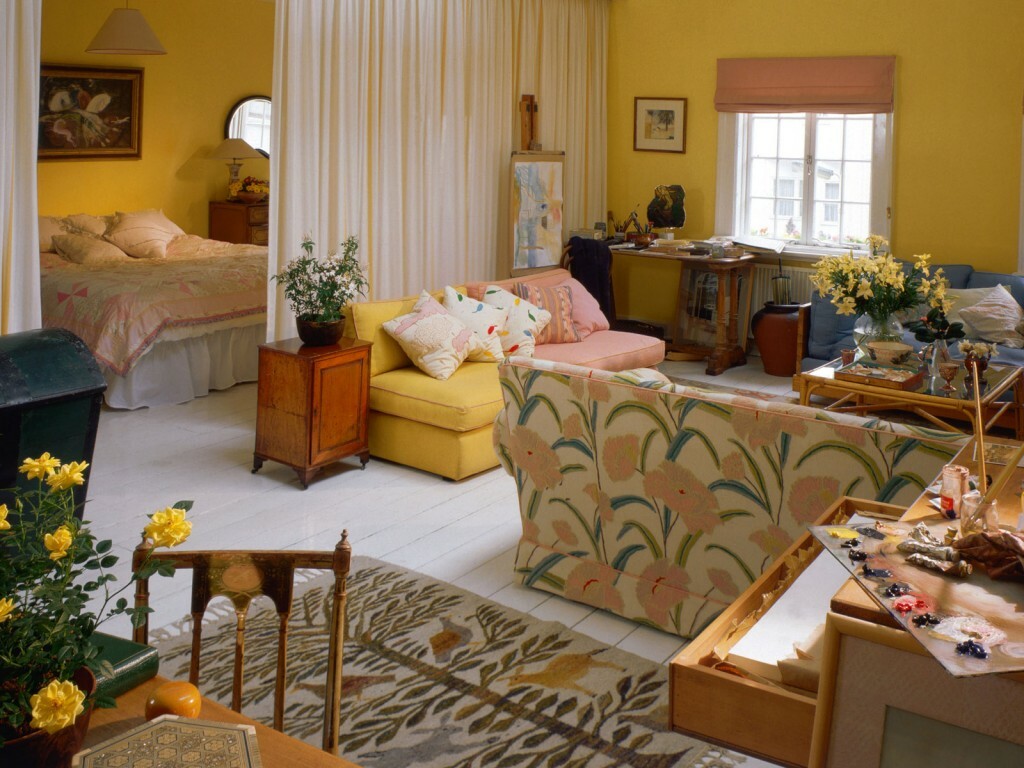
Securing tape with LEDs along the contour of the room, you can achieve an interesting effect
LED ceiling lights or furniture - is a practical and stylish solution that anyone can implement on their own. What is needed for such a project? How to prepare the ground for installation of LED strip and how to assemble and connect the wiring diagram? I'll explain in detail.
LED equipment
types of diodes
To make contouring lighting in the kitchen, in the bedroom or living room, it is easiest to use a special LED strips, also called LED-Band (Light-emitting diode). It represents the number of LEDs mounted on a polymer basis and coupled conductors in a certain pattern. It depends on the choice of the tape will look like lights, and how effectively will the design space.

It looks like the tape to illuminate the room

Exterior light element
There are several options to consider when choosing a tape. This type of diode, the density and the degree of protection.
LED type is determined by the markings:
- SMD-3528 (3,5h2,8 mm). It contains a single crystal, two pins for connection, there is only one color. It is relatively inexpensive, has a relatively low brightness. Tape-based SMD-3528 are mainly used for lighting design.
- SMD-5050 (5,0h5,0 mm). It contains three crystal and six terminals, thus can be both monochrome and tri-color (RGB - red, green, blue, ie red, green and blue). Having three radiating crystal provides high brightness because such a tape can be used as a functional and a light source - not just optional, but basic. It is more expensive.
- SMD-2835, SMD-3014, SMD-3020 - the variety of diodes, which are much less common. Brightness SMD-3528 are similar to or slightly different. It can also be used as a light decor.

Diodes and their dimensions
The density of the diodes
The next parameter that characterizes LED ribbon - is the density of the diodes. The value is almost always indicated in the amount of light elements on the meter.

The apparatus and the different density of the tape
The most common variants of the density:
- for SMD-3528 - 30, 60, 120 or 240;
- for SMD-5050 - 30, or 60 (120 - infrequently).

The denser arranged diodes, the greater the overall brightness
Here it is necessary to take into account that different LED illumination have different functions, and to select the density of the tape is necessary in accordance with the task. As a rule, it is recommended:
- for decorative lighting - the density of the diodes 30-60 / m;
- for functional - at least 120.
Unfortunately, this board does not consider that the SMD-5050 significantly brighter than SMD-3528, and therefore the luminous flux it can be higher even at a lower density. For correct model selection should use the table:
| diode type | Tape Density diodes / m | The luminous flux per 1 m of tape, lumens | Equivalent incandescent lamp power, W | Power consumption 1m tape, W |
| SMD-3528 | 30 | 150 | 10 | 2,4 |
| 60 | 300 | 20 | 4,8 | |
| 120 | 600 | 40 | 9,6 | |
| SMD-5050 | 30 | 360 | 24 | 7,2 |
| 60 | 720 | 48 | 14,4 |
tape security
LED lights can be installed in a variety of conditions, ranging from dry enough bedrooms and finishing kitchen and bathroom with high humidity. LED-belt can be mounted even inside the tank under water - natural if choose a suitable model.

The use of casings of silicone or clear PVC allows to protect the electrical part from water and dust
The conditions in which the tape will continue to operate depends on the degree of protection. Most often the product is used in the interior:
- IP20 / IP33 - unprotected, leaking, open diodes and conductive paths on the substrate. tape design to minimize the damage caused by individual drops falling at an angle. For this reason, it is desirable to use the product where contact with moisture is minimal - for example, in the ceiling illumination of premises;
- IP65 - with one-sided protection, partly sealed. Such tapes and diodes and conductive paths are filled with transparent silicone that allows you to isolate them from the droplets and streams of water pouring under slight pressure. Products can be used to illuminate kitchens (including above the working surface) and bathrooms;

Products with good protection against moisture can be used in the decoration of aquariums
- IP67 / IP68 - with bilateral hermetic protection. The electrical part of the tape is located within the housing from a transparent plastic or silicone, completely blocking the entry of moisture. They may be used for decorating aquariums, ponds and pools, outdoor lighting, etc.

Products with varying degrees of protection: at the top - in a sealed housing, in the middle - a filled silicone bottom - without protection
From the three options listed above (diode type, density and degree of protection), and the price depends on the tape. For example:
- meter 3528 SMD 60 with degree of protection costs about 70 rubles;
- the same tape, but is protected by IP65 - 250 rubles;
- one of the most expensive mass of options - 30 SMD 5050 IP67 - cost about 550 rubles per meter.
Optimum power supply unit
Setting LED strip for decorative or functional lighting involves the use of another mandatory element - the power supply. His power should match the power used by lighting.

Powered lights is not directly from the network and from the special block
power calculation formula of the power supply for LED-backlight:
W = L x W1 x K, where:
- W - the required power device W;
- L - tape length, m;
- W1 - 1 meter power consumption belt (see. the table above, or the information on the product packaging);
- TO - operating intensity factor. For decorative lighting is usually taken to be 1.3, for functional - 1.5 - 1.7.
As an example we calculate the power supply unit for the tape 12 m SMD-3528 density 60 for decorative lighting:
W = 12 x 4.8 x 1.3 = 74.9 watts.

The more powerful unit, the more its size: it must be considered when designing the system
After rounding, it is obvious that we will approach 75-80 watt power supply.
Given the relatively small difference in price, I would have taken the device to 100W - only that it is less heated.
If you do not want to mess with the selection of a power unit and belts, we can immediately take ready-made set of equipment, including all necessary.
Includes:
- five-meter tape;
- Power Supply;
- additional device (dimmer, RGB controller);
- connectors;
- instruction.
one minus - there is such a set is more expensive than its components when buying individually.
additional equipment
direct materials
Ceiling lights and kitchen units requires the use not only of the tape with the power supply. We need and other details:
| Illustration | materials |
 |
Decorative moldings for lighting. It is used in the interior LED-ribbons, equipped with a special shelf for mounting LEDs. Most often made of dense non-combustible polyurethane. |
 |
Furniture moldings for LEDs. Made of plastic or aluminum, it has an inside groove for laying the tape. The front surface of the groove is closed transparent or matt white inset of plastic, light scattering and provides additional protection illumination from dust and moisture. |
|
Dimmer for LED. It allows you to adjust the brightness. |
 |
RGB-Controller with remote control. It is used to select a color from multi-color ribbon decorative lighting. |
 |
Connectors for LED strip. Used to connect the contact wires with a minimum of effort. In principle, you can do without connectors, but then have to solder the wires to the tape protecting the place contact insulation or heat shrink tubes. Obtain reliable, but longer. |


Compositions for bonding to illuminate the ceiling skirtings
In addition to these elements in the table, we will need:
- Adhesive for ceiling moldings;
- solvent degreasing a base;
- primer for the walls;
- double sided tape or screws for fastening the furniture plinth;
- connecting cables (copper two- and four-channel);
- Heat-shrink tubing for insulation.

For the isolation of useful heat shrink tubing, as in this photo
Tools for work
In order to perform the installation of LED backlights alone, need tools:

Tools and accessories for installation of the furniture profile
- Painter saw or knife to cut the plastic plinth;
- stuslo (skirting fixture for trimming the corners);
- spatulas and brushes for glue;
- rollers for the primer;
- wire cutters and pliers for use with wire;
- soldering iron with a fine tip.
- screwdriver for the terminal blocks.

Ceiling quirk conveniently cut by a miter box
LED strip installation technology
Step 1. installation of a plinth
I'll tell you how to make LED lighting with their own hands. The work should start with the preparation of the base - the installation of the ceiling or furniture plinth.

EXAMPLE open sticking
If the installation is performed on the lower surface of the kitchen units, the instruction requires two options:
- outdoor installation - Tape simply glued onto the bottom of the pre-skim suspended kitchen cabinets.

Profile mount for mounting tape on headsets
- Installing the baseboard - a locker on the lower side is glued or fastened with screws special profile. Thereafter, the profile is glued into the LED-tape which closes transparent insert.
Ceiling lights with their hands mounted a bit more complicated:
| Illustration | Sequencing |
 |
Preparing the plinth. Ceiling quirk to set the backlight trimmed the size of the room. To trim the interior and exterior angles used miter box - a special device that allows you to precisely adjust the details and not to confuse the direction of the cut. |
|
Preparing walls. On the ceiling wall under the applied marking ceiling installation moldings. Horizontal signage controlled by a level. |
|
Priming the walls. Place treat bonding skirting penetrating primer. As an alternative, the ground can be used for the adhesive plinth, diluted with water in a ratio of 2: 1-3: 1. |
|
Adhesive application. On the underside of the plinth thin layer of glue is applied. |
|
Gluing fillets. We put the baseboard to the wall and pressed while leveling. Excess adhesive protruding base at the bottom, gently remove the plastic spatula. |
|
Putty joints. The joints between the fragments fillets in corners and on flat areas plastered with white acrylic sealant. For sealing cracks using a trowel. |


LED lighting can also be installed in a special box of plasterboard. But in this case the shelf for placing the tape should be included in the ceiling design in advance, during its installation.

Scheme mounting shelves plasterboard
Suspended ceiling of light vinyl film can decorate even more original. For this LED-strip is glued directly on the wall behind the stretched canvas, a distance of about 40-50 mm from the upper edge of the fixing baguette. When the illumination light flux is eroded, whereby the decorative effect is achieved.

Here is the outline of the light decor of a dull white linen
Step 2. Assembly and electrical connection
Now - briefly about how to make LED backlighting.

Simple connectivity option

A complex scheme with several amplifiers and power supplies
The first thing you need to remember - LED strip connected in parallel, Fragments of not more than 5 m. Accordingly, when mounting the long loop we have to choose the appropriate length of wire.
Assembly system performs as follows:
| Illustration | Sequencing |
 |
Cutting the ribbon. Using sharp scissors, cut the ribbon on the LED-fragments of the desired length. cut line should be held according to the markings on the product, otherwise there is a risk of damaging the LED or wiring. |
 |
Soldering wires. We clean the ends of the wires (two-wire for monochrome ribbons, four-core - for the three-color), and the edge of the conductive tracks on the tape. Solder wire to the LED ribbon, guided by markings. When soldering using a temperature not exceeding 240-250 ° C. To avoid damaging the foundations of the soldering should not exceed 10 seconds. |
 |
Connecting to the power supply. The other end of the wire as we clean (edge lived can be compressed or put on them, limit switches). Keeping the marking and focusing on the color veins that can be connected to the terminals of the power supply by tightening the fixing screws with a screwdriver. |
 |
Verifying. Power up the system to the network by checking whether all the LEDs are lit. Also control the level of heating in the soldering locations. |
 |
Installing the tape. Using the self-adhesive base, mount the tape in the ceiling or furniture plinth quirk. You can also just stick the product on the bottom of the kitchen cabinet. |
Pluses LED-illumination
Ceiling lights or a headset with LED strips is gaining increasing popularity. This is due to its advantages:

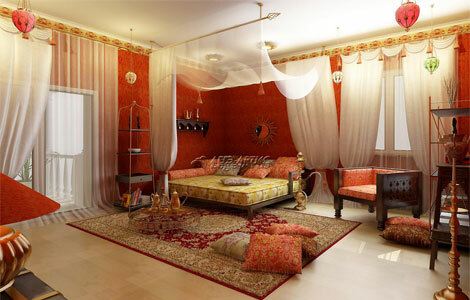
It looks so unusually light, and therefore attracts the eye
- Attractive appearance. Contour lighting, in my opinion, looks original. In addition, a variety of tapes and accessories for their installation makes the list of available designs is almost infinite. So what we have is limited only by imagination.
- Effectively. Picking up the tape with bright LEDs and a suitable density, it can be illuminated not only beautiful, but also useful. With a uniform distribution of the light source on the perimeter of the room it will not remain shaded corners. This will have a positive impact on the overall level of comfort.

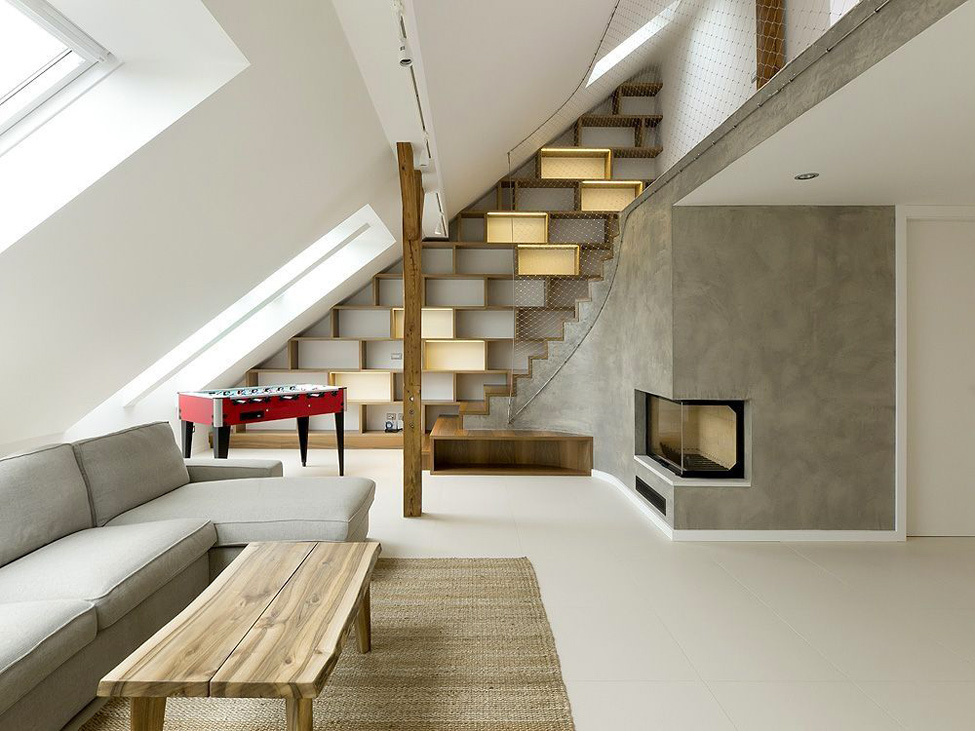
Evenly distributed light creates a cozy atmosphere
- Economy. Power consumption in the LED is significantly lower than that of incandescent lamps. This will allow us to keep the contour illumination on for a long time with minimal power consumption.
We must bear in mind that the tapes themselves and accessories are expensive. But, in general, the system is completely pays for itself by reducing costs within 5-7 years.

Labor costs for installation - minimal!
- Small installation labor intensity. Despite the fact that the installation of lighting suggests the presence of certain skills, it is still simple enough for self-exploration. An additional advantage is the absence of time-consuming and "dirty" operations - shtrobleniya wall installation Additional skeleton, etc. Because of this any idea of lighting design can be implemented in an already trimmed room.
conclusion
LED ceiling lights or headset can easily be assembled on their own according to the scheme given above. In order to understand the nuances of the technology further, check out the video in this article, and all the questions to ask in the comments.