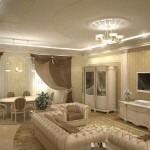
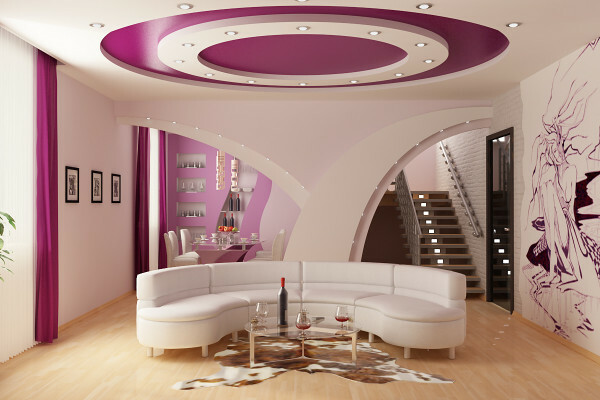
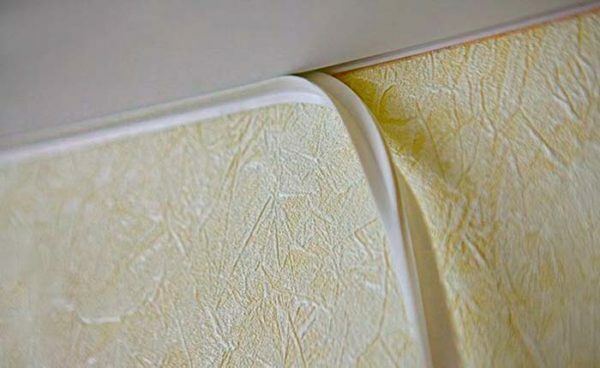
Plasterboard ceilings bedroom: from layout to painting
Table of contents
- 1 why drywall
-
2 one level
- 2.1 materials
- 2.2 Instruments
- 2.3 frame assembly
- 2.4 Filing GCR
- 2.5 Reinforcement and sutures Shpatlevanie
- 2.6 Grinding
-
3 several levels
- 3.1 frame
- 3.2 curved surfaces
-
4 Painting
- 4.1 Training
- 4.2 Choosing paint
- 4.3 infliction
- 5 conclusion
Greetings, comrades! Today I'll show you how to create the design for finishing drywall ceiling. We have to find out what is so good ceiling of GCR in the bedroom, and get to build a single-level technology and multi-level ceilings. So, in a way.
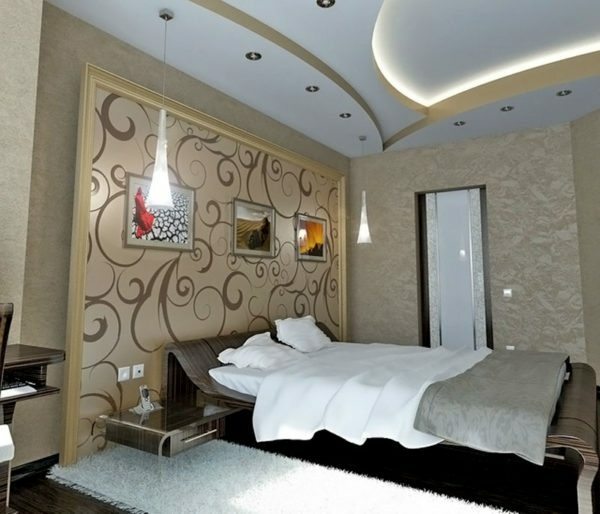
Three-tiered ceiling with spotlights and indirect lighting.
why drywall
Plasterboard in the bedroom allows you to:
- Hide overlap irregularities (Defects or plaster monolithic plate, differences between the individual plates, etc.) without restrictions on their size;
- Mount built into the ceiling lights in the bedroom. In this case, the wiring will be completely hidden in plain sight leaving only the lens of luminaires;
- Private pave utilities - the ventilation ducts, WLAN, line conditioning systems, etc .;
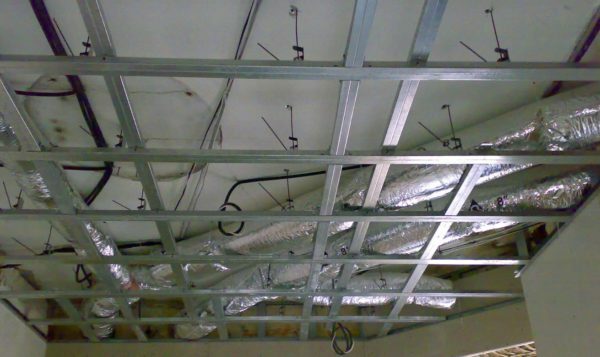
Suspended ceiling hides the air ducts of the heating system, combined with ventilation.
- Organize selection air exhaust ventilation from several points of bedrooms, providing effective ventilation in it. In this case, ventkanal opens into the space above the ceiling, which established several ventilation grilles;
- Create a multi-level structure with an arbitrary boundaries between levels.
Are there any contraindications to the use of GCR in the bedroom?
No. Judge for yourself:
- The emission of harmful substances into the surrounding air available: they are simply not contained in the gypsum core of the sheet, nor in its carton shell;
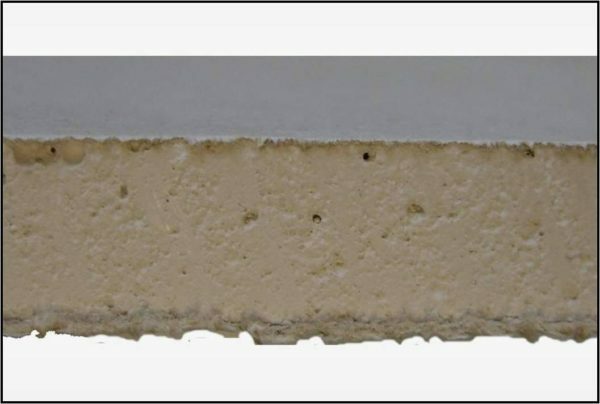
Drywall - a gypsum core and the shell of thick kraft paper. Both materials are of natural origin and contain no harmful substances.
- 2222GKL only afraid of strong mechanical forces and prolonged, direct contact with water.
Both destructive factor in our case no: accidentally touch the ceiling when carrying large Furniture is quite difficult, and the likelihood of flooding neighbors in the bedroom is minimal, simply because it does not water supply.
one level
So we need to build a simple single-level ceiling of GCR that can hide flaws floors and recessed lighting layout. What do you need?
materials
| Picture | Material and its functions |
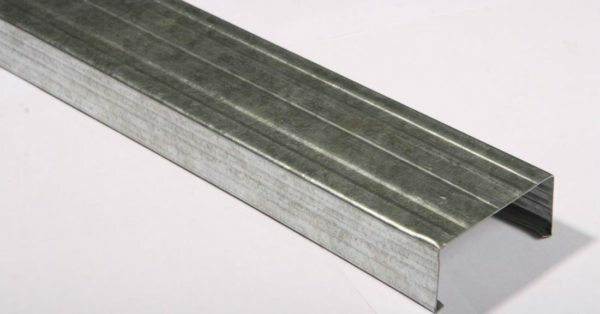 |
ceiling profile (GD or CD) is used to assemble furring for gypsum board. |
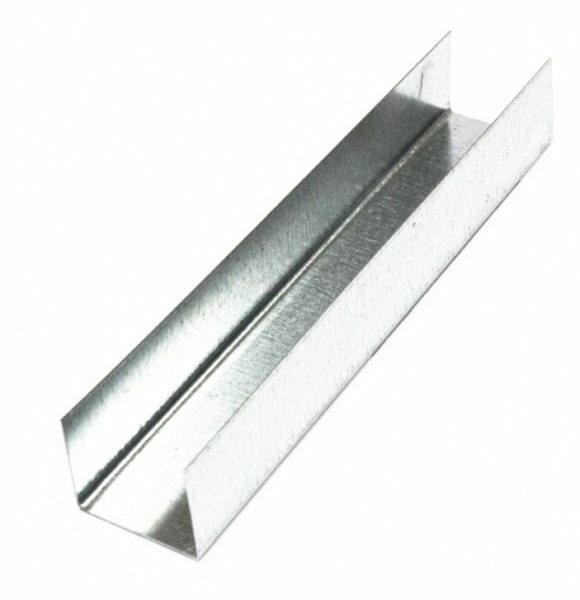 |
The guide ceiling profile (PNP or UD) responsible for the attachment batten to the horizontal walls and a ceiling profile for alignment in one plane. |
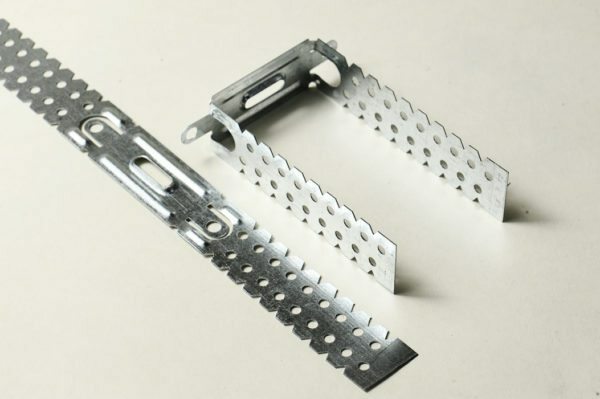 |
Direct suspension attaches to the ceiling batten and creates a gap between it and the ceiling. |
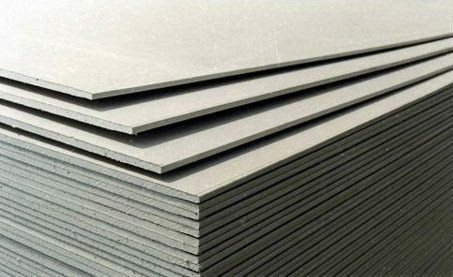 |
ceiling drywall 9.5 mm thick (normal or moisture resistant) - it is actually Vol ceiling, forming a flat surface. |
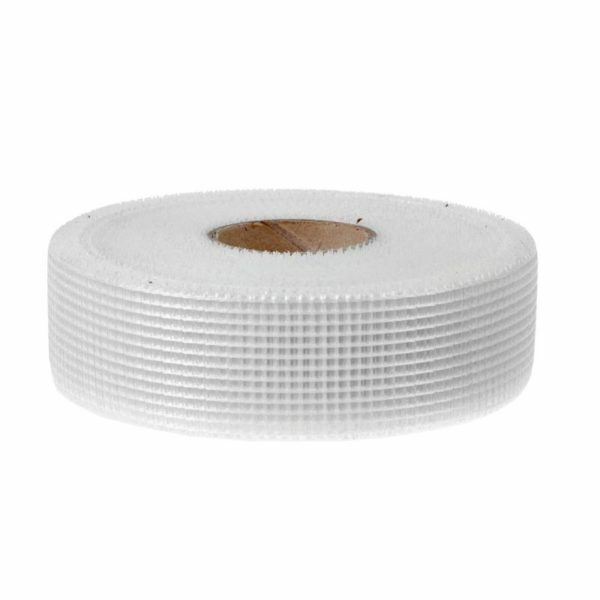 |
serpyanka - a strip of fiberglass, which reinforced seams. Reinforcement protects joints adjacent sheets from cracking during seasonal changes in temperature and humidity. |
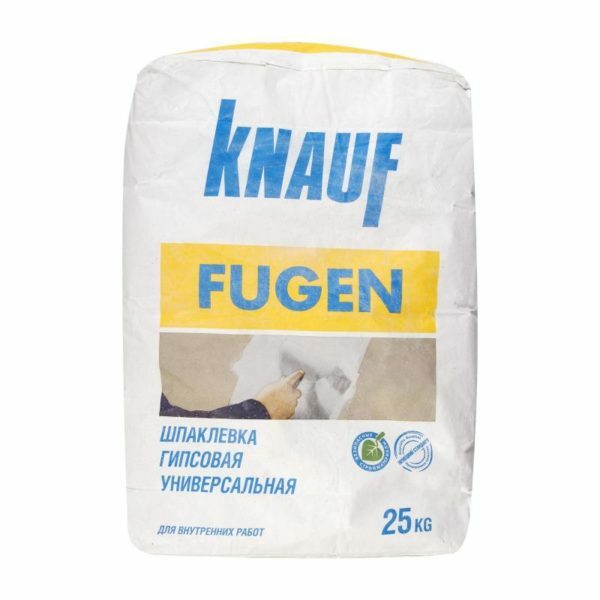 |
gypsum putty (Finishing or universal) to help hide the seams between the sheets and fasteners. |
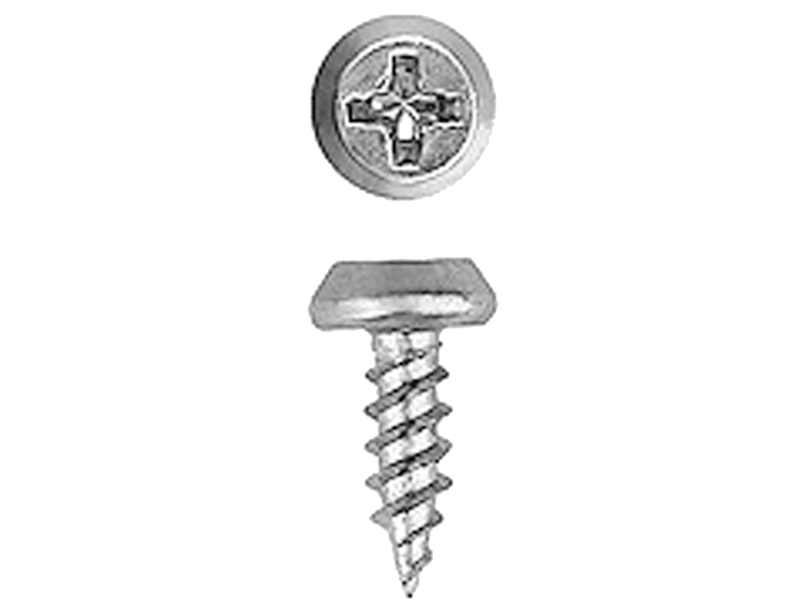 |
Screws for metal 9 mm in length are used to interconnect the frame elements. |
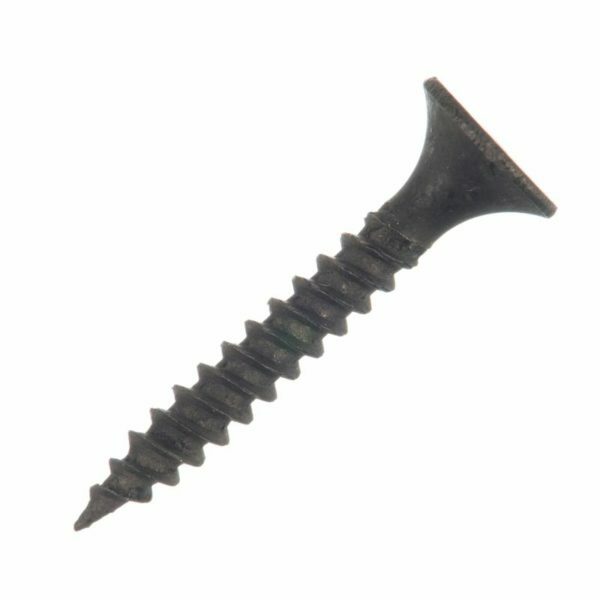 |
Screws Drywall a length of 25 mm are necessary for filing to the frame sheets GCR. |
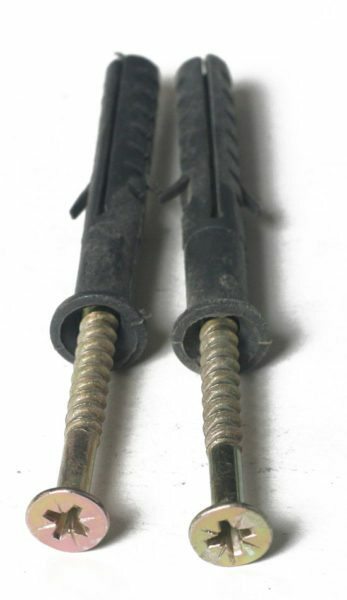 |
Dowel screws (60h6 or 80h8 mm) are used for fastening the rails and hangers. |
To assemble the ceiling in the attic bedroom I used not a ceiling, and a wall thickness of 12.5 mm plasterboard. The bottom of the inclined portions of the attic flow are at a height of just 1.9 meters, and can be easily hurt. You understand that the chance to break through the thin ceiling drywall is much easier than the wall.
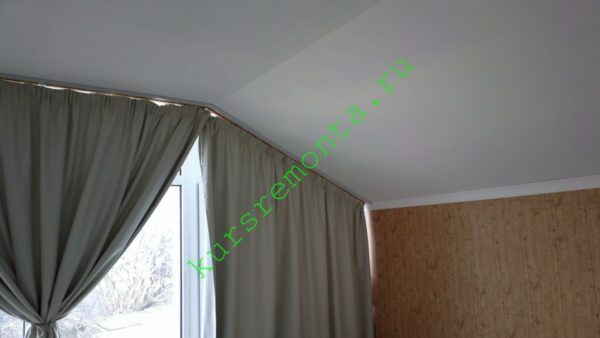
Sloping ceiling bedroom in the attic of my house is filed walling plasterboard 12.5 mm thick.
Instruments
To assemble the structure of the drywall will need:
| Picture | Tools and features |
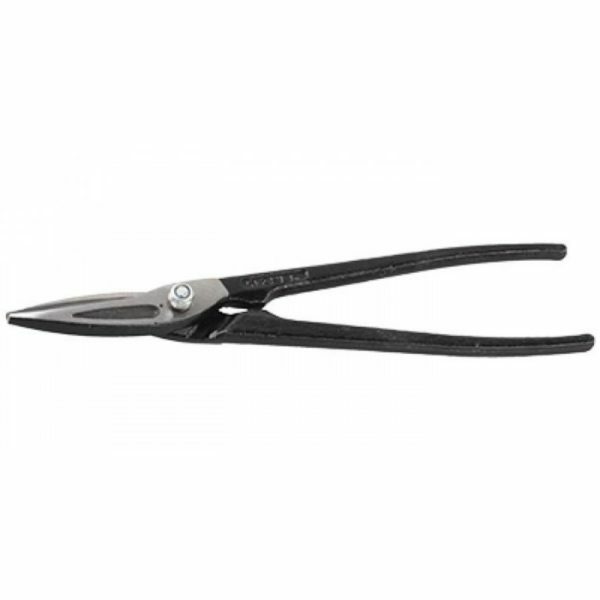 |
Shears for metal Cutting galvanized profile. |
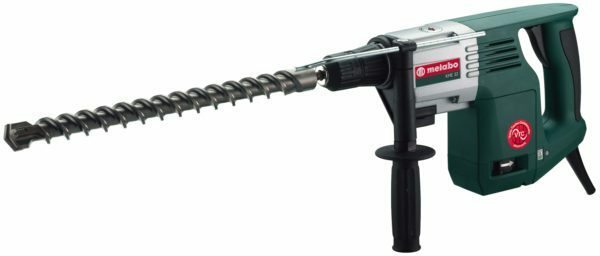 |
Perforator with drill 6-8 mm in diameter for drilling holes, dowel screws. |
 |
screwdriver. They all screws are screwed. Screwdriver is useless: fixing part of a galvanized profile at high speeds. |
 |
sharp knife for cutting drywall. |
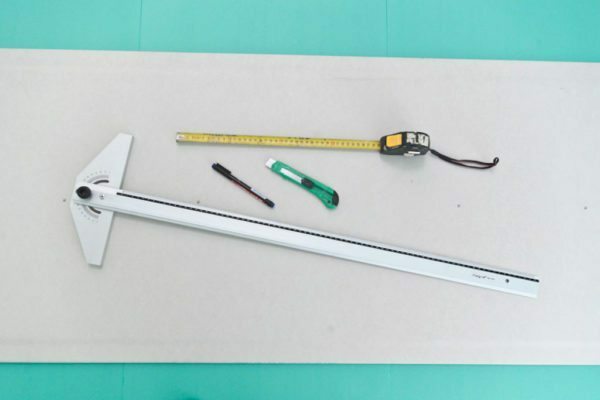 |
Tools for marking - a long ruler, a pencil, a corner. |
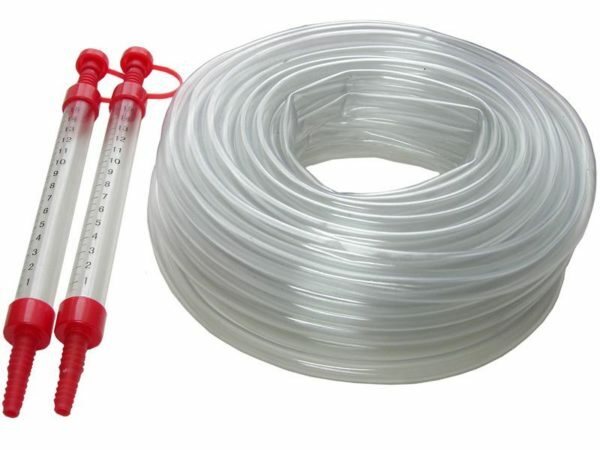 |
Laser or water level. He will mount a ceiling frame is strictly horizontal. |
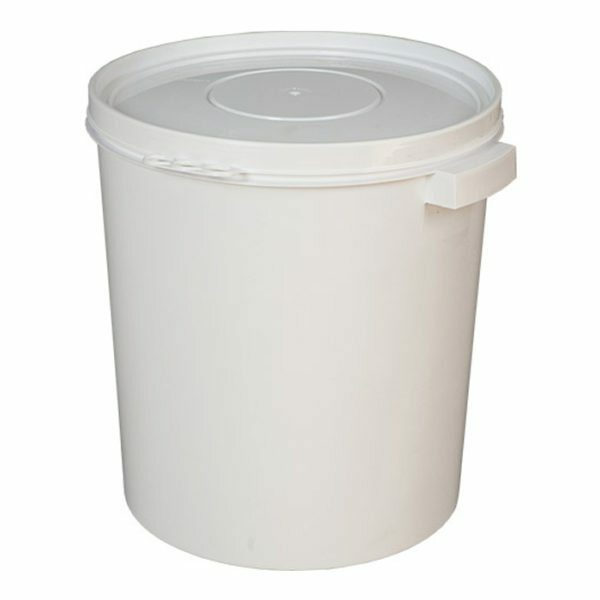 |
Tank gauging putty. I am using for this purpose a plastic jar of paint volume of 3 liters. |
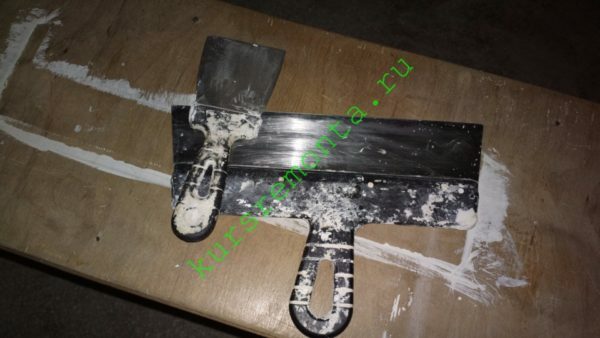 |
Putty knife for the sealing of joints and hats of screws. It's best to use a pair of spatulas of different width - 10-12 and 30-35 cm. |
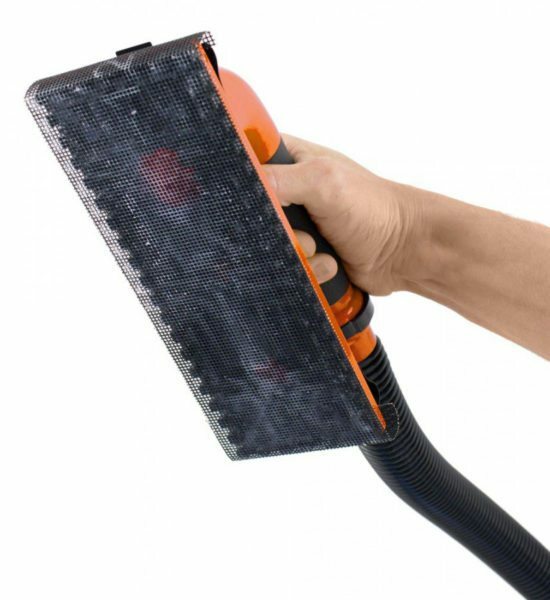 |
Manual grater or grinder and several milling screens. I use the grid for №100 and №120 coarse grinding to remove small defects. |
Attention, comrades: the profile can not be cut grinder. Convenient, but you can not. The cut area is burned by heating the zinc anti-corrosion coating, and under it black steel begins to rust, sometimes forming rusty stains on the nearest joints between plasterboard sheets.
frame assembly
| Picture | milestone |
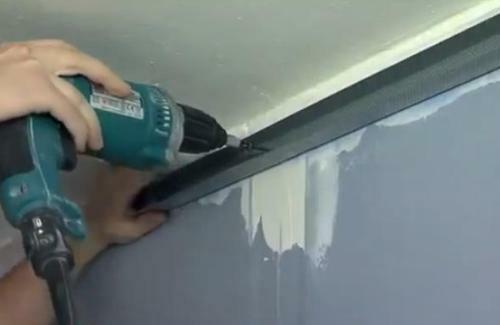 |
Marking and fixing rails. On the walls of the level is marked by a line of line mounting frame, then along the line of the dowel-screws fasten the guide profiles. Step fasteners - 50-60 cm. |
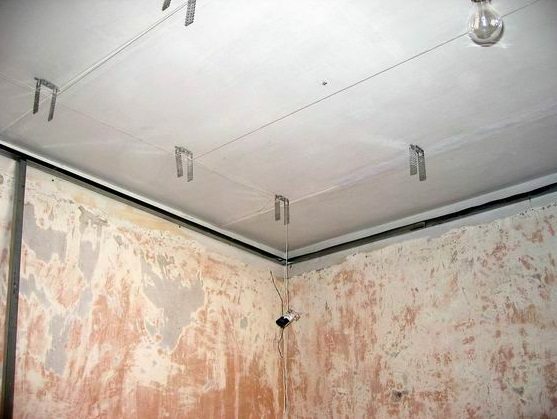 |
Marking crates and fastening hangers. Are marked on the ceiling parallel with the axis of ceiling profile step exactly 60 cm (half the width of the sheet of plasterboard). Along each of them with the same pitch are fixed dowel screws suspensions. |
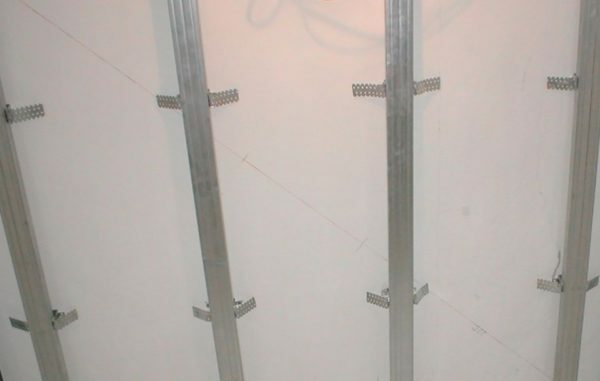 |
Mounting battens. Cut to the size of the ceiling profiles are inserted into the ends of the rails and are aligned in the same plane on a level. Then they are fastened with screws for metal hangers ears. The pro CD profile plane free ear part is curled up. |
To consolidate all CD in the same plane, align the extreme profiles level and tension between several cords. Other profiles equals to these cords.
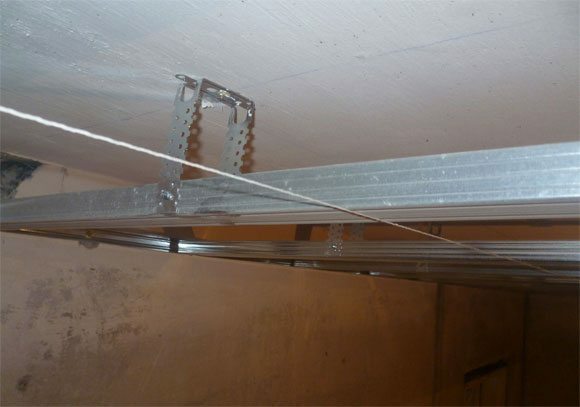
Strung cords will help to put battens profiles in the same horizontal plane.
Filing GCR
How to sheathe plasterboard ceiling in the bedroom with a ready frame?
Work is carried out at least twice. Sheet is aligned with the edge of the ceiling and the middle of the CD profile, and then stitched to the frame with screws on the GCR 25 mm with a pitch of 15-20 mm.
In this work, there are some subtleties:
- Measure the distance between the points of attachment span. So called Old Russian measure of length, which is equal to the distance between the tips of the most stretched thumb and index finger. In the span of a metric system translates to 17.78 cm. Its use will allow you to keep a permanent fixture step without using a ruler;
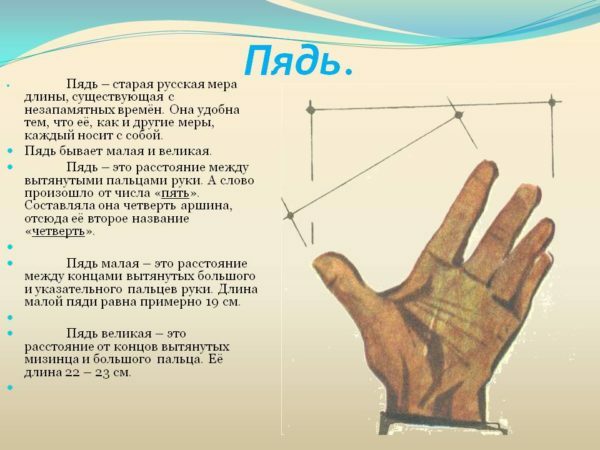
The distance between the screws when installing the GCR to crate the easiest way to measure the span.
- To cut a sheet finishing accessories, Make an incision with a knife on his line by a quarter thick, put on the table and break off, and then cut a cardboard shell from the back side. Broken GCR provides almost no dust in contrast to the cut with a hacksaw or jigsaw;
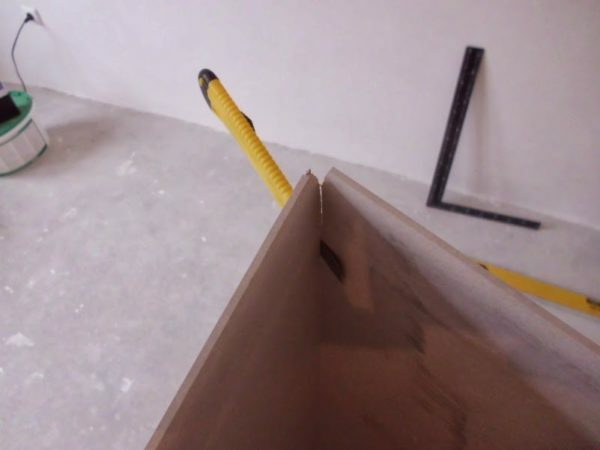
Notched quarter sheet thickness break precisely along the score line.
- screw the screws at a distance of not less than 2 cm from the edge of the sheet, otherwise there is a possibility crumble its edge;
- The screw cap must sink to 1 mm below the surface GCR. Screwing it deeper, you risk to break through the sheet. If you do not tighten fasteners, cap remains visible after shpatlevanija;
The correct insertion depth of fasteners easily achieved by adjusting the ratchet screwdriver to actuate when submerged cap.
- If the screw has failed, Do not remove it. Screw the next one. Hole hidden when puttying.
Reinforcement and sutures Shpatlevanie
After filing gypsum ceiling is a rather unsightly spectacle cap screws and seams between the sheets remain in sight. Finish by painting consists of three stages.
| Picture | stage work |
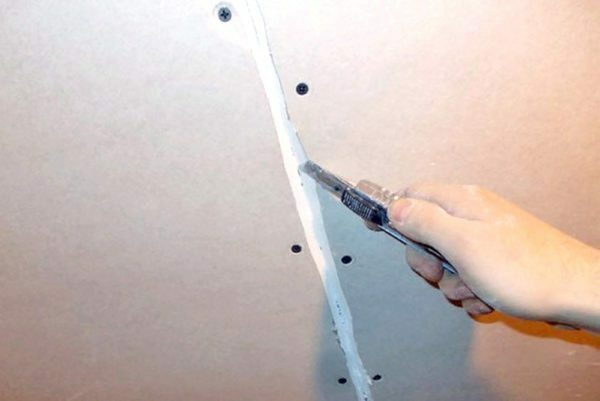 |
pointing dobornyh sheets. Since the cut edges at the place drywall removed office knife chamfer angle of 45 degrees at half the depth of the sheet. Fancy will fill the joint with shpaklevanii. |
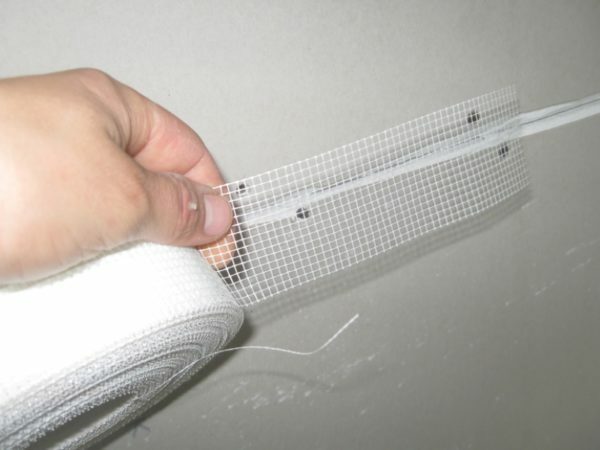 |
Reinforcement: Glued seams serpyanku. It rests on the surface of the FCL by applying adhesive layer manufacturer. |
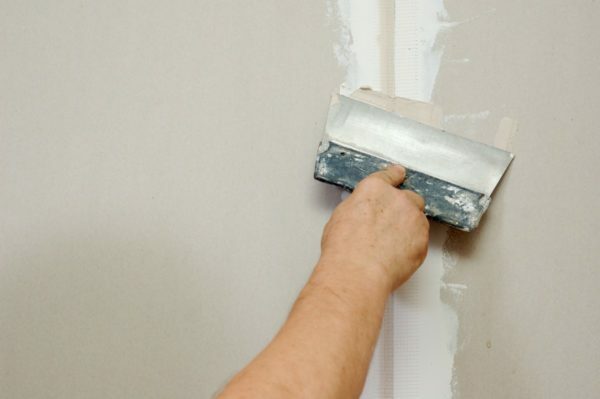 |
luting performed in two steps. Initially, the seam is filled through filler serpyanku cell, then the second layer covers the reinforcement and completely hides its texture. Cap screws too shpatljujut two times. |
Subtlety is here:
- Serpyanku better to stick with small portions. After a few minutes it can fall under its own weight, so the reinforcement need as quickly as possible to fix the filler;
- Spreading the gypsum filler, add the dry mix to the water, but not vice versa. If pour water into a dry gypsum, on the container bottom are formed clumps that are almost impossible to break;
- When grouting more convenient to use a narrow spatula, and when applied second layer concealing reinforcement - broad;
To apply a wide strip of putty, to impose it on a wide spatula using narrow.
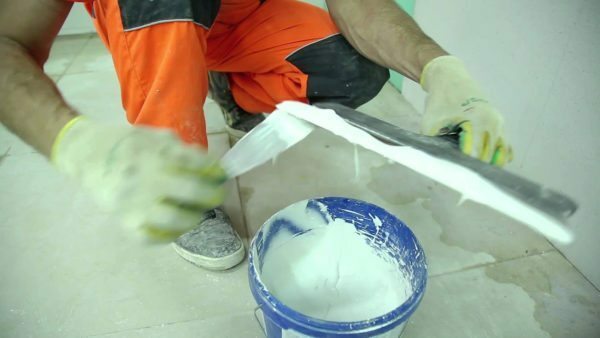
When grouting filler is distributed uniformly throughout the width of the spatula.
- Necessarily wash tank in which dilute gypsum and spatula after each batch. Otherwise, grasp the old putty will gather lumps and falling under the trowel, leaving furrows in the grouting;
- Prepare plaster small (not greater than 3 kg) in portions. Instructions related to the lifetime of putty: 30-45 minutes it becomes unusable.
Do I need to putty the entire surface of the ceiling?
In my opinion, it is not necessary. Solid Shpatlevanie useful only in those cases when, after sealing seams and grinding stand thick. In this case, the filler is applied in two thin layers as possible with intermediate drying.
Grinding
The ceiling can be ground with his hands, with a hand grater or sander. The second option saves a lot of time and effort. I use an inexpensive vibrating sander China.
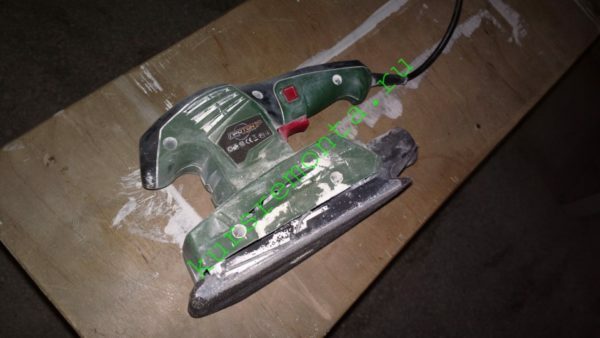
My tool for sanding drywall - vibrating sander "Proton" cost a little more than a thousand rubles.
Grinding is performed under the light, which will be operated by a bedroom most of the time - natural or artificial. Desirably, the light incident at a small angle to the surface. So you do not miss out minor irregularities they will be highlighted in contrasting shades.
When sanding drywall not forget to wear sunglasses and a gauze bandage or respirator. Gypsum dust irritates mucous and cornea of the eye.

When grinding do not forget to use personal protective equipment.
several levels
tiered ceiling design is different from the single-level:
- More complex framework;
- Optionally - the presence of curved surfaces. This means that the fragile gypsum board will have to bend.
To avoid repetition, I pay attention only to these differences.
frame
The second level of the mounted rack profile CW 50x50 mm guide UW (50x40 mm) and we already know of CD and UD. Curves of the carcass line can be collected on a flexible arched profile, but it successfully replace UW UD or slit in the sidewalls every 10 centimeters.
The frame of the second level is attached to the ceiling of the first crate directly or through a hemmed to the drywall.
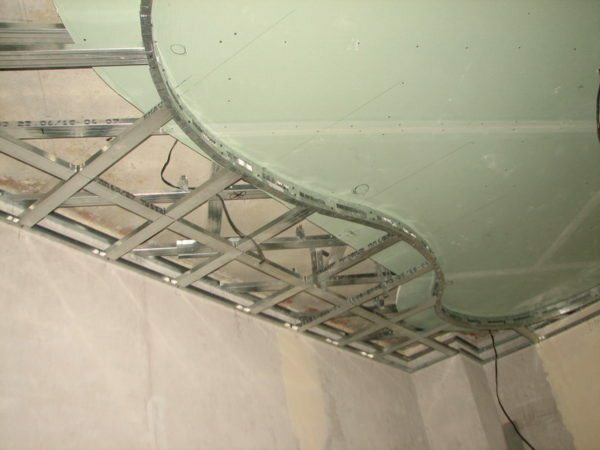
the second level is assembled from frame profiles and CD UD. It is fixed to the main crate through a bound layer on it moisture resistant plasterboard.
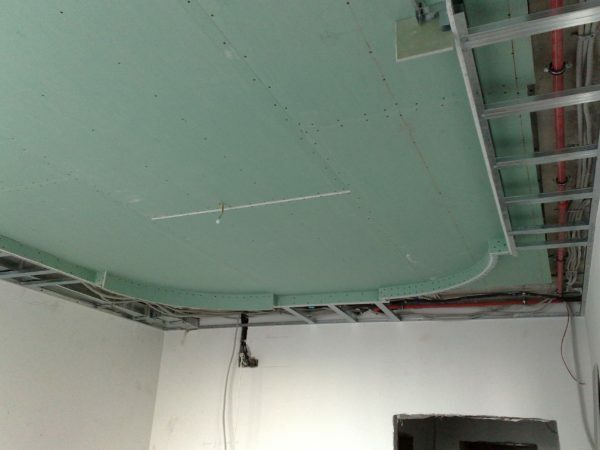
In this photo frame of the second level consists of rack guides profiles CW and UW.
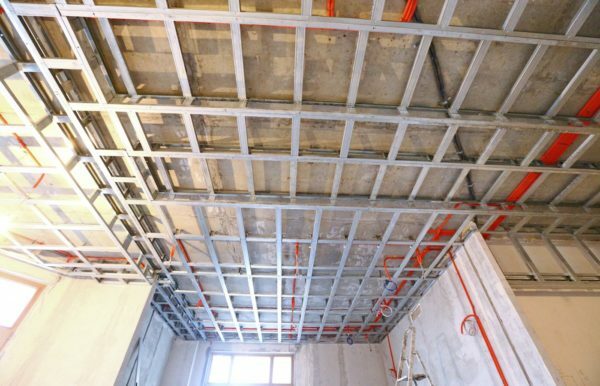
Split-level frame of the profiles CD, UD. Frameworks two levels are connected directly to each other without a gasket between them GCR.
curved surfaces
The most beautiful plasterboard ceilings in the bedroom - a multi-level, with curvilinear boundaries levels. How to bend the GCR for covering vertical curved frame section?
Here are three common way:
- Use arched drywall 6 mm. He bends with a radius of about half a meter without any tricks;
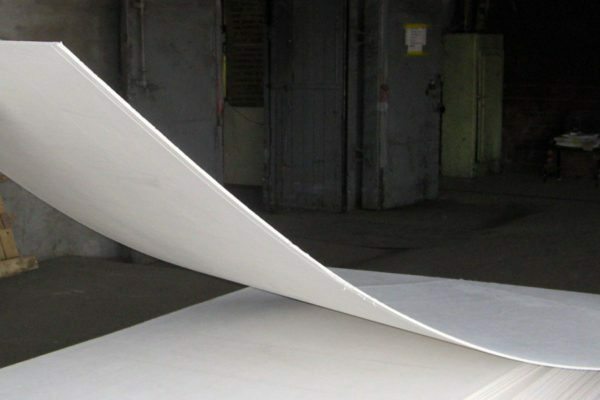
Arch drywall easily bent with a small bending radius.
- 2222Nadrezhte sheet on the back side 5-10 cm step and cracked it on each section. bending surface will not rounded and multifaceted, but do not let that upset: when puttying you will be able to bring a smooth curve;
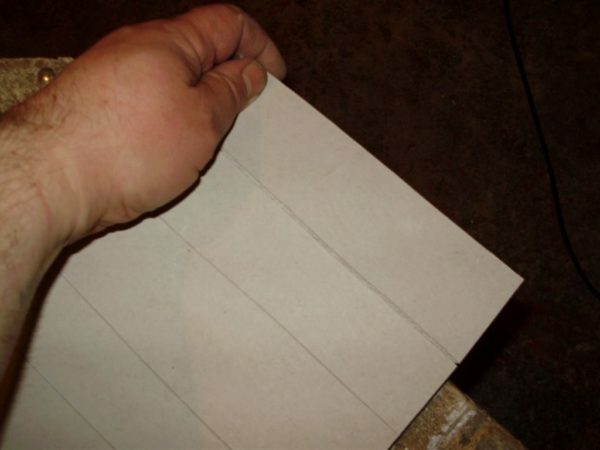
Notched sheet bent segments. Rounded shape bending give putty.
- 3333Prokatayte ceiling GCR spiked roller and generously spray it. Sodden half an hour of contact with water becomes a plastic gypsum core. Then had dried on the frame, it will harden again in the desired position.
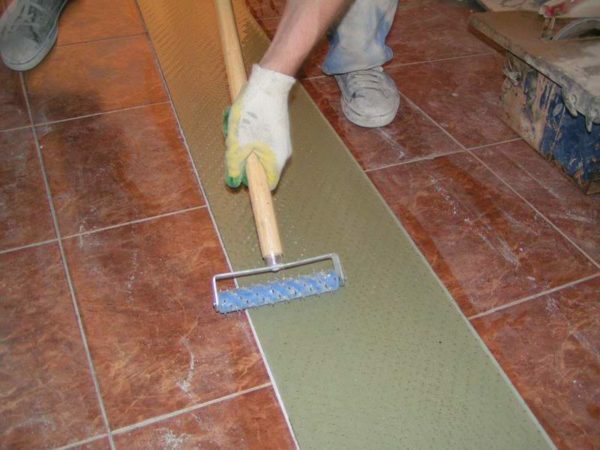
Roller pierces the carton shell and gives be melted in water gypsum core, making the flexible sheet.
Painting
Finishing plasterboard ceiling is reduced, usually to his painting.
Training
It consists of two stages:
- dedusting. Remaining after grinding gypsum dust is removed with a vacuum cleaner or a broom;
- padding. Ceiling surface is primed throughout the area penetrating primer for GCR and mineral substrates. The primer reduces the ink consumption, improves its adhesion to the plaster and plasterboard, and the remainder adheres to the ceiling dust. Primed ceiling can be a roller with a long nap or a wide soft brush.
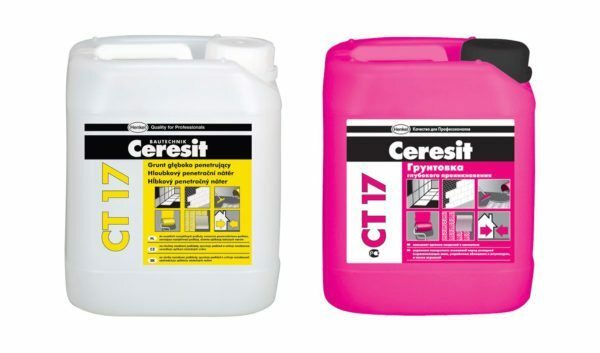
Quality Drywall primer from the company Ceresit.
Choosing paint
Our choice - dyes, water-based, quick-drying and odorless. Abrasion resistance and water resistance in this case is not critical: in the bedroom little dust and stably low humidity. So you can use inexpensive acrylic latex and water-dispersion paints.
When choosing colors, remember a few basic rules:
- Design in the bedroom and any other room can operate only three primary colors. If there are more, the room seem annoyingly colorful. Shades of color as well as black and white colors are not counted;
- Small bedroom with a bright ceiling and bright walls will seem more spacious than the actual size, large bedroom in dark colors - closely;
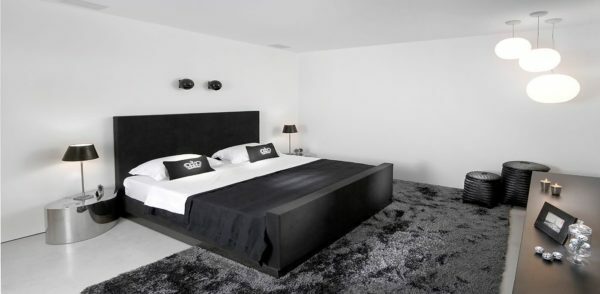
White visually expand a compact bedroom.
- Bright ceiling with dark walls make the room above. A dark ceiling with light walls stalinkas appropriate in their three-meter ceilings height: it will make the room appear lower, but having a large area.
Matte paint hides minor irregularities of the ceiling, glossy - emphasizes. If you want to see on a glossy ceiling, grinding seams GCR must be absolutely flawless.
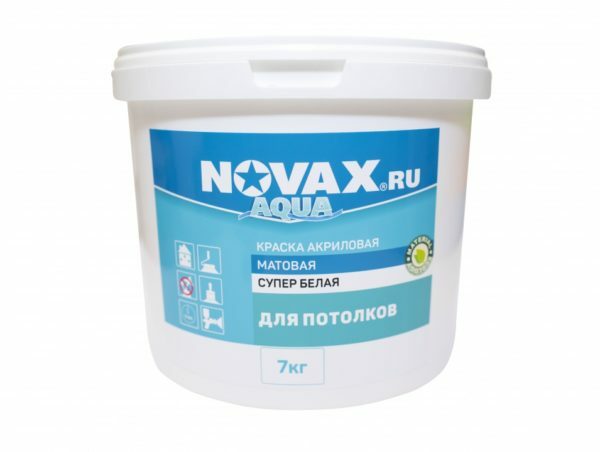
Matte paint hide minor surface irregularities and joints GCR.
infliction
First and foremost, between GCR spackling and painting must pass at least two weeks. During this time, over hydration of gypsum putty. If you hurry, the seams will stand shade at any number of layers of paint.
The consistency of the paint: Corresponds to a very fat milk. Thickened dye is diluted with water (no more than 1/10 of its amount) and thoroughly mixed.
Tool: A medium nap roller with paint tray and rolling roller.
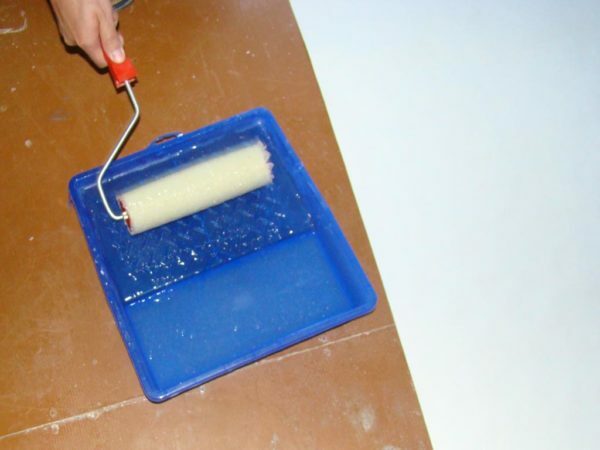
Roller rolled out only in the pan. If used for this ceiling surface layer of paint it will be uneven.
The number of layers: I always get at least four, regardless of the type of paint. At least three layers of the base and shine.
painting rules:
- Each layer is applied perpendicular to the previous. The last layer should lie parallel to the prevailing ceiling lighting. Then paint blemishes are less visible;
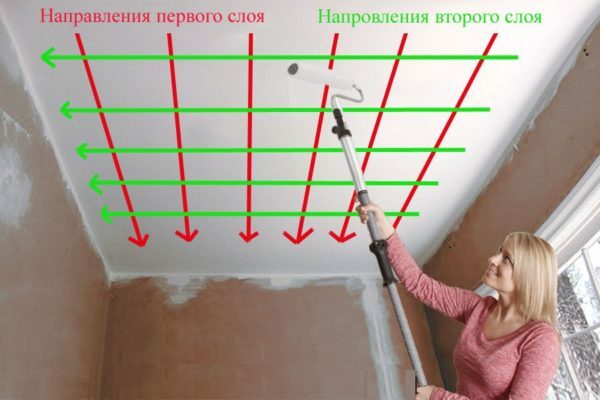
The last layer of paint must be superimposed in parallel to the prevailing lighting.
- The entire ceiling painted with a single layer in a single pass. If allowed to dry part of the surface, then the boundary will be noticeable thickening of the paint film;
- Before applying the next previous layer must be completely dry.
Drying of the layer of water-dispersion paints normal consistency at room temperature and normal ventilation bedrooms takes 1-2 hours.
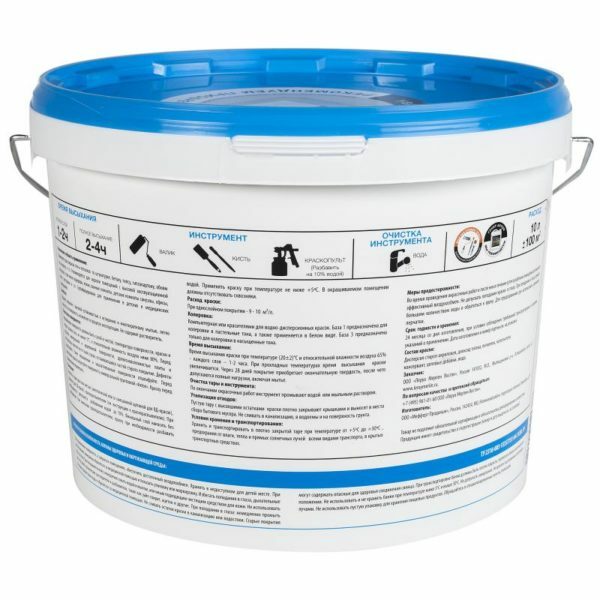
Drying time the ink layer indicated on the package and at room temperature for 1-2 hours.
conclusion
As you can see, all the stages of work do not require high skills and quite a newbie forces. Learn more about installing plasterboard ceilings will help the video in this article. I am waiting for your comments and additions to it. Good luck, comrades!
