Niche plasterboard backlit own hands (36 photos): decorate the ceiling LEDs
Table of contents
- 1 Materials and tools
-
2 Installation of eaves for LED strip
- 2.1 frame assembly
- 2.2 paneling Profile
- 3 Connecting backlight
- 4 Summarizing
- 5 Photo Gallery
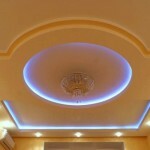
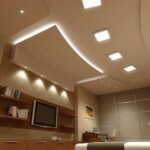
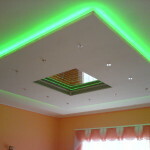
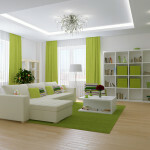
Economical and easy to assemble LED strip light is widely used for decorating the ceiling. In most cases, this provides an apparatus inlay niche plasterboard under the LED illumination - a special protrusion, on which are placed the lighting elements.
In this article, we will describe the technology of manufacturing these parts the ceiling, and only a few words, tell about the features of the connection LED-lighting.

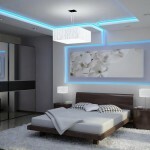
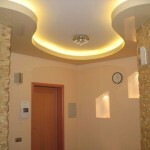
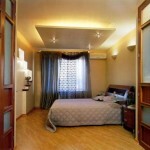
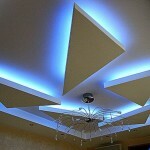
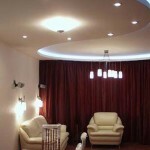
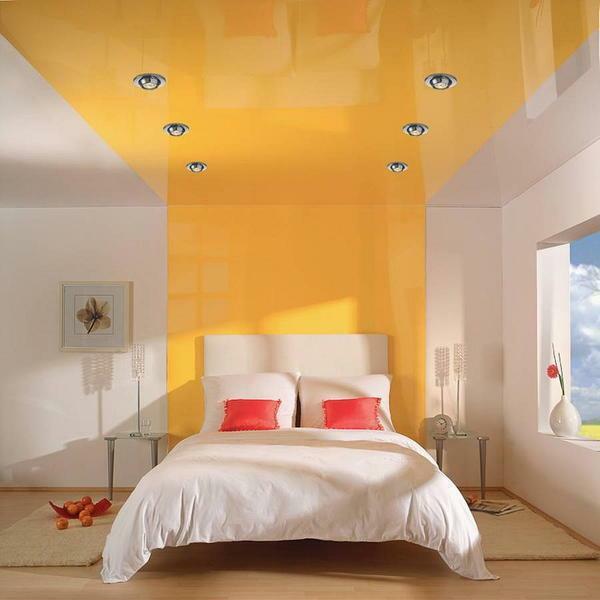
Luminous ceiling decor
Materials and tools
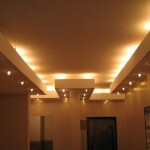
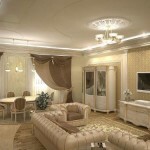
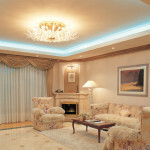
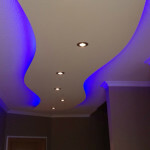
Niche plasterboard under the LED backlight is a special form of eaves extending along the perimeter of the room or on the edge of the ceiling multilevel elements.
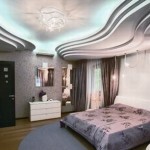
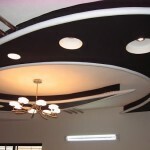
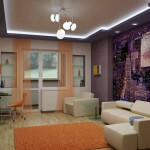
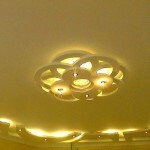
Examples of such designs you can see from the pictures in this article.

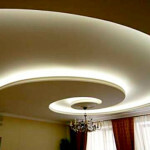
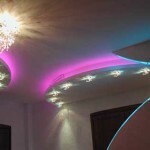
Colored LED-strip on the ceiling
It is also possible to manufacture designer wall structure - recesses in the wall with decorative lamps. However, in this case, the LED strip is used rarely, usually spotlights are used.
we need for the erection of such a structure:
- Plasterboard (normal or moisture resistant).
- Profile (starter and main).
- Direct ceiling hangers.
- Fasteners (dowels for fixing the frame to the ceiling profile and screws for gypsum plasterboard).
Also, we will need a LED ribbon itself, the power supply to it and wiring to connect the system to the power supply (section 0.75 mm or more) (see. also an article about the proper placement of spotlights on the ceiling).

LED-strip
Among the tools with which to create the design for the illumination of the drywall, we need:
- Rotary Hammer or percussion drill to drill pobeditovym.
- Screwdriver.
- Attachment to the screwdriver for use with gypsum plasterboard.
- Shears for metal.
- Pliers.
- Mounting the knife.
- Screwdrivers.
- A set of tools for fillings and finishing GCR.
All of these tools should be at hand - only then can you start to work.
Installation of eaves for LED strip
frame assembly
The cornice of the GFC plates for installation LED strip is mounted on a special frame. For the manufacture of the frame using galvanized metal profiles used for the assembly of battens suspended plasterboard ceiling.
Note! The design can be mounted both on the capital of the ceiling, and the sibling plasterboard ceiling.
Lathing collect as follows:

Installation starting profile
- The spirit level on a horizontal base wall plot the line. Indent line from the ceiling should be 7-10 cm.
- Along the perimeter of the room with the baseline fasten the starting profiles for GCR.
- Stepping from a wall of 150-200 mm, fastened to the ceiling of the same starting profile, forming the inner perimeter.
- By the start profile ceiling every 40-50 cm segments fasten the main profile. The length of the segments should be equal to the distance from the bottom to the ceiling baseline.
- Wall profile starting connect with the suspension of the basic profile segments panels 300 mm long. The protrusions 150 mm and will be the primary carrier for the eaves.
- Frameworks large size can further enhance the basic profile panels, securing them to the underside.

Ready foundation for skin
Note! At this stage it is necessary to lay wiring for electrical appliances. Wiring paving in plastic corrugated pipe, fixing them to the uprights with clamps.
paneling Profile

Wiring inside crates
When the frame is assembled, you are ready to trim the sheets GCR.
plating technology crates you are likely already familiar with many of the video on our website, so that there is only a general guide:
- From sheet cut off a narrow strip of gypsum plasterboard is sheathed and vertical part of the frame, for concealing sheet sandwiched wiring.
- If necessary sheathe curved surface laminating gypsum plasterboard spiked roller and bending it after pre-wetting.
- GCR sewn strip on the lower part, forming the basis of our design.
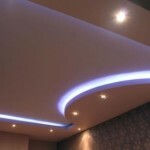
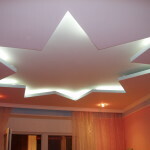
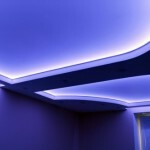
There are different types of niche plasterboard for hidden illumination.
We open on a ledge you can immediately install appliances, but closed all somewhat more complicated:
- Closed niche plasterboard backlit special rim fitted, which directs the light to the ceiling (see. also an article about the design of the ceiling plasterboard).
- For its formation on the edge of the protrusion of the GCR starting profile and fastened thereto already fix a gypsum plasterboard strip up to 50 mm in height.
- At the outer corner sticking special plastic or metal plate that is to protect the skin from damage plasterboard.

The cut niches plasterboard illumination: layout of the elements
Once the frame is formed and encased GCR, it can be coated and finish (paint, plaster, wallpaper). After finishing proceed to the final stage - installation of LED strip with your hands.
Connecting backlight
Before you install the LEDs in a niche of drywall, tape, you need to prepare:

Wiring diagram
- From the bay we cut the tape fragment length necessary for us. Cut the tape need only in places that have a special marking.
- If necessary, combine multiple feeds into one using special connectors. You can also just solder contacts with a soldering iron.
Tip! Lots longer than 5-7 m better connected in parallel, so the glow will be uniform along the entire length.
- Connect the LED-lamps to the power supply with the correct polarity. When selecting a power supply is better buy model, the power of which is 25-30% greater than the total power LEDs connected to it.
Of course, the price of such a power supply will be slightly higher, but it will guarantee that he will not burn after a few months of operation.

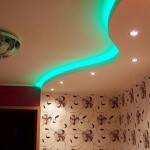
Controller for color ribbons
- To connect using a special color light RGB-controller.
- We check the performance of the assembled system. If all the lights as we need to, you can stick the tape onto the ledge.
- Connecting the tape paving of the rim, making sure that the wires and lamps are not in contact with metal crates.
Summarizing
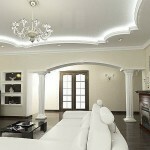
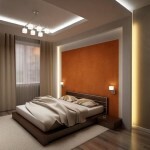
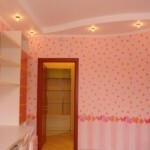
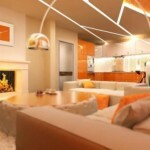
Properly furnished niche plasterboard backlight capable of radically transform the appearance of the room. So if you are interested in a light decor - we hope this article will be useful to you!
Photo Gallery