Repair options bathroom (60 photos): wall decoration, tiling and plumbing installation
Table of contents
- 1 To break - not to build
- 2 We take care of the walls
-
3 A bit of tile
- 3.1 surface preparation
- 3.2 Laying tiles
- 4 What's below us and above us
- 5 plumbing installation
- 6 Summing up
- 7 Photo Gallery
You do not know how your own hands can be repaired bathroom? What are the options for repairing a bathroom fit it in your case? These questions are now answered by our master.
Finished bathroom with his hands - the place where is held a lot of time, so a nice design and ease of use plumbing fixtures do not play a secondary role in shaping the mood of residents apartment.
 The average inhabitant of the apartment itself is an ideal bathroom so:
- all tubes are hidden from the eyes of the walls of plasterboard or duct;
- walls and floors are perfectly aligned and tiled;
- ceiling - suspended, panel or painted;
- plumbing - the latest and best quality;
- lighting pleasing the eye - the total for the entire room or just near the mirror.
Of course, each person has its own bathroom renovation ideas. And a universal solution does not exist, but guided by the advice given in this article, you can manually create a modern and cozy bathroom.
To break - not to build
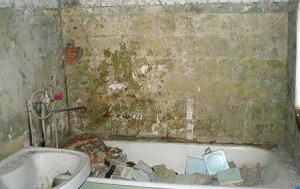
We begin dismantling
Before the repair room every apprentice builder expects enjoyable part - dismantling plumbing and finishing materials. First of all you need to disconnect the old bath, toilet and sink, and bring them out of the room.
Before the removal of the bath should unscrew the drain pipe and special fasteners. With sink repeat the same procedure. The next step - using a conventional hammer and chisel to remove all the tiles of the walls.
We take care of the walls
Bathroom - the room in which most of the day is saved humidity, especially in poor ventilation. Mildew - concerns of tenants for a long time. And the appearance of mold on the walls are finished in the bathroom and the ceiling - is a threat to your health.
For the prevention check ventilation and cover the walls of the mold protection, cleaning problem areas. it is recommended to repeat the procedure after plastering the walls.
Note! Scraping the walls of the mold, remove all damaged areas down to a brick layer, then apply a protective solution and must done.
Alignment of the walls and the ceiling is made with the help of water-resistant drywall or plaster, cement-base. Laying of electricians is done at the same time. The electrical wiring is performed necessarily whole pieces of wire and double insulated. Junction box is better to endure beyond the room.
A bit of tile
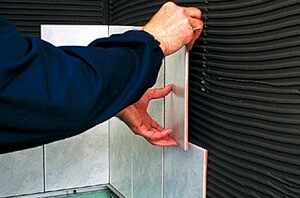
Put the tiles on the wall
After the initial treatment of the walls we are an important part of - laying tiles.
surface preparation
To avoid unnecessary spending, make a plan for placing tiles, calculate how many squares you You need to work and grab a couple of tiles more in order to avoid problems in case of damage already available.
Of course, the bathroom renovation budget does not imply the purchase is too expensive tile, but it is better not to save money during the repair, rather than spend money to replace defective tiles.
Note! Laying the tiles start from the corner, which is more visible. Try to calculate, so that put entire wall tiles.
Laying tiles
- Mark up the wall with the help of large-scale rail.
- Uniformly applied adhesive composition.
- We put a tile from a corner, forming a vertical and a horizontal row.
- We put the tiles in small squares, to monitor the proper performance of work.
A day after laying it is necessary to perform the final touch - grouting. To purify this by adhesive joints, using a special solution and a rubber spatula produce them grout. The joints between the bathtub and the wall is done with a sealant (Seresit recommend the use of CS-25, the price - 340 rubles.).
What's below us and above us
Leveling the floor can be made using the concrete screed, which is necessary to ensure good waterproofing impregnation for concrete or hydrophobic dry mixtures.
Tile is placed on the floor close to underneath the voids are not formed. Seams rubbing the entire depth and the material for the grout must be the same color as the tile itself.
Choose tiles that are marked "floor", it has a non-slip coating.
For finishing the ceiling should also choose moisture-proof materials. Ceiling itself can be of several types - tension, hanging rack, hanging a mirror or on a plastic crate. Which one to choose - a matter of the repairman, but do not forget about practicality materials.
plumbing installation
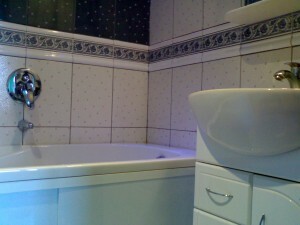
sanitary engineering
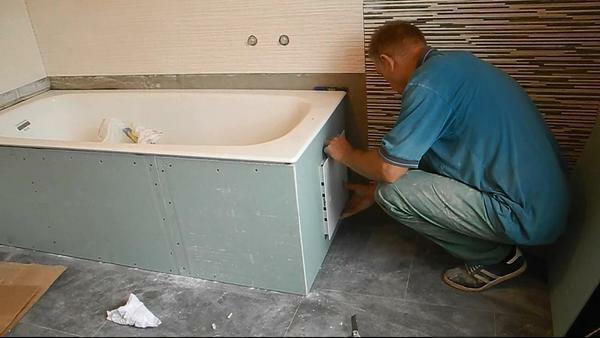
After conducting all necessary works nastaot turn to install plumbing. The bath is mounted to tile installation, however, admit a cosmetic work and installation renovated.
Most often it is placed at the wall in one corner of the room, but it is possible and the location in the center. Recently, instead of bulky tubs increasingly prefer showers, takes up less space, but with many more features.
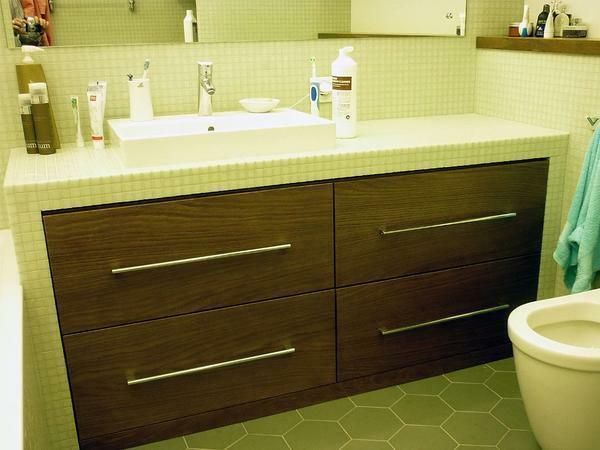
Sink can be placed on a pedestal or on a bracket. The first option is more practical because it allows you to hide the drain pipes and improve the interior has been repaired in the bathroom. In the case of combined bathroom the last stage of repair is the installation of a toilet bowl.
Summing up
We hope our article has been helpful to you. In order to more accurately understand the technological and practical issues on our website provides detailed photo and video instruction, in which you will find useful information on the question.
Photo Gallery
