How to decorate the toilet (photo 30): design options
Table of contents
- 1 Preparatory work
-
2 Decorating the walls
- 2.1 Tile
- 2.2 Plastic linings and panels
- 3 Wallpapering
- 4 finishing the ceiling
- 5 finishing the floor
- 6 Summing up
- 7 Photo Gallery
Modern finishes in the bathroom due to the modest size of the premises carried out often quite quickly. Due to the specificity of the room decoration should combine practicality, together with great aesthetic appeal and the effect of increasing the visual space.
In this article we will talk about how to decorate the toilet, while achieving compliance with all the requirements.
Preparatory work
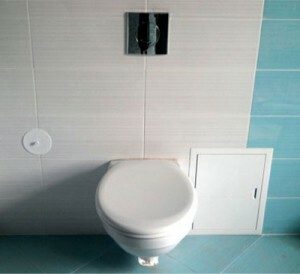 To achieve the most attractive interior spaces need to buy a kit to normal squat toilet (if you are not going to install the outboard) modern recessed drain tank.
In the preparation of the walls under plaster or other finishing work, will be able to hide it in the wall, leaving open access only the flush button.
At the stage of preparatory work should take care of the insulation liner and the riser with the aim of preventing the occurrence of condensate, as well as to install the hood.
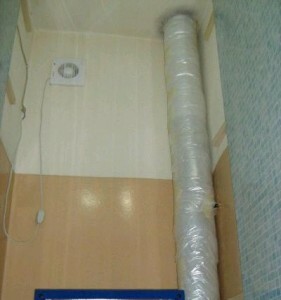
Warming sewer riser
Thermal insulation of the riser and the liner may be performed using special insulating materials, or that will not be less than efficiently by a conventional syntepon which follows as closely as possible to wrap around the pipe and seal the top a conventional adhesive tape.
exhaust connection can be made in two ways:
- parallel wire to connect it to a wire fixture, the inclusion drawing will occur simultaneously with the switching of light in the toilet;
- connect the wire to the second switch button (if two-button switch), which will turn on and off the light and extract independently.
Electrically connected to the opening should take the ventilation shaft and attached to the hood. Before installing, make sure that the hood body is free to enter into the vent, if not, it should be expanded by means of the gun.
Finally, apply a circumferential layer of mounting holes and the sealing foam insert the hood body wall until it stops in front of the lattice.
The foam is applied in the following order:
- during expansion tightly and evenly compress the hood body from all sides, allowing its rigid attachment;
- It acts as a sealant, preventing air being sucked from the side.
Decorating the walls
When the preparations are completed, you are ready to finish.
It all depends on your preferences and financial capabilities, but still try to describe each of the options. Of course, we are talking about finishing materials.
Decorating the bathroom with their hands in a complex operation means for improving elements such as walls, floor and ceiling.
Work should begin not from the ceiling trim, namely from the walls. As mentioned earlier, there are several options to cover them.
Namely:
- Ceramic tiles - the most common way is very practical, visually attractive, but the most expensive and complicated installation.
- PVC sheets or plastic linings - the best way to price / practicality / attraction and easy to embody.
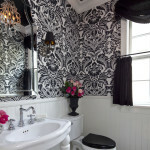
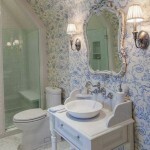
- Wallpaper - the cheapest and easily executable option, but for the walls in the bathroom and the toilet is very impractical.
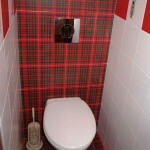
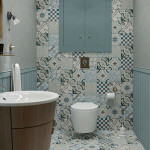
- Combined - as an option with the tiles, often practiced, as well as allow you to vary the cost of finishing. Such combinations are possible: a bottom tile / or wallpaper plastic top, bottom PVC / top wallpaper. border level between the top and bottom of the chosen contractor yourself.
Tile
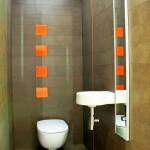
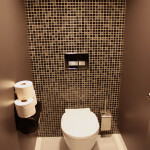
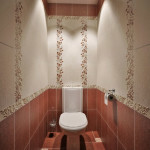
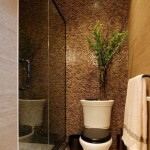
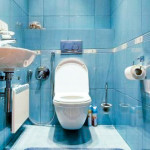
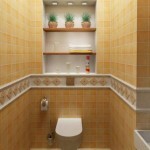
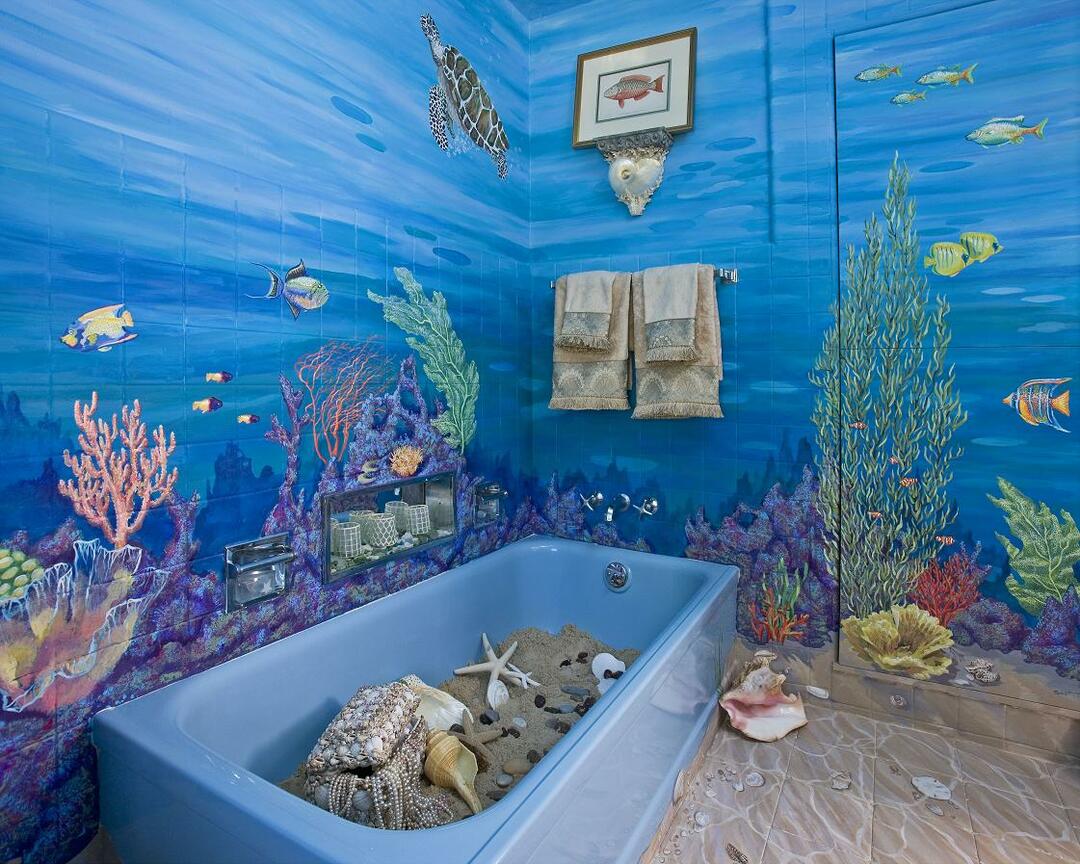
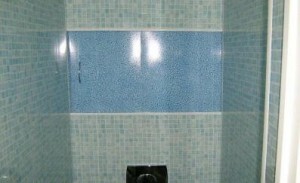
Chose the tiles covering the walls, during its acquisition give preference to soft light tones, has a calming effect and visually enlarges the modest size room. A good solution can be a maritime theme with shades of blue or green, and light beige color.
Before laying tiles, make sure that the surface on which the application will be carried out, is flat.
Laying process:
- Under the alleged first layer of tiles still need to install a wooden rail, align it to the level.
- Dilute the tile adhesive and apply it to the surface of the plastered wall ahead acquired in portions tiled trowel with serrated edges. This trowel - indispensable attribute to uniformly and in a proper amount to apply adhesive solution.
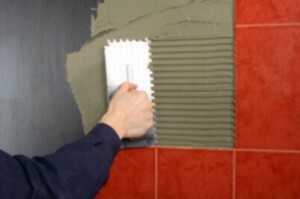
Application of tile adhesive
- Tile is applied to the edge of the wall on a wooden rail and tamp lightly with a hammer on the attached to it a block of wood. Thus laid the entire bottom row.
Tip! If necessary, you can give the desired tile size using ordinary glass cutter roller. The distance between the individual tiles should not exceed 4 mm and is regulated special plastic crosses are inserted between tiles.
- Then put the next row.
- Complete drying takes place for 2 days, after which the extracted and produced tic treatment seams silicone sealant to give full waterproofing and aesthetics.
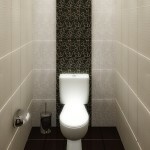
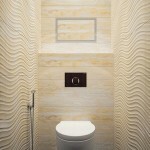
However, it should be noted that using tiles is very difficult to hide the riser and the drain tank, so often works begin with finishing plasterboard and gypsum-profiled structures frame.
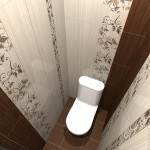
Plastic linings and panels
PVC panels or linings, in comparison with the tile, stacked much easier, and the color requirements are absolutely identical. Advantages PVC lining panels prior to their greater area, and, accordingly, less labor-intensive.
Installation is made on the pre-attached horizontally or vertically to the wall (by means of dowels and screws 40-50 mm long) pieces of wood section 20x30 mm. Fastening of panels / lining to the beam produces staple gun. Angles are refined special plastic corners. Plastic panels or linings allow much easier to hide a tank and standpipe.
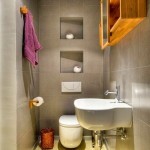
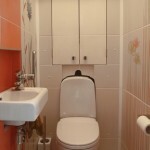
Shelf with doors
Wallpapering
Wallpapering - lesson simple enough and certainly does not require further description.
finishing the ceiling
After completion of wall decoration can proceed to the ceiling. Here, the optimal solution will be sticky foam decorative plates or a conventional paint matte paint.
Foam decorative plates
finishing the floor
Finally, we proceed to the floor finish.
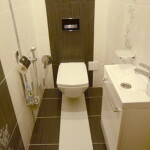
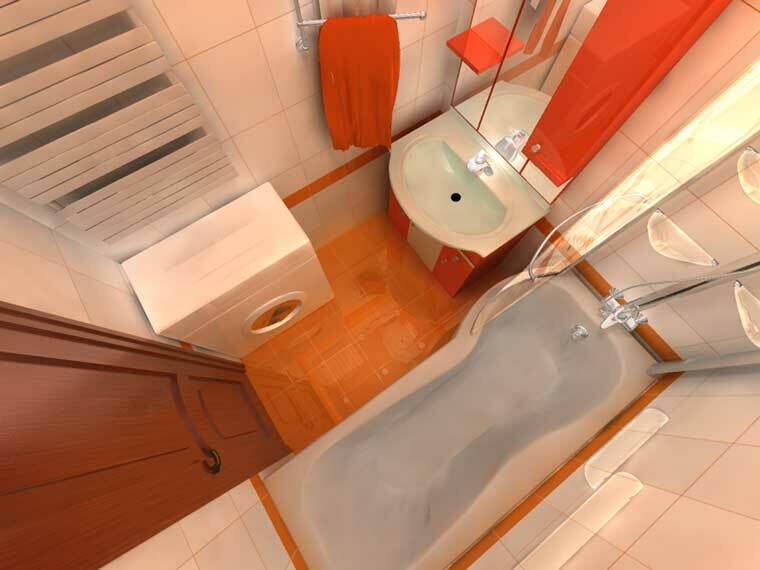
On the floor tiles would look best, but the more economical option would be linoleum.
Floor tiles on a special sexual selected in darker colors, combined to the wall covering. Placed on the tile floor like the wall and the next day may be used.
On top of that, you can install a plastic plinth.
Summing up
We hope our article has been helpful to you. In order to more accurately understand the technological and practical issues on our website provides detailed photo and video instruction, in which you will find useful information on the question.
Photo Gallery