How to stack tiles on plasterboard (54 photos): choice of tiles, adhesives and tools. Primer, thinking through schemes of laying and working with tiles
Table of contents
- 1 gypsum plasterboard
-
2 Getting Started
- 2.1 The choice of tiles
- 2.2 The choice of adhesive
- 2.3 tool selection
- 3 The sequence of work
- 4 Summing up
- 5 Photo Gallery
In this article, we will tell you how to put the tiles on the drywall in the bathroom properly. We will look at the entire process - from the purchase of material to the fixing of tiles on the wall.
Let's talk about the materials used.

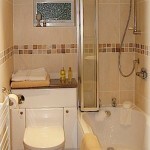
Laying tiles
gypsum plasterboard
The wide popularity of this material is explained by a list of its benefits:
- It is universal - suitable for any room.
- Versatile - it can be used for finishing the ceilings, walls, partitions.
- Easy to install and processing.
- Is perfectly compatible with other finishing materials such as tiles on gypsum board - a great duo to finish.
- There is a possibility of its use in areas with high humidity.
- With it you can create a perfectly smooth wall.
Getting Started
The choice of tiles

Competent selection of tile material
When you select a tile to the drywall need to pay attention to the following aspects:
- picture quality on the tile. It should be clear and free of defects.
- Surface smoothness. It should not be noticeable irregularities, chips and cracks.
Check this option you can, putting two tiles facing each other. The presence of the gaps will indicate the quality of the surface.
Tip!
Pay particular attention to the corners. They must be smooth and splinter-free.
- Worth a look and on the opposite side of the tile. If there is no picture or not specified by the manufacturer brand, is to abandon such purchases. And even if you know how to put a tile, a second-rate product will not allow you to do this efficiently.
- Purchased material is best considered in pieces, but not in square meters.
The choice of adhesive
Selecting high quality tile, proceed to the choice of a good adhesive.
There are several varieties of it:
- Based on the cement.
- The elastic adhesive as a dry mix or a ready solution. Its price is much higher classical cement.
- Liquid Nails. In order to save their best to apply only for gluing tiles departed.
Tip!
Buying liquid nails to install the tile, it is better to give preference to a moisture resistant composition.
tool selection
Laying tiles on plasterboard will require the following tools:
- Spatulas. They need two: one with a smooth surface, and the other - with a ribbed.
- Drill having a nozzle for mixing glue.
- Tile.
- Building level.
- Remote crosses made of plastic.
The process of laying
Now came the turn to talk directly about how to lay tile.
This process includes the following steps:
- Priming the drywall.
- Thinking scheme installation.
- Stirring glue.
- Setting the starting rail.
- Working with tiles.
The sequence of work
drywall primer
Laying tiles on the drywall in the bathroom begins with priming. This should be done in two layers with a brush or a paint roller.

Apply the primer using a roller
Sometimes the owners of houses and apartments is asked about whether it is possible to lay tiles on plasterboard, not treating them with the pre-primer. The answer is - no, especially if it is a room with high humidity. Indeed, thanks to the primer adhesive bonding is more durable. (Cm. also the paper to wash the walls before gluing wallpaper: how to do it yourself).
Thinking stacking scheme
Further, it is necessary to set a stacking scheme because the size of the projections relative plasterboard tile sizes can be different. For this purpose, we calculate the number of rows of the future, the length of the walls to divide the tile width, taking into account the width of the gaps.
If the resulting residue is greater than half tiles laid starting from that side, which is more conspicuous. This is done in order to cut a piece remained in inconspicuous corner.
If the remainder of the division received less than half the width of the tile, laying begin from the center, then cut pieces will look symmetrical.
glue stirring
When finished with the calculations, we proceed to the preparation of the adhesive. (Cm. also the article How to glue the tiles on a plaster surface in the bathroom.)
The container, pour 1/3 of the volume of water and pour dry adhesive mixture, mix thoroughly and leave for 3-4 minutes after the time a lot of stir again. At a time cook glue for no more than 2 meters. For mixing is better to use a drill with a special nozzle.
Setting the starting rail
Now look at how to lay tile. At the bottom of the wall, we attach the launch rail. Under it leave enough space for a single row of tiles. To mount turned out perfectly horizontal, use the building level.

Initially set the rail, and then fasten the tiles
Working with tiles
Start to finish laying the center or edge of the bathroom wall. Apply tile adhesive to the tile using the smooth trowel. Take the second (with a ribbed surface) and flatten the applied mixture.

We fix the tile adhesive
Attaching the first tile, begin to stack a number of vertical (up), as well as horizontal - left or right. To maintain the distance between the insert elements stacked spacers crosses, two on each side (see. Photo).

Now that you know how to lay tile and install tic
After curing, the adhesive must be removed crosses, joints clean of excess solution and fill the grout. For added protection against moisture have to treat them with silicone or water glass.
Tip! If you are wondering how to remove the tile to the drywall, boldly Arm hammer and chisel. These are the only tools that can help you in an orderly dismantling.
Summing up
Now you know what it looks like technology laying tiles on gypsum board. In order to more accurately understand the technological and practical issues on our website provides detailed photo and video instruction, in which you will find the necessary information on the question. Good luck!
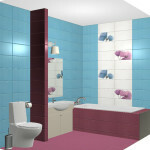
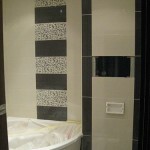
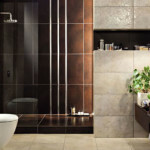
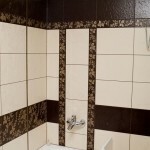
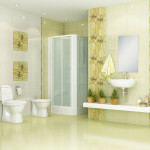
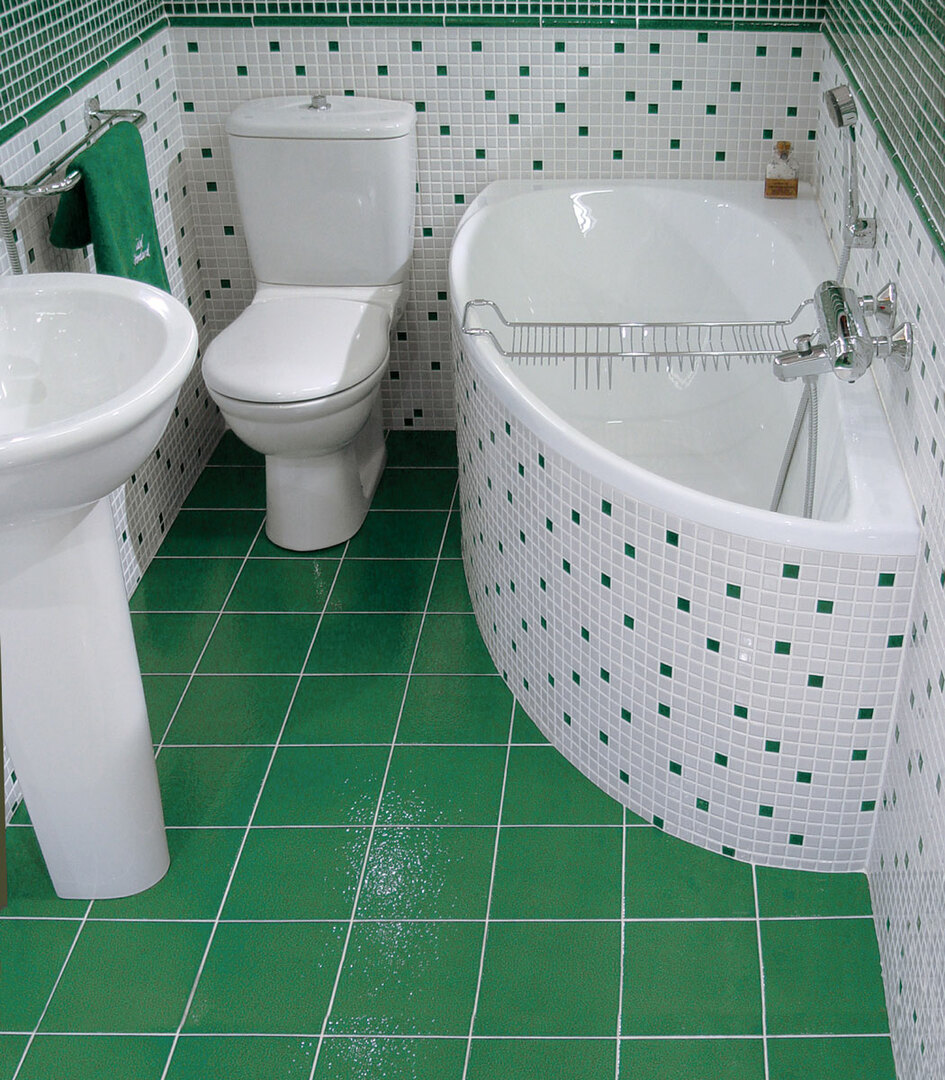
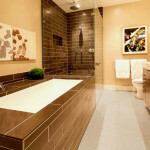
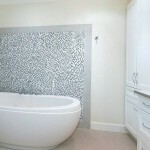
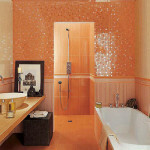
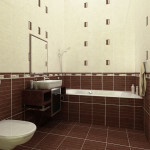
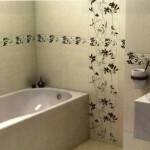
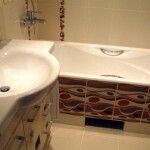
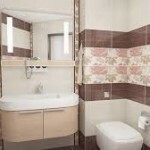
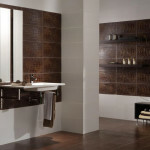
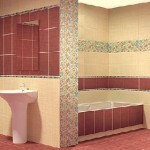
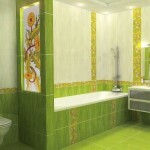
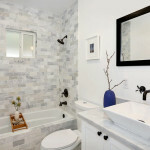
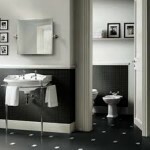
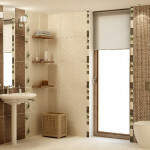
Photo Gallery


 http://www.elitceram.ru/index.php? cat = 78