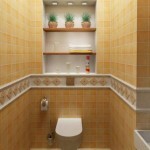
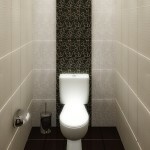
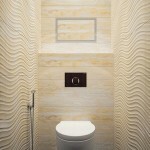
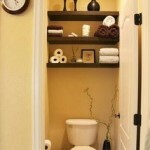
How to make repairs in the bathroom (photo 33): video instruction
Table of contents
- 1 Highlights repairs
- 2 coloration
- 3 finishing plastic
-
4 Tile
- 4.1 Benefits
- 4.2 stacking sequence
- 5 Summing up
- 6 Photo Gallery
How to make repairs in the bathroom? And whether it is possible to carry out on their own, without the help of professionals? If you already have experience in the apartment repairs, finishing bathrooms will not give you any problems.
Immediately should mention that if you decide to change or repair the door with his own hands, it must be done prior to the decoration in the bathroom. Otherwise, performing these works, you can easily damage all that for which worked so hard.
Highlights repairs
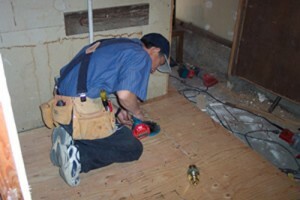
The bathroom is most exposed to moisture. This is especially noticeable when it becomes insufficient ventilation in the room or at fault cistern, as well as the accumulation of condensation on water pipes and sewage systems. Therefore, to make repairs in the bathroom with their hands should be more frequent than in the entire apartment.
Where to begin work on the toilet? With the replacement of plumbing and pipes, if there is such a need.
coloration
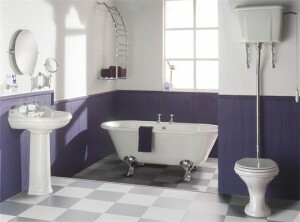
Decorating bathrooms
- Clean the walls of the old paint, removing it to the concrete base. All irregularities should be leveled using a filler. Wait for the complete drying of the putty and coat the walls of 2-3 layers of soil. We recommend using Ceresit SM-1, the price - from 420 rubles.
- Use only water-repellent primerBecause the toilet is always increased humidity. Water-repellent protection of soil application of the plaster on the walls of the mold.
After the primer has dried, you can apply your chosen paint, using a brush or roller.
Note! It is best to paint the toilet suitable latex paint.
- During dyeing and must not drop further paint drying temperature is lower than +5 ° C. Humidity not exceed 80%. Plastered surface dries three days. After leveling the wall plastering the front surface of the walls should have a maximum smoothness.
If the alignment of walls you have used oil-adhesive putty, paint may further become discolored.
- Make sure that the dried plaster makes the Cretaceous plaque. If the surface is "melitsya», wipe it with a damp cloth and dry.
- Getting to paint, prepare the work roll. In a special tray, pour some paint and immerse the cushion. Roll the roller several times on the ribbed pan bottom. Thus, you are most evenly distribute the paint.
- Apply paint to the surface carefully. Begin to paint the top of the wall. Perform motion "up-down", writing a W-shaped pattern. Roll the roller down, and then up and a little obliquely.
Note! When rolling the roller only in the vertical direction unattractive pattern may be formed on the walls.
- After completing the painting walls, note details such as ceiling and floor moldings and doorway. Spray paint should be removed immediately after the completion of the painting, even when it is possible to scrub with a damp cloth.
finishing plastic
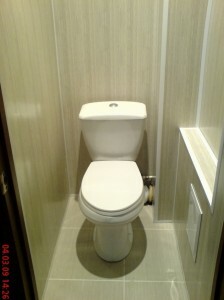
Repair bathroom plastic panels
toilet finish plastic is gaining more and more popularity.
- Installation is simple sheets. On the wall mounted crate made of wooden bars, a cross section 40h25 mm distance between bars arranged horizontally, must not exceed 40 cm. In this case, the panel will be installed securely.
- On the prepared purlin attached sheets of inserted one into the other. The standard size plastic panels - 270h25 cm, it allows to complete all work on the skin for several hours. After repairs in the room does not remain an unpleasant smell of paint, concrete crumbs and other debris.
- Repair of plastic panels allows the mask is not too attractive water pipes and sewage systems. For this purpose from wooden bars should produce an extra frame.
Note! Closing panels pipes, do not forget to make a small hatch that provides access to sanitation and water supply.
- Plastic panels are well cleaned of all kinds of household pollution. Easily withstand high humidity and temperature variations. Unlike the time-consuming work on the laying of tiles, wall cladding plastic panels will not take long.
- For laying tiles need perfectly smooth wall. This painstaking work is not required to repair the panels. They will hide all the bumps and roughness of the walls.
- Statistics and experience prove that the repair of plastic panels much cheaper than installation of ceramic tile or.
- Panels conveniently execute and toilet ceiling. Depending on the desired size, the panels are cut grinder.
Tile
Benefits
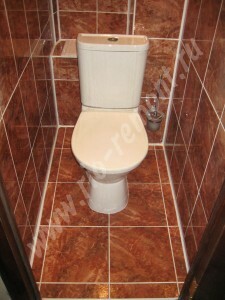
Repair of bathroom tiles
Note! Apply the solution on the walls with a spatula handy. This kind of primer perfectly fills minor irregularities and protects against moisture.
Tile and ceramic tile is chosen, depending on your preference and the size of the room.
stacking sequence
- Apply glue to the underside of the tiles evenly and firmly press it to the floor. Note that for some time you have to be careful not to step on the laid tiles. For cutting tiles, use tile cutter.
Tip! Cut tile is much easier if you first soak it in water.
- For laying tiles on the wall, use special plastic crosses. They allow laying of neat rows, keeping the same distance.
- When you're done to lay tile, grout special treat cracks.
Summing up
We hope our article has been helpful to you. In order to more accurately understand the technological and practical issues on our website provides detailed photo and video instruction, in which you will find useful information on the question.
Photo Gallery
