Renovated bathroom with his hands - the most simple variants of the work available to everyone
Table of contents
-
1 How to organize the work
- 1.1 interior planning
- 1.2 Dismantling of the old finish and equipment
- 1.3 Laying of new communications
- 1.4 Laying of floor covering
- 1.5 Work with walls
- 1.6 finishing the ceiling
- 2 Output
If you decide to repair the bathroom with their hands, then this review will prompt the correct sequence of actions. Select the most suitable option of work and implement it as recommended in the appropriate section of the article.

In the photo: the bathroom decoration should be not only attractive but also reliable

You have to think about design in every detail
How to organize the work
To cope with the work, you need to carefully plan each step.
The more you understand each step, the easier it will work:
- Thinking of the future interior and the choice of plumbing;
- Dismantling of the old finish and equipment;
- Gasket of communications;
- Finishing the floor;
- Wall decoration;
- ceiling trim.

Even a simple repair will look good if all the elements are carefully selected
interior planning
Before starting work you need to decide on a number of factors and schedule repairs.
The following aspects should be considered at this stage:
- size of the room - this design depends directly. If a small room, then come to the fore rational use of space. And if there is enough space, it is possible to implement any ideas that you would like to see;

An example of how to make a comfortable Smaller environment
- Next you need to choose the alignment of plumbing and furniture elements. It's not necessary to be a designer, the Internet is full of examples that you can use. And you can take a ready-made solution, but can be based on one or a few examples to make his own version, to accommodate all the features of your bathroom;

It is important to determine in advance with the placement of all elements of the interior, to build on this information in the future
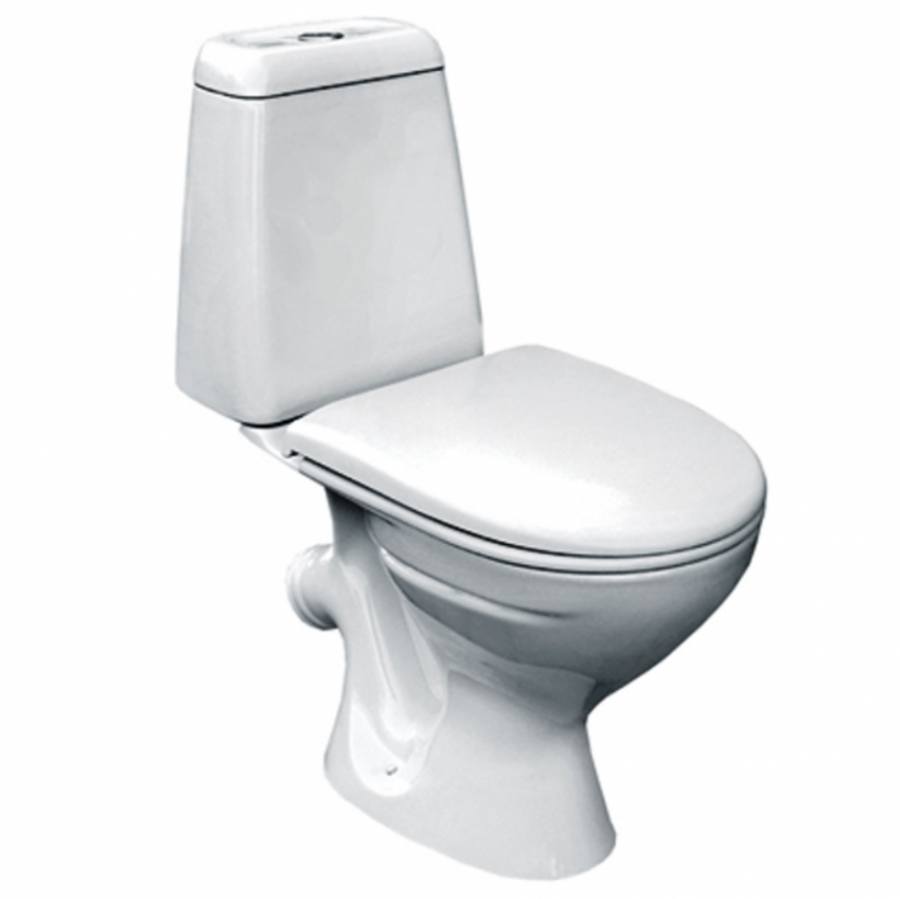
- It is necessary to consider whether the need to replace water and sewer pipes. Also decide in advance whether the plumbing replaced, as this greatly increases the cost of the project. If the replacement is carried out, the pre-defined with specific variants of equipment to know its size, coloring and connection method;

Bath - the main object in the room, and her choice is to pay very close attention
- A very important aspect - the planned budget. If you need to carry out repairs quickly and inexpensively, the materials should be selected cheap and easy to install. Conversely, if you do it is important to get the best result and the issue price is not worth it, you can choose expensive finishing materials;
- Be sure to measure the area of all surfaces, it will allow you to accurately calculate finishing materials.

The measurement will take a couple of minutes, but you will know the size of a centimeter
Dismantling of the old finish and equipment
This part of the work often takes longer than the actual finish. After all, to bring down the tile is much more complicated than putting a new one, the same goes for paint removal and dismantling plumbing.
Let us examine the most common types of work:
- On the floor most often lies tile. Remove it the easiest way with the help of punch with a flat spatula. Process noisy and not always easy, especially if the ceramic is held firmly and waste is not entirely, and chunks. It is much easier if you lay linoleum: it is necessary only to remove the plinth and pull out or simply remove the material from the surface;

Shoot a stream of tile easiest punch
- As for the ceiling, there is most often whitewash or paint. The first option is necessary to remove with a spatula, pre macerating surface. Second we must look at the situation and use or special formulations, or a heating dryer, or machining;

Removing whitewash - a simple process, but dirty
- As for the walls, then they usually tile or many layers of oil paint. The first type coatings strays via punch with a hammer or chisel. Second best removed with a special composition, which is called remover paint. Wash applied to the surface and left for a certain time, after which the paint is easily moves away from the wall, the individual portions are processed repeatedly as needed;

Wash makes the paint loose and it is much easier to remove
- plumbing dismantling is done about the situation. Often skirting the bathroom and its support concreted, so you need to release the structure by means of the gun. If the structure is very heavy and make it out of the small room is problematic, you can cut it into two parts grinder. This will simplify your work.

Sometimes a bath is easier to cut and bring in parts
Laying of new communications
If, after the dismantling of old equipment you have discovered the terrible metal cast iron water pipes and sewage elements, it is better to replace them.
The work done in this order:

Old pipes should be replaced
- First you need to remove all the old pipes. Sewer communication disconnected at the joints, and water pipes are cut to the crane, which stops water supply;

An example of how the pipe within borne coating

Here in these places need to disconnect sewer pipes
- To hide the water pipes, it is better to lay them in Stroebe. Grooves are made in the walls by a punch on the pipe size. It is important to pre-mark the location of the grooves, so that the process of work is not to be distracted;

Grooves can hide in the walls of the pipe
- Sewer pipes made of plastic. Thanks to connections with special seals, you can easily assemble the system with their own hands, and it will take a little time. All the turns and junctions are made using special corners and bends;

Example sewage being installed to the bathroom
- With regard to water supply, it is best to put plastic pipes, which are connected by special soldering iron. If you do not have such equipment, it is possible to attract specialist. In the bathroom the amount of work is small, and the price for the services is not very large;

Replacing communications will save you from the problems of at least 10 years
Laying of floor covering
If you are doing repairs in the bathroom with their hands, then it should start from the floor. We consider two variants of work: laying linoleum and tile laying. But above all, it is necessary to prepare the surface.
The process is carried out as follows:
- Floor is cleaned of dust and debris, if it has large bumps, cracks and damage, they are best repaired with cement mortar. Bought ready dry mixture is diluted with water and applied to the desired areas;
- The final floor leveling easiest carried out using self-leveling mixture. It is prepared and poured onto the surface and then spread evenly with a spiked roller or spatula. It is important to align the plane to be given a flat and smooth, it will facilitate further work.

Self-leveling, just poured, leveled
If you decide to make a warm floor, then fill the surface better after laying pipes, or heating units. Then you do not have to do twice the screed. The process here is as follows: first fit the heating system (this process is described in a separate review), after which the solution is poured so that its thickness above the tubes is not less than 2 cm.

Heated floor is filled with a solution and simultaneously leveled surface
We now consider the fastest repair option floor in the bathroom:
- Sold linoleum, which is to choose options without a base or a polymer-based foam that is not afraid of moisture. It is important to buy a piece of this size, so you shut down the entire surface without seams. The material can have a larger width, so the problems with the choice does not arise;

The options are so many colors, it is also important
- The material is spread on the floor and then aligned on the surface. All excess neatly cut with a knife at the place of the joint wall and floor. The work is simple, but requires care so as not to spoil the material. Cut best with a sharp knife with a rigid blade;

It is very convenient that you cut the material exactly outlines the premises, do not need to customize anything
- Since the space is small, the paste material is not necessary. It is much easier to glue around the perimeter of paint and double-sided tape to secure it linoleum. It is very simple and at the same time very safe.

That's how you can quickly and securely linoleum
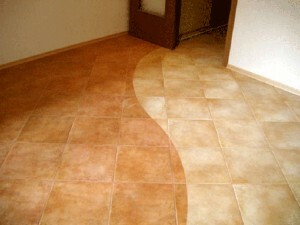
We now consider a more reliable option - tile, which is not only attractive but also durable.
In this case, the work is carried out as follows:
- Prepare the necessary materials. Except for the ceramics, we need an adhesive composition and fugue grout;

There are many options, choose any one of them
- Because the tool requires the building level, trowel, mixer and the container for solution. Also can not do without Tile, since in any case it is necessary to trim some of the elements. Crosses make all the seams between the tiles perfectly straight and neat;

Crosses lead to the joints between the tiles perfectly straight
- You can start with as the middle of the room, and from the corner of the room. On the floor the adhesive composition is applied, which is leveled with a toothed spatula or trowel. It fits one or more rings, after which their position is regulated and checked using level. If necessary, some parts can be slightly knock out a hand, they usually sit down without problems;

All seams are sure to put the crosses, so you will easily make perfect joints
- Stacking continues so on. It is important to check the level of each individual as a member, and the entire surface as a whole. Place the level in all directions, so that if there are problems in a timely manner to detect them and to eliminate;

It is important to control the plane as much as possible, then you can put floor flat
- After laying the tiles on the floor to wait for the glue dries, usually this takes day. Then preparing grouting composition and applied in all the cracks. Work is carried out with a rubber spatula, you have to fill in the gaps between the tiles, in order to protect the surface from moisture. After drying, the fugue should remove its remains from the surface and wash the tiles.

Seams should be very well close up
Work with walls
With regard to this part of the premises, here, too, we will discuss two options panel of PVC and tiles. If you need a low-cost option, the walls should be clearly sheathing plastic panels.
on work instruction looks like this:

plating process plates is so simple that the power of even a beginner webmaster
- First you need to prepare the walls. If they have a large roughness or cracks, then they should be sealed with cement mortar. molds treated with special foci necessarily fungicidal compounds;
- For work, we need PVC panels and components, as well as a block of wood for crates and fasteners. Because the tool requires the level handsaw, screwdrivers and hammer as well as tape and a pencil for measuring and marking;

This scheme will help to calculate what you need and in what quantities
- Decorating the walls begins with a frame construction, this is the beginning of the level layout to determine the plane of the future framework. Next, the bar is cut into pieces of desired size, and in it every 50 cm drilled holes for dowels;
- Makes a mark on the wall, drill holes, and the bar is attached to the anchors, but not fixed. The spirit level is set batten plane underneath it encloses the rack and chips, then hammered screws;

Battens should be flat
If you are in the bathroom is risers, it is also better to sew. For this purpose, around the pipe constructed crate.

Risers desirable for finishing hide
- The panels made easy. The angle profile is placed starter or corner, after which the first member is inserted. He is stepping forward to secure it with screws or stapled to the back. The work is simple and takes little time, the main thing - a well-docked items before committing;

Fixing is performed through projection in the rear
- If you do not immediately fastened additional elements, then after installing the panels need to glue the corners and other accessories for liquid nails. This allows you to quickly shut down all the flaws and make repairs neat appearance.

Corners and skirting the walls give the orderly
The second option walls in the bathroom - laying ceramic tile.
The process is almost the same as at facing the floor, but it has its own peculiarities, which we consider here:
- In the first place on the perimeter at the height of a fixed rail tiles or metal profile. Masonry will begin precisely from this element, it will provide a perfectly flat wall of the plane, even if the floor has flaws. The work is simple: the adhesive is applied to the surface, and then stick the tiles. Do not forget to put crosses in the joints and check the plane using a spirit level;

Rack allows you to set the ideal horizontal masonry walls
- The next day, the rack can be removed and reported to the first row. If necessary, the elements are cut, and we get a flat wall from bottom to top;

The first row is placed last
- The final stage - a fugue grout joints. It is important to fill in all the seams to below the surface of the water does not leak.

When choosing a grout color contrast can make the surface more expressive
finishing the ceiling

The panels are well suited to the ceiling in the bathroom
Now we look at how to make the repair of the ceiling. Here there are three options, if you need a cheap repair, the easiest way is to use a plastic panel (the technology is the same as in the section above).
If you want a reliable and attractive ceiling, you can order a stretched canvas. Another inexpensive option - plastered surface, it is her we analyze.
The technology works is simple:
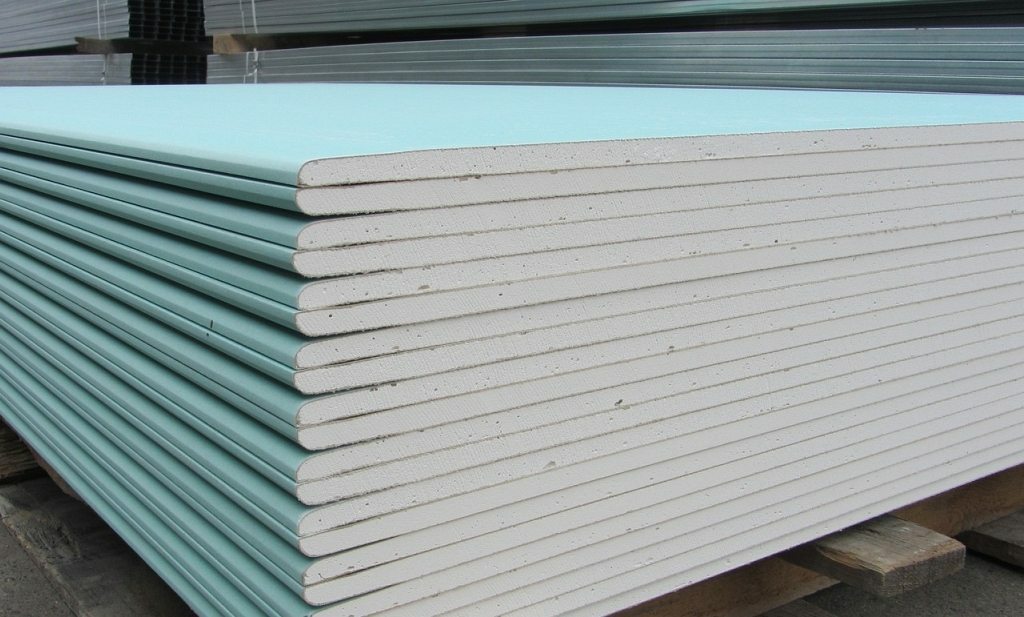
- From the materials needed filler for wet rooms, Primers, deep penetration and the paint of a specific color;

The composition can be purchased in dry or ready-made
- The tool need for paint brush and soil (or roller), a wide and a narrow spatula, trowel sanding with sandpaper;
- Operation begins with cleaning the surface from dirt and dust. If it is, the seams, they must be repaired with a special solution for the concrete slab joints. Pockets of mold treated with an antiseptic;
- The ceiling is treated with primer, it helps to strengthen the surface and improve the adhesion of the putty composition. Concrete enough and a single treatment. Continue operation is possible only after complete drying surface;

Priming allows to prepare the surface for finishing
- Caulking is done in two layers. Origin is needed in order to eliminate all the fine unevenness and applied to the entire surface of a more or less uniform layer of putty. The second made the final alignment, and removed all the flaws of the first layer. Operation is simple: the spatula is held at an angle of 30 degrees, and the weight is distributed evenly on the ceiling;

The first layer must close all flaws and irregularities
- After drying the surface it is necessary to align. For this purpose the float with sandpaper or abrasive mesh with P150 grit and smaller. The ceiling is treated in part, to remove all the defects of putty and make a perfectly smooth plane;

Grinding can quickly bring the surface up to the ideal state
To test how well you lined the ceiling, just bring to a light bulb or flashlight him. The light will show all the flaws if any.

Lamp allows you to align the ceiling quickly
- After aligning the dust removed from the surface. Then it is applied to strengthen the primer putty layer;
- At least the staining. Use washable paint to the ceiling for it was easier to care for, and he was not afraid of moisture. In most cases, coloring is made in two layers.

Painted ceiling can be cleaned with a damp mop
If you have coped with the finished bathroom, then spend and repair the apartment with his hands easily. The main thing - do not be afraid, because the work is only at first glance complicated, in fact, with proper desire you can make room for a week.
Output
I am sure that after reading the article you have already choose option repairs and implement it in the near future. Videos in this article will help to better understand some of the work described above. If you have questions, write them in the comments below.