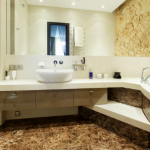
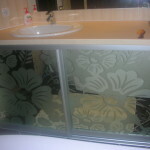
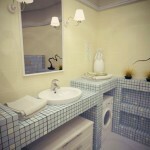
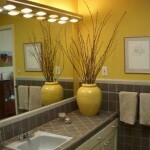
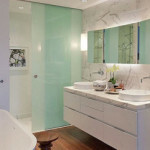
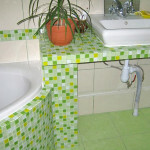
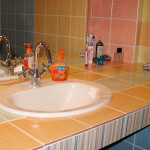
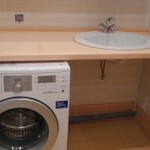
Table top of drywall in the bathroom (30 photos). Positioning, mounting structure. The options facing gypsum bases
Table of contents
- 1 Location
- 2 Tools and materials
-
3 Mounting design
- 3.1 preliminary work
- 3.2 installation of countertops
- 4 design options
- 5 Facing plasterboard bases
- 6 A few tips
- 7 Summing up
- 8 Photo Gallery
Make your hands a comfortable-to-use and elegant bathroom countertop, you can use plasterboard sheets. On the intricacies of material selection, installation and facing today in our article.
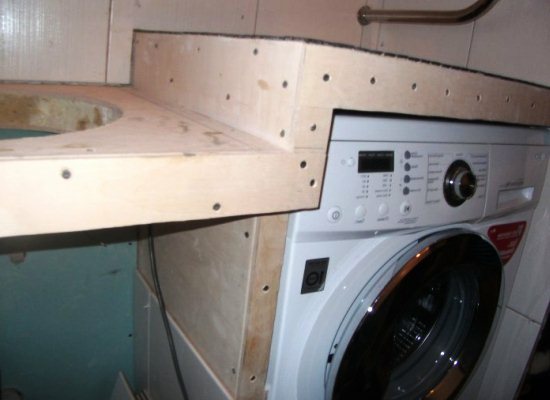
This design makes the bathroom more comfortable.
Location
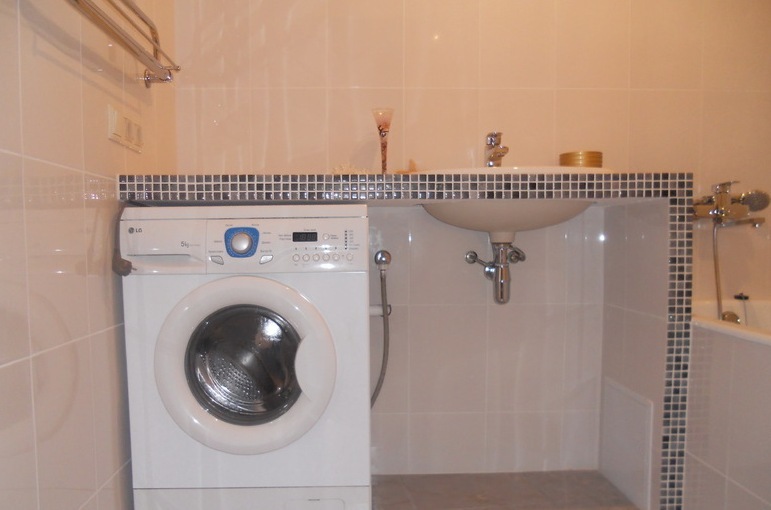
Table top of GCR in the niche.
Such a construction is functional and easy to design. However, on-site installation should think twice. If it is possible, the best option - the location of the tabletops made of plasterboard for the bathrooms in a niche.
If initially the room it does not, in the initial stages of repair include the deepening of the project. It can also be mounted independently of the drywall.
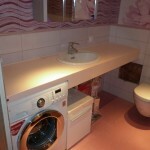
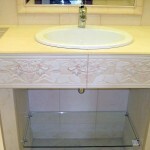
Another good option - installation of countertops as a basis for the basin.
You can choose a sink made out of any material, from traditional pottery, the price of which is low, to stainless steel, bronze and natural stone. Form washbasin can also be any.
Note!
Keep in mind that buying a shell having a non-standard configuration, you are currently significantly complicate the work.
You will have to make great efforts for the construction of the frame.
Tools and materials
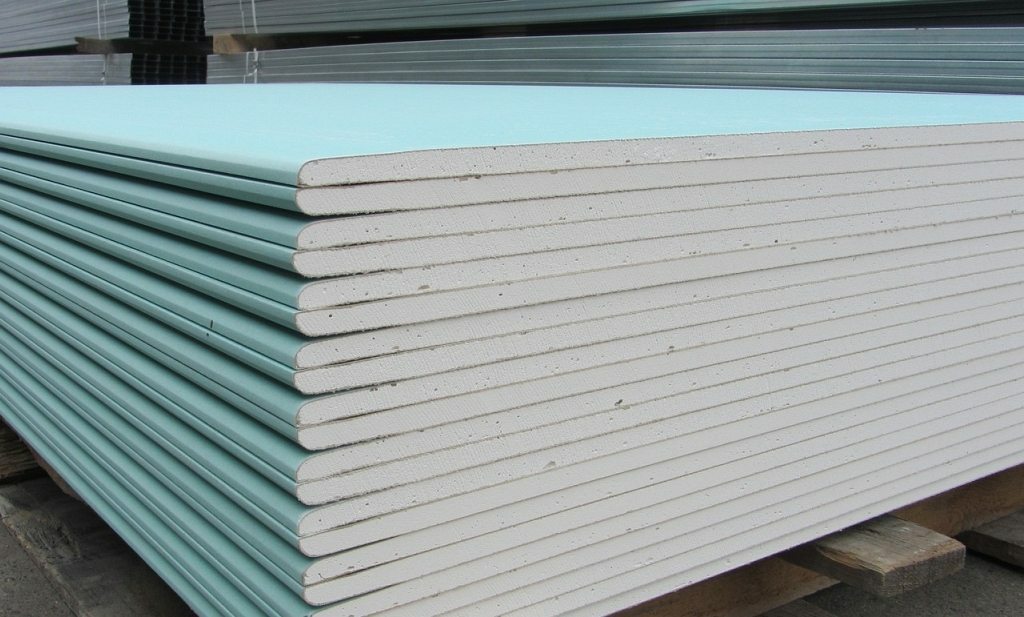
Moisture resistant gypsum board
Necessary materials:
- Moisture resistant gypsum sheets (GVLV) having a size of 2500 × 1200 × 12.5 mm or 2500 × 1200 × 10 mm. You can use ordinary gypsum fiber board of the same size.
- Frame profiles section FS-6 100 × 50 mm and a length of 3 m.
- Rods PN-6 having a section of 100 × 40 mm and a length of 3 m.
- Self-type metal / gypsum board (SHSGM) dimensions 3,5 × 35 mm.
- Water-resistant coat.
- Epoxy glue.
- Waterproofing solution.
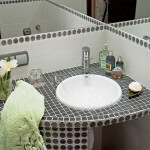
- Tile or mosaic for finishing.
Instruments:
- electric jigsaw;
- brush;
- Spatula: metal and rubber;
- tin snips or a hacksaw similar;
- screwdriver;
- roulette;
- building level;
- puncher.
Mounting design
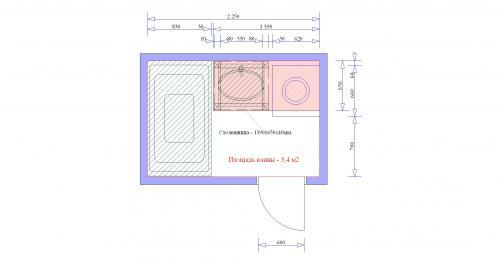
The circuit structures.
preliminary work
- First of all, measure the space for mounting the tabletop. Decide on its height and diameter. (Cm. See also article Bathroom Design: variants).
- Draw a design drawing. This can be done on paper or in a computer program, and the result is printed on the printer.
- If the countertop in the bathroom plasterboard will have embedded sink, he must not go into the design of butt.
- Given the type of shell, assemble the frame of the profiles for the future construction.
- The humidity cardboard raschertite circuit washbasin. To ensure a successful installation, add a few centimeters.
- Saw his electric jigsaw.
installation of countertops
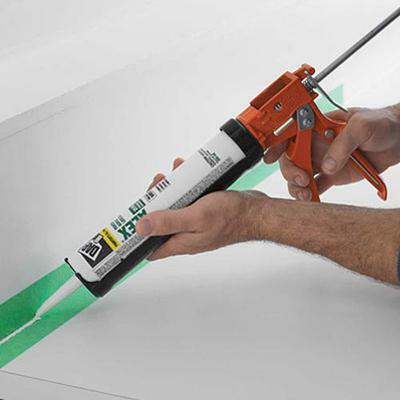
All the joints between the top and GCR zapente.
assembly instructions with their hands:
- With the help of your created patterns, cut two pieces of drywall.
- The first of sawn forms must be cut under the sink, and the second - one-piece.
- 2 Fasten the wall bracket and secure them a plywood template.
- Above the screw forms gypsum with cutout preform. Bottom lock GVLV without notch.
- After the steps described above, you will need to make a face concave. For this purpose, a strip cut from the sheet and its notch in increments of one centimeter.
- Screw the screws item to the inner end design. Plot coat primer and zashpaklyuyte waterproof putty. (Cm. also the paper Finishing plaster for plasterboard: features of the application).
Note!
Talk about the fact that the plaster worktop in Vannes room does not last a long time, have no basis in reality.
To design operating period was prolonged, it is necessary to impregnate the layer 2/3 special waterproofing material based on epoxy resin. This formulation will not get moisture into the countertop.
design options
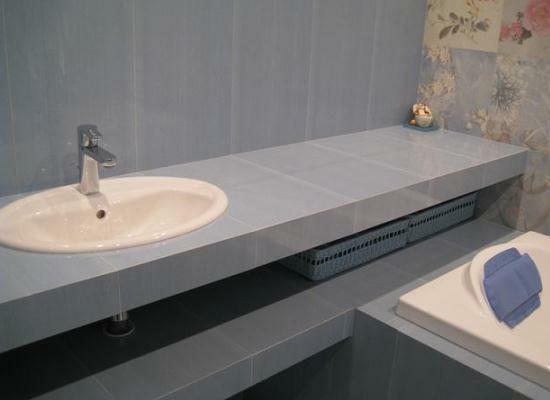
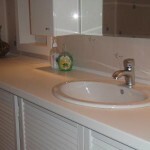
Worktop with sink.
The worktop can be embedded laver, which is fixed to the wall or placed on legs. If you chose the second option, the installation will require additional support.
This is especially true if the design length will be longer 1-1.5 m. The pipe can be applied as a support of a metal used for bar counters.
The described structure may include not only the tabletop and a support. It may have a frame, and the side walls. And their webs can be made from wood, metal and brick. Remember, network engineering should have open access.
Note!
Such a reinforced structure will have a number of additional advantages.
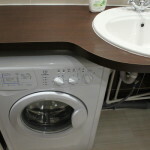
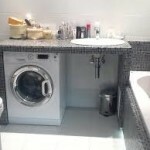
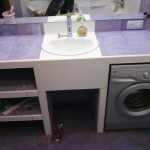
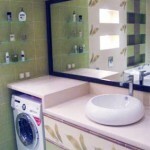
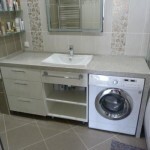
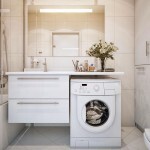
For example, in the lower part, you can put the washing machine or make a console shelves.
Facing plasterboard bases
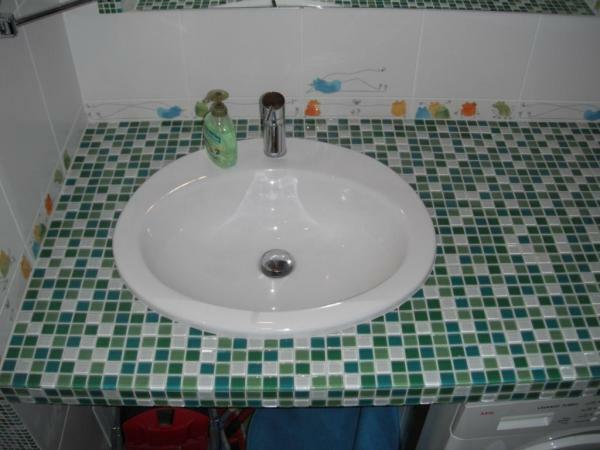
Here is the finished design.
Now little instruction on facing GVLV:
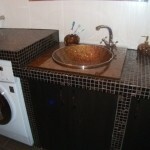
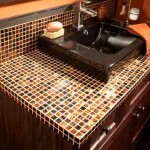
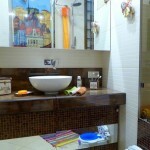
- It is advisable to start to spread tile or mosaic with a vertical panel. Thus, you as accurately as possible, connect with each other horizontal and vertical plane of the countertop. (Cm. also the article How to install tile on drywall in the bathroom.)
- To work was quality, it is recommended prior to the start to make the lining laying scheme.
- Cover side walls, doors and the outer surface of the structure a moisture resistant adhesive composition. Do it with a notched trowel (comb).
- Moisten with water and remove the protective paper layer with a mosaic.
- Attach it to the outer surfaces of the countertop. Consider the fact that the material should be tightly pressed against the lined surface.
- Sutures are processed with water-resistant rubber spatula fugue.
- Insert and secure the sink to the corners (brackets), if not already done so.
- All joints between plasterboard and sink treat construction silicone sealant.
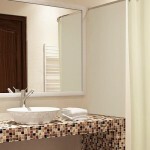
Bathing To visually make the room more large mirror mount across the width of the niche.
Note!
In addition to tiles and mosaics, you can use plastic or glass panels.
A few tips
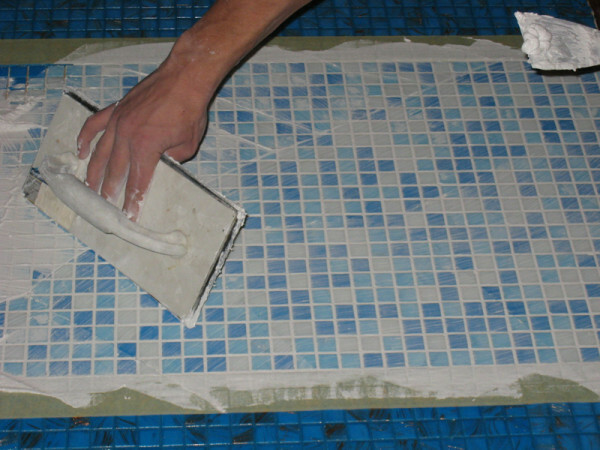
Grout countertops fugue.
- The edges between the plasterboard and washbasin can paste over the decorative strips with a pattern.
- After drying the adhesive side portions countertop abrade sandpaper and proceed to priming. (Recommended to use primer Axton deep penetration, the price - from 120 rubles).
- Countertop to be installed on the side corners, which is fixed by strong anchors or self-tapping screws.
Summing up
Now that you know to mount a beautiful and stylish tabletop from moisture-resistant drywall. In order to more accurately understand the technological and practical issues on our website provides detailed photo and video instruction, in which you will find the necessary information on the question. Good luck!
Photo Gallery
