Mill your own hands: a detailed instruction of assembly work
Table of contents
- 1 Drawing
-
2 Training
- 2.1 materials
- 2.2 Instruments
- 3 Assembly
- 4 Additional Information
- 5 conclusion
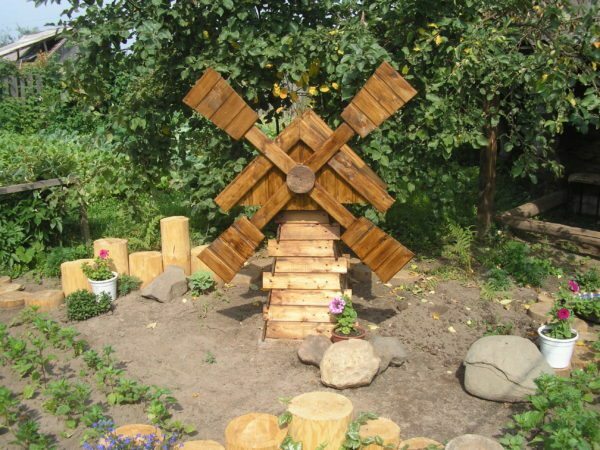
Decorative wooden mill can be a great decoration for your country site
You want the country to build a decorative windmill? I thought about it before. Now, having gained experience in this business, just in front of the technical aspects of wind structure, and step by step instructions visually confirm my words.
Drawing
Suitable mills drawings can always be found on the Internet, or to base my version (pictured below).
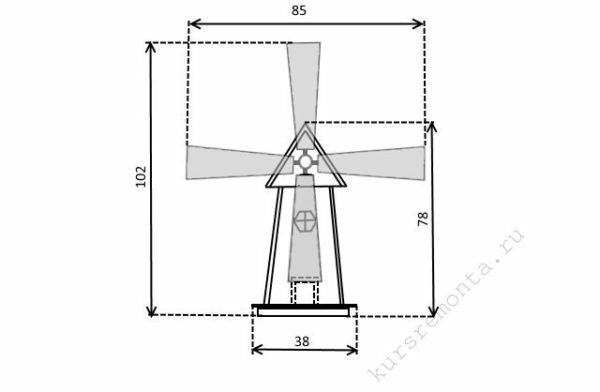
Decorative scheme of the mill is sufficient to print to the printer, so you can go for further action
But if you want to get an exclusive design, then it should at least sketch out a rough chart with his own hands. Let it not be beautiful, more importantly, to all sizes and there was an overall plan structures were noted. In this case, you can get something like this:
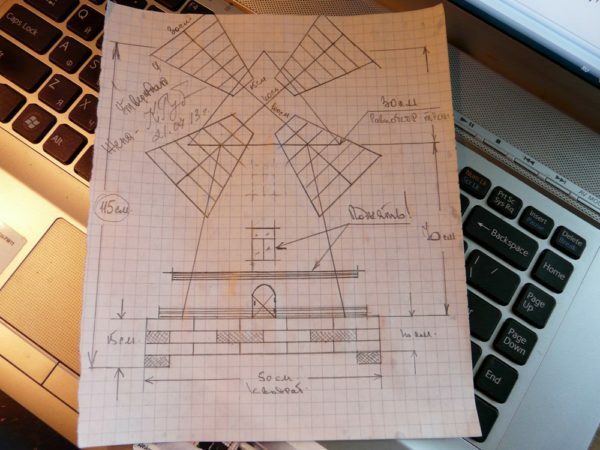
Homemade drawing may not be too beautiful, but what exactly is the original
I'll show you how going decorative windmill garden with his own hands in the second drawing, sketched by hand.
Training
Intended for the manufacture of decorative design, you will need certain materials and tools:
materials
- timber;
- Steel rod with a cross section of 14 mm and a length of 100 cm;
- Molded 20 mm;
The better will linings, the less the need to process the finished construction
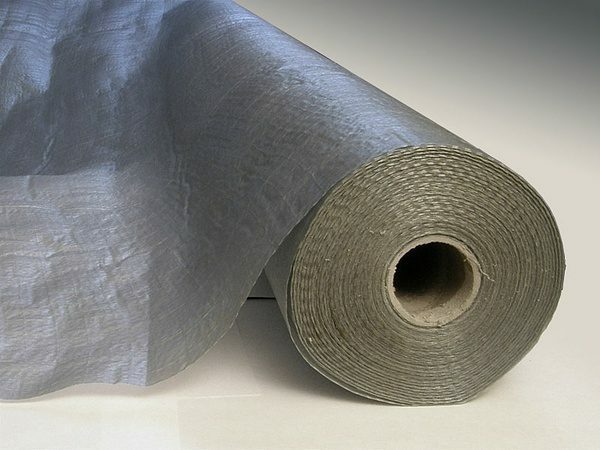
- Plastic pipe;
- Paint or varnish;
- iron sheet;
- Reiki;
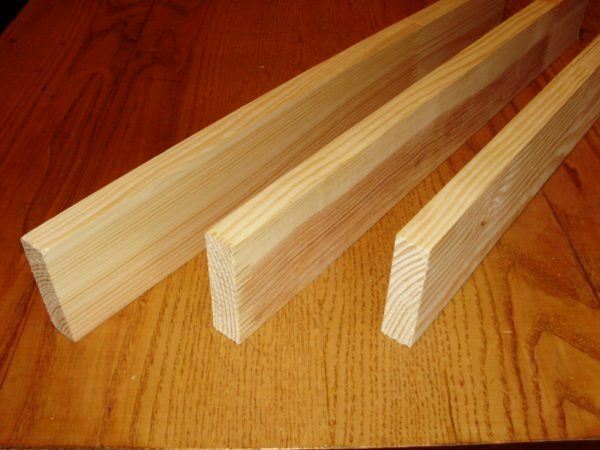
Mounting wooden rake come in handy for connecting some of garden windmills
- ScrewsYou can also use nails;
- Bearings.
Constructed decorative windmill garden with his own hands can a variety of sizes, so size bars, boards, pipes and self-tapping screws, choose it according to your project.
I recommend to buy materials with a certain margin, as in the process will be waste.
Instruments
- Pencil with straightedge;
- Roulette;
- Screwdriver;
It is desirable to use instead of a screwdriver screwdriver. If you do not have such power, I advise you to time to ask someone, because with it the assembly will take place much faster and easier.

Cordless screwdriver allows you to cope with the tightening of screws is practically not making physical effort
- Drill;
- Hacksaw on wood;
- Sandpaper.
Now that you have everything you need, you can begin to collect decorative mill hands.
Assembly
Getting to the manufacture of wooden mill:
| Photo | Description |
 |
|
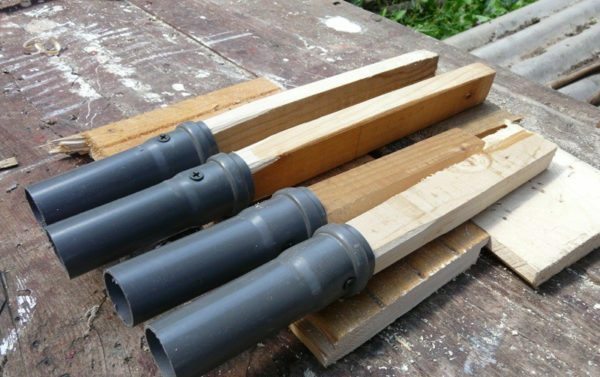 |
|
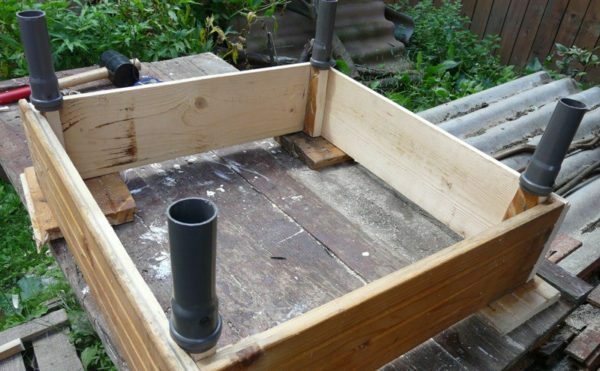 |
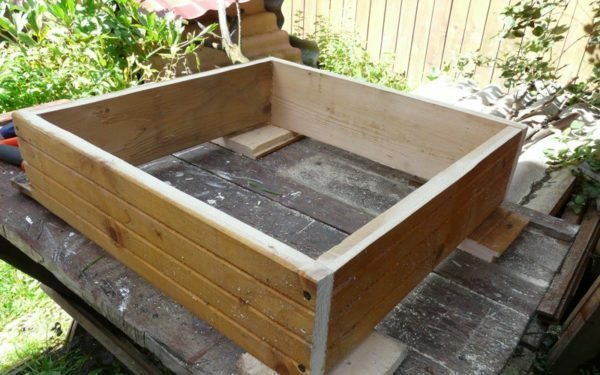
secure legs with screws in the corners of the inside of the skirt. In this case the plastic edges of all poles should protrude the same distance, which in this case is 120 mm. |
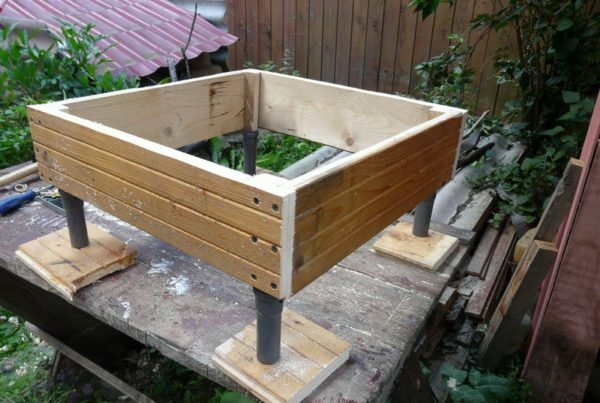 |
|
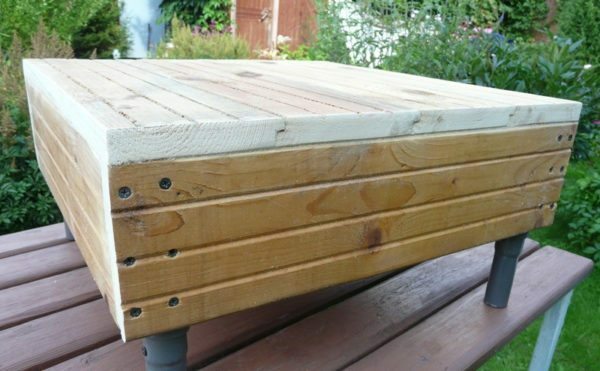 |
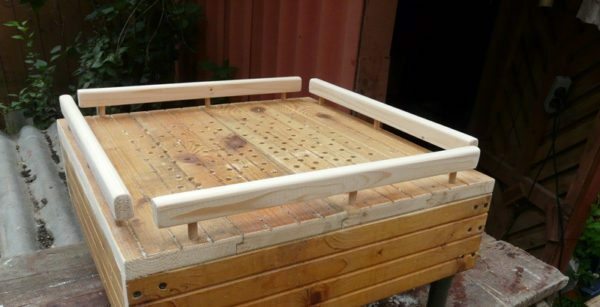
close the upper portion of the skirt lining, tightly fitting each board. Fixation screws also perform. |
 |
|
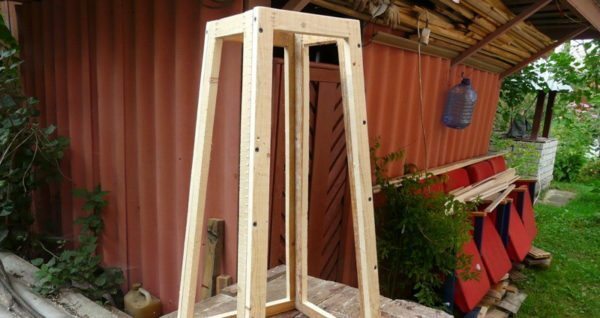 |
Putting pyramidal mill frame |
 |
We produce fitting the frame to the base of the mill for the garden with his own hands. If everything converges, then go further. |
 |
|
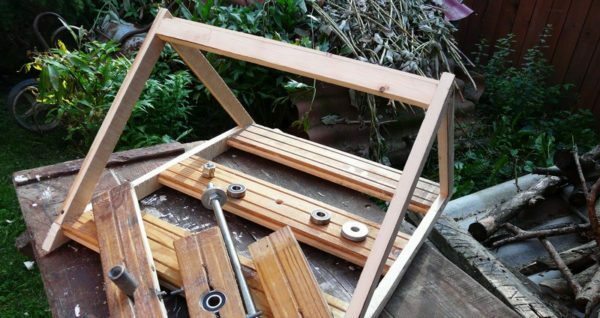 |
Putting roof frame. In this case, the selected classic dual embodiment, but in general garden mill can be equipped and hipped, and even a pent roof. The main thing to observe at least the minimum slope for rainwater drainage. |
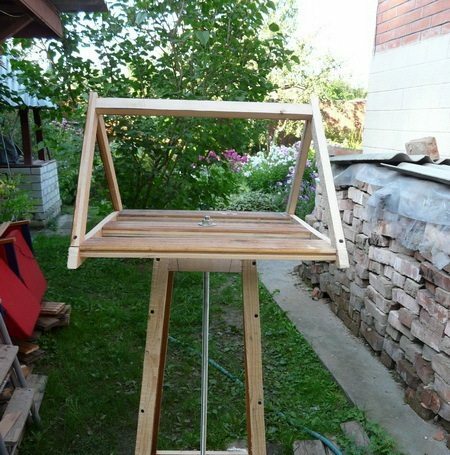 |
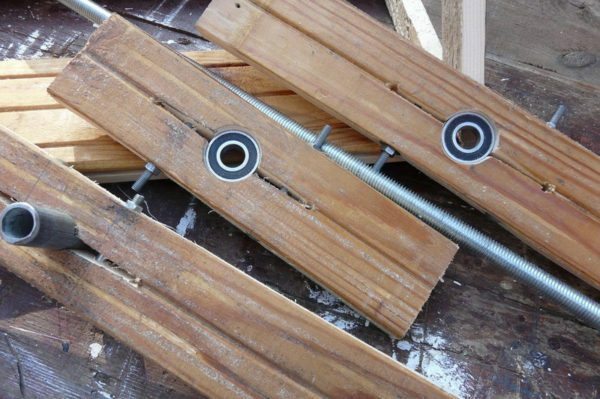
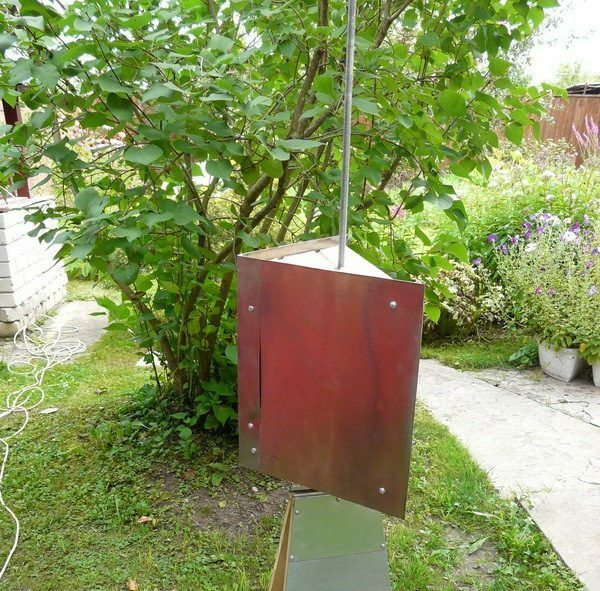
Putting elements of the upper part of the mill with a steel rod and bearing. |
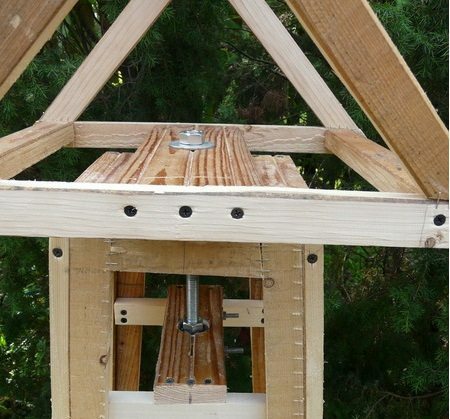 |
install a shelf frame with a bearing through which a steel rod. As a result, the design head is able to swivel. |
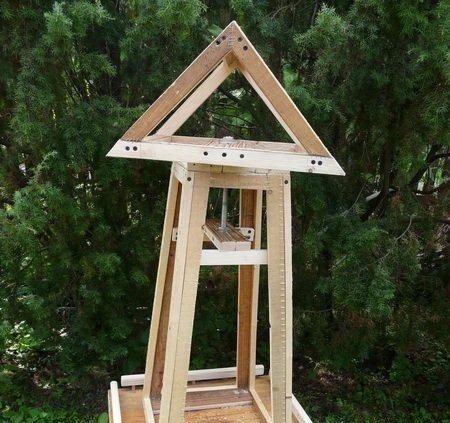 |
secure bolts on the basis of the resulting pyramid mill to give a collapsible design. It is important that the windows in the buildings could prolazili hand with key, otherwise further operation will be very difficult. |
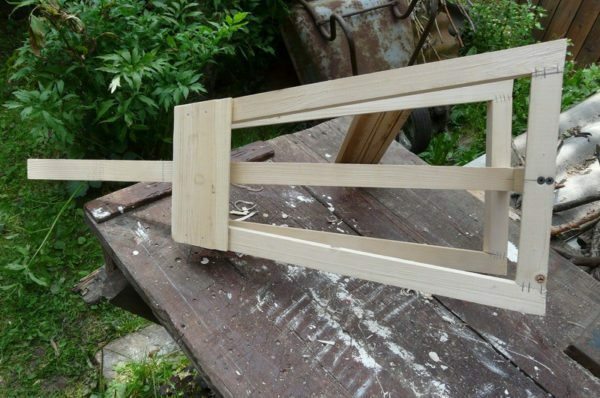 |
Putting framework for the wind-wheel. |
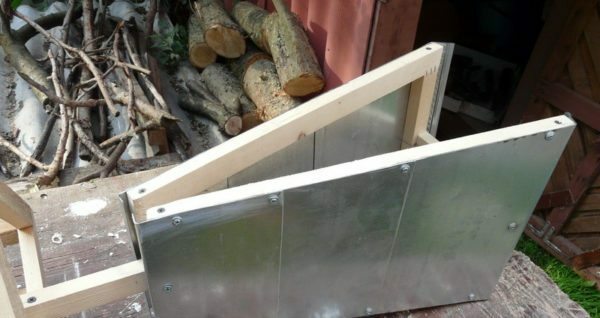 |
obbivat the resulting frame with galvanized iron |
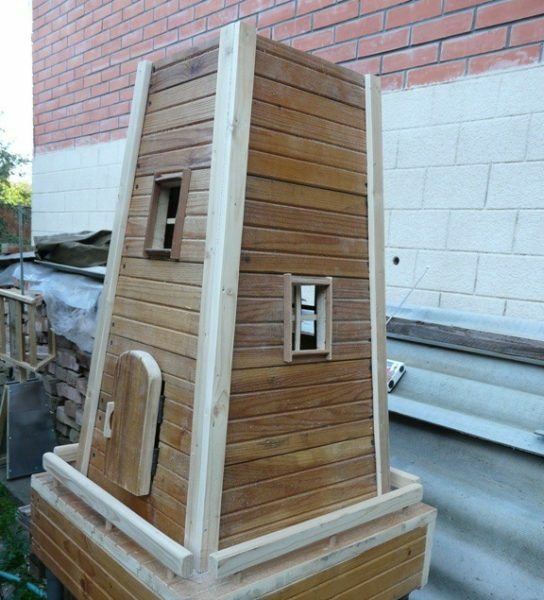 |
sheathe clapboard frame, observing the presence of such add realistic elements such as windows and doors. |
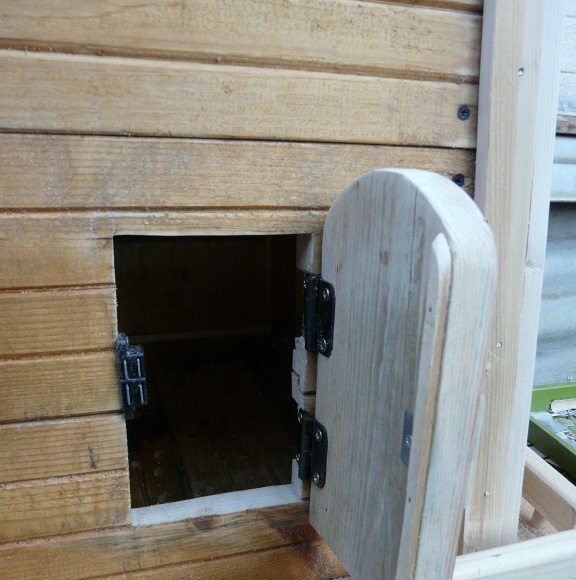 |
the door do the opening, hinges and magnetic locks. This is necessary in order to be able to stick your hand through it with a key and disassemble the mill in the winter. |
 |
|
 |
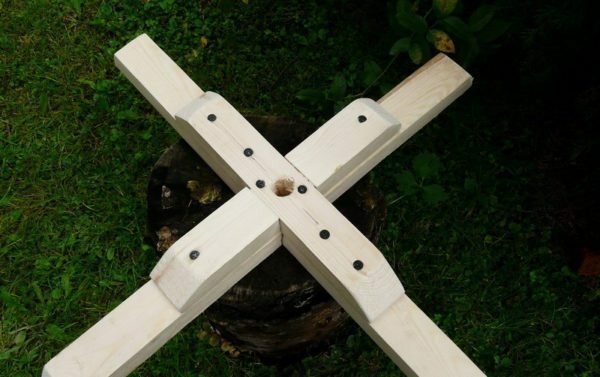
Putting Sail-wheel with a roof with a steel rod. |
 |
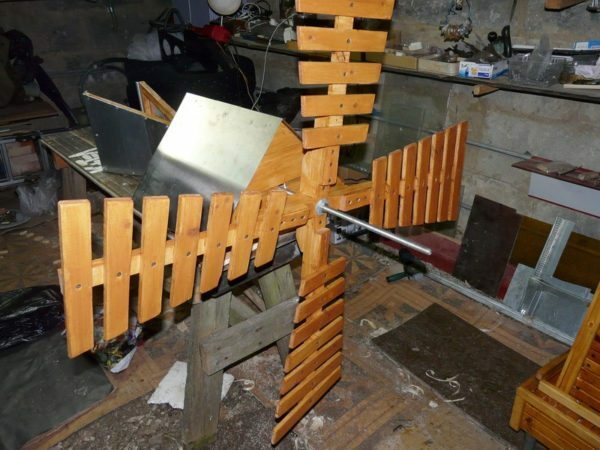
Putting basis turntables. |
 |
|
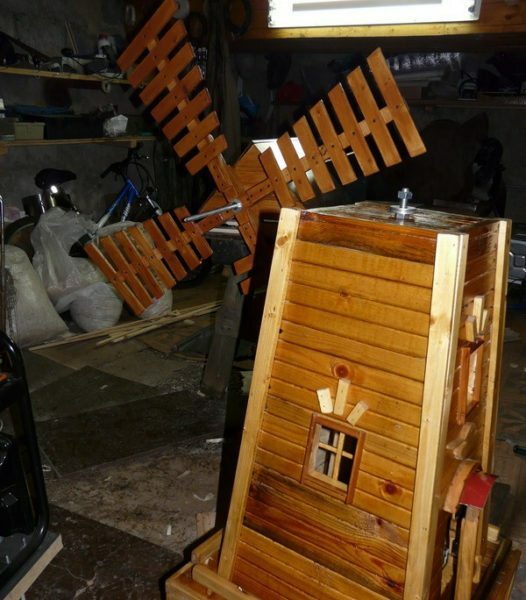 |
impregnate antiseptic all structural elements. So you protect the mill from the negative effects of precipitation. |
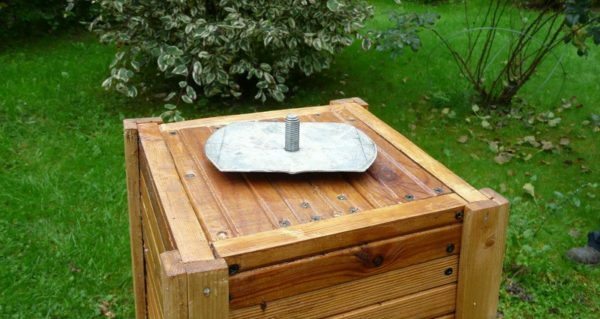 |
mount a steel pin pad with a small steel stiffening ribs. It will provide a stable position without tilting the upper part of the movable structure. |
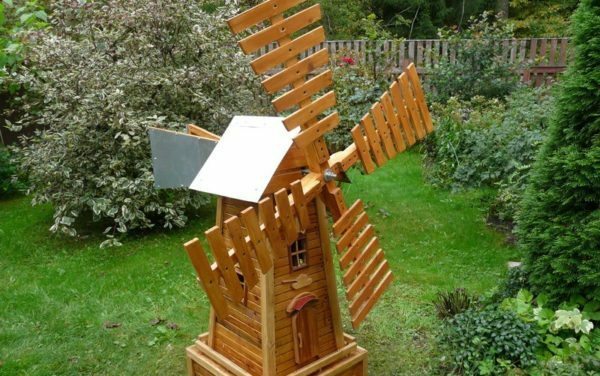 |
install roof with a turntable on the main part of the mill. |
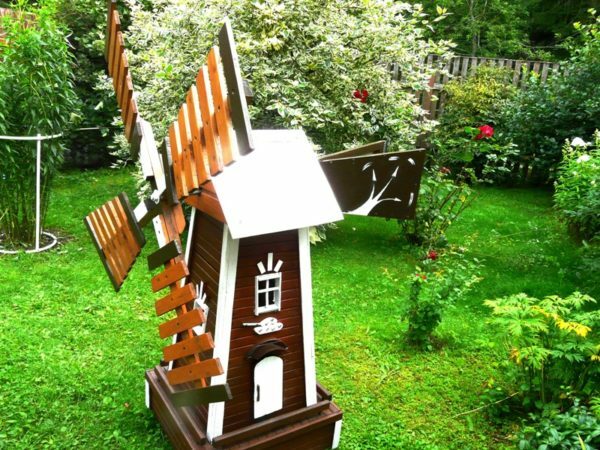 |
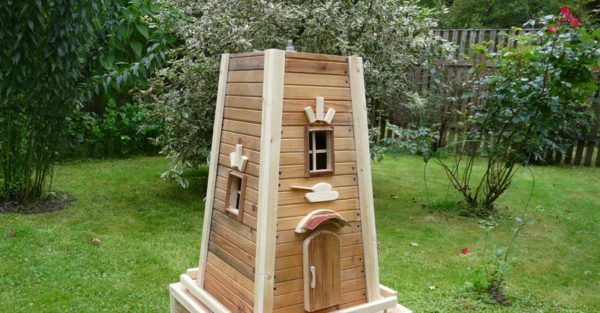
colorable construction paints and as a result we get a real decoration of landscape design for your garden. |
During grinding recommend using glass or silicon skins, as other variants form a dark dust, polluting wood.
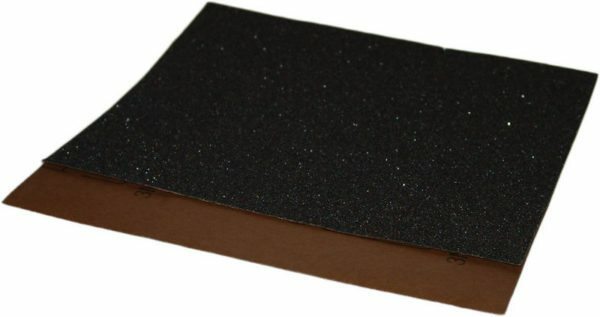
Silicon skin will not leave any traces on the wood at its processing
Additional Information
- Impregnation antiseptics outdoor wooden structure is required, otherwise you will not have long to enjoy the view of the result of their labor: the processes of decay, mold and insect pests will destroy it. Since the protection of all the above excellent job tools such as Aquatex, Pinotekst, and Belinka Senezh;

Aquatex ensures reliable protection of all wooden structures, including decorative windmills
- Built-in lights It will allow the mill to decorate your garden and in the dark. In this case, it is not necessary to sum up her wires, enough to buy and install a small solar panel;
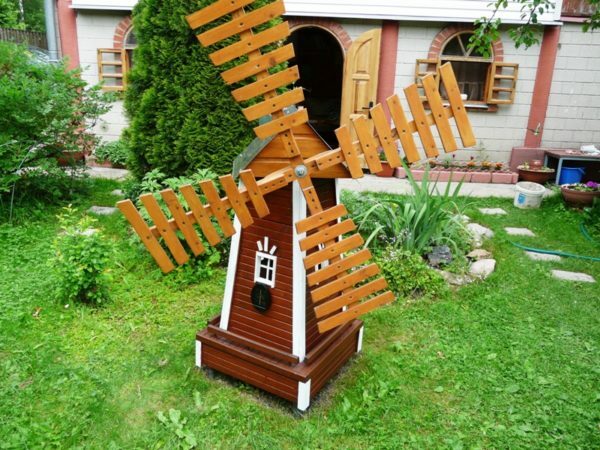
Solar battery mounted on the wall construction, provide a built-in lighting the right amount of electricity
- A place to set the mill should be selected out of the trees and man-made structures that may block it from the wind;
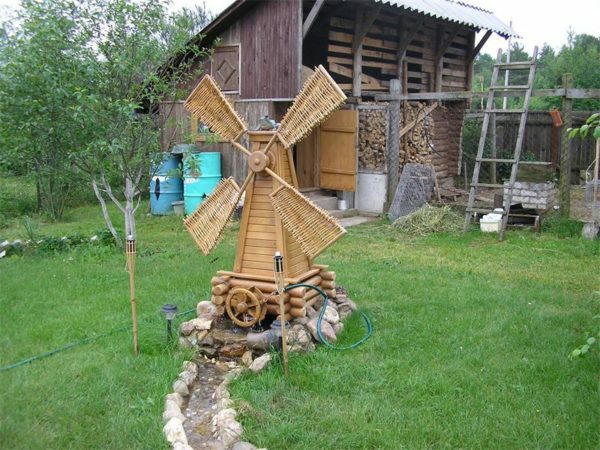
Windmill in accordance with their names should be placed in the open wind site to function properly
- Functionality the mill can be increased: to equip her flowerbeds, use the inside of the storage of garden tools or mask it with the help of a technical object.
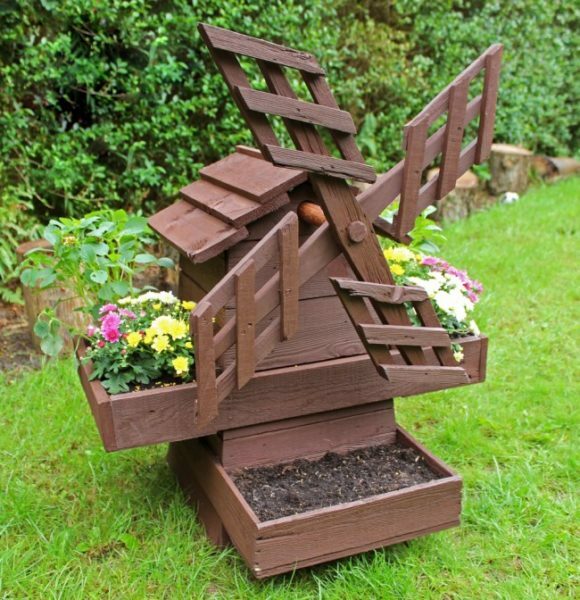
Design can be further decorate flower beds, making it more practical
conclusion
Now that you know how to build a decorative windmill on its own summer cottage. Videos in this article provides additional information relating to the examination of the material. Any questions you can ask in the comments.
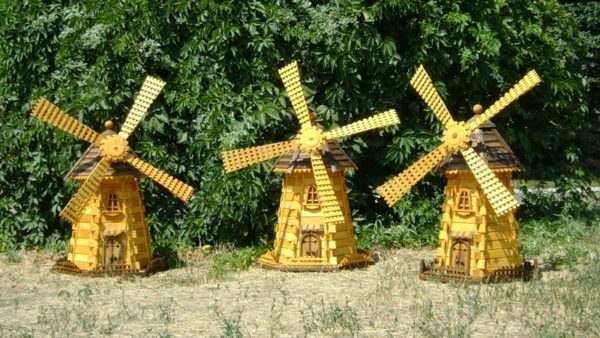
Not necessarily limited to a mill, you can decorate your garden a whole group of ornamental plants
