Wooden stairs with his hands - a step by step description of the work of "a" to "z"
Table of contents
-
1 Design
- 1.1 Step 1: design type definition
- 1.2 Step 2: forward staircase
- 1.3 Step 3: Ingredients drawing
-
2 Production of stairs
- 2.1 Step 1: preparation of stringers
- 2.2 Step 2: frame assembly
- 2.3 Step 3: stair casing
- 2.4 Step 4. installation of railings
- 2.5 Step 5: finishing
- 3 Output
Wooden stairs with his hands made simply. However, there are a number of nuances that affect the ease and even the safety of movement. I will tell about all the intricacies of building a wooden structure, so you do not make any mistakes in the process.

The basic skills of working with wood enough to make your own wooden staircase
All work on the production of the stairs can be divided into two main phases:
- Design;
- design assembly.
Next, I will discuss in detail about each of them.
Design
Ladder - a rather complicated structure, so the quality to make it without a detailed design is simply impossible, especially a novice. The design process can be divided into three main stages:

design stages
Step 1: design type definition
All existing types of stairs can be divided into two types:
-
Screw. Feature of such designs is that they contain only winders arranged around a central column. They should be used in the event that the premises a minimum of space.
Keep in mind that these ladders are inconvenient to use, but also quite difficult to manufacture. So I would not recommend beginners to take up the construction of the spiral staircase;

The spiral staircase is inconvenient to use and difficult to manufacture
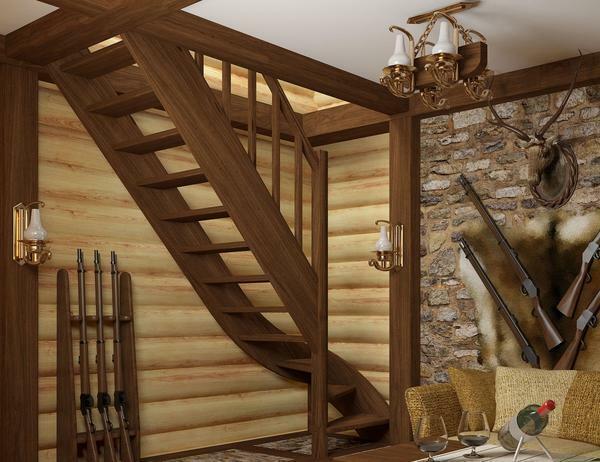
- Marching. These ladders are straight flights (stairs). They are more comfortable and safe in operation. However, keep in mind that FLOATING take up more space in the room.

Stairway takes a lot of space, but it is more convenient and safe to use
FLOATING in turn divided into several sub-types:
- Odnomarshevye. It consists of one straight flight of stairs;
- Slewing zabezhnymi steps. There may be several flights of stairs, between which swivel (winders);

Winders allow to save space in the room
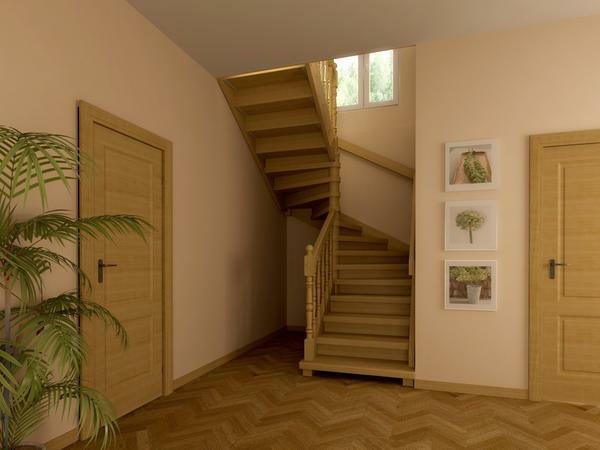
- Turning from the landing. Between these marches ladders mounted flat ground. These ladders are more convenient to use, but take up more space in the room;

The staircase to the platform is most convenient to use
- "Duck step". The peculiarity of these stairs is the steps of the paddle-shaped forms that are installed in pairs in the opposite direction. As a result, a step can only be one leg, hence their name is.

Stairway step may be duck angle over 45 degrees
These stairs are less convenient, but they can be very steep, i.e. the tilt angle may exceed 40-45 degrees.
Choose the type of design should be based on the conditions in the room and your needs. If the place is small, you can make a ladder, "duck step" type, which requires a minimum floor space of the first floor. If retirees live in the house or small children, it is better to sacrifice the space, but to make a turning staircase with marching grounds.
Step 2: forward staircase
At this stage it is necessary to determine the important parameters for such ladders as:
- Number treads;
- The height of the risers;
- The angle of inclination of the ladder;
- march length;
- The area, which takes staircase on the first floor.

Optimal parameters of stairs, averaged for all ages households
Every ladder should be comfortable and safe. To do this, when performing calculations necessary to observe the following rules:
-
The dimensions of the steps. Height can not be done more than 190 mm and less than 160 mm. Tread width must be less than 220 mm and more than 330 mm.
Keep in mind that all steps should be the same height and width, otherwise the staircase will traumatic; -
Number of steps in stairwell. The most comfortable value - 11-15 degrees. If there are more, it is advisable to divide the stairwell area.
In addition, it is desirable that the march had an odd number of stages that the person completing the descent or ascent of the same leg, which started moving up the stairs; - The width of the march. It should be at least 90-100 mm;
- The height of the railing. Not less than 90 cm.
The calculation of the number of stages. Before proceeding to the calculation of the stairs, you need to measure the height between floors, as well as the area allocated for the stairs. For example, the height between the floors, i.e., height of stairs in this case is 3 m.

Before calculating the stairs measure the height «h» and the allowable length «i» flight
Now you can start to calculate the number of steps and the height of the risers. These two parameters are interrelated.
To calculate the number of stages, it is necessary to divide the distance between the floor of the first floor and the floor of the second floor, the height of steps. The latter may be any in the range 160-190 mm. For example, take the height of 180 mm, in which case the number of steps we get 300/18 = 16.6 units.
Since we need an even number, we will correct height by dividing the total height by the number of steps - 300/17 = 17.6 cm. Upon the stairs will have 16 stages, as the last step - it's the floor of the second floor.

Security settings treads. If your shoe size larger average - needs an amendment
Calculation of width of the tread. There is a formula for calculating convenient ladder - a + b = 470 mm, where:
- a is the height of the riser;
- b is the width of the tread.
From this formula it tread width 47-17,6 = 29.4. This amount is well within acceptable.
march the length of the calculation. Now we have to consider only the length of the march, ie the length of its projection on the floor. To do this, the tread width multiplied by the number of steps - 29,4h17 = 499.8 ~ 5 m.
Since the stairs turn out long enough, it is advisable to make it swivel consisting of two marches. In this case, the first march will have eight stages, including the pad, and the second March - nine steps, with the floor of the first floor.
The width of the march should equal width, i.e. not less than 90-100 cm.
If necessary, you can adjust the parameters of the stairs under the conditions in the room - change the height of the riser and the tread width. The main thing is that these parameters remain within allowable.

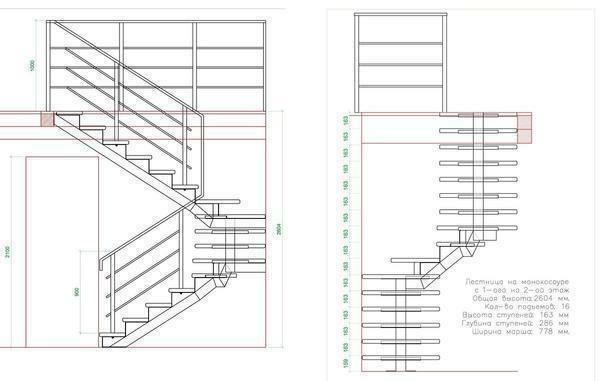
Length kosoura calculated using Pythagoras' theorem
The calculation of the length of the string or kosoura. Kosoura calculation performed by the theorem of Pythagoras - the length of the staircase in the square + ladder height squared = length kosoura squared.
Step 3: Ingredients drawing
Now you need to prepare drawings, in which you will make parts of the ladder. To do this, first consider the details that includes a ladder structure in wood:
- Kosour. Supporting beam, on which are stacked stage. As a result, kosour takes the full load when moving the stairs;

Ladder stringers provide maximum strength
-
Bowstring. As is the bearing beam. From kosoura by the absence of cutouts stage, causing the tread connected to the beam end.
For fixing to the string treads therein recesses or milled bars are attached, in which is placed the tread;

Bowstring simpler in terms of fabrication
- Stage. It consists of two elements - tread (horizontal board), the riser (vertical board, which is located under the stage). I must say that the wooden stairs design may not have risers, especially if it is based on the string.
How best to do the stairs - on kosour or bowstrings? on the string design is fast and easy, as there is no need to make cuts under the stage, however, Saddle stairs can withstand a greater load.
Production of stairs
Consider how the staircase made of wood with their hands. This process can be divided into several stages:

manufacturing phase
Step 1: preparation of stringers
Work is carried out as follows:
| illustrations | Description of action |
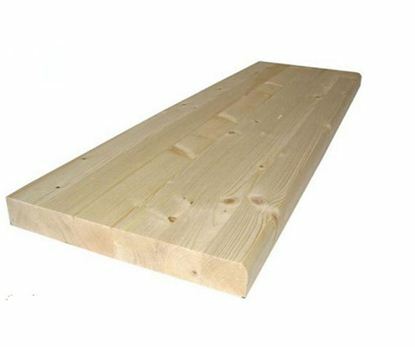 |
Materials. At this stage prepare board section 40 x 300 mm. |
 |
Preparation of Beams. Cut board 40h300 kosoura mm in length according to the design calculations. |
 |
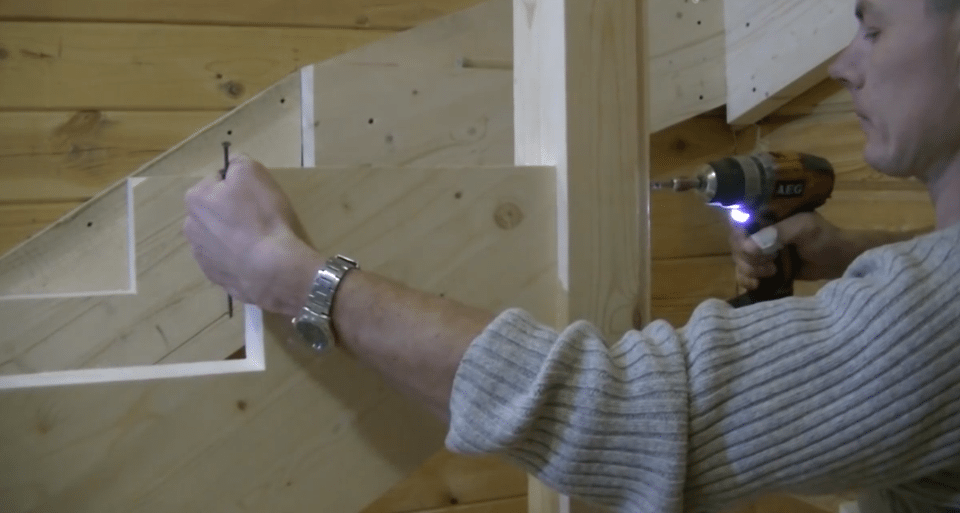
Marking kosoura. Road marking gon use the building. With it, mark the location of steps and risers, as shown in the photo. Keep in mind that the angle of the tread and kosoura should match the angle of inclination. In order not to make a mistake in the calculations, you can perform the following steps:
|
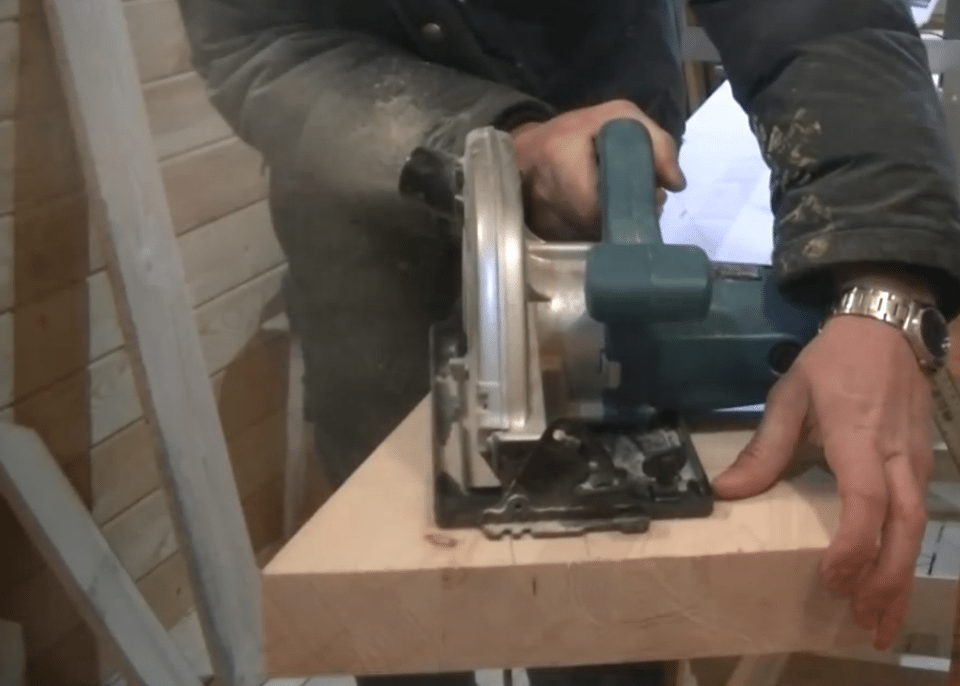 |
Cutting kosoura. Carefully follow the cuts using a handsaw, jigsaw, or other tool. The same pattern will do the rest stringers. |
To paired stringers have turned out exactly the same, take the first stringers as a template - attach it to the board and draw a pencil.
Step 2: frame assembly
Now we have to make the other elements of the ladder frame, and install them. Work is carried out as follows:
| illustrations | Description of action |
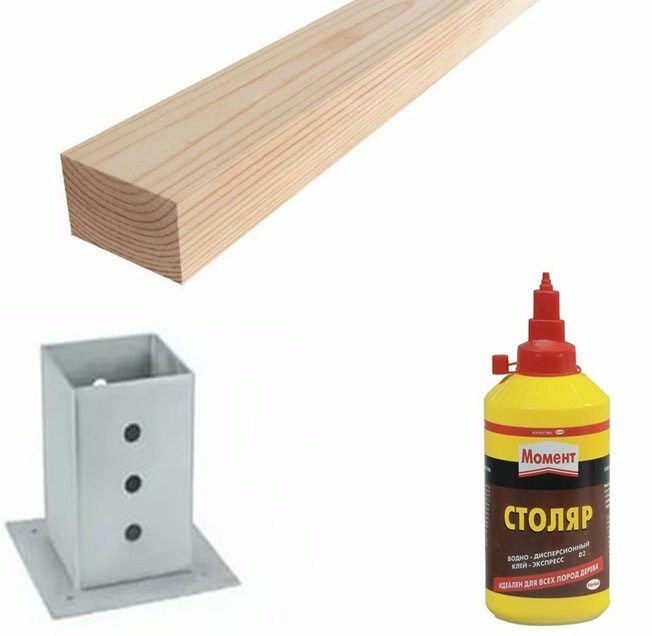 |
Materials. In addition to the stringers carcass building will need:
|
 |
Kosoura mount to the wall:
To beam located right in front of the installation, it is desirable to put on the wall layout. |
 |
Installation of the supporting pillars:
|
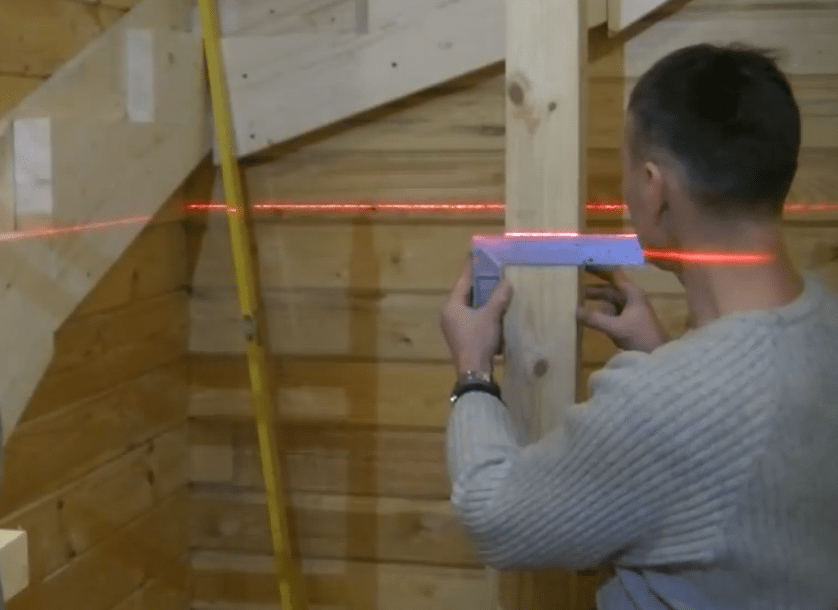 |
pole markings. Label on the pole position of the second abutting kosoura. You can use a laser or water level. |
 |
Mounting second kosoura:
|
 |
Mounting kosoura second span. The beam is attached to a pole on the same principle as the kosour first flight. |
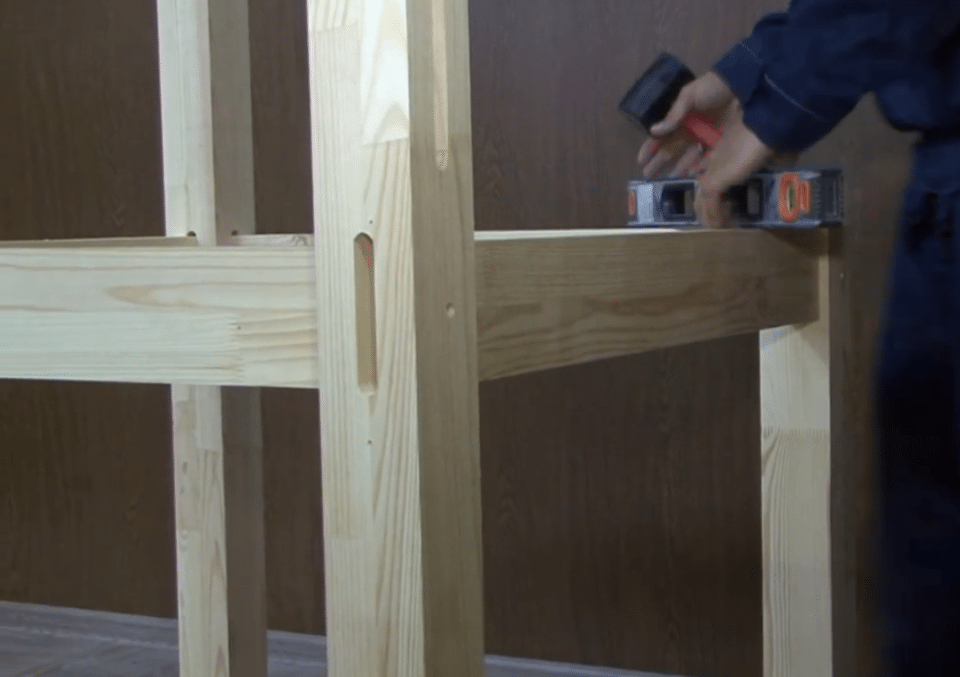 |
pad frame assembly:
|
In this frame assembly has been completed. If you have a straight staircase and without grounds, that all the work on the frame assembly is reduced to the installation of two stringers.
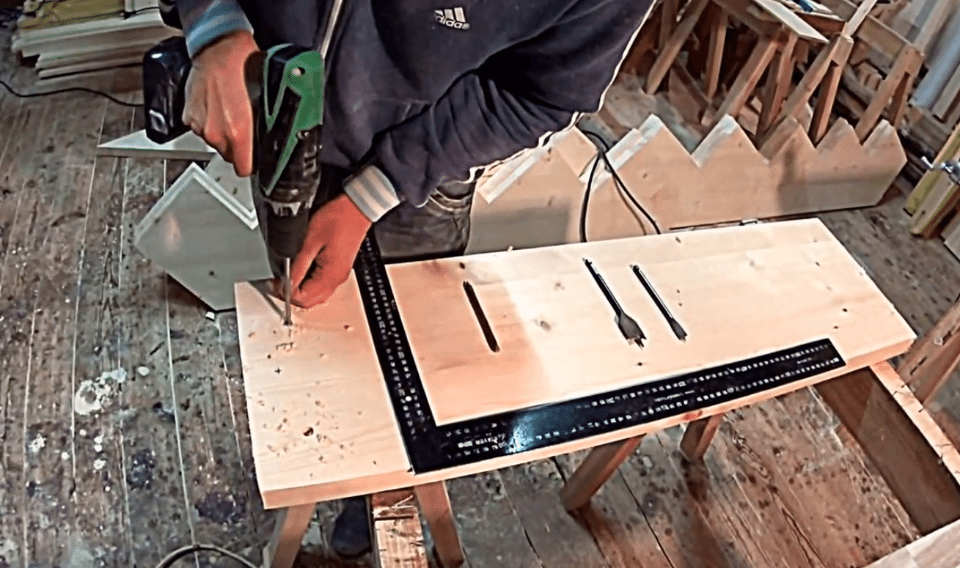
Step 3: stair casing
Sheathing ladder as follows:
| illustrations | Description of action |
 |
Materials. At this stage, we need:
|
 |
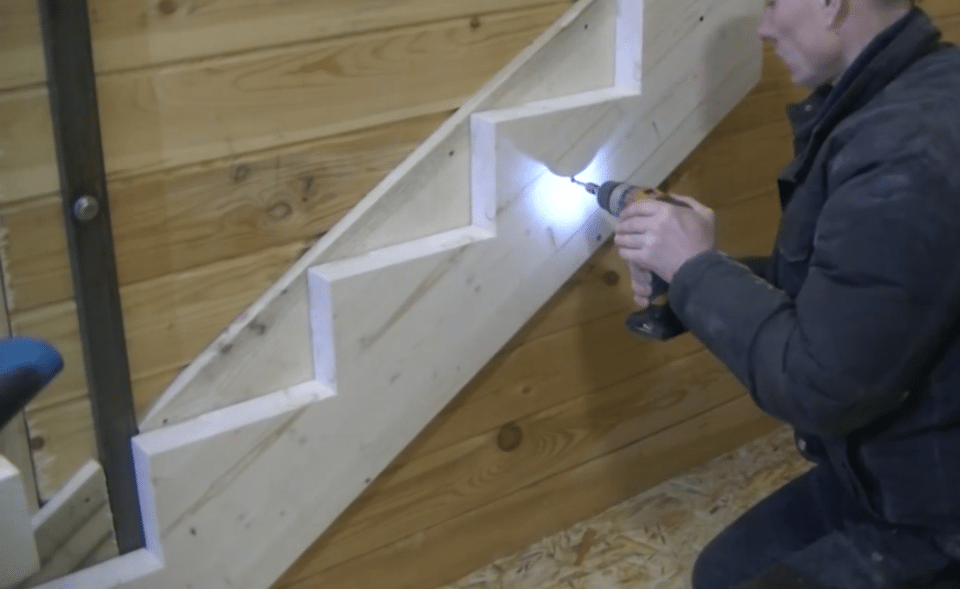
Marking steps and treads:
|
 |
Cutting parts. Use for this purpose jigsaw, or other tool. In addition to the treads and risers you'll also need the board, for covering the landing. Keep in mind that the tread should hang over the riser at a centimeter or two. |
 |
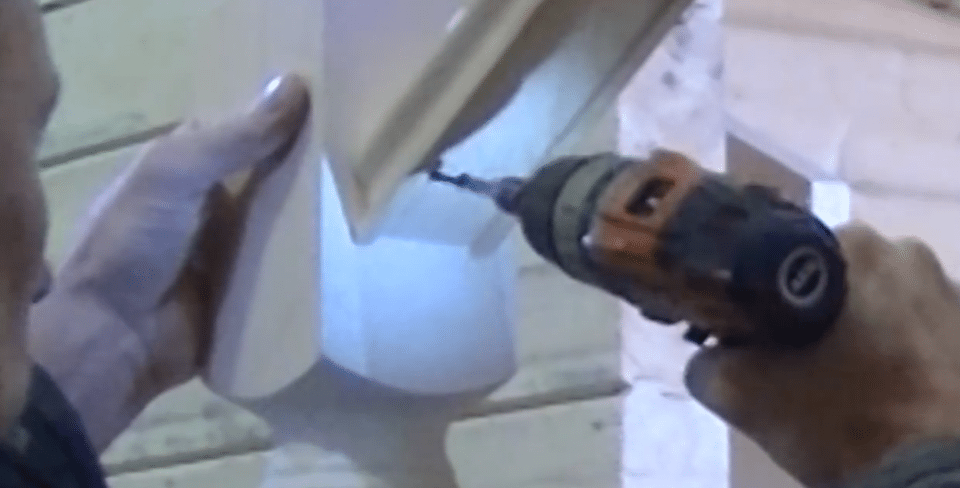
Boring holes:
|
 |
Treatment of the joints parts glue. Use the carpenter's glue. |
 |
Installation steps and risers. Secure the parts with screws. |
 |
Sheathing of space under the stairs:
|
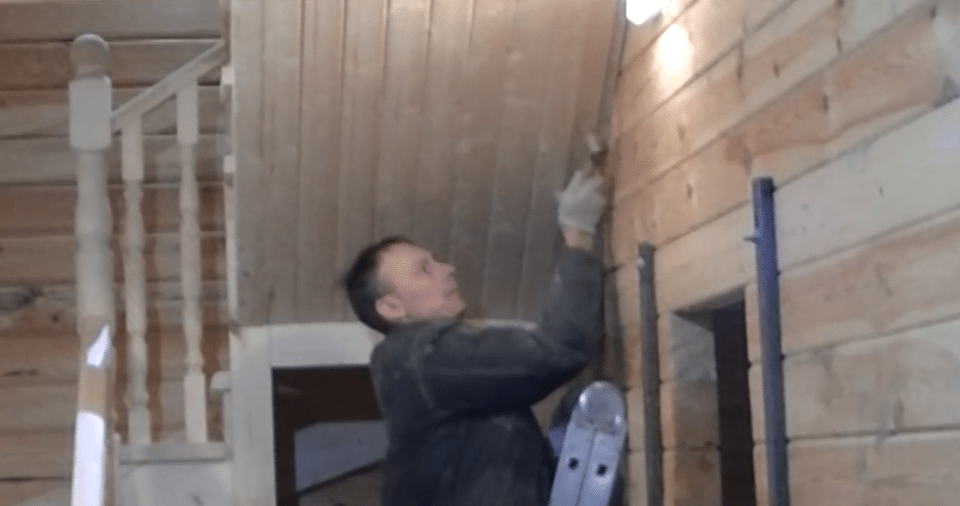 |
Upper cladding march:
|
Step 4. installation of railings
Now you can start the installation of handrails. Balusters and handrails better to buy ready-made as well as how to make them beautiful is difficult without the appropriate equipment. At the same time, the price is small - the cost of the balusters curly pine begins an average of 100 rubles apiece.
The process of installation of balusters and handrail looks like this:
| illustrations | Description of action |
 |
Materials. Everything for the railing you will need:
|
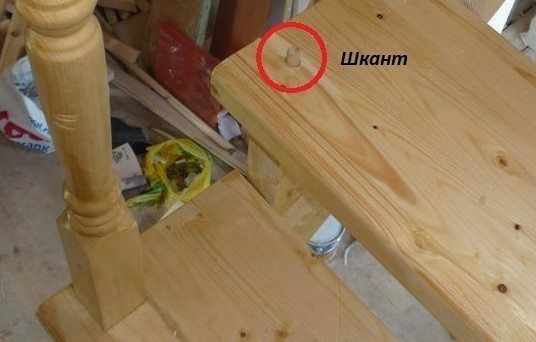 |
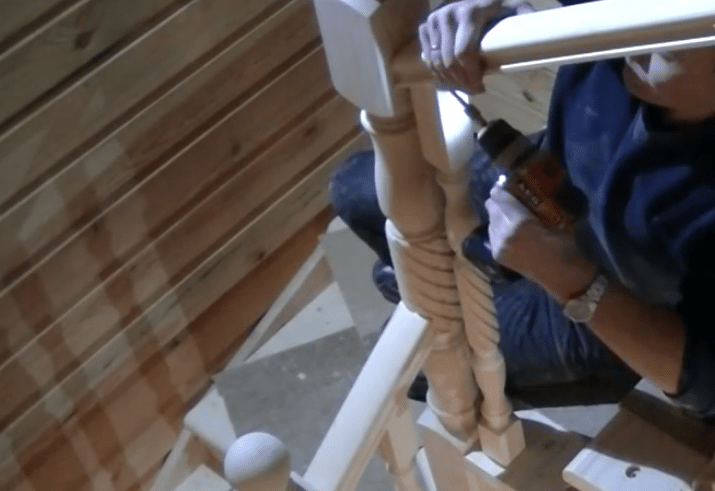
Mounting dowels for balusters:
|
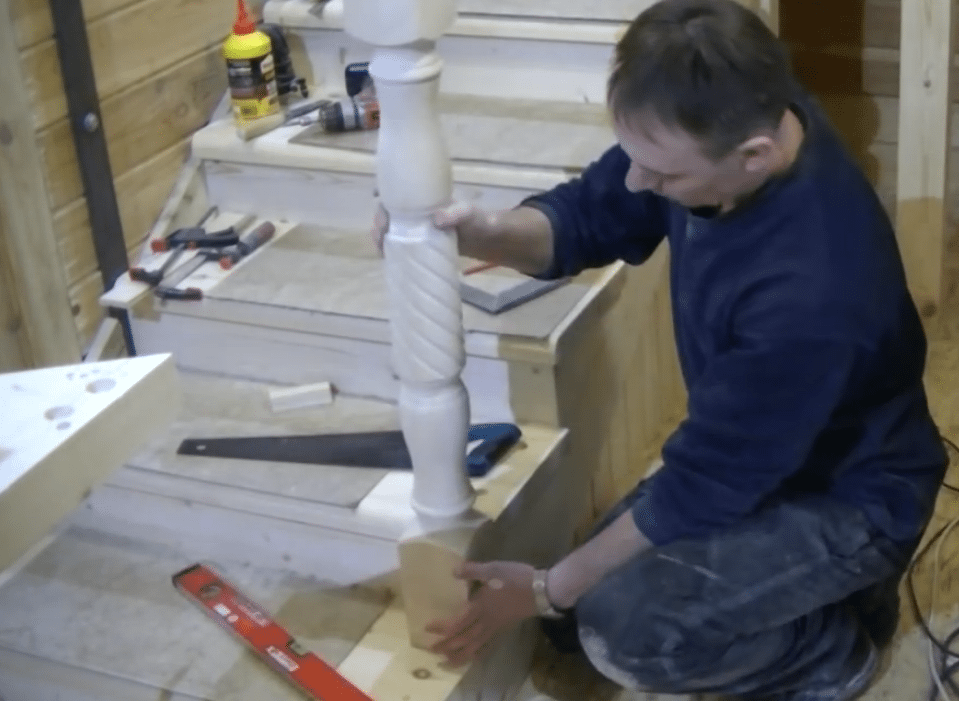 |
Install balusters. Instruction looks like this:
|
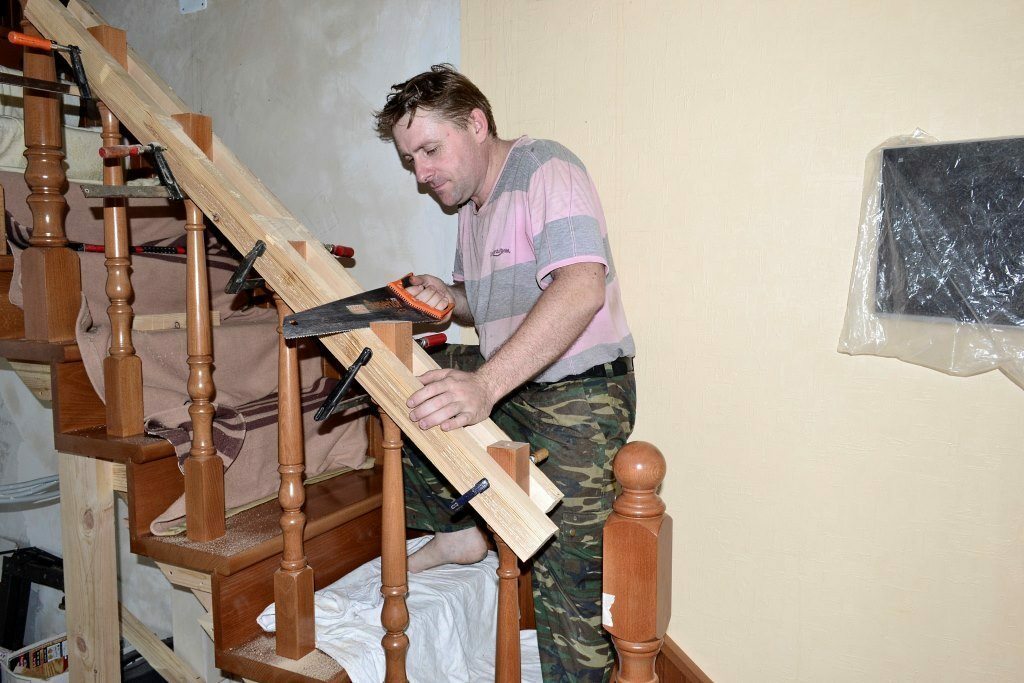 |
Preparing for installation handrail balusters. Cut the upper part of the columns at an angle equal to the angle of inclination of the flight of stairs. |
 |
Fixing handrails to the extreme the posts:
|
 |
Fixing handrails to intermediate balusters.
|
The manufacturing process of wooden stairs on this practically completed. Now you only perform finishing.
Step 5: finishing
As a rule, in the process of finishing wooden stairs with his hands covered with paint, stain or impregnation. This operation is performed in the following sequence:
| illustrations | Description of work |
 |
Materials. For finishing, you will need:
|
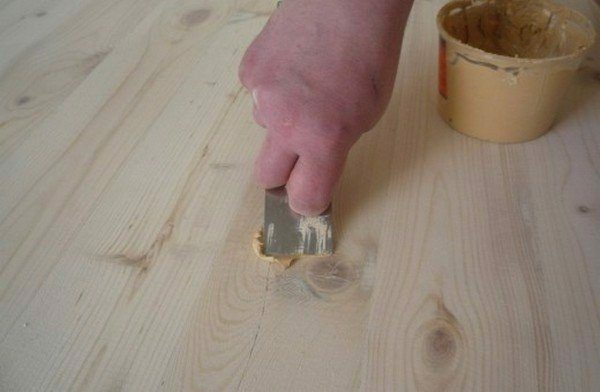 |
luting:
|
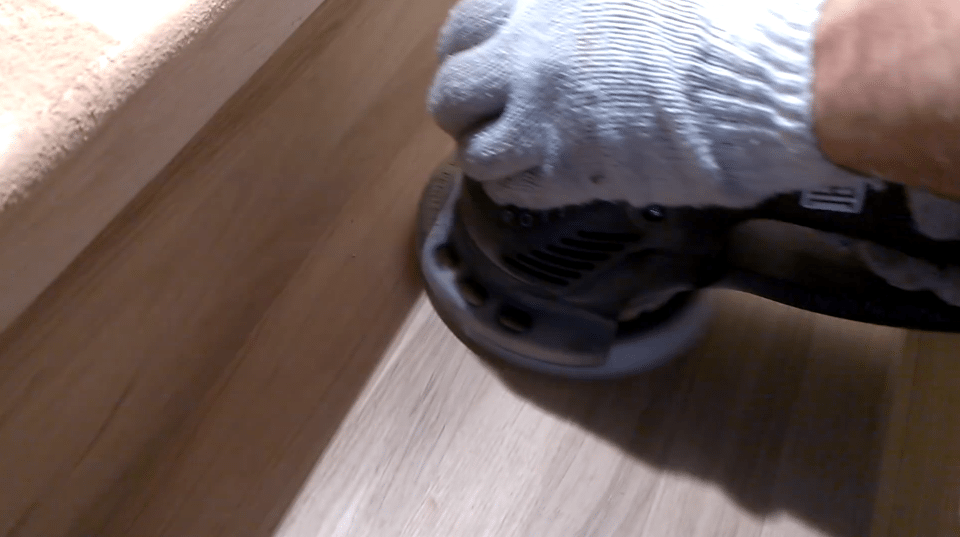 |
grinding:
|
 |
Dusting. Vacuum ladder surface or wipe with a damp cloth. |
 |
varnishing:
Wooden ladder desirable to cover the matte varnish or impregnation. Covered with a glossy varnish can be slippery and unsafe for travel. |
As you can see, the stairs to the second floor are made simple enough, so their production enough to have basic skills of working with wood.
Output
We reviewed the process of manufacturing the stairs with all its basic nuances and subtleties, and now you are free to get to work. I recommend to watch the video in this article. If in the process you encounter any difficulties - write comments and I will gladly help.