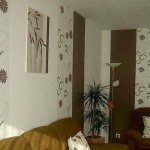
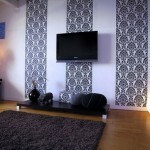
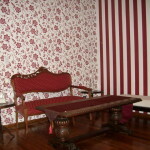
Pasting of walls with wallpaper (57 pics): preparation of the walls, adhesive, paintings, gluing and installing baseboards
Table of contents
- 1 Tools and materials
-
2 The sequence of work
- 2.1 Step 1 - Preparing walls for wallpaper pasting
- 2.2 Step 2 - Preparation of glue
- 2.3 Step 3 - Preparation of wallpaper
- 2.4 Step 4 - pasting of wall
- 2.5 Step 5 - Final
- 3 Summing up
- 4 Photo Gallery
To create a feeling of comfort and home atmosphere is best to draw the wall with wallpaper. Even though a lot of newfangled facing surfaces, they remain the most popular and the most common interior materials.
Choose hard to get lost easily, but it is the experience of many repairmen novice, not the worst thing. The most time and effort consuming pasting wallpaper walls with his own hands. And how to make so that this operation was "painless" and even bring fun, try to understand.
 It is worth noting that the pasting wall wallpaper - pretty long, technically difficult process, the success of which depends mainly on the type and nature of the material.
But there are some important rules-gluing recommendations that will be useful to you, no matter what coverage you choose.
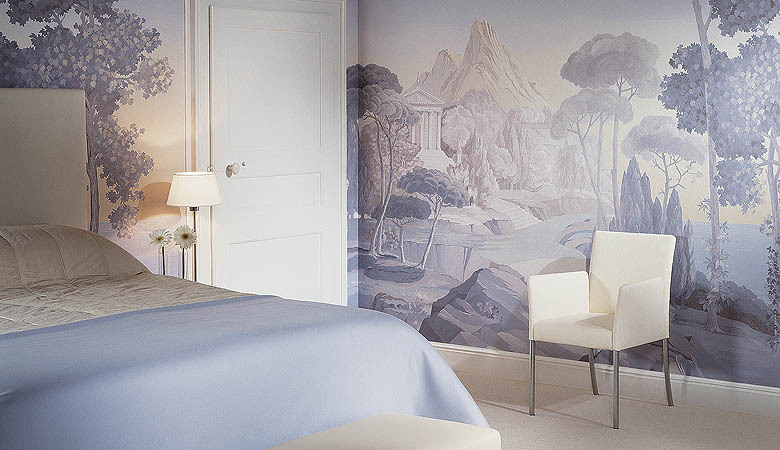
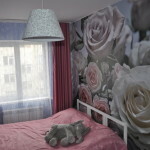
Design bedroom walls
Tools and materials
Prepare for gluing vinyl wallpaper need to thoroughly.
Tools and materials:
- wallpaper;
- glue;
- narrow trowel and water to remove old coatings;
- putty and sandpaper;
- and plumb line;
- scissors and / or stationery knife;
- stiff brush or rubber roller;
- damp sponge.
The sequence of work
Now that all the equipment is ready, you can start pasting vinyl wallpaper. First of all you should understand that the entire operation is divided into several stages, which are recommended to be performed in the order presented to avoid the loss of time and effort.
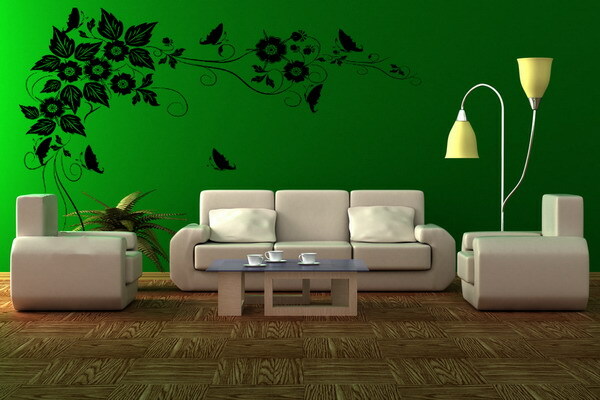
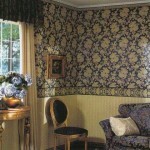
Beautiful wallpaper in the living room interior
Step 1 - Preparing walls for wallpaper pasting
Dismantling of old wallpaper. (If you were lucky and did not have such, you can immediately proceed to the second stage).
To get rid of the old coating can be a special solution prepared and applied in accordance with an instruction or slightly wetted with warm water, scrape their narrow spatula.
If there are chips and cracks, even of small size, be sure to zashpaklyuyte them. If you choose to paste over a smooth surface, be sure to make it a little rough, rubbing sandpaper.
Step 2 - Preparation of glue
Often the production of the adhesive is not a big difficulty. In order for it to cook properly, you need to constantly stirring the water in the tank, pour the contents of the package inside. Now carefully to prevent the resulting mass until complete dissolution of lumps.
Remember to stick heavy cloth (glass cloth wallpaper, vinyl or non-woven), get a special glue. Before very sticky surface gruntuem glue that is diluted with water by 1/3, 1/4 (the exact proportions indicated on the packaging or in the manual).
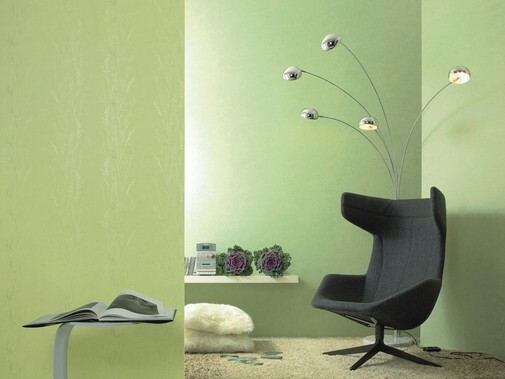
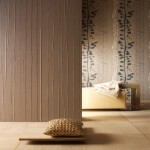
Non-woven wallpaper in the room design
Step 3 - Preparation of wallpaper
- Before working on the surface using a plumb draw a vertical flat strip which we will guide during the gluing of the first strip.
- The most common cloth glued butt joint, so it's best to stick to tradition and to begin with the most clarified side - away from the window.
- Cut the roll into pieces of desired size, leaving little margin of 5-7 cm.
Please note that during cutting is necessary to consider the frequency of repetition of the pattern and the adjacent fabric to choose the height so that the pattern match.
- By means of special roller-brush or brush coat with adhesive reverse side of the web, sheet, which covered the adhesive, fold in half, without pressing down the bend line. We reserve cloth for 3-7 minutes.
Note! Experts recommend to strictly follow these time frames. After all, is not enough cloth soaked poorly glued.
Step 4 - pasting of wall
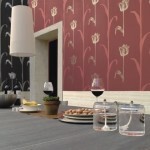
Wallpaper in the living room design
After impregnation, the glue can start gluing. With a painting on the wall, flatten it by roller or soft cloth. moving from the center to the edges.
Make sure that the glue does not come out of the joints, immediately remove all excess slightly damp cloth or sponge.
Step 5 - Final
Bonding skirting. To install baseboard at the bottom of the paintings draw a flat horizontal stripes and cut off the excess. You can now be taken for the adhesion of the plinth.
After pasting wallpaper on the walls is over, at least for a day, two-tight cover the doors and windows in the room, to avoid drafts.
You see, the rules pasting wallpaper are not so complicated as it might seem at first glance. Just a bit of your patience, strict adherence to the instructions and quality materials - and you are the master.
Summing up
We hope our article has been helpful to you. In order to more accurately understand the technological and practical issues on our website provides detailed photo and video instruction, in which you will find useful information on the question.
Photo Gallery

