Plaster drywall under the wallpaper. Preparation of the surface sheet. Application of soil. Spackling work. Grinding
Table of contents
- 1 Why putty walls, trimmed with plasterboard?
- 2 The choice of filler
-
3 The sequence of work
- 3.1 Preparation of the surface sheets
- 3.2 Application of soil
- 3.3 plastering work
- 3.4 Helpful hints for the plastering work
- 3.5 Sanding surface
- 4 findings
The walls in the room - it is a kind of canvas on which to create the interior of the premises. More often than not as a finishing material chosen wallpaper, requiring the preparation of the walls. About the way that the plaster drywall under the wallpaper and we'll talk.
Recently, for insulation and leveling walls used drywall. This embodiment is very useful because it allows to carry out the surface smoothing is much faster and better than with traditional plastering.
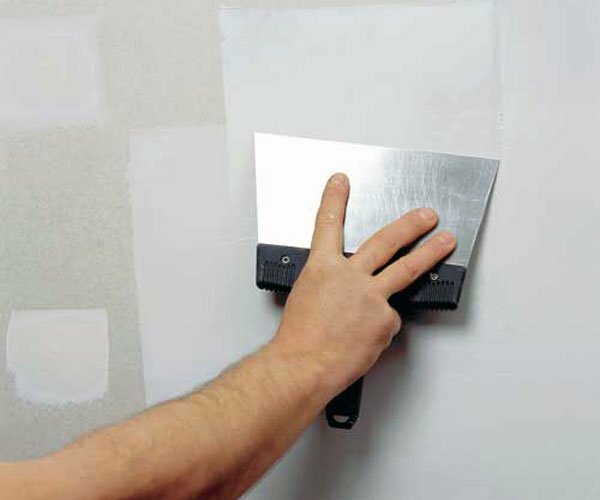
It is also important that the plasterboard work related to the "pure" categories, after their performance does not have to spend time in the laundering of dirty streaks covered all around.
Why putty walls, trimmed with plasterboard?
Novice master often wonder why it is necessary to putty drywall, if the surface is perfectly smooth and so?
Why need putty plasterboard:
- If you plan to stick the thin light-colored wallpaper, then most likely, the seams between sheets of drywall will shine through.
- If you make a sticker wallpaper directly on drywall, if you want to change it would be very difficult to remove cloth. Pasted in this manner the sheets are removed together with the layer of plasterboard and the room have re-sheathing.
The choice of filler
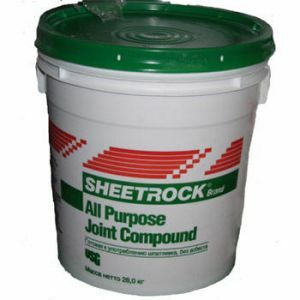
Finished plaster for application on the wall
It is extremely important to choose a suitable and quality material for spackling.
A few tips for choosing:
- Do not purchase the putty, which is marked "for outdoor use." Such a material for facades and may contain substances which are not safe for human health.
- Be sure to make sure that did not come out at the putty shelf life.
- Desirably purchase ready-made mixture for spackling, not dry variant. Firstly, buying ready-made material, you can be sure that it is cooked properly. Second, do not have to search the building mixer and select suitable containers for mixing.
The sequence of work
Preparation of the surface sheets
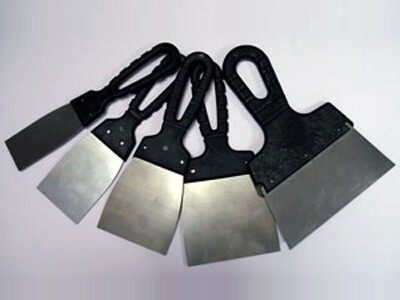
Spatulas for applying putty
As a rule, the preparatory work always begins with the removal of dust and debris. Then you need to carefully inspect the surface of the sheet to reveal incorrectly screwed screws.
This is a fairly simple test - spend a spatula at the place of attachment sheet if the blade glides smoothly, then everything is in order. If trowel clings to the protruding screw heads and nip them.
- If the screws are screwed too deep (cap is recessed to a depth greater than half the thickness of the sheet) remove the screw and at a distance of 50 mm from the new screw (in the former hole not tighten screw recommended).
- If the surface of the sheet noticeable local defects - scratches, dents, and close them before applying putty common layer.
- If the defect is deep, terminations have to be carried out in several stages, each time waiting for the previous layer to dry.
Application of soil
Drywall primer is recommended to apply to the entire sheet as a whole.
To save on the purchase of the material is not necessary, especially as the primer consumption Drywall small.
Approximate consumption:
- primer Betonokontakt - 350 ml / m²;
- deep penetration - 0.1 kg / m²;
- matt alkyd - 100-120 ml / m²;
- primer for walls - 50-100 ml / m²;
- primer for walls and ceilings - 90-110 ml / m²;
- primer GF-021 - 120 ml / m²;
- primer optimist - 120-250 ml / m²;
- primer VL-02 - 80-120 ml / m².
Primer is applied with a roller in one layer. Now you need to seal the joints of the reinforcing tape - serpyanku based on the adhesive. The tape is applied so that it is flat in the middle of a seam between sheets.
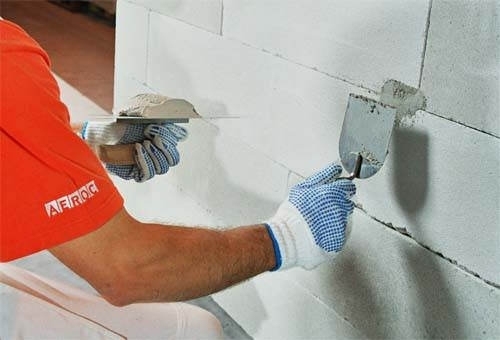
plastering work
plastering work
If you plan to wallpapering plasterboard, you can use the most ordinary putties.
If you purchased already prepared mixture, immediately proceed to the spackling, but the dry weight of the preparation requires compliance with the instructions. Typically, mixtures are bred with warm water and well stirred using a mixer.
Tip! If tools are not among the construction of the mixer, you can use a special nozzle on the drill. But hope that the mixture will be able to mix well by hand is not necessary.
Some blends require infusion after mixing for a certain time, while others may be used immediately. After infusion the mixture should be sure to once again mix well.
Helpful hints for the plastering work
- For applying putty take two spatula. One should be wide enough, and the second - a narrow and compact. The first tool is used for leveling layer of putty, and remove the remains of the second sweep at first and work in difficult places.
- To align the mixture in the corners is useful special corner trowel.
- Determine how smooth surface can be obtained by a conventional spirit level.
- Pay special attention to the seams. Begin work always on top. Plaster with a trowel applied to the seam, and distribute it, producing longitudinal movement, pushing a little part in the joint.
- A common mistake when carrying out this type of work - lack of treatment of joints. The fact is that when drying putty more compressed, so the site level, it would seem, depression may form surface.
- So do not feel sorry for putty, possible excess can be easily removed by grinding.
- If desired multiple layers of putty, to spray the next can begin only after the previous dry well.
- The main component of success - the accuracy and the slow pace, but in this case it is possible to obtain a perfect surface.
Sanding surface
Since taping drywall wallpaper - a process that requires perfectly smooth base, the plastered walls should be abraded.
To carry out this work is required to get a special grater with fine emery cloth.
Tip! During the grinding of plasterboard walls produces a lot of dust, so this kind of work is recommended wearing protective equipment - goggles and a respirator.
After completion of the grinding room thoroughly cleaned with a vacuum cleaner. On the prepared surface is applied another layer of soil, drywall is now completely ready for gluing paper or paint.
findings
Thus, the process of applying putty on the walls sheathed with plasterboard - it is a whole range of activities. All operations should be carried out consistently and accurately, the failure of at least one of them will lead to the fact that the final coating lies with defects.
We hope our article has been helpful to you. In order to more accurately understand the technological and practical issues on our website provides detailed photo and video instruction, in which you will find useful information on the question.
