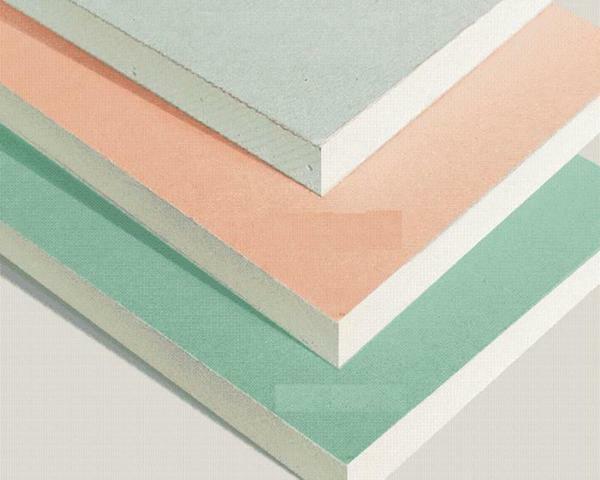
 Jointing is an important step in the repair work of After the plasterboard has been assembled on the ceiling or walls, the joints between the GCR remain untreated. This type of joints does not imply a transition to finishing, it is necessary to align the external and internal corners, the attachment points to the frame. Of course, you can do it yourself.
-
- What materials need to putty
- step by step how to putty joints on drywall
- nuances: how to putty corners of drywall
- grinding and puttying plasterboard corners
- How does putty joints drywall( video)
What materials are needed for putty
The materials and tools that putty put together are not expensive. There are not many of them: it is directly the putty for seams, a tape made from reinforcing fiberglass mesh, a primer, a spatula and a nazhdachka. Perhaps, you have some of the tools, and the tape and mix are not so much.
 In order to prepare a grouting mortar, you will definitely need a dry or ready-made mixture
So, for putty you need:
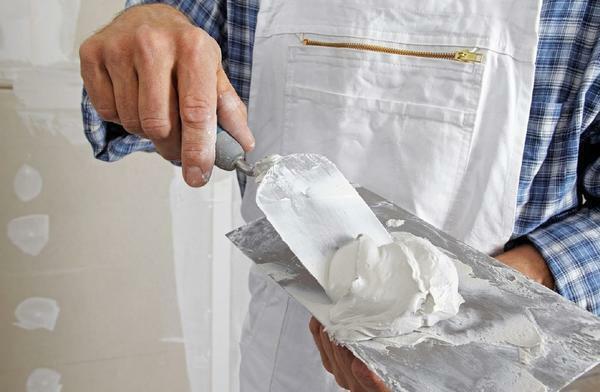
- Ready or dry mortar for sealing GKL seams. Ready mix you simply open before work and put it on the site in the proposed form, the dry mixture should be diluted in a clean container with an electric drill( using a mixer head).On the package there is an instruction that regulates the method of obtaining the consistency of the mixture.
- Reinforcing mesh is a tape about 6 cm wide. It is sold as a piece, and in rolls. Choose a network carefully: remember it, stretch it. If you fold it in half and iron the bend, a good mesh will return its shape, it will not break and will not burst. Otherwise, the tape is called a serpentine net.
- The spatula is needed for applying the mixture to joints and seams, smoothing the mixture and fixing the corner joints.
- The primer of deep penetration will allow the puttying to be made a better process, it is required for better adhesion of the compounds.
- Sandpaper is required, as you might guess, for grinding.
In some cases, a screwdriver or a Phillips screwdriver is required to tighten the protruding screws. A brush or roller for applying a primer is certain to be found. To simplify operation, you can use a vacuum cleaner, which will clean the surface of dust.
Step by step: how to plaster the joints on the drywall
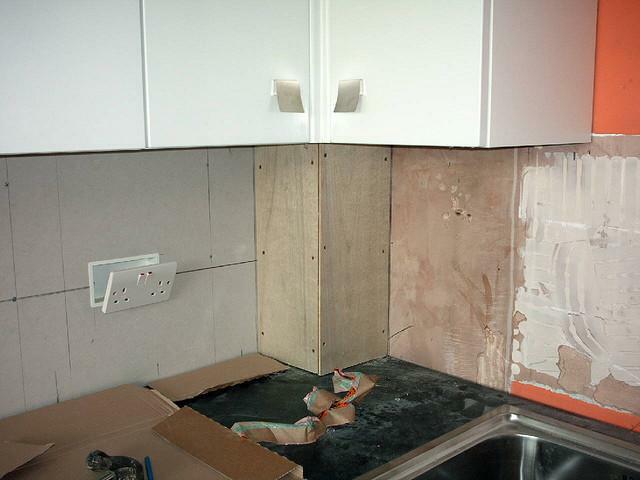
The process, like any other construction and repair procedure, begins with the preparatory part. Be sure to twist the protruding screws, so that the sheets are drowned with their hats. At the joints that formed as a result of straight sections, you need to make chamfers. And it is more convenient, of course, to do this before installing gypsum boards.
The seams also need to be cleaned of dust and gypsum that has crumbled. Prime the seams with a deep penetration primer, so you prepare them for embedding.
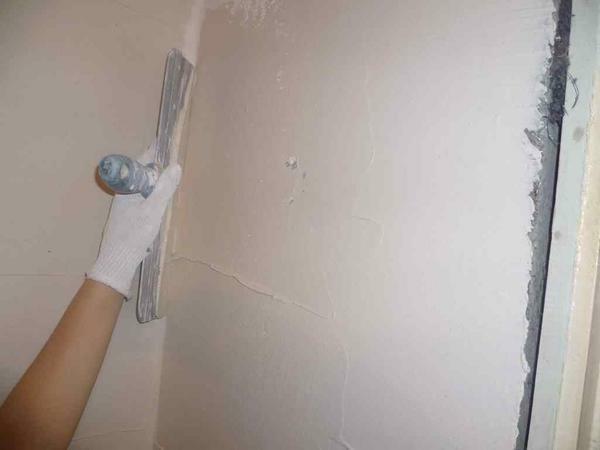
 Before starting to fill the joints, first clean the wall of dirt and dust
Sealing process:
- Prepare or prepare the mortar. If you use a dry mix, then do it before work, not in advance. And mix only in the amount that you will have time to use. Typically, the packaging indicates the time when the mixture solidifies.
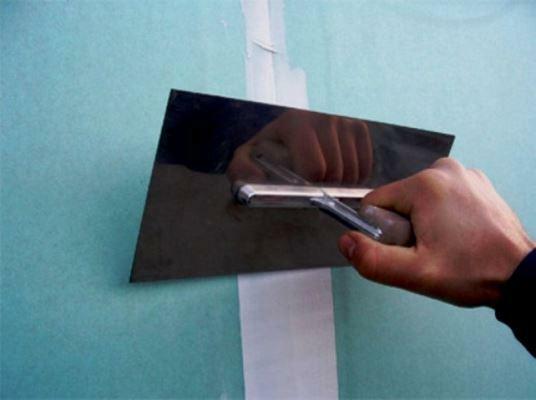
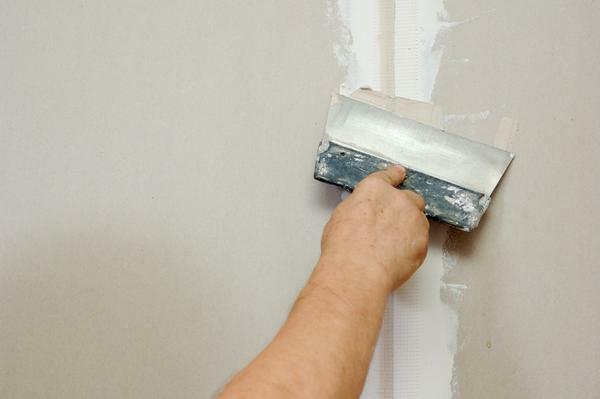
- The putty should be applied with a spatula across the joints, while applying force - the mixture must penetrate into the gap. Roughly speaking, the solution must "stick out" above the surface of the sheet.
- When the seam is full, the reinforcing tape is applied to it - it should lie exactly along the joint axis. Hold the tape from above, press it with a spatula, and move the spatula down vertically, while pressing the mixture into the tape. The solution should be squeezed out through the grid cells.
- If you use tape pieces, you need to stack them with a three-centimetre overlap.
- Then you need to change the spatula to a wider one, remove the surplus filler by aligning the seams along the surface plane.
At the joints that are obtained by cutting edges, the tape above it will act. This thickening is necessary to smooth out because the solution to apply drywall rather wide stripe of the joint need to retreat centimeters 25. The solution pull level with the seam.
nuances: how to putty drywall corners
in the corners and places where the wall adjacent to the ceiling, too, need putty. By and large, puttying is carried out here as well as on external corners. True, the reinforcing mesh will bend in the middle. For external corners, by the way, a special corner is used, because these places are subject to mechanical influences more often than internal corners.
 Experts recommend to pay special attention to sealing of joints in the corners at the junction of plasterboard sheets
All seams, joints at the corners should be smooth. There should not be any depressions or corners. When the putty on the seams begins to dry up, do not be surprised if it spends a little, let's say, it will be pulled into the seams, which are not reinforced with a net. They do not need to be covered at once, it is more reasonable to level them when the surface is completely ground.
There are masters that assume shpaklevku without reinforcing tape. This can be done if the walls are either covered with wallpaper or trimmed with other decorative materials. But under the painting do not risk to do without the Serbian, the paint can not hide such a defect.
grinding and puttying plasterboard corners
Grinding - an important point putty joints and corners. Without this stage, you can not qualitatively move on to the next. Therefore be sure to wait until the joints completely dry after the applied solution.
By the way, notice that the putty dried, you can by color - gradually it will lighten from the edges to the center. When the color becomes even, you can sand the seams.
You can sand with sandpaper, mesh, sandpaper. Sandpaper is more familiar material. You need a paper with a fairly large grain.
 Fill the joints can be their own hands, the main thing - in advance to acquire the necessary tools and prepare a special mixture for
How to grind the seams:
- grated fix abrasive( nazhdachku), prepare the ladder until you get good coverage;
- With a small trowel, remove any noticeable mounds, if any;
- Starting from the top of any corner, treat the wall in circular motions over small areas, lighting them well;
- Do not press too hard on the grater, grind only the protrusions and rips.
Usually, first the whole area of the walls is processed, and then the outer and inner corners. As a good lighting is suitable searchlight. Grinding, albeit a dirty process, but not at all complicated.
How is plastered drywall seams( video)
As you can see, in the putty is no such difficulties, which submit themselves only to the expert. You can save on the services of workers, and make sure that everything is done qualitatively and economically.
Good work!