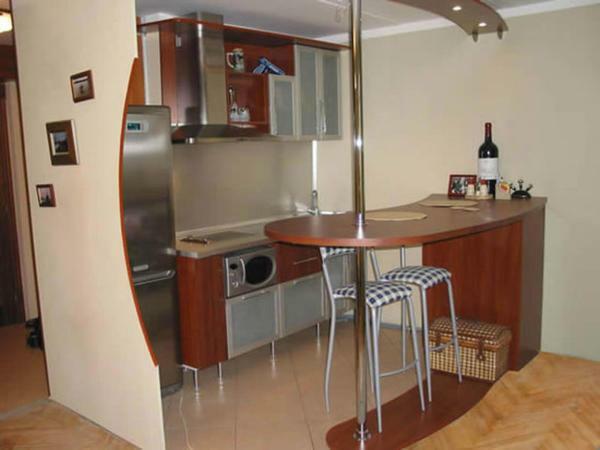
 The most common bar counter stands in the interior of the room as a stylish area zoned space Ergonomics in the arrangement of living quarters now stands in the foreground. Owners of small apartments-Khrushchev combine rooms to visually and functionally increase the useful space. Thus, of the two tight rooms they have one - combined. Most often, redevelopment is done in the living room and kitchen to get a kitchen studio as a result. This way is won in many respects: we get a spacious and multifunctional premise with a lot of advantages. However, in order to visually divide the room into several functional areas, it is necessary to compile a rational design project that involves zoning. For visual differentiation of zones different designs are used: both decorative partitions, and racks and bar counters. It is about the bar counters and their functionality will be discussed later.
-
- Barstools made of plasterboard in the interior
- Unique bar counter from plasterboard with their own hands: where to start
- Preparation of the
- tool How to make a bar stand from gypsum board: simple algorithm
- Installation step by step: bar(Video)
- Design of the bar stand from gypsum cardboard with your own hands( photo interior)
Bar counters from plasterboard in the interior
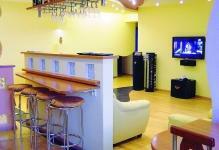
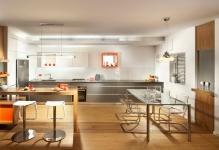
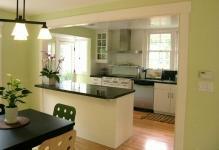
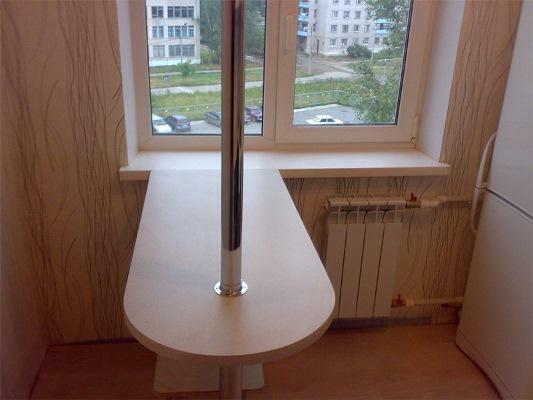
If you need visually differentKitchen in the studio apartment or from a spacious living room to make two functional rooms, decorated in the same style, bar counters are used. They can be part of the furniture set or, on the contrary, be a bright accent in the interior.
 Quickly and distinctively differentiate the space in the kitchen-living room with the help of gypsum board counter
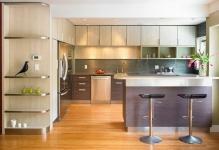
The bar stand made of gypsum board is the ideal solution for those who do not like typical designs and can do something with their own hands.
Today, plasterboard constructions in the interior have become very popular. Due to its versatility, availability and ease of processing, drywall has become one of the main materials for interior decoration. Among numerous variants of plasterboard structures, bar counters occupy far from last place.
The design of the bar can be:
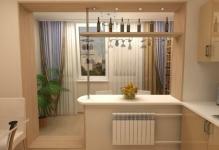
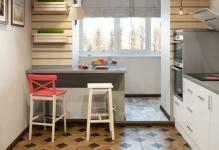
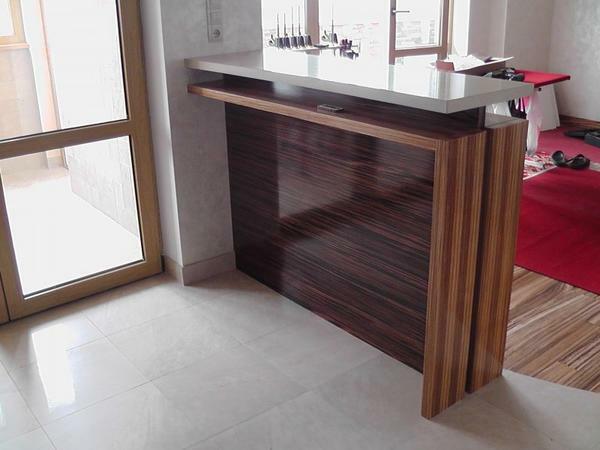
- The island or straight is the simplest rectangular design that is installed in the middle of a spacious room, thereby visually dividing it into two functional areas.
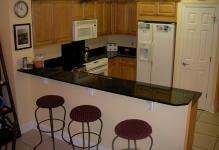
- The L-shaped bar is more complicated in the device, however it can perfectly fit into the interior of a small kitchen or small in size kitchen-living room-dining room.
There are even more complex designs of different geometric shapes and sizes, the choice is considerable. How to build such an element of the interior at home?Where to start and what is required for this?We touch the question in more detail.
Unique gypsum board bar stand with your own hands: where to start
First you need to determine the installation site, as well as the size and design of the product itself. The rack can be deaf or have shelves, can include lighting and railing, have a variety of shapes and design solutions. It is also necessary to draw up a detailed drawing with dimensions, which includes not only the structure itself, but also the places of contact connections( if any), as well as the necessary communications that will need to be hidden. According to the drawing, the required quantity of materials is calculated.
 Before proceeding with the installation of the bar, you must first think over its design and purchase all necessary materials
Namely:
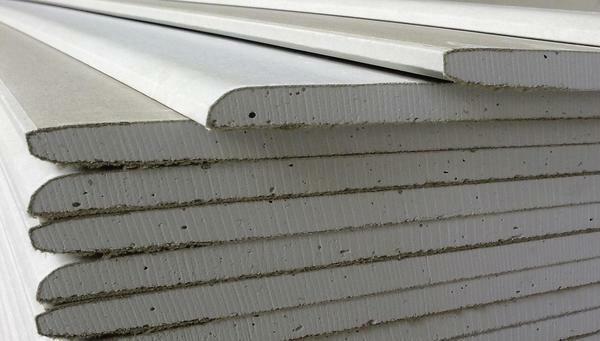
- Plasterboard;
- Metal profile;
- All for the wiring device( if backlighting is planned);
- Screws and dowels;
- Putty and primer;
- Finished worktop or material for its manufacture;
- Material for finishing.
You can decorate the bar in any style: for this there are many options for finishing. Wallpaper, paint, decorative plaster or piece material - the choice is huge. In addition to materials, it is necessary to prepare a tool - about this further.
Preparation of the
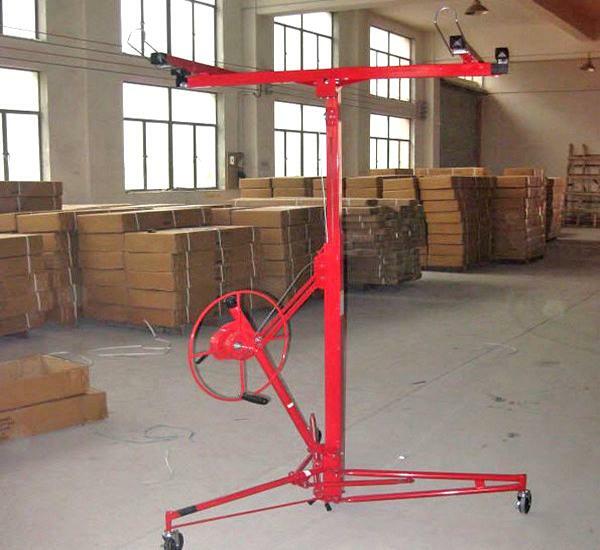
tool When constructing gypsum board structures, one tool set is usually used, as a rule. It includes everything you need from cutting the profile to finishing the finished structure.
 Even a beginner can install a bar stand from gypsum board, the main thing is to correctly follow each step of the work.
Namely:
- Pencil, tape measure;
- Scissors for metal;
- Knife for gypsum plasterboard( for curly cutting - electric jigsaw);
- Impact drill or perforator;
- Screwdriver;
- Construction level, plumb bob;
- Cutter;
- Wide and narrow spatula.
Depending on the variation of the structure itself and the selected finishing material, the spectrum may change. It is better to prepare everything necessary in advance, so that in the midst of the work, do not look for the sharply needed item.
How to make a bar stand from gypsum board: a simple algorithm
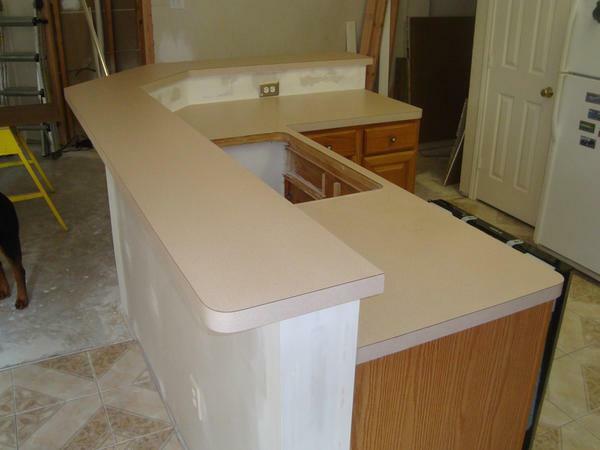
The installation of a bar of gypsum board with your own hands includes several stages of work that begin with surface preparation. The place needs to be freed from excess items and cleaned.
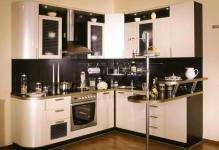
 The most appropriate place to install the gypsum plasterboard
is mandatory. Next steps:
- Marking. On the floor, on the wall and on the ceiling, according to the drawing, the marking of the fixing points of the racks and guides is done. Also on the wall it is necessary to note the height of the future construction and the place where the table top will be located.
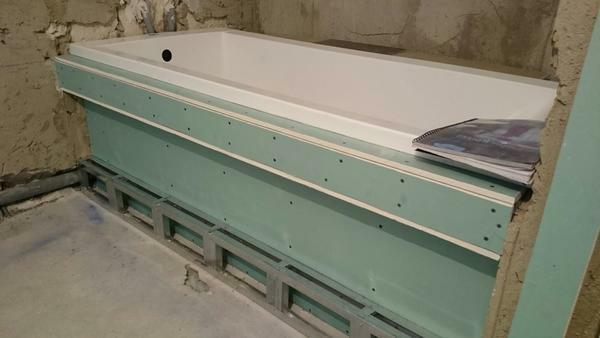
- Frame device. According to the marking in the floor, a rack-mount profile is fixed, fixed firmly to the floor and ceiling with dowels. Next, the frame is assembled, according to the drawing. At the stage of assembling the frame it is important to take into account the possible installation of electrical wiring and take care of it in advance.
- Installation of plasterboard. In accordance with the drawing, marking of the sheathing elements and cutting of the material is done on the sheets. Further each element of the future design is fastened to the crate with the help of self-tapping screws. Please note that their caps should be drowned in a layer of cardboard no more than 1 - 2 mm.
- Installation of lighting fixtures. If the installation of electrical wiring is planned, it is at this stage that installation of sub-socket boxes, sockets, switches and lamps is made, as well as a check of the operability of all contact connections.
- Rough and decorative finish. After the joints are sealed onto the structure, a layer of starting or universal putty is applied, after drying it can proceed with decorative finishing of the structure and installation of additional elements( fixtures, countertops, crossbars, etc.).
The worktop can be made to order according to the shape of the structure, it can be laid out with tiles, and you can make it yourself from an array or MDF.When decorating the bar and choosing materials for it, it is important to remember that the design should harmoniously blend with the overall interior and complement it, and not be an absurd "spot" in the entire design.
Installation step-by-step: bar counters from plasterboard( video)
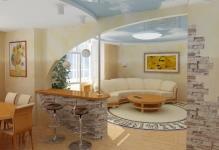
The kitchen-living room with a plasterboard bar looks stylish and dynamic. After all, this is not just a decorative element of the interior, but also a multi-functional piece of furniture. Assembly and finishing will not take much time and money, and the design, made with their own hands with love, will gladden the eyes of the whole family for many years.
Successful redevelopment!
Design of a bar of plasterboard with their own hands( photo interior)