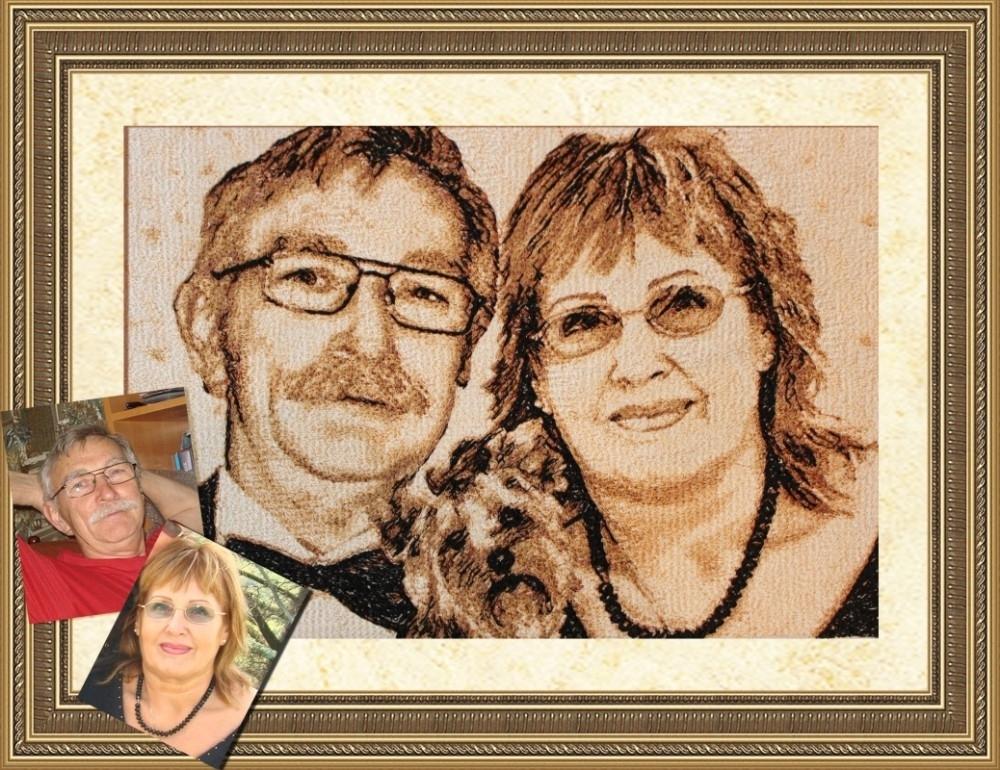
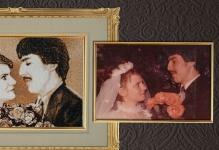
Original portrait embroidered in photography will be a pleasant gift for family and friends Externally attractive and unique in all respects cross-stitch embroidery in photography is a perfect gift to close people or a sign. You can use it as a stylish interior decoration. For beginners, it seems that it will be very difficult to cope with the slave, although, in fact, the task is feasible provided there is quality training. The main role here is the correctness of drawing up a scheme of work on photographs.
-
- How to embroider a photo: everything is so simple
- Recommendations for choosing a photo for embroidery of a portrait( Video)
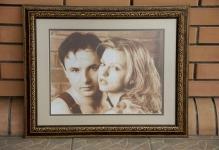
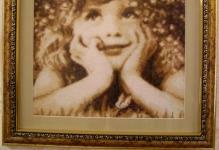
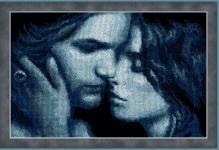
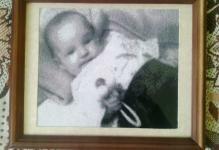
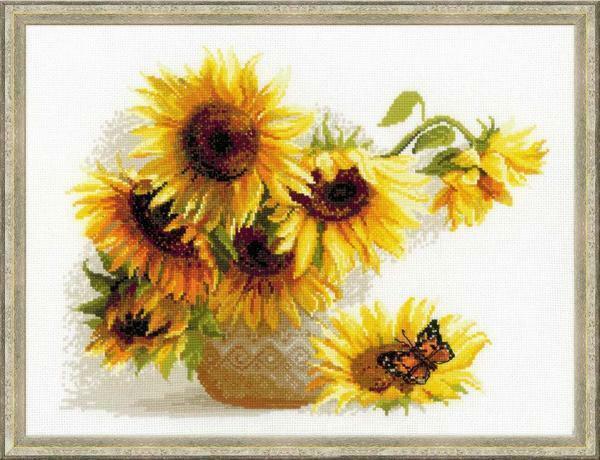
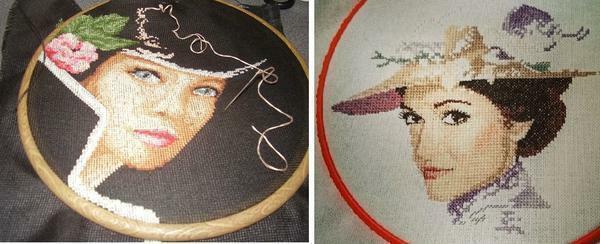
- Cross-stitched pictures from the photo( photo)
Cross stitch on photos: use of the PC
Previously it was necessary "by sight" to turn the standard photo into the necessary forI have an embroidery scheme. Today specialized software( software) cope with this task. It's about the program, which you can download for free, Pattern Maker. In addition to the small size and the ability to install on computers with any operating system( OS), the program has become widespread due to the ability to produce more functions.
 The program Pattern Maker in a few seconds will turn any photo into a full-fledged scheme for cross-stitching
In order for the future embroidery to be saturated in terms of colors and realistic, it is recommended to adhere to the following recommendations:
- Pre-Photo in the editor. The recommendation is binding. Pattern Maker is distinguished by its ability to overstate the level of brightness and saturation. That's why you need to slightly reduce all the indicators beforehand so that colors remain natural when transferred to a scheme for embroidery;
- Beginners are advised to perform a "test run";
- If a person embroces a family portrait, then all faces on the used photo should be close to each other;
- In large photographs, it is necessary to select the area that will become the main for embroidery. In the case of a portrait, the eye is the landmark;
- Set the desired size of the circuit;
- Choose the desired number of colors and the brand of threads.
How to make a scheme for cross stitching from a photo: tips for beginners
Common mistakes are met even by experienced needlewomen, so an additional check will not make the work into something awful. Opens the incorrectly set brightness level. Not always from the first time you can determine which part of the photo will be darker or lighter than the rest of the canvas. This is especially true for photos taken on pocket soap boxes.
Unnaturally dark teeth, it is impossible to discern the natural color of the eyes - just a small part of the problems that arise. If the quality of the original image is left with more questions than answers, it is recommended to do the following. Open the image editor in the photo and select the "information" tab. Regardless of the type of editor used, the person will have the opportunity to know the brightness level of all points in the photo.
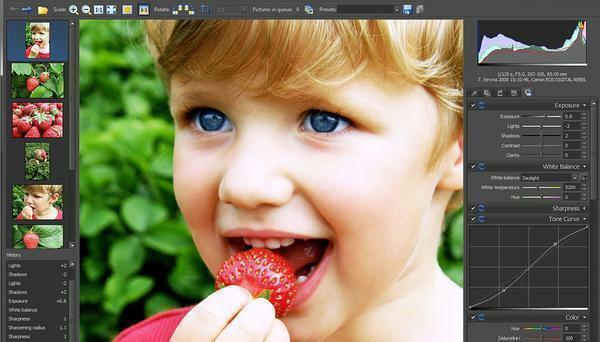 To avoid errors when creating a pattern for embroidery, you should process the original photo in any photo editor
If at least one part of the image shows a significant difference in brightness level, then the tool "dimmer" or "clarifier".
In addition, some other common errors may occur:
- Ugly hair collected;
- Not the natural color of the skin of the face;
- Incorrectly selected background;
- Dark spots on the skin caused by incorrect or uneven lighting;
- Unnaturally dark lips;
- Light glare on the face or forehead.
Even with such drawbacks, you can create a beautiful scheme for cross-stitching. The main thing - to spend a little time to correct the identified shortcomings in the photo editor. Once everything is ready, the image is placed in the Pattern Maker program for the subsequent transformation.
How to embroider a photo: everything is complicated
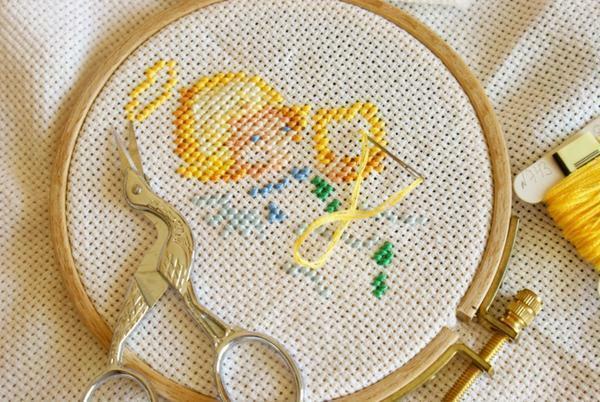
It is necessary for people without enough experience to abandon a large number of chalk and monochrome elements, for example grasses. It is better to sew a simple cross with the cross, consisting of a portrait part. The creation process always begins with the middle part of the composition. This is done for two reasons. Firstly, the creation of embroidery in this case is not accompanied by numerous mistakes.
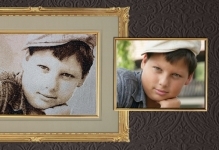
 It is recommended that inexperienced craftsmen start working with simple photos with a small number of small details, colors and shades.
Experience shows that it is always easier to base on the most significant details in every respect. In practice, this means that embroidering the eyes and nose creates the basis for the future composition.
In addition, there are some more important tips:
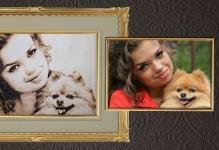
- Embroidered pets will revive any picture. However, they should not occupy much of the image.
- Bags, hats and other small ones make the photo more alive, despite this, it is necessary to properly arrange them. Optimal will do this in the area of the hands.
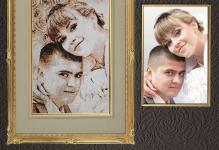
- It's better to make faces of people in such a way that they are let down on both sides. For example, if we are talking about a portrait with 3 people on it, then the two extreme ones are placed just below the level.
- It is not recommended to get involved in a large number of small objects. First, they are hard to embroider. Secondly, it is not easy to choose the right colors.
- The correct arrangement of objects on a material will help to create a qualitative composition. Observing the rules of perspective, the smaller one always fits on the background.
Recommendations for choosing a photo for embroidering a portrait( video)
Embroidery on a photo is a fascinating and simultaneously difficult process. Before you start, you need to properly process the image and only after that you can proceed to create the diagram. Beginners are encouraged to perform a "test run" several times in the Pattern Maker software. In this case, you can avoid a lot of color flaws and the need to rework everything.
embroidered cross pattern on the picture ( photo)