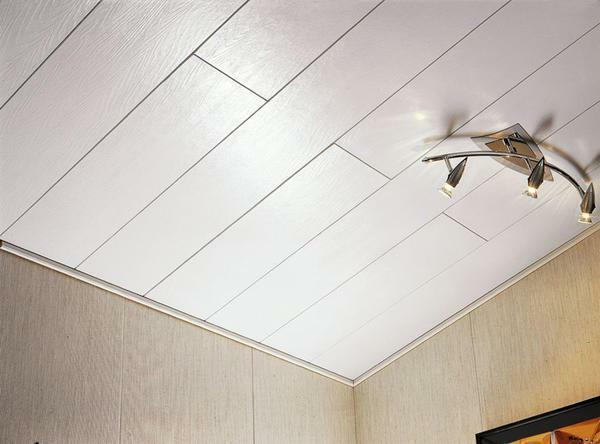
 Gypsum plaster structures allow to mask shallow cracks on the ceiling, as well as hide engineering communications Traditional material for suspended ceiling structures - gypsum board. This ceiling can hide all communications in the inter-ceiling space. You can make a conventional, single-level ceiling, or complicate its design by making the ceiling a room zonator.
-
- ceilings made of plasterboard with their hands: Plan
- frame device for the ceiling
- sheathing plasterboard ceiling with his hands: step by step instructions
- final stage ceiling installation of drywall
Ceilings of plasterboardWith your own hands: plan
The first step in the big work will be drawing up a plan in which the consumables are indicated, a drawing is mandatory( especially if the ceiling is complex), in the case of the ceiling of FIG.We may have to make templates.
Directly the work will proceed according to the following plan:
- Preparation;
- Metal frame installation;
- Fastening of plasterboard sheets;
- Ceiling Finish;
- Ceiling of the ceiling surface;
- Finishing;
- Installation of lighting fixtures.
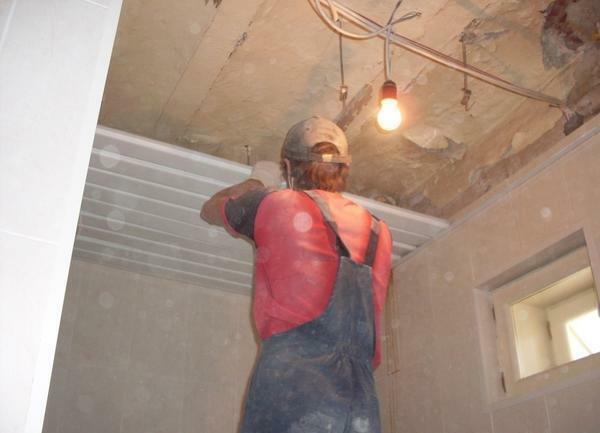
 Simple methods for fixing drywall sheets are available to every owner, but certain nuances that arise during installation
Each of the steps can be done independently. Making such a ceiling is not a simple idea, but it will not only qualitatively level the surface, but also create a ceiling decor - original and aesthetic.
Structure of the ceiling frame
First you need to make a horizontal horizontal plane layout. Usually, they use a laser or water level. Alone to do it yourself is difficult, it is better to enlist the help of a partner.
Things To Do:
- Apply the level, mark the perimeter of the wall. The minimum at which you can lower the ceiling is 3 cm, and if you intend to make recessed fixtures, then their size will be a guide to the height of the lowering of the ceiling.
- Connect the tags to each other. To make it simply a painting dyeing thread. Mark the ceiling surface in order to install direct mounts and CD-60 bearing profiles.
- After completion of the marking, the guide profile is fastened. It is necessary to install not walls around the perimeter of the room with orientation to the markup. To fix a profile it is necessary dowels, an interval - from 300 to 450 mm.
- On ceiling marking with an interval of 600 mm screws and dowels it is necessary to attach direct suspensions. At an angle of 90 degrees, lower their ends in the form of the letter P. 12-mm self-tapping screws with a drill to the U-shaped suspensions fixed carrier profiles.
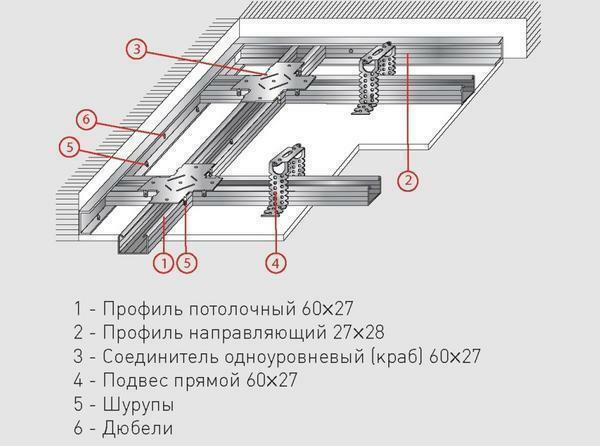 Scheme of the gypsum board ceiling
If necessary, the profiles are joined by a straight connector, by the way, it can be made of a bearing profile. Crabs are attached to the bearing profile at an interval of 600 mm. To do this, use the profile sections UD-27.Connect them between crabs and guide 12mm self-tapping screws.
Gypsum board roofing by hands: step by step instruction
The frame is ready, but this does not mean that you can already mount the GKL.
The work proceeds as follows:
- Lay the wiring in corrugated plastic pipes, secure the clamps to the slabs. According to the layout of the luminaires, release the hinges of the wires at the points of connection of the lighting equipment.
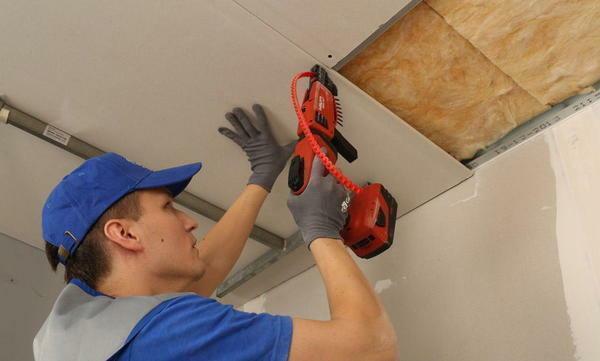
- Then you can already trim the frame. Mount start with a single sheet. The pitch of the screws is 200 mm. Correctly lay the first row, the second is attached to the ceilings with an offset. Necessarily, the joints of the first row will be covered by plates of the second row not less than on the transverse profile( one).
- Mount the GCR so that the walls have a five-millimeter gap. It serves as a kind of compensation for moisture and temperature expansion of the material. If you do not do this, the gypsum ceiling risks cracking.
After the gypsum plasterboard is finished, cut out the holes for the fixtures with a bit and drill. The wiring loops are led out through these openings.
Installation of a single-level ceiling from gypsum board( video)
Final stage of installation of
drywall roof The work is not yet complete, but perhaps the simplest and most pleasant phase is ahead. You need to fill the ceiling and seal the seams. For this, the seams should be carefully treated with a primer, wait for the primer to dry. Do not tear cardboard from sheets!
Usual putty for sealing seams is not used, you need a very strong, in the Knauf lineup there are.
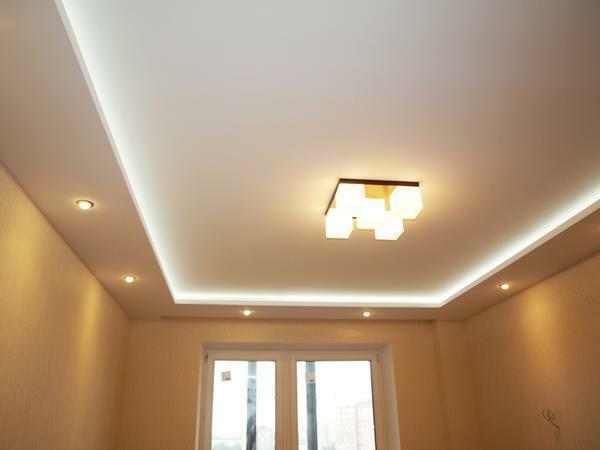
Putty is an effective way to make the surface of a gypsum board roof perfectly smooth and smooth
Then proceed as follows:
- Put the shredder in accordance with the instructions, first seal all seams near the wall, then grasp the joints. Do not forget about the self-tapping screws.
- To seal the factory seam, first fill it with a compound, and then with a wide trowel, align the groove along the edge of the sheet.
- After drying the putty, glue the serpian to the seams. In the intersections it is necessary to glue it overlap. Slightly spread the putty and patch serpent, as well as minor defects that remain. Puttying is easier with an angled spatula.
- Strengthens the effect of protection against cracks in the glass fiber web. Even if there are some protrusions after sealing the seams, further refinement will correct them.
- After that, the seamed joint is wiped( using the fine grout method).Get a smooth, flat surface.
- After grouting, allow the drywall to dry, and then re-weld the seams. Then finishes puttying layer with a fine-grained structure is applied, usually a white filler is used.
Do not forget that the work is carried out with closed windows and windows, drafts should not be. Otherwise, the finish can and the story, and cracks, too, with such a disturbed mode of operation can not be avoided.
Finishing putty is not carried out if you are going to cover the ceiling with wallpaper or other decorative options( glossy coating).You just need to fill in the joints, and even after the seams surface.
Gypsum board plastering( video)
This "sandwich" made of cardboard and gypsum like GKL practically in any house can become a future beautiful and original ceiling. Look at the ideas in the photo gallery, sketches, plan the plan, and the self-installed ceiling will become your pride.
Successful work!