 Ceilings from plastic panels are moisture-proof, safe for health and durable It's easy to decorate ceilings from plastic panels. The installation can be done independently, but you can contact the professionals for help. When installing ceilings, it is important to strictly follow the instructions, then it will pass quickly, and the design will turn out to be of high quality and will last for many years. Ceilings from plastic panels have good characteristics: they are moisture-proof, safe for health, durable. A large selection of colors and textures will allow you to choose the ideal option, which harmoniously fits into the design of the room. When choosing, you should pay attention to the quality of materials.
-
- Plastic ceiling panels: the device and the distinguishing features
- How to calculate the dimensions of the plastic panels for the ceiling
- How to install the ceiling from the plastic panels with your own hands
- How to insert the last plastic panel on the ceiling qualitatively
- Ceiling from plastic panels with your own hands( video)
- Ceiling from plastic panels( photo)
Plastic ceiling panels: device and distinctivenye features
plastic panels are made of a material having the name of polyvinyl chloride. This material has a number of advantages over other materials. A rich assortment of panels makes it easy to choose the right ceiling cover.
 Ceiling panels are light and flexible, so when installing them you need to exercise considerable care
Plastic panels are divided into wall and ceiling. It is important not to confuse them when selecting and installing. Wall panels differ from the ceiling by their rigidity, they are heavier and dense. Ceiling panels are lighter and more flexible. At their installation it is necessary to show considerable accuracy, as any incorrect movement can lead to their breakdown.
The plastic has differences in color, texture, imitating different structures. Panels can have wooden, marble and other popular types of imitation. A large number of species are represented in the well-known construction market of Leroy Merlin.
The texture of the plastic panels
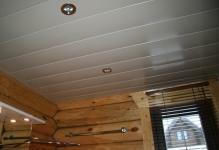
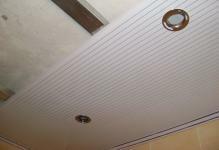
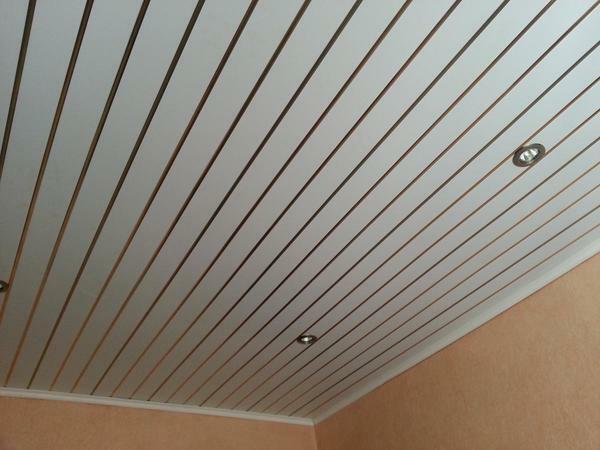
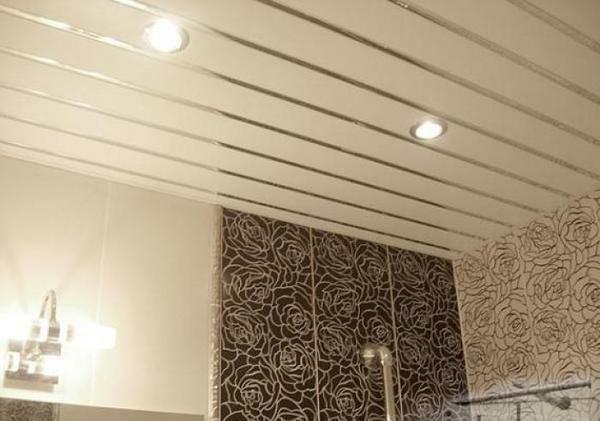
- Matte. White matte coatings look stylish and beautiful. It is cheaper than glossy. It can be used in any type of room: hall, living room, kitchen, bathroom.
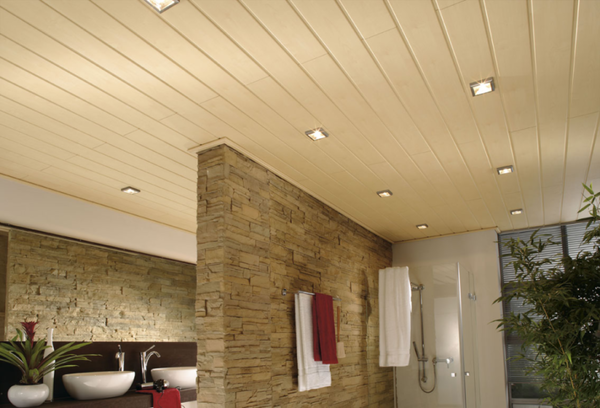
- Glossy. Has a reflective property that allows you to cover them in a room with low ceilings in order to visually expand the space.
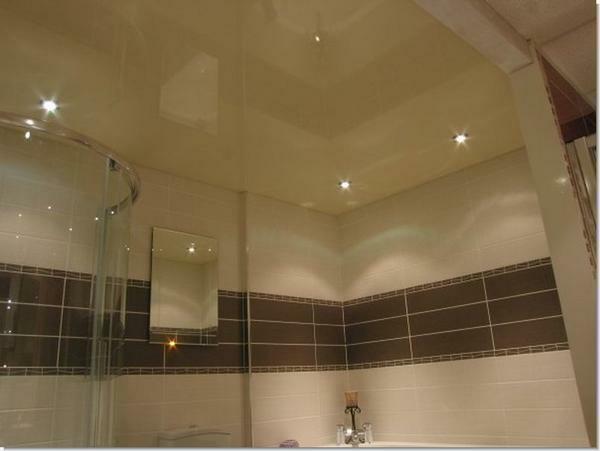 The glossy surface of the ceiling will visually expand the space
In use, plastic panels are very convenient and have a lot of positive properties.
Distinctive features of
- Do not be afraid of the effect of different chemical elements provided that it is at room temperature.
- Not afraid of moisture and vapors. The material is not afraid of leaks and flooding.
- Not afraid of high temperatures. The material begins to melt at a temperature of 80 degrees.
 Plastic panels are not afraid of moisture and fumes
You can install plastic panels in rooms with any humidity and temperature conditions. The ceiling can be washed with warm water with soap or other non-corrosive substances.
How to calculate the dimensions of plastic panels for the ceiling
When selecting panels it is important to pay attention to the dimensions. It is very important to correctly calculate and select the correct width and quantity of material.
Common panel dimensions:
- Transverse length - 5 - 10 cm.;
- Width - 25 - 50 cm.;
- Length - 2,7 - 3 m.
The panels should be selected after the area of the room in which the repairs will be made is calculated.
To calculate the number of required panels, the ceiling area should be divided into the panel area, which is written on the package. For cuts, you need to add 15 percent.
 The panels need to be selected after the area of the room in which the repair will be calculated is calculated.
Next, calculate the number of metal profiles.
Calculation rules:
- Draw a ceiling scheme. Draw profiles taking into account that they should be at a distance of 60 cm from each other.
- Prepare rigid profiles suitable for the perimeter of the ceiling.
- Determine the number of screws and dowels, depending on the number of panels.
- Calculate the size of the ceiling skirting. The perimeter should be divided into three. Get the necessary number of parts.
After the dawns are finished, the required quantity of materials is purchased, you can start preparing the tools and installing the panels.
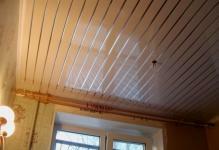
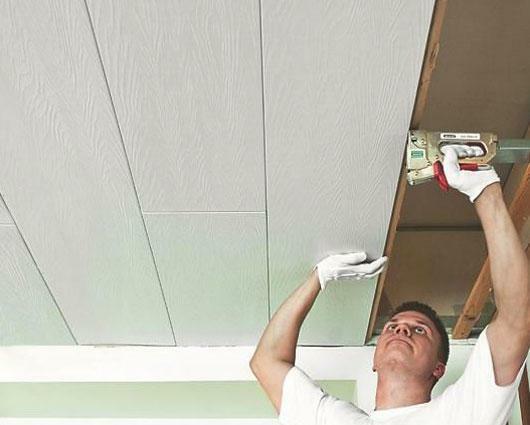
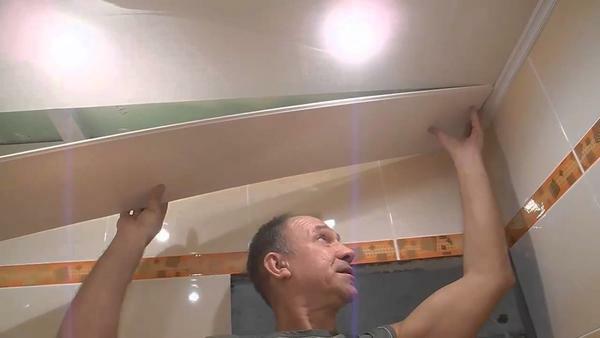
How to install the ceiling from plastic panels with your own hands
It's not difficult to install the ceiling yourself. The only rule is strict adherence to instructions and calculations. Also, you need to have all the necessary tools, thanks to which the installation will be done quickly and efficiently.
 For proper installation of plastic panels, it is important to follow the instructions
Step-by-step laying of the
- panels. Use the level to fix the profiles to be installed horizontally. The profile must be firmly attached to the ceiling, so that no crevices are formed, and there is no free space left.
- Set transverse profiles using self-tapping screws. They will support the panels.
- Perform the installation of the L-profile.
- Cut the panels to the desired length of the ceiling with a hacksaw.
- Fastens the first panel with screws to the transverse profile. The remaining panels should be fixed in the grooves of the previous ones. Then attach it to the frame.
- Install the last panel.
- Apply liquid nails to the plinth, press the fabric firmly against the ceiling. Remove excess glue.
 The installation will be quick and easy, provided that the necessary tools are available.
The installation of the last panel should be given more attention.
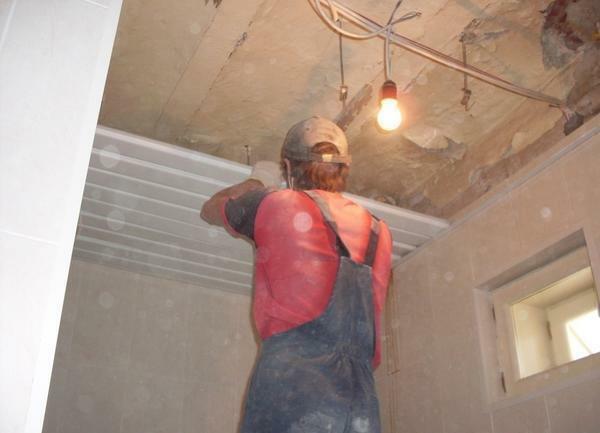
The frame for the ceiling can be made of metal or wooden profiles. When using wood, it is necessary to take into account that it swells and deteriorates from moisture. Therefore, this type of material can not be used for rooms with high humidity.
Installation will be quick and easy, provided that the necessary tools, quality materials and a responsible approach to the case.
How to insert the last plastic panel on the ceiling qualitatively
When using a wall profile, it becomes necessary to insert the rear part of the part of the last plastic panel into the corresponding groove. In this case, there is also a need for inserting a leading edge of the panel into the groove. Struggling with joints is the main problem that occurs when completing the final works.
Receptions for installing the last panel:
- Cut the edge ceiling skirting. Here you need maximum clarity and calculation. The success of the whole installation depends on this.
- Carry out accurate measurements at several points on the surface.
- Use a ruler or roulette to measure the distance from each side of the plastic panel from the edge of the wall to the edge of the penultimate panel.
- Bear in mind that the last panel should be less than the distance from the wall to the edge of the previous panel by a centimeter. This is done in order to be able to move the panel during installation.
- Carefully measure the length of the panel. Since, provided that the distance is a few millimeters less, the panel may not fit, which will result in the need to trim it.
- The last panel should be several millimeters more than the distance from one profile to another. This will move the panel when inserting the rear part.
To cut a part of the desired size and shape, it is necessary to perform the actions in the exact sequence, since it will be very troublesome to disassemble the structure.
 Follow the instructions for installing the last panel, you can make the installation fast, easy and quality
Procedure:
- A little arched panel, you need to insert its sides. This should be done as carefully as possible, so as not to damage the panel. Insert first one, and then the second side until it stops.
- Insert the rear side of the strap as far as it will go into the wall angle. It is necessary to make sure that the front edge of the panel enters tightly, leaving no free space.
- Connect the protruding leading edge to the previous one. Push the panel forward. This can be done with the help of paint tape, which must be pasted on the panel and pulled for them. After the procedure, the adhesive tape must be removed.
This is not the only convenient option for installing the panel.
When using a decorative skirting board, it is necessary to cut a piece of panel to the desired dimensions, then attach them with self-tapping screws. And they can be closed using a decorative baguette.
There is another way of fixing, if for some reason the previous methods did not fit.
Action steps:
- If the angle is fixed around the perimeter, you can not mount the longest one, which will fix the back side of the finish element.
- The last panel will be installed with the corner piece inserted. The last bar must be cut to the right size, so that it fits into the side profiles and enters the free space.
- Place the corner on the back of the cut panel. Install it should be simultaneously with the piece of cloth. Make the edges of the ends in the wall profiles.
- Insert the panel into the groove of the previous bar. Corner to move towards the walls. Fasten it with glue or silicone, greasing the back of the panel.
When you follow the tips for installing the last panel, you can make the installation quick, easy and quality. With such an installation between the panels there will be no excess space, cracks and lumens.
Ceiling from plastic panels with own hands( video)
Lining using plastic panels is an excellent finish. Due to the fact that the material is inexpensive, you can make an economical design of the ceiling, which does not lose quality. Plastic panels have a number of positive properties that affect their choice by consumers, leaving good feedback on the use of panels to cover ceilings. In the modern market, plastic panels are presented in a wide range, which makes it possible to experiment with the color and texture of the material. Installation of panels does not take much time, the design can be assembled by hand.
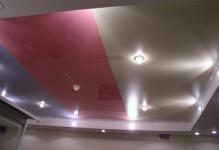
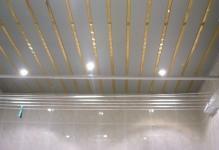
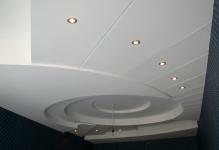
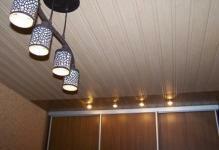
ceiling trim from the plastic panels( photo)