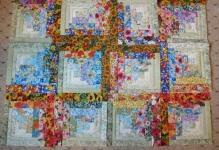
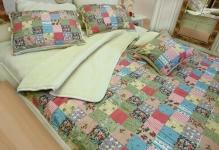
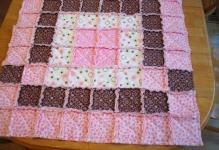
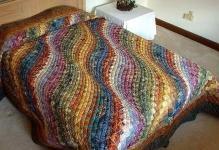
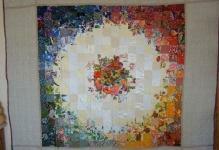
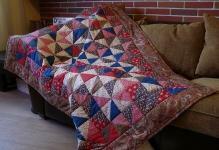
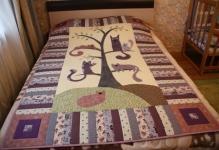
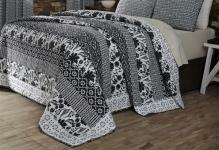
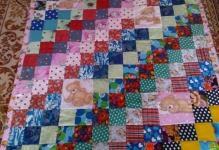
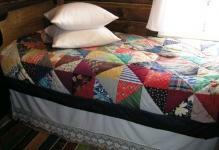
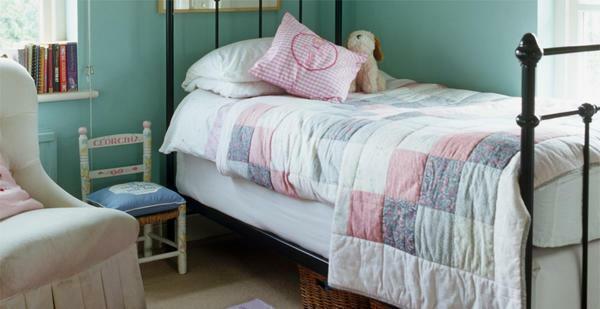
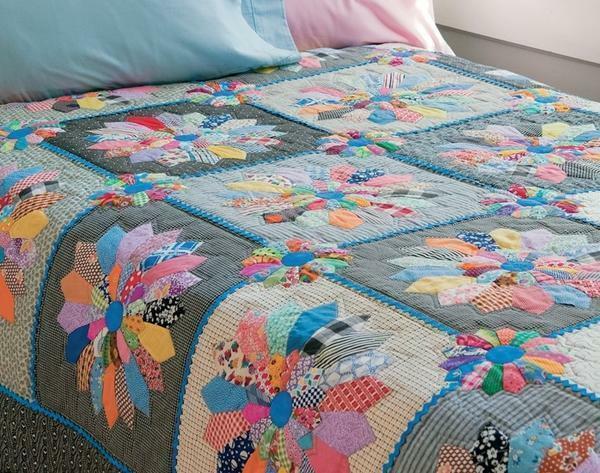
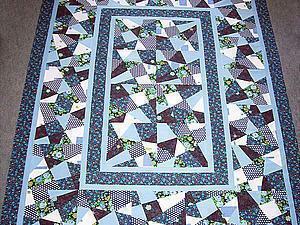
 Patchwork is a bright decoration for your home Patchwork is one of the simplest products in patchwork, as it does not need to use complex shapes and transitions to create it. It is possible to take as a basis an elementary rectangle, stripes or a rhombus, a triangle( from which squares will be later compiled).
-
- patchwork history of occurrence
- How do I stitch quilt
- Volume quilt: options
- pattern for the quilt: the idea
- Pattern Quilt: preparation flaps
- Quilt( Video)
- Patchwork quilt( photo)
Patchwork: the history of the
The quilts have been sewn from the very beginning of the bed linen. It was a kind of inexpensive opportunity to get a full blanket, using for its creation all kinds of pieces of fabrics. Much later, this technology began to be called a patchwork( only in the early 20th century), but its essence remained the same - the creation of unique colorful and colorful compositions.
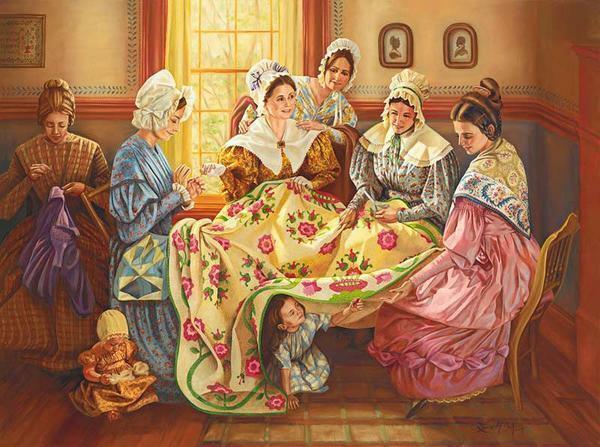 Unique, colorful and bright composition will be a decoration of your house
Now patchwork is by right one of the most exciting and modern, taking into account the trends. Cultivated such concepts as art-house, hand-made, and in patchwork just fantasy and own vision of beauty - above all.
The basis of patchwork sewing is:
- Creates colored compositions from pieces of fabric.
- Stitching flaps with an edge on the inside( front one - one).
- The shape of the flaps does not need to be even. It is allowed to use even each of them with different shapes.
- Fabric material can also be different, but it is desirable - a single texture.
History also mentions the fact that patchwork was born in principle at the time of the appearance of yarn and thread, which is confirmed by the finds of archaeologists. Conditionally, it is believed that patchwork in tsarist Russia began to be used in the 17th century, when several hem pieces were sewn together with a hem and a cape for kings. The same method was later used by peasants for tailoring clothes, which could not afford to buy or independently produce a single canvas and they had to simply take old stocks of rags from cut clothes for this.
How the quilt quilt is performed
The stitch is made on the inside. It is not difficult to guess that in the final version you will get 2 cross-linked flaps that will be joined together along the edge with an indent of 1.5 centimeters.
So, where to start assembling the flaps?Of course, with the drawing up of a sketch. To do this, someone uses the simplest draft, someone - specialized computer programs. Here, as you like. It is advisable to divide the finished sketch into numbered squares. Similarly, the finished fabric will be assembled.
Do not forget that in fact a blanket should turn out. Do I have to leave a slot to change the filler?In principle, it is not necessary, if the blanket itself will be sewn from a durable fabric, that does not let the dust pass. By this principle, almost all mattresses are now manufactured.
To ensure that the resulting stitch turns out to be original and colorful, it is recommended:
- each patch thoroughly before the stitching at the edges;
- use a sewing machine( manually the work will take a very large amount of time, and the seam will not be perfectly smooth);
- is best to prepare large rags with stripes, and only then they are sewn into a single canvas.
If you plan to add any patterns to the product, it is best to place them on the center of the blanket.
If the basis is to take the size of 140 by 110 centimeters( the classic version for a baby blanket), then the center square will be approximately 30 by 30 or 40 by 40 centimeters.
Bulk quilt: options for
You can create a quilted warm blanket in two ways. Classic - the use of a lining-insulation. This is the simplest option. The heavier is the use of a cotton lining, over which the blanket will be sewn. This blanket will be universal - in winter you can add a filler to it, in the summer - remove it.
Which filler is suitable for a large blanket?Typically, the following are used for this:
- batting;
- sintepon;
- HoloFiber.
And the texture can be either woolen or semi-woolen( synthetics).Here, each needlewoman makes her own choice based on her preferences.
Filler for a three-dimensional blanket, each hand-craftsman chooses
The edging will be classical - with an indentation of 1.5 centimeters. It is necessary to take into account also the thickness of the filler and conditionally add it to the final fabric.
Naturally, the filler can be sewn into blocks, so that you do not have to constantly correct it later. But in this case the incision for the replacement of the filler is clearly not required, so the front parts of the canvas are sewn along the edge.
Since the blanket is double-sided, there will naturally be two sketches. It is better to divide the product into several parts and first to prepare sets of flaps, of which - two separate canvases.
The connection of all parts should start with a larger front section( where the edge is prepared).It is desirable to lay out everything on a hard surface, carefully paying attention to the folds. If there is - the cloth should be re-smoothened.
Then spread the filler and pins pins on the guides. If necessary, it is sewn to the cotton lining. The last stage is a line along the edge of the rear cloth. Here everything is extremely simple, if the first steps were carried out correctly.
Quilt patterns: ideas from
There are more than 150 variations of patterns for patchwork. For example, the technique, when each flap is of an irregular shape, is conditionally called "crazy".If tiles are used, then arable land( if there is a branched weave of strips).That is, the primary layer will consist of squares, and the patch of patterns is already done from the top.
From classic variations it is worth mentioning "flying geese", "well", "log-house"( these appeared already in Russia, in the mid-60s).By the way, in America there is a technique for creating patterns in patchwork, which is referred to as "pineapple".In fact, it is the same frame, only two contrasting tapes are used for decoration, which are sewn in the shape of some geometric figures on the whole plane of the blanket( and only on one side).And, of course, the fabric does not have to be the same texture. Basis, as a rule, rigid, and a tape for a piercing - "glossy".
 This is one of the few patterns that you can use for your blanket.
What other ideas for patterns?Of the most common:
- chess;
- American square;
- arable land;
- labyrinth.
Originally they were invented in the west, but later they "migrated" to Russian craftsmen. But these are only 2-3 percent of all the techniques used, as can be seen from photographs that are published in magazines by cut and sew.
And nobody forbids to create your unique abstraction pattern!This is the main advantage of patchwork - there are no restrictions in principle.
The final product is the embodiment of the author's fantasy and only his. For beginners it is desirable to use the simplest models - just sewing out of squares or even stripes. For those who already have any experience in handling a sewing machine, the ideal option is a patchwork in the style of "crazy".But professionals can already create the most complex compositions with a combination of several patterns. But this is really quite a heavy technique, requiring a certain skill.
Pattern of quilt: preparation of flaps
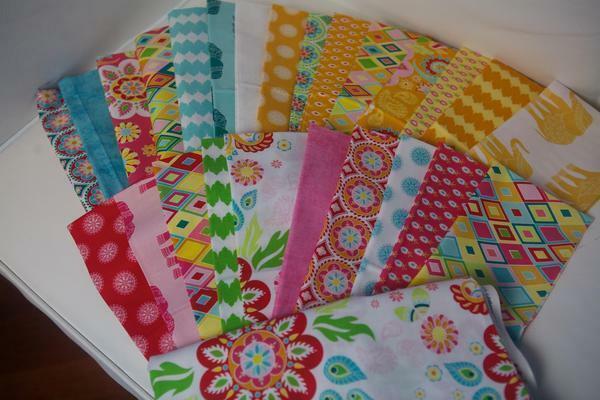
It is not necessary to use already prepared flaps for sewing blankets. You can make them yourself, for example, from old clothes. Original for this purpose will be jeans, cotton and linen. With them, by the way, it's quite easy to work.
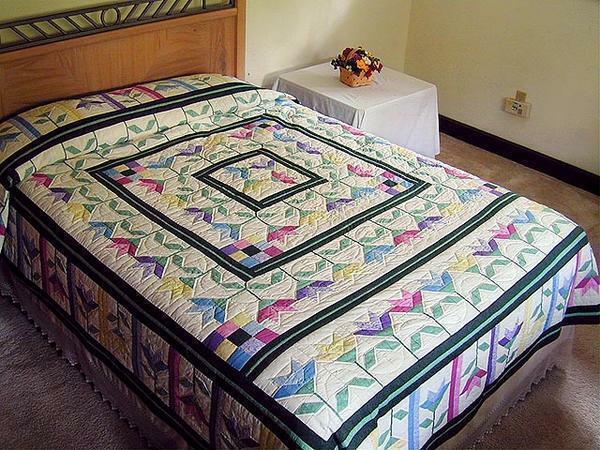 Before embroidering the blanket, prepare a sketch for the work
Pattern for the quilt is made using simple geometric shapes. Markup is better done on a sketch. You can use patches from a single patchwork. Such blanks are sold even in textile stores.
You only need to consider:
- the final form must be with even edges;
- it is better to make a cutting with a tailor knife or the same scissors;
- to the planned size of flaps it is better to add the width of the measuring tape - for seams.
Patchwork quilt( video)
Variations of stitches can be used most bold, from simple stitching or tiling to decorative seams.
