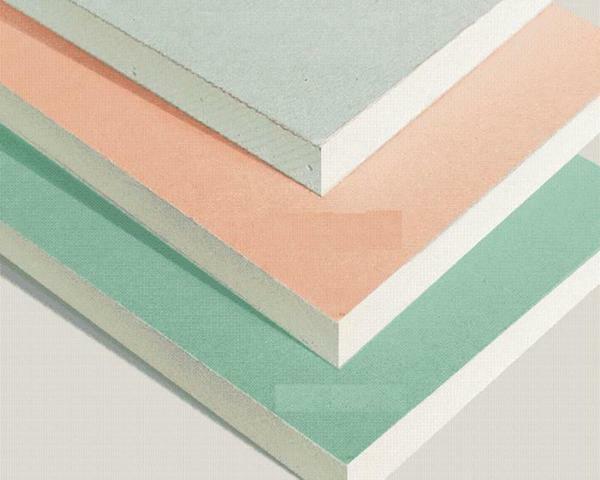
 Proper mounting frame - guarantee of reliability of drywall constructions Drywall - a building material, which consists of gypsum filler alloy and two layers of cardboard on the one and on the other hand. Such material is widely used for interior decoration of premises, from it do partitions, suspended ceilings, level walls, etc. We can say that this is a universal material widely used in construction.
-
- Recommendations: how to set the frame for plasterboard wall
- make installation frame for gypsum board ceiling
- carcass under the plasterboard for walls
- How to assemble frame for plasterboard for complex designs
- LearnHow to mount the frame for gypsum board( video)
Recommendations: how to install a frame for drywall on the wall
One of the most common options for the departmentLki premises with this material is its installation on vertical surfaces, in particular on the walls. In order to install gypsum boards on walls, a frame is needed, which, as a rule, consists of metal profiles and in some cases made of wood. Before planning the installation of the frame, you should take into account electrical wiring, ventilation boxes, etc.
Several types of profiles, hangers, tools, hardware are needed to install the frame.
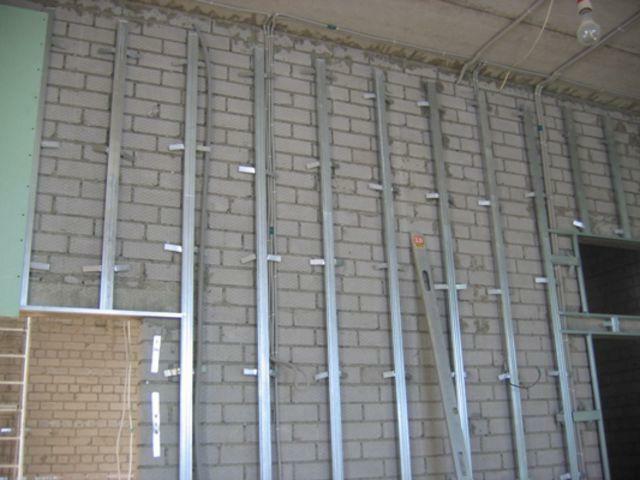
 Installation frame for gypsum begins with partitioning walls
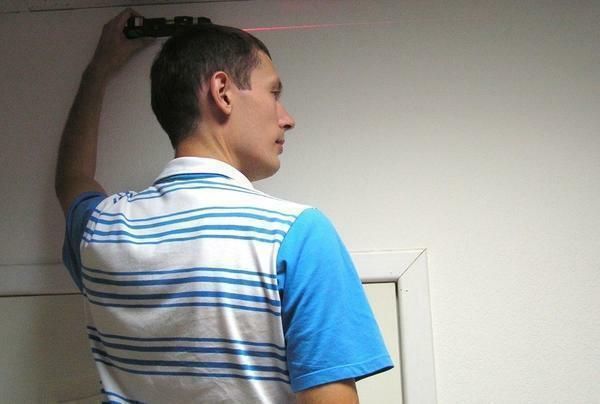
At the beginning of the work is necessary to determine the most protruding part of the wall, where it will be erected frame, make the floor at this point mark, and move it to the ceiling, you must use the levelDraw horizontal lines from this point. This will be the basis for installing horizontal ceiling and floor guides.
Next steps:
- After the profile of the lines is attached to the wall and ceiling, then the profiles are set vertically. The distance between each of them should be equal to 40 cm. In order for the vertical profiles to not mix, they are additionally fixed with several U-shaped details, checking with the level with the vertical.
- After installation on all walls of the metal profile, it is possible to start installing gypsum boards with self-tapping screws with a countersunk head. If the plates are non-standard( smaller size), then it is necessary to install additional horizontal profiles using a part called a crab.
You should constantly monitor the process using a level. Plates are attached to each other by butt, then it is necessary to plaster the joints of the plates and the place of screwing the screws.
We make the installation of a frame for gypsum cardboard on the ceiling
Together with the finishing of the walls, the ceiling finishing works are performed. In order to make a suspended ceiling from gypsum boards, you should also use a metal profile.
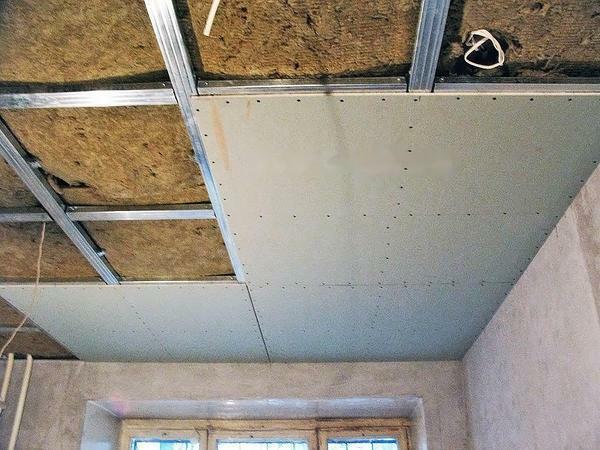 doing hanging frame for gypsum board, special attention should be paid to the installation profile
However, there are a number of features:
- first from the lowest point on the ceiling is necessary to measure 4 cm Next, using level. Under the ceiling, mark the horizontal profile, which is attached to the walls. The profile is attached to the walls along the perimeter with the help of dowel-nails.
- On the ceiling, at a uniform distance from each other, lines are placed on which the suspension brackets for the profile to be mounted on the ceiling will be attached.
- After the profiles are attached to the horizontal mounted on the wall, first across the room, then they are leveled with a level and fastened to the suspensions installed in the ceiling. It is necessary to think over the reinforcement places, where later any parts, fixtures, curtains, etc. will be attached.
- It is also necessary to install a transverse profile at the junction of gypsum board slabs, this is necessary in order that later the plasterboard slabs do not sag and notGave a crack.
After the frame for the ceiling is assembled, it is necessary to check everything once again, the reliability of the fastening and whether all the profiles are evenly laid using the level. After this, proceed to the installation of gypsum boards. In order not to miss the profiles by screws, it is also necessary to make markings on the gypsum board, which will correspond to profiles on the ceiling. Mount the plasterboard with self-tapping screws with a countersunk head, the distance between the screws should not exceed 30 cm.
Assembling the frame for plasterboard for partitions
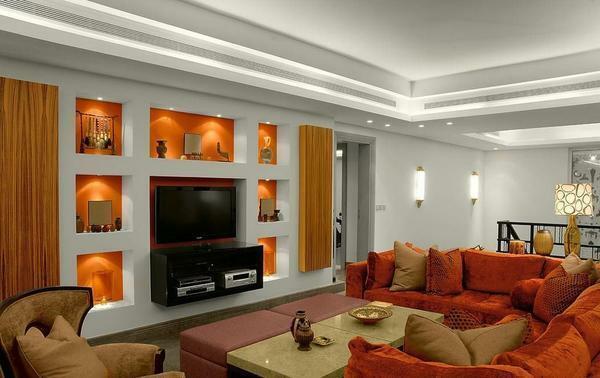
With plasterboard, you can not only level the walls and ceiling, but also make any complex structures, partitions, Arches, etc.
In order to make a partition, you must first perform the marking on the walls, ceiling and floor, preferably using a laser level.
 At the beginning of the installation of the frame under the drywall for the partition, a guide profile is attached along the entire perimeter with dowels and self-drilling screws
 The next steps are:
- Installation of vertical profiles, It is enough to cut the profile in height and insert it into the guides on the floor and ceiling. The vertical is controlled by means of a level, also the width of the opening that is at the bottom, which at the top should be the same.
- To strengthen strength, in a vertically placed profile, you can put wooden blocks along the entire length of the profile and fix them with screws. The same thing needs to be done with the horizontal profile fixed in the doorway.
- After the remaining profiles are installed vertically, the width between them should be equal to the width of plasterboard slabs, but it should be noted that one sheet should have three vertical profiles, two at the edges and one at the center.
After installing the profile, you can start installing gypsum boards, start from the central part of the partition, gradually moving to the edges. When one half of the partition is ready, it is necessary to fix the insulation on it, which will also act as a soundproofing.
How to build a frame for plasterboard for complex structures
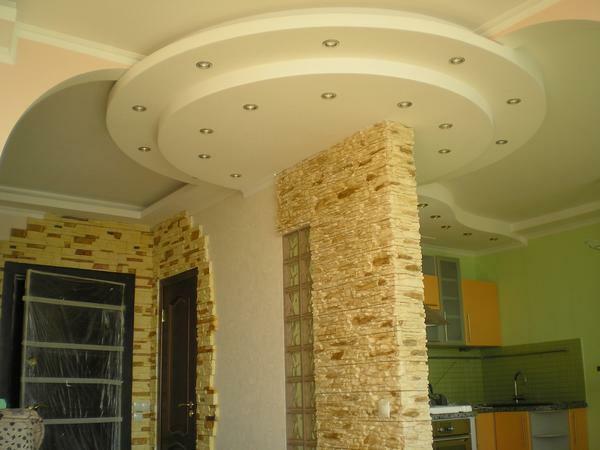
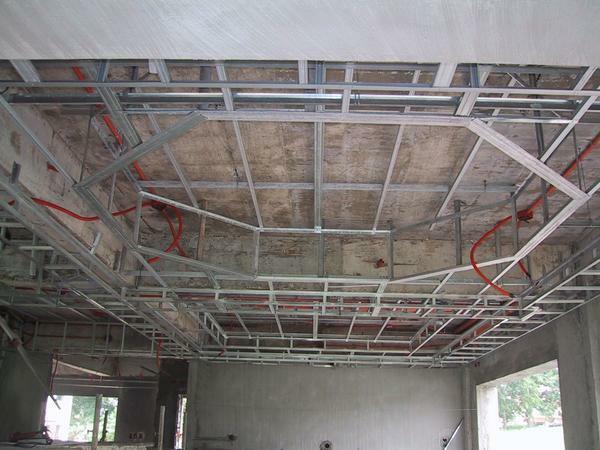
With the help of gypsum board and profile, you can also make various complex designs, for example, to assemble multi-level ceilings, not only strictly rectangular or square, but also radial.
In order to correctly make the radius, it is necessary to make equal cuts in the profile and afterwards it can be given almost any radial shape.
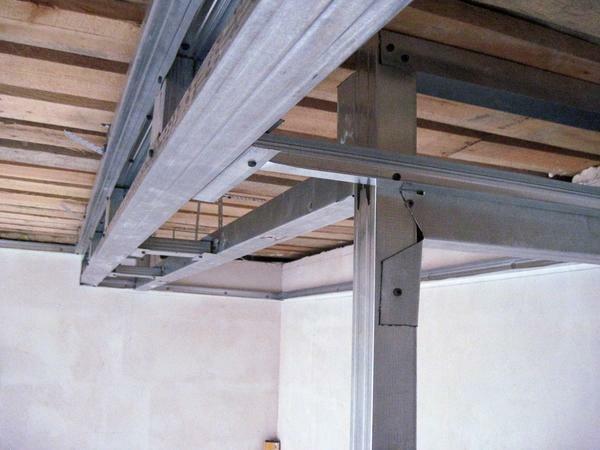
 To correctly make a frame for plasterboard for complex structures, it is necessary to calculate and prepare everything in advance
Based on the drawings, the profile is fixed to the ceiling using dowels and screws. If a multi-level ceiling is planned, then profile cuts are lowered from the fixed profile downwards, depending on the height of the gypsum board suspension, which are assembled among themselves according to the drawings.
After the most critical steps occur, this is the installation for the entire drywall structure:
- First, the gypsum board is fastened to the frame throughout the horizontal plane. In the rounding areas the slabs are cut to the profile level.
- After this, wires are laid, all necessary communications( ventilation) are conducted, holes for lamps are drilled.
After the cut pieces of gypsum boards are fixed vertically. Before that, they should be cut. They need to be done at equal distance from each other. Thanks to this, these pieces can be easily attached to almost any radius.
We learn how to fix the frame for plasterboard( video)
Mount the slabs to the metal profile carefully, especially in radial places, and do not spare the screws so that the whole structure will stay strong and subsequently does not give cracks or displacements. After that, it will only be necessary to finish the finishing work, reinforce the gypsum board with a mesh and cover everything thoroughly.