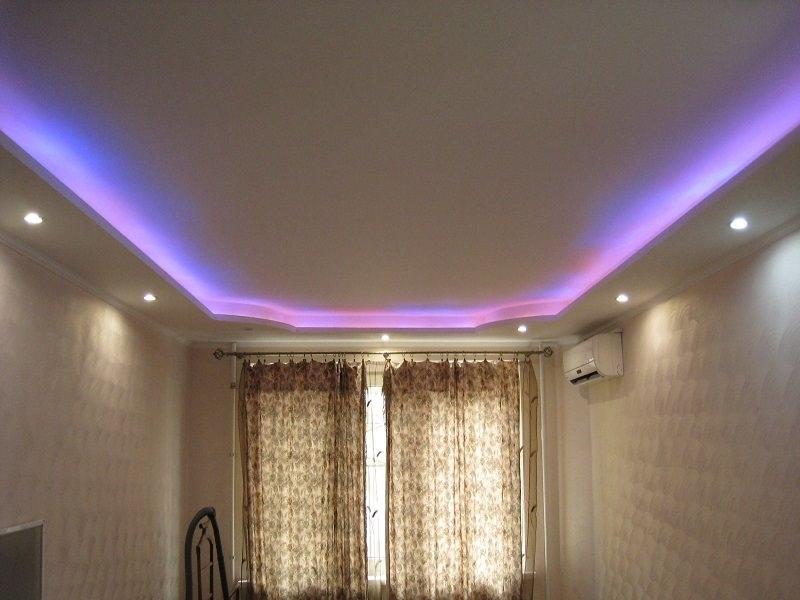
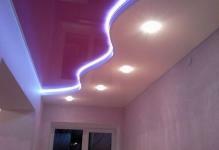
 LED strip is a decorative element, which is currently very popular The tape is a strip 2-3 mm thick, where the LEDs are located. In the interior of a house or apartment, the presence of LED lighting makes the home unique, brings in new colors. In addition, the purchase of this decor will not strike at the wallet.
-
- Baseboard for ceiling lighting: variants
- Ceiling lighting by LED strip under skirting board: calculation of power
- Mounting of LED strip under skirting board
- Connecting additional elements for LED lighting
- Using RGB tape for lightingUnder plinth
- Mount ceiling lighting with LED strip under skirting board( video)
- Examples of ceiling lighting with LED strip under the plinth( interior photo)
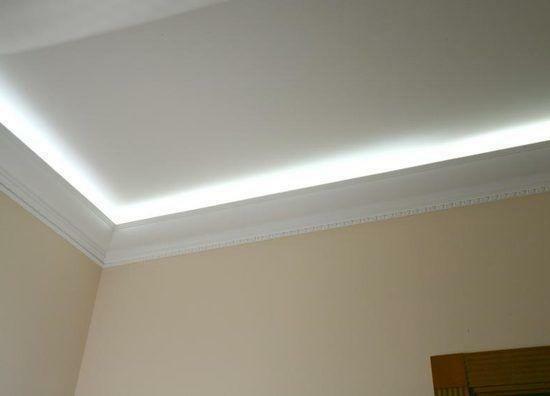
Skirting board for ceiling lighting: variants
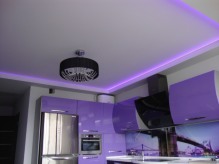
The basis of the design is an LED strip that will fit under the baseboard. It, in turn, has an empty cavity, where the wiring itself is laid( it is integrated into a silicone flexible tape).The ceiling lighting with LED strip is powered by a 12-volt direct current, respectively, the lighting is supplemented by a power unit and an automatic device that adjusts the voltage to the required level. All these elements are hidden behind a stretch or hinged ceiling, although you can build a separate gypsum cardboard box for all this( there will also be access to other communications in the house, by type of Internet, junction box, telephone line, and so on).
 Skirting boards for LED strip must be made with materials that heat well the heat
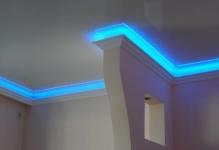
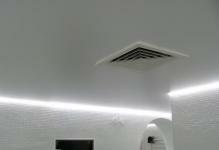
On the window side, if it is in the room, it is recommended to use not the plinth, but the ceiling joist( of course, if the structure is addedCurtains).It can be made of the same drywall, plastic, polyurethane or even gypsum.
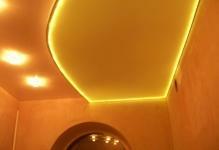
Skirting with a cavity under the LED lighting from the usual differ in that they are good heat. And this is extremely important for LEDs, which can be heated up to 40-60 degrees. If the power of the elements used is extremely low, then there is no need to worry about this at all.
The ideal variant is a plinth from the same drywall.
Its advantages:
- resistance to high humidity( prevents short circuit);
- light weight;
- fastening - with glue;
- easy processing on corners( there it is necessary to carry out framing of decorative corners).
Lighting of ceiling with LED strip under skirting board: calculation of power
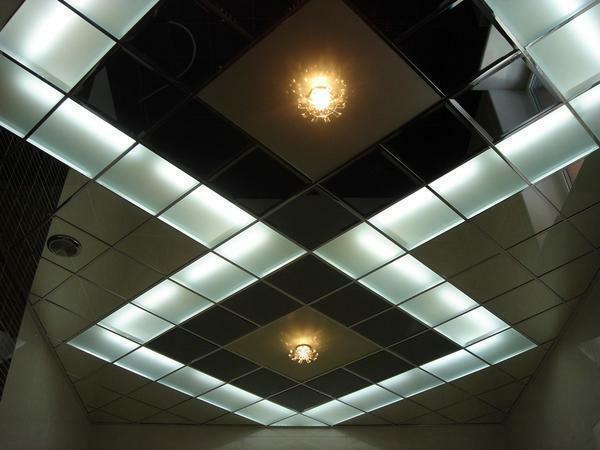
LED strips are produced mainly in small rolls, each length is 5 meters. The power can be indicated in Watts or in lumens( that is, that is, in the density and brightness of the light flux).These data can not be ignored at all, if the room has a separate main lighting, that is, a chandelier.
No less important is the density of the number of elements that are located on each running meter of the tape. Standard parameters are from 30 to 120 elements. We should also mention the so-called RGB tapes, in which several types of LEDs( of different colors) are installed at once. They can be used except for decor decoration, but not the main one. It is better to give preference to monotonous( white or yellow).Such LED strips give more lumens at the same design capacity.
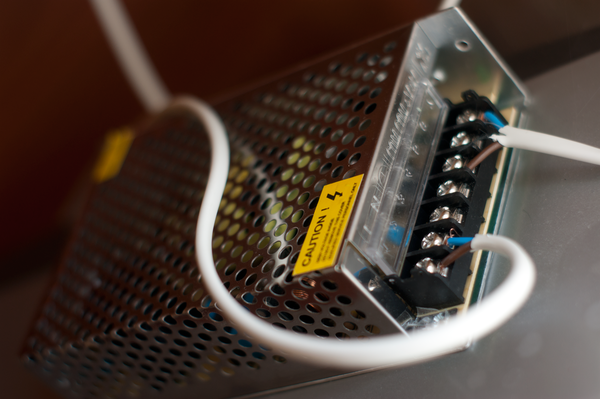 Before choosing a power supply for connecting an LED strip, you need to consult the specialists of
. Also it is necessary to remember the correct selection of the power supply. With this problem, as a rule, does not arise, as this is done by sellers. They will themselves pick up both the machine( the same PWM controller) and the power supply unit for the specified parameters, in order to prevent their overheating and possible damage.
Typically, a tape, with a density of 120 elements per running meter, consumes up to 40 watts( equivalent to an incandescent lamp).The luminous flux is somewhat more( approximately 60-80 watts in that same equivalent).Here from these data and you can make a calculation.
In some cases it is necessary to take into account also such parameters as:
- indicator TDP( the amount of heat that the LED strip generates in the maximum load mode);
- Presence of built-in PWM controller( machine is not needed, only power supply unit);
- IP-class( protection from external factors, for example, moisture, low temperature, vibrations and so on).
Mounting the LED strip under the baseboard
Installing the LED strip under the baseboard does not cause any complications, as it provides a special hidden niche, where a silicone flexible "line" will be laid. Glue it best on two-sided scotch. Some tapes initially have an adhesive layer. That is, in them the back side is covered with a special paper tape, which must be removed and just press the tape into the niche of the plinth.
 The most difficult part of attaching a tape is performing corners in the corners
There will be no problems with wires, as here they are integrated into the same LED strip along the entire length. If it is necessary to connect two tapes, it is necessary to make a conclusion of the wires in each of them and to connect, observing the polarity. It is recommended to fill the joint with silicone( rubber) adhesive.
There are two basic options for how to do it all:
- Create a corner smooth transition and simply bend the tape at an angle of no more than 75 degrees.
- Cut the tape and connect the wires only. The elastic base can not be bent.
If you use the second option, you need to ensure that there is a minimum distance between the tapes. Otherwise, you will not get beautiful shadow transitions, which is quite striking.
Connection of additional components for LED lighting
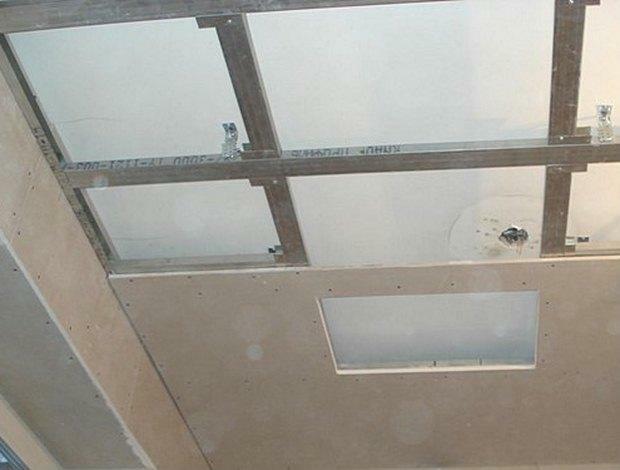
It is forbidden to connect tapes directly to a 220 volt network. LEDs are elements that work only from a direct current, with a voltage of 12 volts( there are both 9V and 24V).Adjustment of all these parameters is performed by the machine( controller), as well as the power unit. These are the elements that you need to hide from unnecessary eyes and protect from the effects of moisture. The simplest option - their installation in the cavity hinged or stretched ceiling. If the LED tape is attached to the main ceiling, then it is recommended to make a small niche( it is possible and in the wall, directly behind the skirting board).
 Be sure to check that the controller is connected correctly before the tape is first turned on. If to mix up the polarity, then it can be disabled
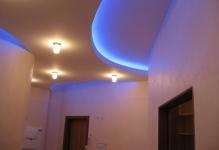
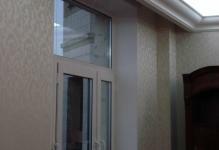
Is it possible to place LED strips simultaneously in several rows?In principle, this is possible, but there will be practically no increase in lighting efficiency. Yes, and find in the sale of skirting with a wide niche - quite difficult. In these cases, experts recommend using the ceiling cornices. Add them to the curtains - not required. From the skirting boards, they are distinguished by the presence of a lambrequin, that is, a decorative front panel.
When connecting the LED strip, you should carefully check:
- Correct polarity( plus - to plus, minus - to minus).Otherwise, the light will not work.
- Maximum permissible power of the power supply.
By the way, choosing the latter, you need to take into account also such a parameter as the power reserve. For example, if the LED strip on the entire length consumes about 120 watts, then the power limit of the power supply should be at 150-160 watts. Otherwise, it will quickly burn out.
Calculate the correct power can be on special tables, or on the instructions on the tape itself( where the consumption per meter is indicated).That is, this figure will need to be multiplied by the total amount of used LED tape.
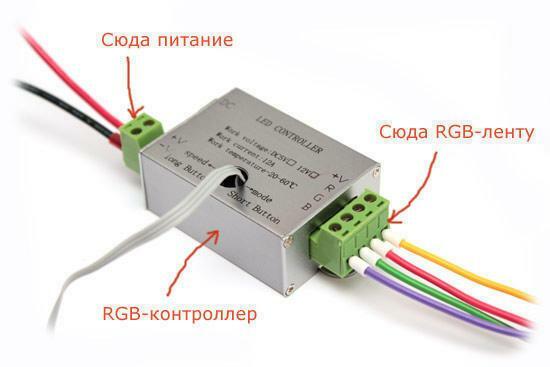
Using RGB-tape for lighting under skirting boards
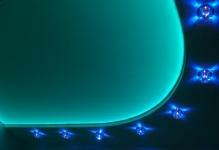
If you plan to use RGB-tape, they are equipped with an additional adapter that allows you to switch the type of current illumination or combine the work of several elements at the same time( the LEDs can not glow with several colors at the same time).They are either divided into different elements, or in each of them - several LEDs under one housing.
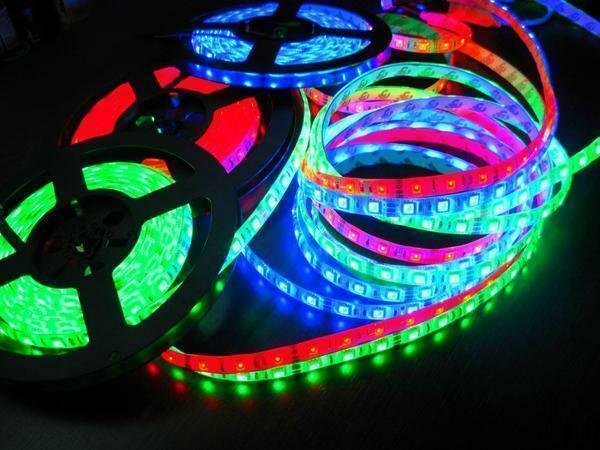 The big advantage of RGB-tape is that it can change its color
That is, here the key difference is the need to supplement the design with a special regulator( the so-called RGB-adapter).It connects via a unique connector and mix it up there either - it will not work.
Using the RGB-tape it is necessary to remember:
- it gives less volumetric lighting;
- total consumption in terms of power - higher;
- if the controller has the ability to remote control - you need to locate it beyond a minimum of obstacles.
We mount the ceiling lighting with LED strip under the baseboard( video)
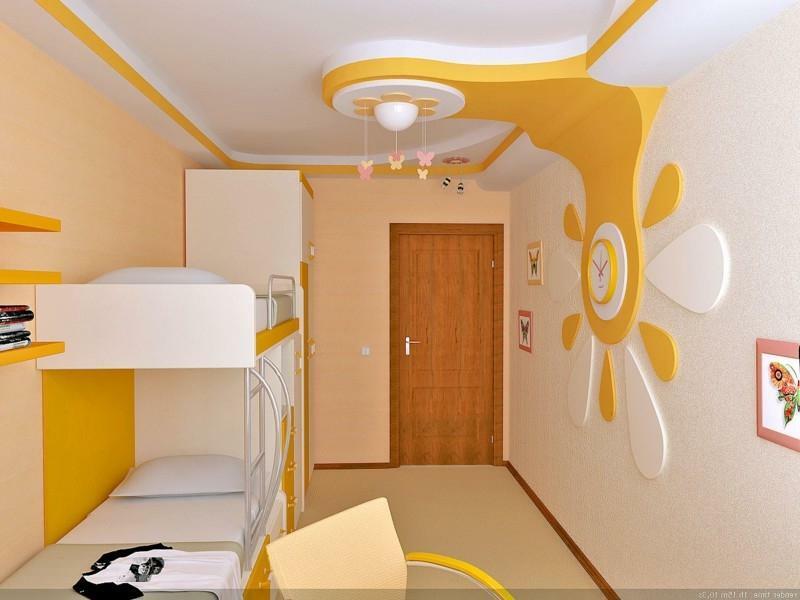
With the ceiling light under the baseboard, the LED strip is very easy to handle. The most difficult thing is to properly locate the power supply and controllers and make their connection, as well as calculate the actual power consumption of the lighting system. Examples
ceiling illumination LED ribbon under the skirting( interior photo)