Before going to the room, we must pass through the hallway. And, of course, the first impression depends on this small part of your housing. In a confined space, you want to visually expand it. Ideal in this case - the ceiling of plasterboard in the hallway, with the condition that it will be decorated with spotlights.
Contents of
- Advantages of
- drywall ceiling Video mounting
- Photo of gypsum board ceiling in hall
Advantages of

drywall ceiling Drywall is a versatile material that allows to produce flat surfaces and also to use concave, convex and curved shapes. Making a ceiling from gypsum cardboard in a hall by own hands as on video, it is necessary to take into account its general view. For example, a multi-level ceiling is used for a narrow and long hallway, with a particularly attractive look different graphic lines that make the room more voluminous. A rectangle placed in the center of the ceiling provides a visual extension of its boundaries. With a very small hallway, a single-layered ceiling will suffice.
Video mounting
Before the beginning of installation it is necessary to decide what height should be the ceiling from gypsum board. If the height of the base is small, then it is better to place the suspended ceiling as close as possible to the main one. As a reference point, you need to take the lowest point located on the main ceiling, after which an angle is placed on some angle, which is placed 25 mm lower than this point. This mark is transferred to all corners and corners of the hallway. Drywall is mounted on the thickness of the GCR below the marks made.

Before starting the installation of the frame, you need to take into account what lighting is planned in the hallway. If these are spotlights, then the ceiling level should be more than 100 mm, if the chandelier, then enough from 50 mm.
The next step is the marking of the level of the skeleton according to the labeling. At the zero level of the entire perimeter of the hallway, it is necessary to fix the guide profile with dowels, the distance between them is 500 mm. Further, the ceiling profile is fixed, the places under which are marked on the guide( 600 mm between each other).

Ceiling profiles are attached using straight hangers placed on the wall every 400mm, they are screwed with screws. It is necessary to check the level of the ceiling profile, for example, using a stretched cord.
The final strength of the entire structure is attached to the transverse bridges cut out of the profile. They are fastened with the help of crabs at a distance of 600 mm.
The next step is the fixing of plasterboard sheets. In this case, the sheets are pre-cut with the required dimensions. To do this, the knife is cut 50% thick on one side and breaks. Then the cardboard is cut from the other side. Rubber processed barbs. Installation of sheets is performed in staggered order, for mismatching the seams with each other. To do this, you need to start with a whole sheet, then - half, etc. Fastening occurs on self-tapping screws that are flush-mounted. After attaching all parts of drywall joints shpaklyuyutsya.
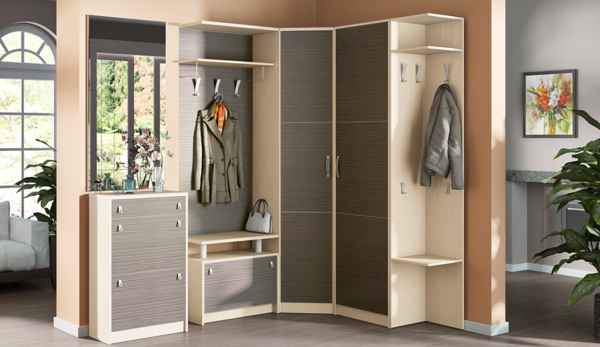
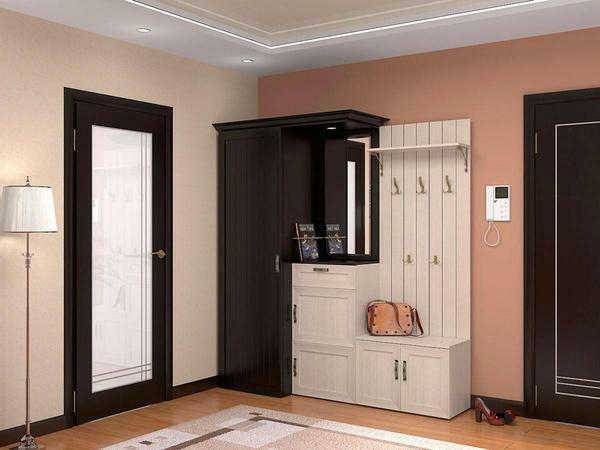
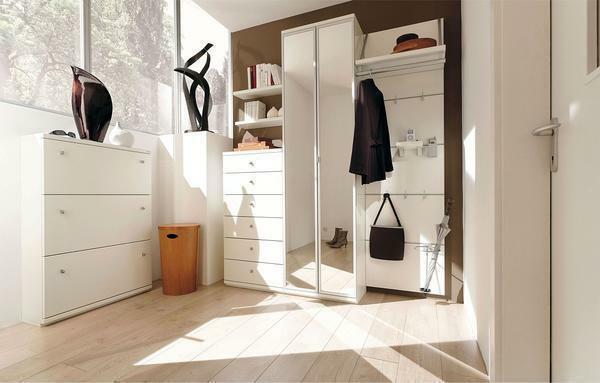
Photo of ceilings from plasterboard in the hallway can be viewed in our photo gallery.
Photo of the ceiling from plasterboard in the hallway