Installation of the ceiling from gypsum cardboard by one's own hands is done in two stages. At the first stage, the skeleton is first mounted, and then the ceiling is plastered with plasterboard. Let us dwell more specifically at each of the stages.
Contents
- frame assembly
- ceiling paneling
- ceiling ceiling installation Gypsum plasterboard ceiling video
- Photo of gypsum board ceiling with own hands
Framing

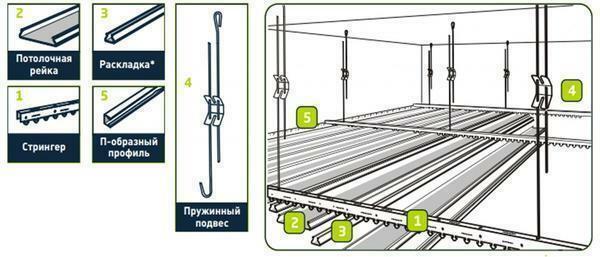
Many wonder how to make a gypsum board ceiling by oneself .To fasten the profile of the starting line along the perimeter of the room a line is drawn. The line is marked with a laser level. Points are marked in each corner of the room. The reference line is carried out at a distance of no more than 200 mm from the main overlapping line. This gap is designed to accommodate communications and wiring.

The starting profiles are attached along the line. They are attached using dowels. Between dowels should not be more than 45 cm. The initial dowel should be fastened no more than 10 cm from the edge of the profile. For bearing rails and installation of hangers, marking is carried out at the base of the ceiling. Then lines are placed on the ceiling 1.25 m apart. This is just half the length of the standard drywall sheet. The frame must be arranged in such a way that both the edges and the middle of the drywall sheet fall precisely on the edges of the frame.

Hooks are placed along the marked lines. The size of the hangers depends on the size of the room. For fixing the suspensions, dowels having a size of 40 mm are used. Starting guides should have some play with respect to the base of the ceiling. The backlash must be of the order of 3 mm. The frame itself is attached to the suspensions with the help of self-tapping toddlers. When carrying out work, it is necessary to constantly check the horizontality of the frame. Deviation can not exceed a thousandth of a share, in other words for one running meter not more than 1 mm. The ceiling can, as they say, lead. Therefore, you need to leave the play from all sides.

Longitudinal profiles are required when mounting the frame to give it more rigidity. The profile itself is easily cut with metal scissors, so it makes no sense to pre-prepare the preforms. The profile can be cut at the attachment point. Usually longitudinal stiffeners should be located at a distance of 40-60 cm from each other. If there is a need for additional noise or thermal insulation, then mineral wool is placed between the frame and the base of the ceiling.

When fastening the GCR to the installed frame, it is important to adjust the sheets to each other as accurately as possible. This will greatly simplify the implementation of the final works. Sealing joints, their putty - a very important stage. Before installing the drywall sheets directly on the frame, the inner part must be treated with a primer. This is done to ensure waterproofing. After you fix the sheets of drywall on the frame, you should conduct a primer sheet. This operation is necessary in order to prepare a surface for applying paint or putty. To access the air in the room between the sheets of drywall you need to provide a small gap( in some places).
Sheathing of the ceiling

How to cover the ceiling with plasterboard with your own hands? The first sheets of drywall begin to mount from the walls, as you can see on photos and videos of .Carry out fastening with the help of special self-tapping screws for metal. Between the screws should be provided a distance of about 15 cm. Twist the hardware in such a way that the hoods are deepened by 2-3 mm. Then these places can be filled.

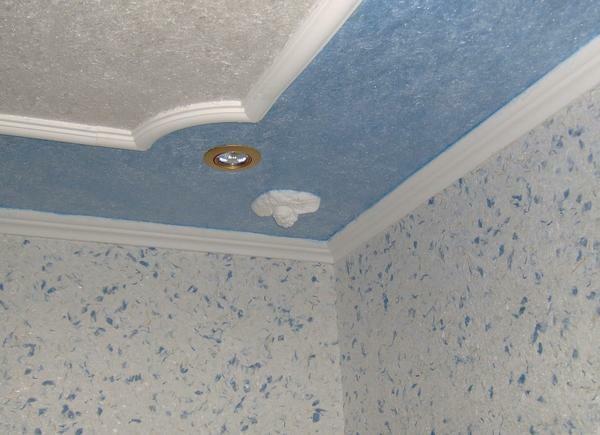
Finishing the plasterboard ceilings with our own hands, as we see on the video instructions below, not too complicated operation. The joints are sealed, and the places of flooding the heads are overwritten. In some places, you can use an adhesive tape reinforcing. As a result, you get beautiful ceilings from drywall as in the photo.

Video mounting of plasterboard ceiling by one's own hands
Photo of ceiling from plasterboard with own hands


