Beautifully designed and insulated from inside the balcony always causes a feeling of comfort and security. And if decoration of the balcony is done by the hands of , then such a room pleases twice. Your attention is given a detailed guide to the insulation and interior decoration of the balcony, which you can perform easily on your own.
Contents
- Primary insulation and floor installation
- Installation of wall and ceiling battens
- Installation of lining
- Final stage
- Photo of finishing the balcony with your own hands
- Video trim of the balcony with your own hands
Primary insulation and floor installation

The balcony is finished with a self-basting start with floor mounting.For this, it is necessary to lay logs, and it is better to use a beam of 40x50 mm for this purpose. The size between the transverse lags should be no more than 600mm, with the condition that the number of longitudinal lags will be not less than 4 pcs. Any of the logs must be attached to at least two frame anchors. Take care that the cross bars are not in contact with the wall, because these are additional heat losses in the future.

After installing all the transverse logs, go to the floor insulation .For this purpose, the insulating material is embedded, first of all, in the longitudinal lags, adhering to a gap of 10-20 mm to all the walls, for further foaming. Only after this, you can begin to insulate the front of the balcony.

Next stage - installation of longitudinal logs .At the same time, determine the highest point of the floor, and start installing the lag at one level. They are attached using self-tapping screws, the level is controlled by wooden gaskets. The final point, when installing the floor - plywood attachment .

Installing the roofing on the walls and ceiling
As a ceiling level, it is customary to take the top part of the glazing. Ideally, when trim the balcony from the inside with your own hands, the lining should come close to the base of the frame. We fix the rail 20x40 mm on one level over the entire ceiling, and after that we put the insulation material, which is later frosted. Next, you need to put a window sill on the front of the balcony.

The next stage of interior finishing of the balcony with our own hands is the wall mesh , which starts with the fastening of the lower rail to the floor, and the top to the ceiling with the help of self-tapping screws. On them, the level is set and rake is marked. Make sure that the size between the slats was not more than 60 cm. After the work done, carefully insert the heater.
Assembly of lining

Begins finishing the balcony with a self-leveling from the wall mounting, which is closer to the apartment, as it is the most difficult to execute. You should start from the window in parallel to the ceiling, doing the sill bypasses. In this case, it is better to saw the wagon coming up to the window, in order to later install the slope at a right angle. Fixing the lining exclusively on self-tapping screws.
After plating one wall, go to the wall next door. It also has to start from the window, and the complications can arise when the sash is around the windowsill, because it is necessary that the lining in the corner be cut no more than half - all for the most dense junction with the window sill and frame. But on the front part of the balcony, the lining is easiest to install - it is necessary to put it one level at a time.
Final stage

Finishing work consists in preparation and installation of slopes, rails, skirting boards, and after the general cleaning, it is necessary to open the walls with lacquer to give special properties to the tree. For an illustrative example, in our article photo and video materials for finishing the balcony with their own hands are given.
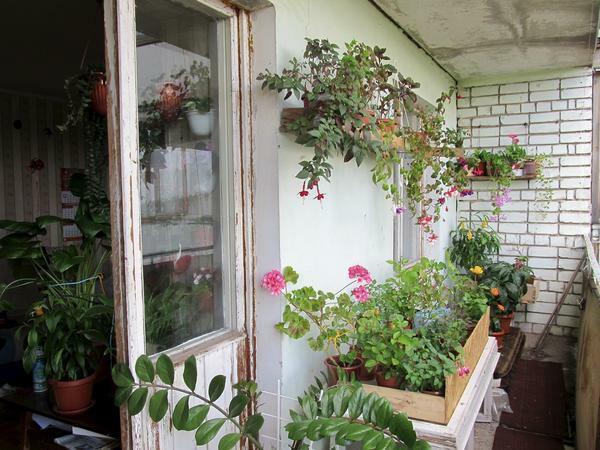
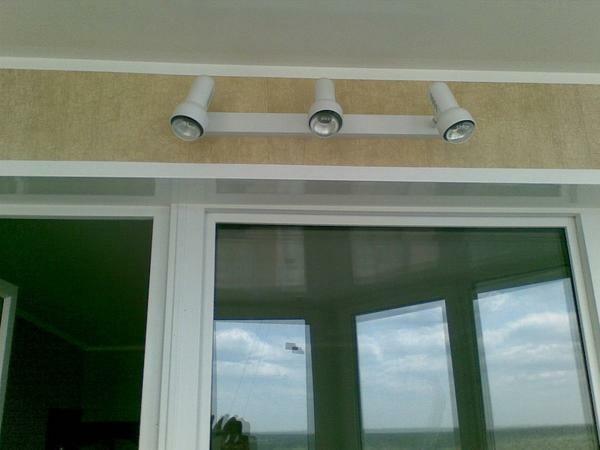
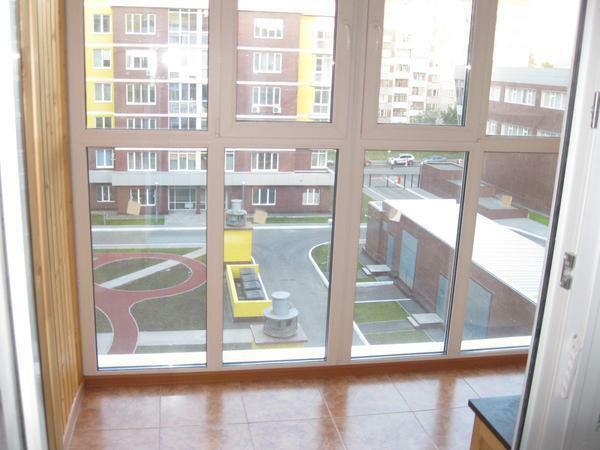
Photo finishing the balcony with your own hands