Drywall consists of two layers of paper and plasterboard in between, so it can be cut at any angle and cut to any shape. The only and main disadvantage of gypsum plasterboard is its increased fragility, which does not allow the construction of objects with relief. Drywall is milled. This process has a number of features that you need to pay attention to before starting work.
Milling is used in cases when it is necessary to create some kind of structure with sharp corners from a drywall sheet.
For example, thanks to the work with cutters, the process of making boxes for additional decoration, stiffening ribs and other similar structures becomes much easier and faster.
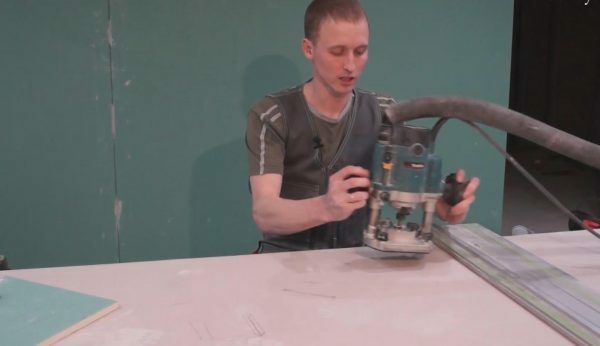
To create the desired grooves, you need special equipment - a router and cutters. Speaking of milling cutters, you should immediately understand that it is not necessary to buy an expensive model if the work will not be associated with large volumes of processed material and is done only for personal needs. You can rent a router or buy a not very expensive one, especially since there are not so many requirements for its quality:
It is also important to determine which type of work will prevail in order to choose a suitable milling cutter from two types:
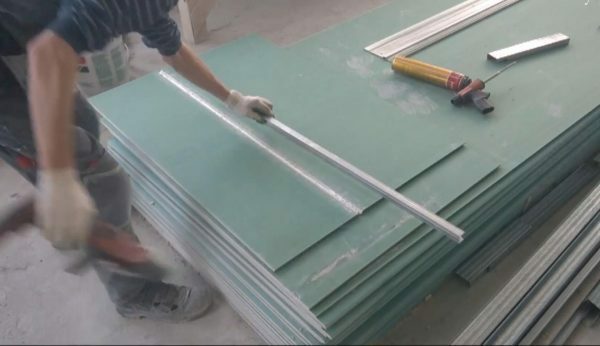
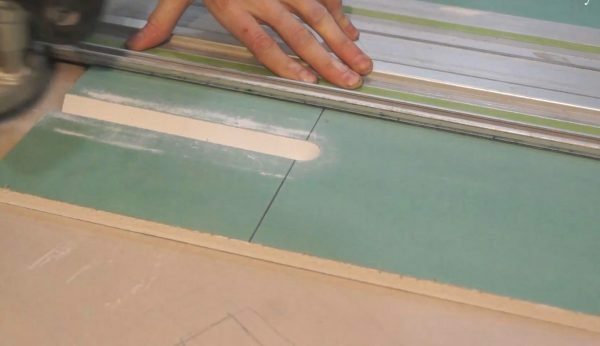
It is necessary to equip the work area. A simple table can also play its role. The main thing is that the surface is flat and smooth. On one edge, a stop is needed so that the sheet does not slip. It can be made from a board by screwing it to the outside of the table. You need to work with a router strictly according to the instructions and it is better not to start large jobs right away, to practice with small details.
Be sure to take care of dust removal. To protect your eyes from it, you need to purchase special glasses.
Working with a router and plaster glue
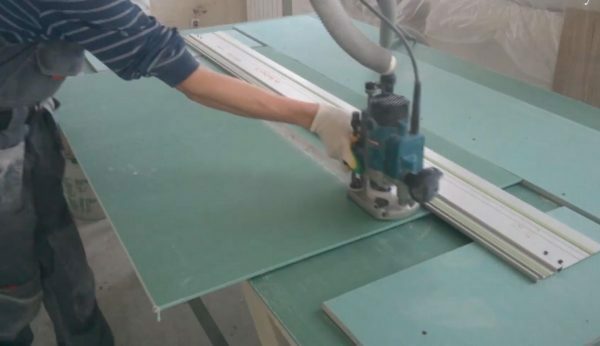
Now we will tell you how, using milling, you can make drywall blanks that it is almost impossible to do it in another way, and if possible, then the strength is obtained incommensurable. Let's say right away that there are many Chinese milling cutters - analogues of "Festool", very affordable at the price. We still use our router and cutter.

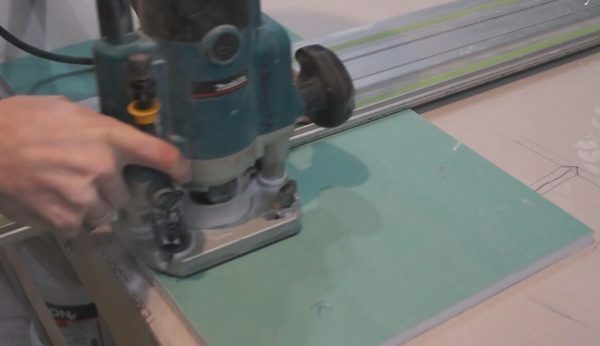
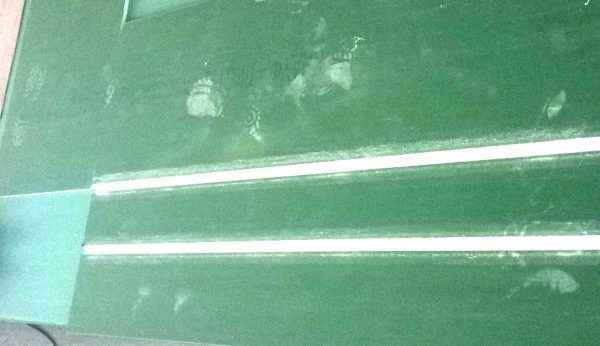
Why do we pass the workpiece in one direction with a milling cutter and immediately lead it back? When we move the router in the opposite direction, it not only cuts off the excess paper, but also completely cleans out the groove all the way to the plaster support. This improves the further adhesion of the folded sheet.
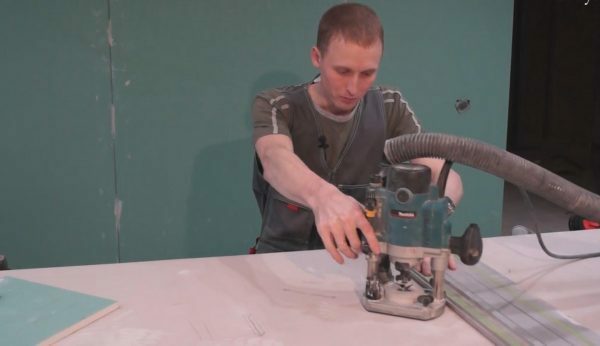
Another nuance: due to the fact that the cutter rotates clockwise, the router will pull to the left when wiring without a stop.
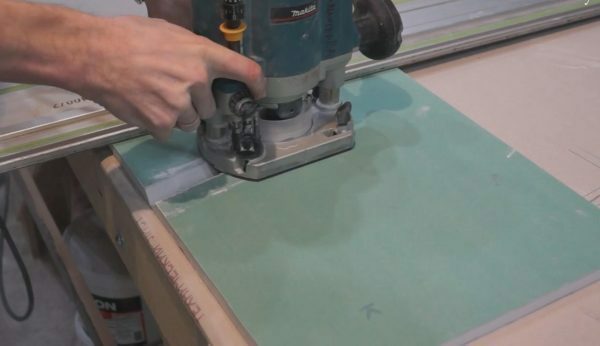
This means that if you substitute the rule on the left side, the router itself will press against the rule, and you will only need to push it forward, that is, the work will be done with one hand.
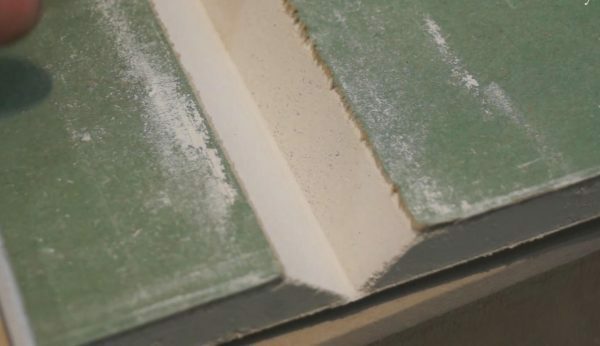
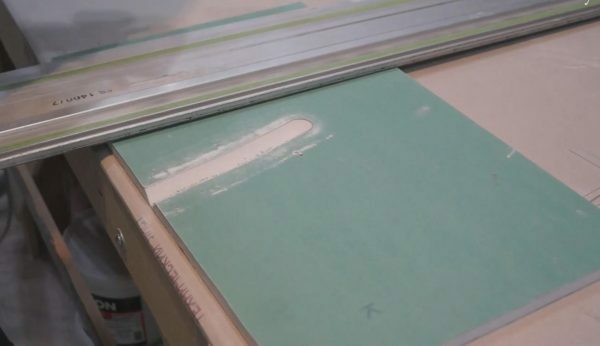
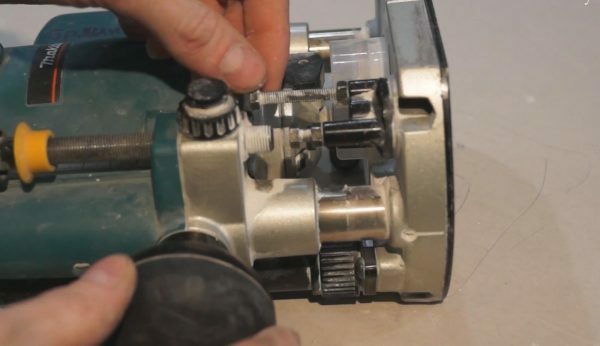
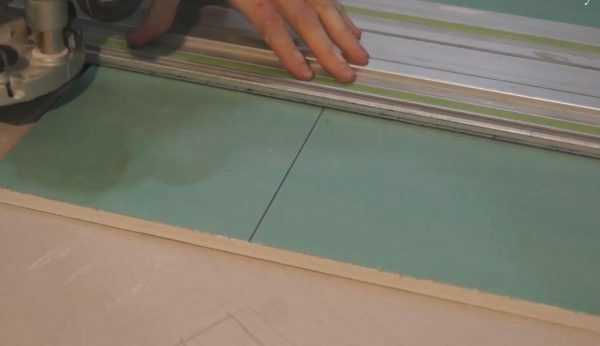
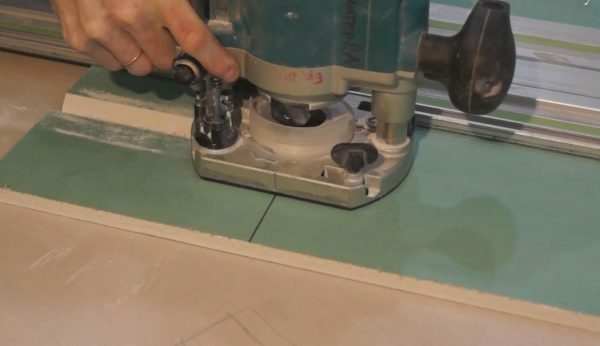
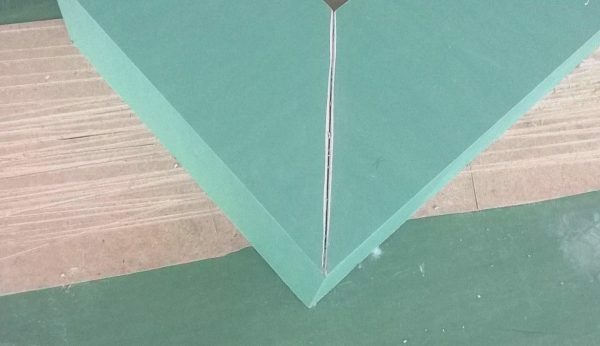
When setting up the cutter, we set the cutter depth so that the cutter almost clings to the paper.
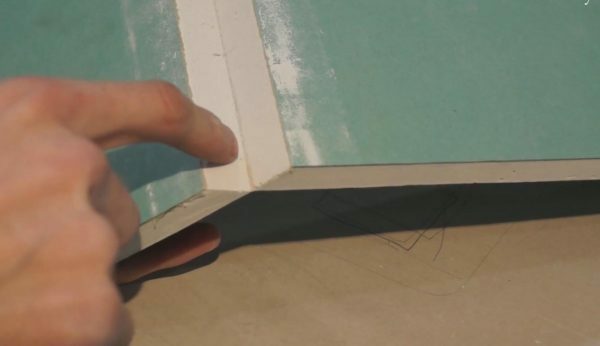
A very small plaque of gypsum should remain, then when bending we will get a very sharp corner. For those who work with different drywall thicknesses, you can suggest adjusting the stop bolts for different drywall thicknesses. Let's say after adjusting for 9mm drywall, you can easily go to 12.5mm and then go back 9mm.
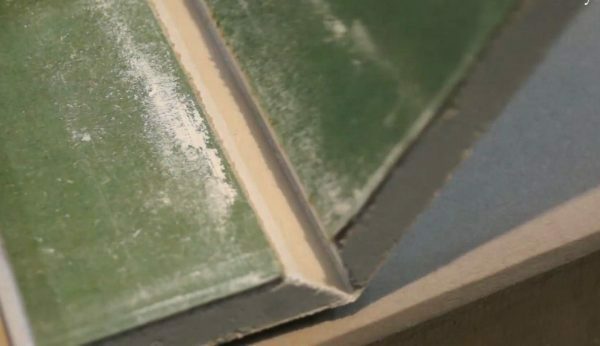
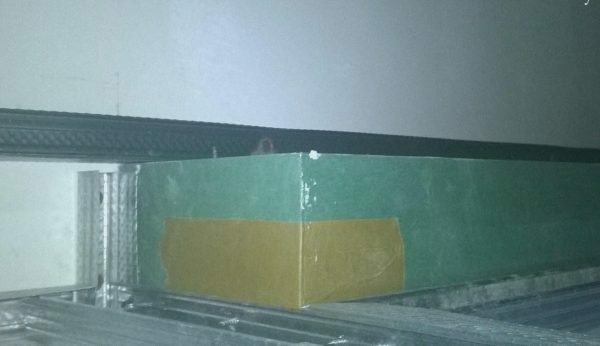
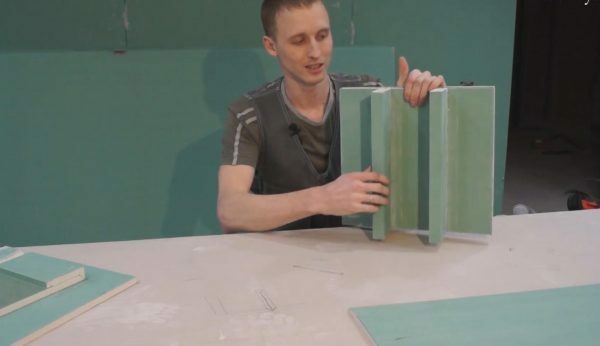
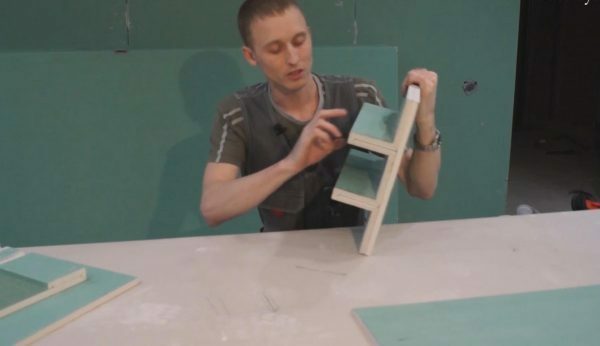
With just one 90 ° cutter, you can mount workpieces from 180 ° to 90 °. We work with moisture-resistant drywall, in which the paper does not soak when priming, does not tear when bent. We select a groove, prime it, then we hammer this groove with any adhesive gypsum composition: “Fugen”, “Uniflot”, “Perlfix”, “VOLMA-Montage”, any. We hammer in the groove with plaster glue, bend it to the desired angle, remove the excess. Here is the finished dry sample:
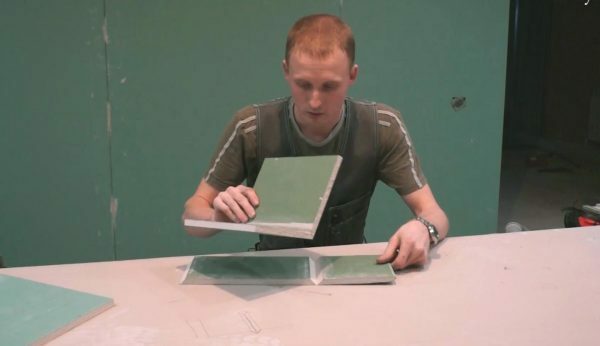
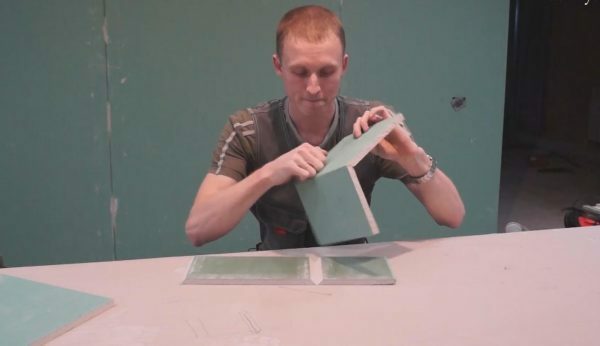
You can remove excess glue and take it to the installation using fresh glue, carefully mount it, give it the desired shape on the table or directly on the wall. Later, after drying, it becomes just a monolith - a very strong formed corner, where nothing needs to be worked out. In principle, if anyone knows, such unfolded corners are very difficult to form.
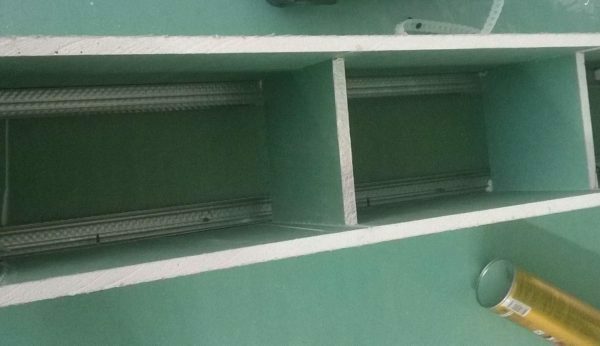
Manufacturing and installation of a niche for curtains
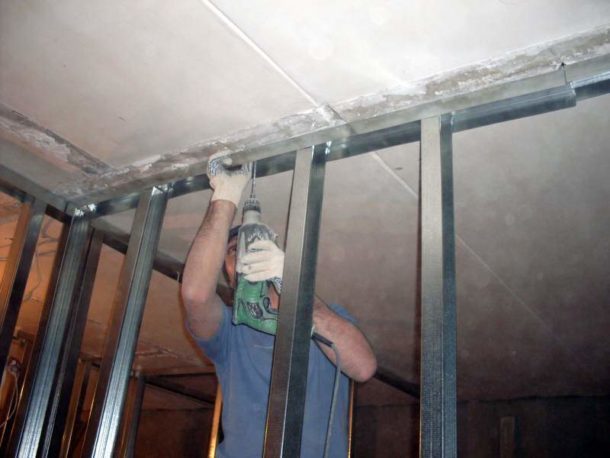
First, we exposed the metal frame, which was needed to mount further elements.

Everything here, except for the reinforcing structures for the hinged shelves, is made extremely simple. We made the constructions separately.
Before starting milling a large volume of workpieces, we always make a mold and try it on on site.
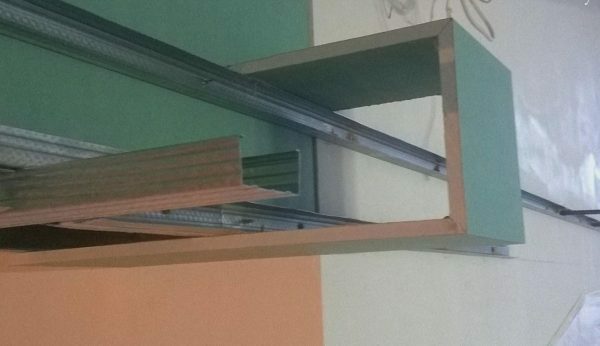
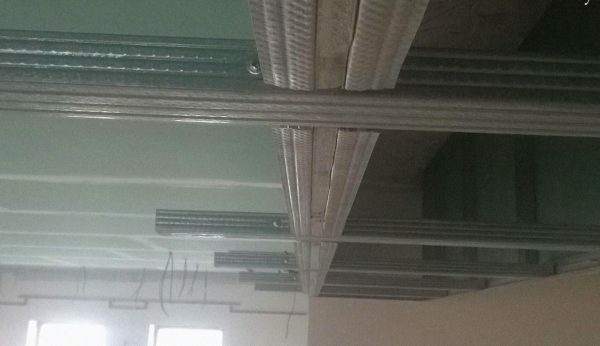
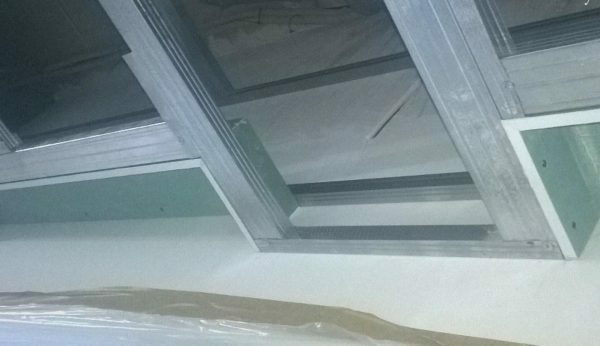
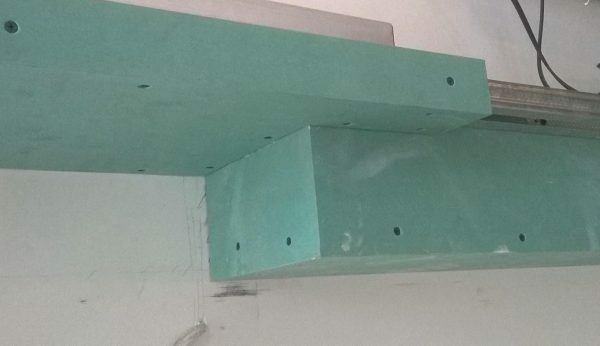
Then you need to form niches for curtains. Here is all the metal it took to mount the niche.
By milling the inner corners, we have obtained individual, very strong niches.
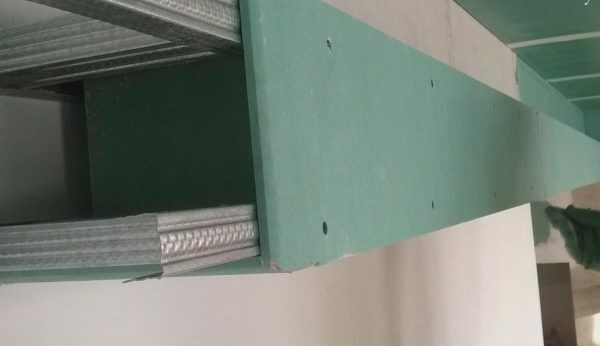
Niches can be mounted without using additional profiles. We mounted them, but we simply put the profile for reinforcement under the curtain on top and screwed on the screws. In the future, we will mount a curtain on this profile through drywall.
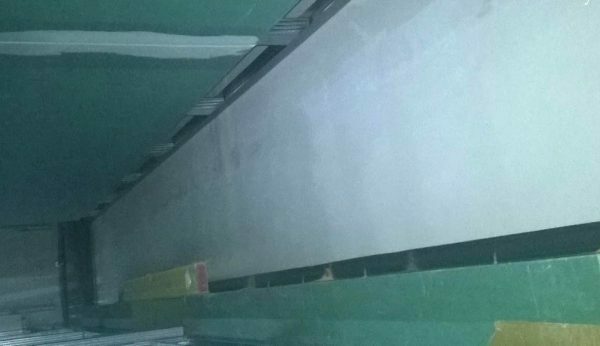
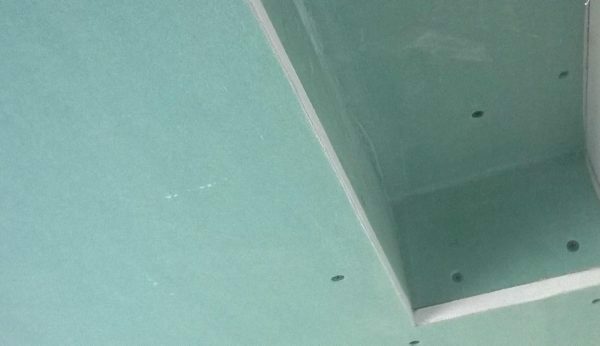
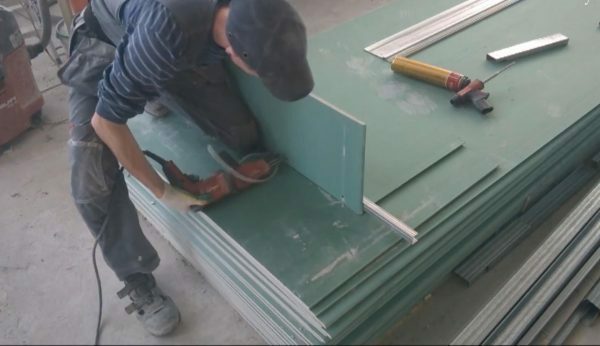
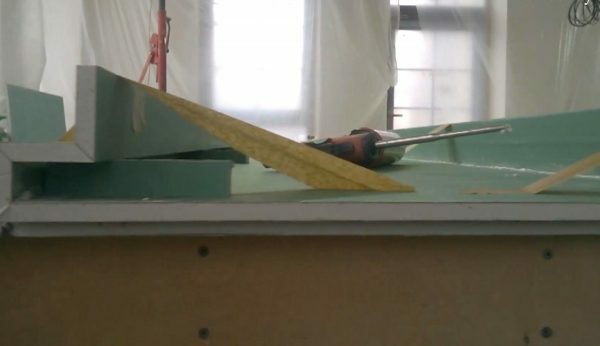
The niches are very strong, they can withstand almost the weight of a person, that is, for a normal light curtain, strength is more than enough. After installing niches for curtains, we prepared L-shaped elements for mounting large shelves in the corridor. Since there are a lot of blanks, it makes sense to firmly clamp the rail and cut them in a stream.
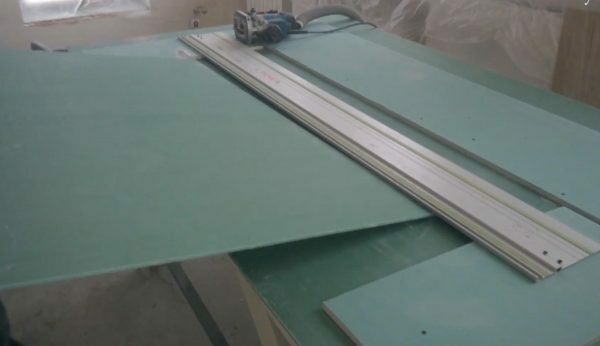
We insert the sheet, saw through, carry away for twisting.
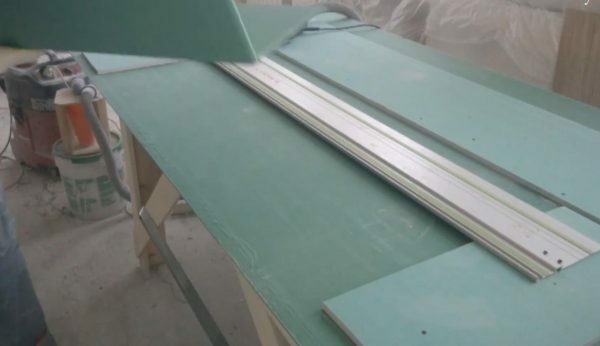

After applying the polyurethane foam, we immediately twist the workpiece onto the profile with a profile shift of 20 cm in order to twist the sheets together, and immediately carry it to installation, without waiting for the foam to dry.
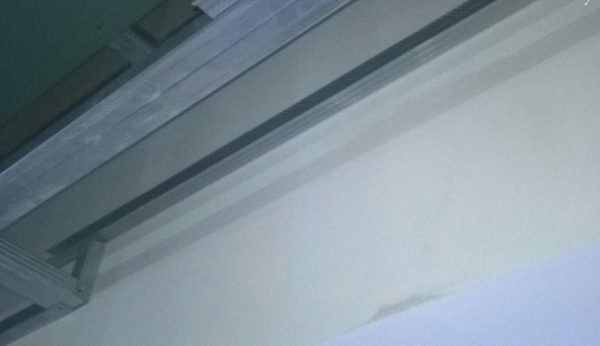
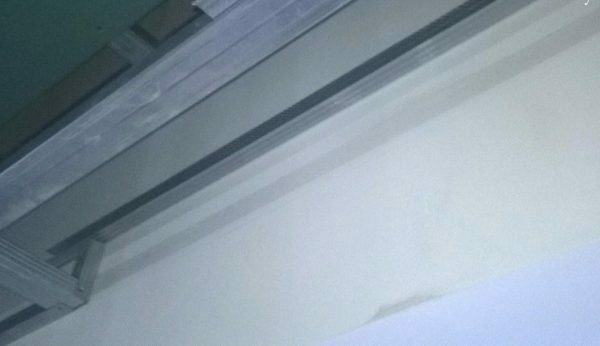
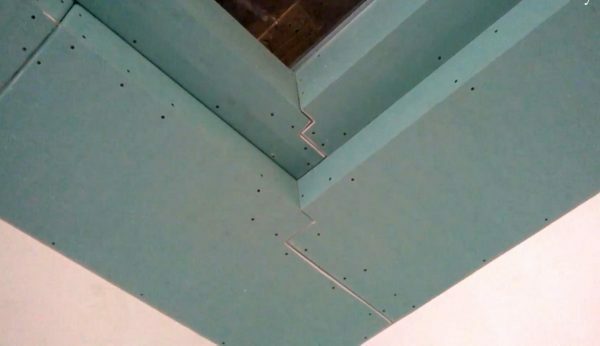
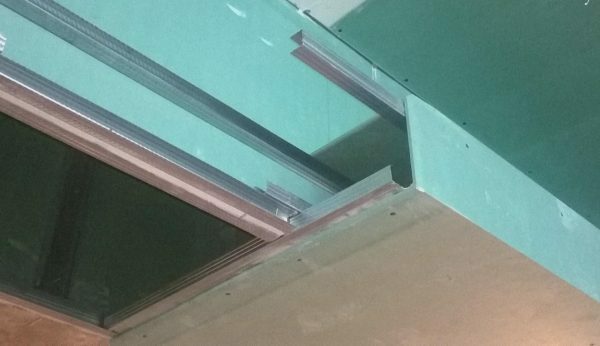
Next, we will tell you how the installation is carried out. The installation of milled elements is somewhat different from the usual installation. Here's one of the options:
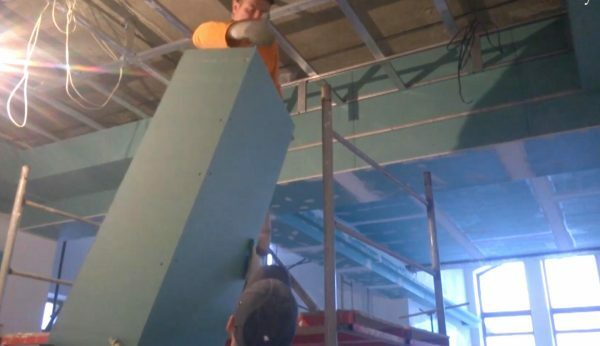
Our workpiece already has an angle, and we substitute it by pressing it against the vertical and horizontal profile. We bring the workpiece together with the already mounted one, and first of all we twist the outer corners of our and mounted workpieces together.

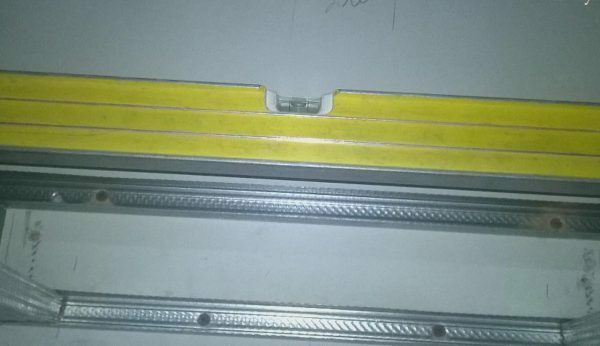
Having twisted the corner, we control the horizontal plane with the level, pressing the workpiece to the horizontal profile, and screw it on top. Then we control the vertical plane, pressing the level to the upper profile, and fasten it from below.
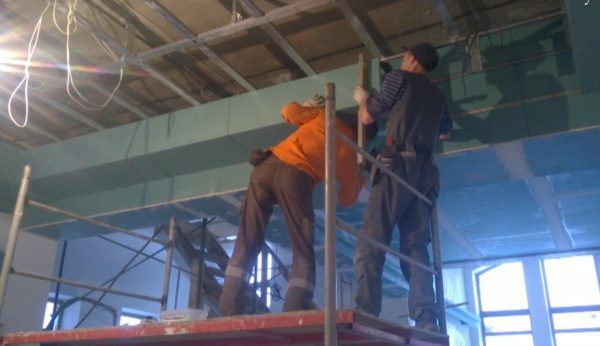
Four self-tapping screws - and the workpiece hangs in place. Our blanks fit into the line automatically, since the profile along the ceiling and along the wall is made precisely in line and in level.
Making joints of complex shapes
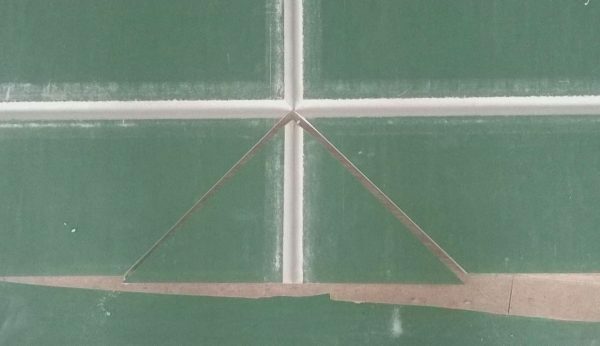
There is another interesting way to work with drywall. You can take the stop bar and drive the milling cutter not with a straight side, but with a semicircular one, leading the milling cutter either to the operator or away from him. The router can change its position, but the distance from the center to the stop bar does not change.
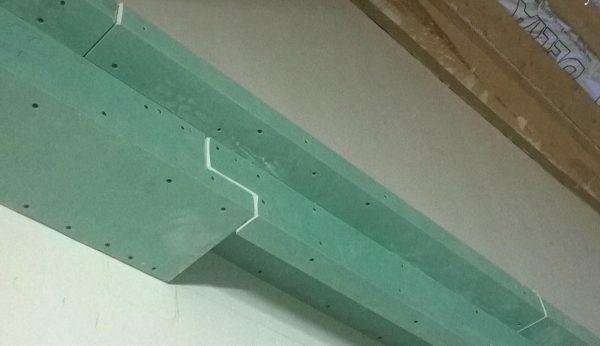
This is convenient if you just want to make direct milling of all workpieces. We got to turns, overlaps, joints of complex shapes, and here we need not just running milling, but milling to a certain point. Each such tool has a cutter center mark.
We bring the mark, which stands on the sole of the router, to the line. We need the cutter to stop clearly in the right place.
Milling drywall is not completely necessary in the manufacture of boxes of complex shapes, various joints, overlaps, through passage of boxes to each other.
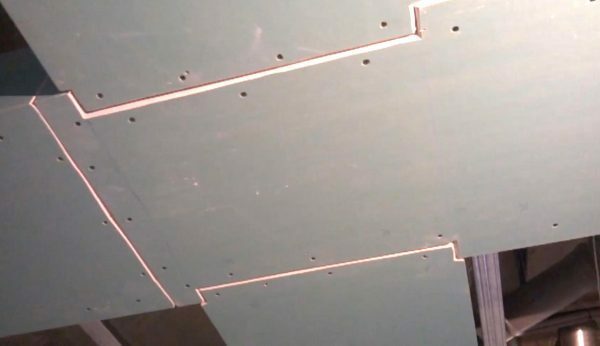
The markup may sound daunting, but it's actually easier than it sounds.
Elements of this kind, in which both metal and gluing are used, have very high strength.
Milling tips
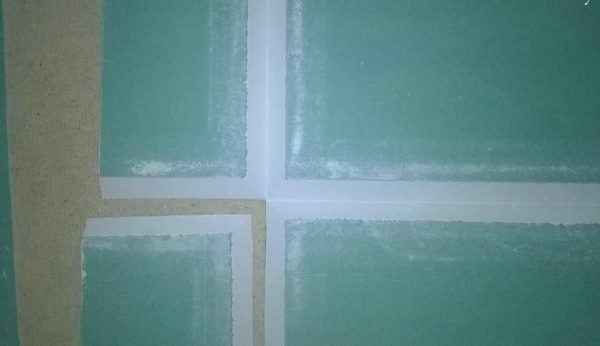
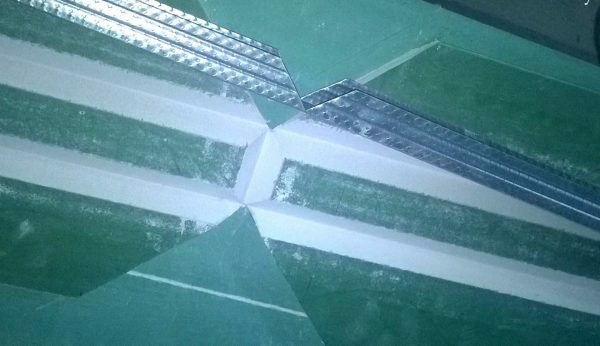
Here is another possible way of milling and gluing drywall at right angles to a fixed size.
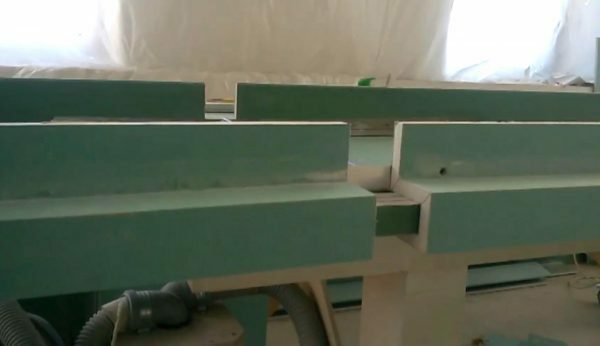

The work is carried out with all sorts of stops, with masking tape, until completely dry, followed by twisting onto a profile.

When joining such elements without separation, but taking into account the metal and gluing, we have never encountered the appearance of microcracks and any problems associated with them. As many already know, milling, gluing and even twisting with metal gives the workpieces very high strength.
Making a solid shelf
Now we will tell you about such elements where it is extremely difficult to do without milling. More precisely, it is impossible to achieve a certain strength. When we mill any elements, we are left with a part of the paper that takes on some of the load, plus foam, plus the overall configuration of the entire workpiece.
Probably, many made such shelves with a very small thickness. The minimum shelf we had was the 27th profile and two layers of drywall. Here we did not use the profile, each shelf had the backs of the paper uncut, plus gluing on the foam. As a result, we get not a decorative, but a completely supporting shelf, which can be revetted with tiles, go through the inner corners with sealant, paint and put anything on it. Such a shelf gives an idea of all the possibilities of such self-supporting very thin elements, which can be of completely different shapes. These can be consoles, runners that hide niches for some kind of rolling elements. And this is just a small part of the milling possibilities!