How to decorate the arch (36 photos): professional advice
Table of contents
- 1 Manufacturing constructions
-
2 finishes
- 2.1 Decorating with wallpaper
- 2.2 Finishing decorative plaster
- 2.3 Finishing decorative stone
- 3 Summing up
- 4 Photo Gallery
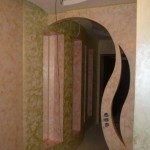
Getting to repair the house or apartment, you may be faced with the question - how to make and how to finish the arch? This question is not idle, since the arch, as an element of interior design, becoming every day more and more popular.
In fact, the manufacture and finish - a simple procedure. So, get to work.
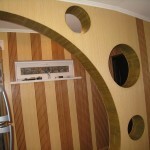
Manufacturing constructions
 In this article we present the technology of manufacturing and finishing arch made of plasterboard. In fact, there are several arches technologies, but the drywall - the most easy-to-work material.
required for the manufacture of:
- two sheets of plasterboard 12 mm thick;
- Arch plasterboard sheet 6.5 mm thick;
- four guides and one rack profile;
- two reinforced arched corner.
Assembly diagram:
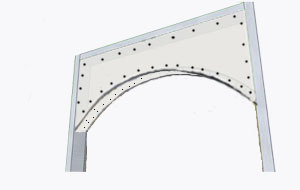
Arch made of plasterboard. scheme
- Cut the two sheets of plasterboard door opening width.
- Each sheet drawn with a semicircle, forming the roof contour. Cut to receive a part of the contour with a hacksaw or jigsaw.
- For finished walls and ceiling decorated in a location opening fasten metal guide, departing from the edge 1.5 cm. For mounting use screws with plastic plugs which are hammered into the pre-drilled holes.
- With "giprochnyh" screws (self-tapping metal 3,2h25 mm) and an electric screwdriver fasten sheets cut to the contours of the arch guide. Screws twirl in increments of 10-15 cm, utaplivaya hat in drywall.
- Measure the length of the arc. For this cut the length of the guide profile, and with the help of the notches or bend the arc of the contour. Fasten into drywall profile.
- To strengthen the structure of the inner side of the arc of adding jumpers fragments rack profile, which is fastened with screws to the same curved metal guide.
- We measure the length of the arc forming the arch. For the length of the cut strip arch drywall. Note that the width of the strip is equal to the depth of the doorway.
- Arched curving plasterboard to the desired radius (perhaps it will moisten) fasten the strip to the metal frame by means of screws.
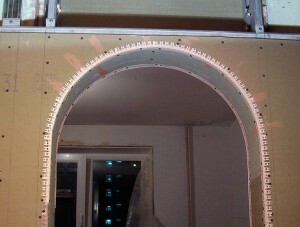
Fastening GKL to profile
The resulting design is completely ready to finish!
Finishing options, there are many arches. Let us dwell on the decisions that you can implement on their own, without involving the third-party experts.
finishes
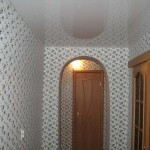
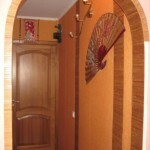
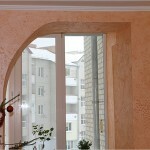
Decorating with wallpaper
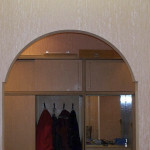
The easiest way - with the same design to paste wallpaper, which will be plastered plastered walls.
For this we need:
- wallpaper;
- wallpaper glue;
- Ruler and pencil;
- brush;
- scissors.
The first stage - the preparation of the adhesive. For wallpapering prepare adhesive is thicker than normal for pasting the walls, so that it slowly plows and congealed drops. Thick consistency will allow to move the strip of wallpaper, achieving complete matching pattern.
Getting the most glueing:
- Sticking strip on the wall near the arch. Next strip is glued so that it covers the opening portion of the arch. Once the band is glued, cut the protruding part, leaving an allowance of 2.5 cm.
- Cut allowance at an interval of 20-25 mm, bends it to slope and with a brush tightly glued to the plane.
- Just papered construction plane from the other room.
- It left wallpapered vault. To do this, cut a strip of wallpaper, the width of which is equal to the depth of the arched opening. Strip cut slightly longer than needed, moving the strip of wallpaper, we can achieve a match pattern.
- Glue strip to the vault arches and the side walls of the opening. If a sufficiently high design, the band can be divided into two (when the joint is at the highest point) or three parts.
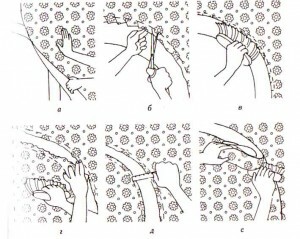
sticking wallpaper
Pasted wallpaper must be carefully ironed to under them do not form air bubbles.
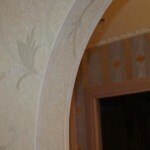
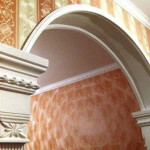
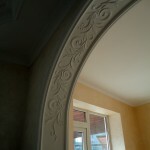
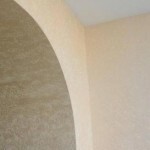
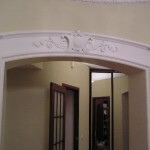
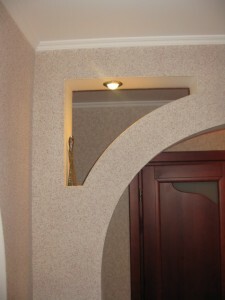
Finishing decorative plaster
Another way to finish - it is lined with decorative plaster.
Driving finish:
- The first stage - plasterer plasterboard, from which the arched doorway. This is done so that the seams between sheets of drywall and a massive part of the opening not stood out under a layer of plaster.
Note! Decorative plaster is not paint, so too zealous in leveling putty is not necessary. Enough to block significant irregularities.
Decorative plaster (price-from 2200 rub.)
- After the surface completely treated filler, causes the primer. The primer provides reliable adhesion to the plaster surface.
- After polymerization primer (this process takes from 4 to 24 hours), causes the plaster. Freshly plaster by using a float, sponge or spatula forming a relief.
- Completely dry surface can be painted with special paints for painting decorative plaster. If we used the tinted mortar, instead dyeing can confine application of finishing decorative or protective layer metallics.
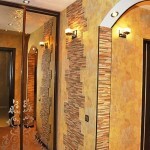
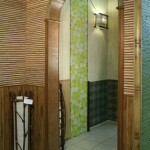
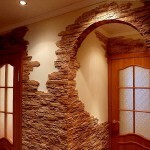
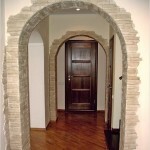
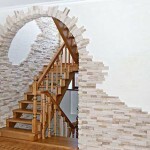
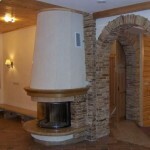
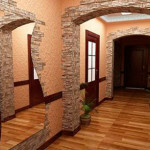
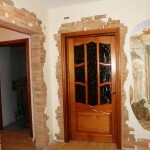
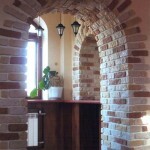
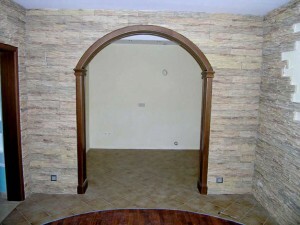
Finishing decorative stone
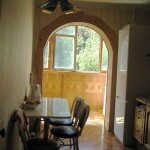
Facing decorative stone - one of the most spectacular, but at the same time the most time-consuming way to finish arches. The main difficulty with this is to finish the inner surfaces and stone arch.
the material itself is quite practical and easy to use, does not require a perfect smoothness of the basics, and it eliminates some of the complex work on leveling plaster walls. However, finishing arches in the flat decorative stone complicated by the fact that the lining is subject to not only a flat surface but also the inner side of the structure.
Note! If you have a plaster arch, to the choice of stone for cladding must be approached very carefully! Too heavy stone may cause deformation or even destruction of the arch.
Technology stone cladding:
- Shpaklyuem surface to remove coarse unevenness and after polymerization gruntuem.
- Prepare solution for laying stones. Composition of the solution may vary depending on how the stone will coat the structure, but most often it consists of cement, lime, sand and glue. There is also the possibility of mounting on a stone "liquid nails".
- The first stone laid from the bottom, at the junction of the wall and aperture, customize the level and firmly pressed. To continue not to pay attention to the additional sealing of the corner stones on the plane and the inner surface of the fastened lap.
- The stones that are mounted along the arch of the arc cut off by the arc, just maintaining its radius. Pruning can be carried out with the help of pliers for tile or angle grinder. The cut should be sanded with a file on stone.
- The joints between the stones are sealed with a special solution so that the solution droplets do not fall on the front surface of the stone.
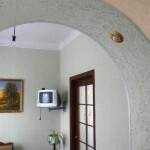
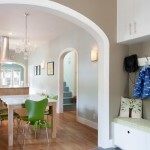
According to the above technology can be carried out finish arch with their hands using both artificial and natural stone. As a result, you'll have a design that more than one year will be pleasing to the eye with its original design.
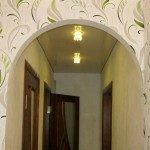
Summing up
We hope our article has been helpful to you. In order to more accurately understand the technological and practical issues on our website provides detailed photo and video instruction, in which you will find useful information on the question.
Photo Gallery