Slopes of MDF for door or window - like a picture frame: the formulation of appropriate content
Table of contents
- 1 Pros slopes MDF
-
2 Manufacturing technology
- 2.1 Tools and materials
- 2.2 Preparation for the installation opening
- 2.3 Mounting slopes
- 3 conclusion
Door and window slopes MDF made an order of magnitude more complex than the design of other materials. If the plaster, plasterboard or plastic handle any master who has a minimum skill, work with wood-based require almost a jeweler's precision fit.
However, the result is worth the effort, so below I will provide all the information you need to learn before you start the installation.

Ennoble the front door or window difficult, but still quite real
Pros slopes MDF
Typically, the slopes (the inner side surface of a window or door opening, not overlapped frame or door frame) after mounting structure itself is not enough look attractive. In most cases they require dressing and different materials are used for this purpose.
The most commonly used technologies slopes finishes include:
- plastering followed by putty;
- plasterboard lining with further decorative finishing materials;
- plastic panels finish;
- clapboard siding.
One of the design options is also lining aperture MDF panels.
Such a solution has several obvious advantages:
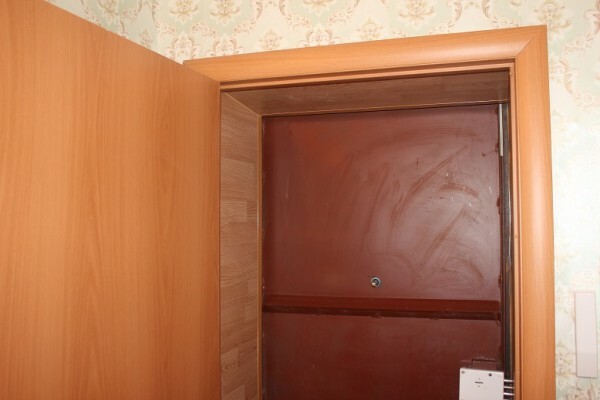
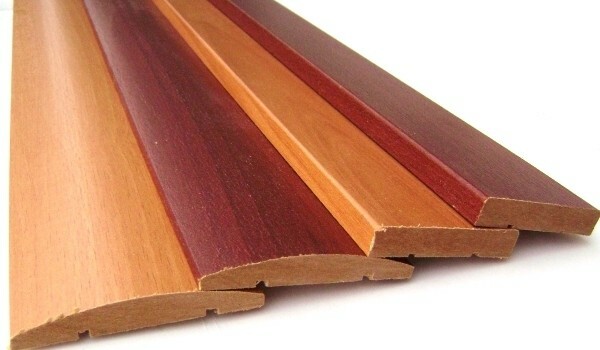
Use of the laminate flooring panel allows you to change the design
- Material favorably strength of gypsum plasterboard and the plastic lining. The design turns out strong enough and therefore, for example, finishing slopes MDF door panels is preferred for this: even if the panel will not be increased service load damaged.
- processing technology contains no "wet phase". We do not need to wait until the polymerized and completely dry plaster, which significantly reduces the time required to finish.
- After skin does not require additional finishing slopes decorative materials: do not need any filler or coating, which reduces the cost and time of work.
- Appearance design is also obtained very attractive. If you pick up the slopes to the door of MDF tone on tone with leaf and door frame (or window frame and sash), the whole set will look just perfect.

The difference in appearance, you can estimate of photos
If we talk about the shortcomings, the main disadvantages are the already mentioned me the complexity of manufacturing and a high enough price. Yes, in the accompanying materials, such as paint or plaster, we will save, but by themselves are laminated MDF panels lot.
Manufacturing technology
Tools and materials
For the installation of the panels with their own hands, we need to use the whole arsenal of tools.
I usually cook to work this kit:
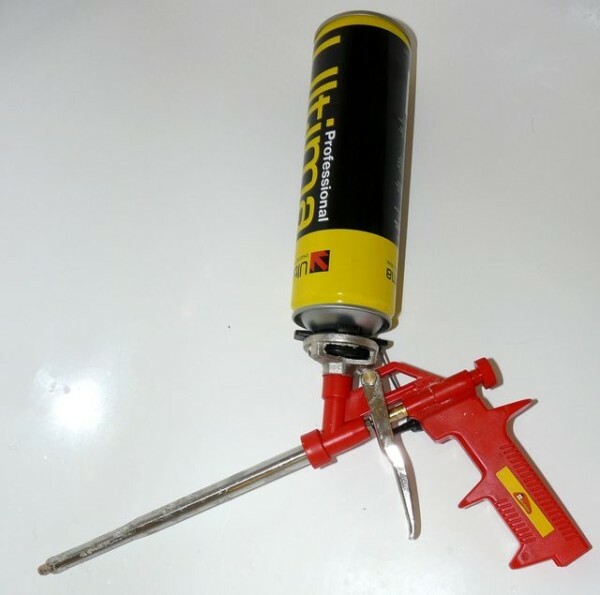
To seal the used polyurethane foam
- hammer with a drill on concrete;
Tip!
For installation in an opening of wood (timber or timber) can be dispensed with in favor of a conventional punch, but powerful enough drills.
- screwdriver;
- jigsaws;
- sewing MDF (hacksaw, circular or reciprocating);
- breadboard knife with a long blade of solid;
- hammer;
- Gun for adhesive foam;
- level;
- roulette;
- pencil or marker.
I do yourself slopes MDF panels 10 mm thick.
In addition to the decorative material in use:
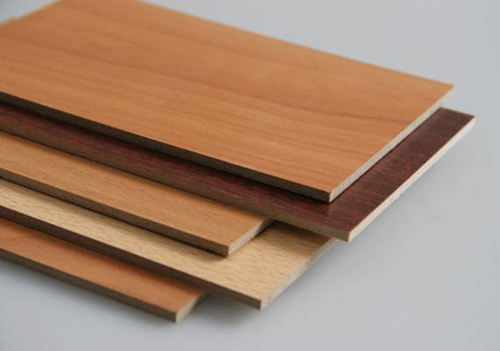
For work taking quite thin panel
- wooden slats for the frame;
- primer antiseptic;
- repair mortar for concrete or brick;
- decorative angled lining;
- trim;
- "liquid Nails";
- a self-expanding polyurethane foam.
Together with the installation of slopes held and installation casings
Preparation for the installation opening
MDF slopes can be mounted both on a doorway, and in a framework of wooden beams. The first method is relatively rare: for its successful implementation requires that the edge of the doorway were fairly even.
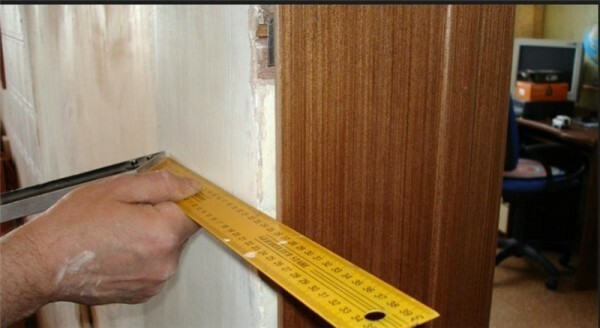
metering opening
That's why I almost always mounted on panels of decorative material on furring rigidly fixed on the basis of capital.
Works are carried out under the scheme:
- Using the punch packed-bit, I knock slopes chunks of old plaster, which remain on the surface after replacing the doors.
- The walls of the opening purified from dust and debris, and then check for the presence of cracks and fissures in the surface of the carrier.
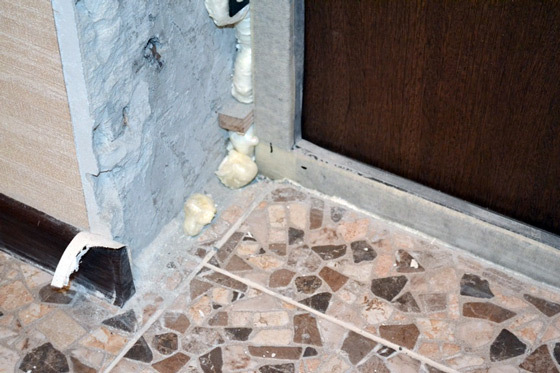
The lower part of the slope, ready for plating
- Upon detection of defects, reducing the substrate strength, perform their repair using the composition of cement or epoxy.
Important!
Cement dries slower, but cheaper than more efficient epoxies.
- To prevent mold or colonies of pathogenic bacteria to handle all of the surface, which will be hidden under the skin, antiseptic primer.
- Further mounted on the inner surfaces of the opening frame of wooden beams, also impregnated with an antiseptic. Bars exhibited by the level and fix the wall plugs rapid installation with plastic sleeves. To avoid bias of pieces in the gap between the frame and the opening hammer wooden wedges.
Variant frame of metal profile
- Slopes for doors and windows can be further warmed. To do this I either lay in the skeleton of the cell insulation material (foam and enough, but if finances allow - boldly take mineral wool) or blow out the space between the bars self-expanding construction foam.
Tip!
When foaming dampening themselves surfaces and foam.
Instruction allows the installation of the panels only after the polymerization of the composition and cutting the surplus, because otherwise there is the risk of deformation of the panels.
Mounting slopes
Now we have to make ourselves sloping strips and place them on the prepared frame.
Proceed as follows:
- MDF sheet cut out three blanks: two vertical parts and one - horizontal.
- I enclose the workpiece to the opening and mark them on the line, which will be carried out pruning.
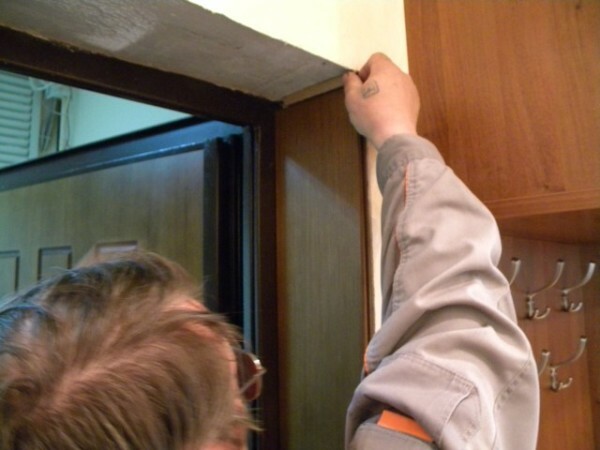
fitting parts
- Pruned parts strictly size of the door or window opening.
Important!
There are two options: simple and complex.
If we just cut the bar at 90 0, and the gap between the parts reimplemented plastic or laminated cardboard corners.
A little harder to be trimmed end panel at an angle of about 45 0, which will dock items with minimal clearance.
For trimming You can use the miter box, but it is suitable only for narrow sloping planks.
- On the underside of each panel nanoshu "liquid nail", then the pasting MDF to the frame.
- Carefully align the panel, ensuring that the gap between them were minimal.
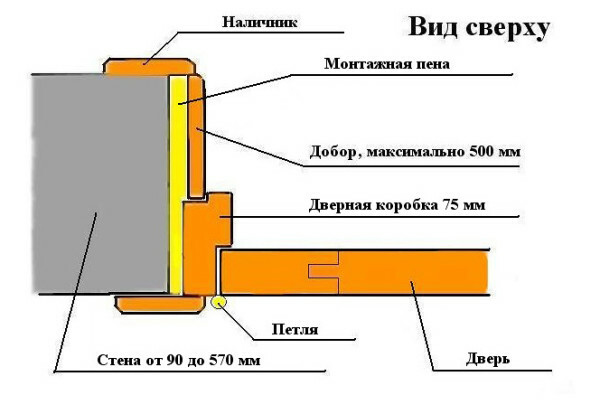
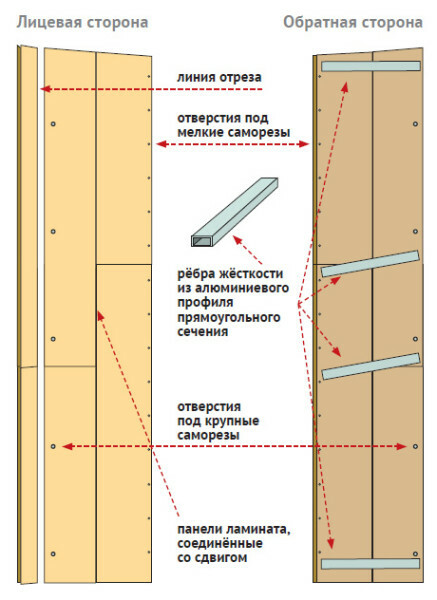
Installation diagram dobornyh foam panels
- Further enhances the fixing screws, spinning them into upper and lower parts. Hide cap screws countersunk in predrilled holes, closing caps at their decorative panel tone.
- Gap fill between parts either tinted wood putty, or (if they are not wider than 1 mm) transparent sealant. In the second case, I watch for so that no sealant remained on the front surface of the slope.
- Rounding out the finish of the opening, attaching the ends sloping strips and placed next to the walls of their frames.

At the final stage, fasten trim
conclusion
Finishing slopes door panels MDF is a fairly time-consuming process. However, despite the complexity of the technology, learn it is quite possible - this will help you and above recommendations, and video in this article, and professional advice (including mine), which can be obtained by asking in the comments below.

