Sandpit with his own hands: we make in 4 steps
Table of contents
-
1 Making sandbox
- 1.1 Step 1: design
- 1.2 Step 2: production of ducts
- 1.3 Step 3: production overhang
- 1.4 Step 4: finishing sandbox
- 2 Output
Children sandbox is a simple structure that is easy to make its own. However, at the beginning artisans, this problem causes some difficulty. I want to share their experiences and describe in detail how to make a sandbox with their hands.
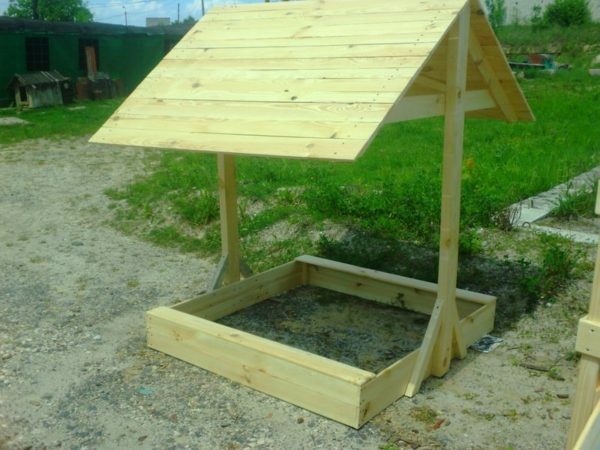
Wooden sandboxes, you can do it yourself
Making sandbox
The process of making a sandbox for the children with their own hands can be divided into several stages:
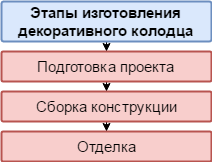
manufacturing phase
As you can see, one of the stages of the work - is to create a canopy. But you, if you wish, you can simplify the design, and make it without a canopy.
To do shed yourself, you can install ready-canopy umbrella or awning beach stretch.
Step 1: design
Before you make a sandbox, it is desirable to prepare a design project. For this we need to define it with the following nuances:
-
size. Dimensions sandbox depend on the number of children who will be there to play. For one or two children enough structure 1,5h1,5 m.
If free space in the area is sufficient, it is possible to increase the size;
tall walls. The walls must be such that the child was comfortable to step through them, but at the same time, sandpit holds a sufficient amount of sand. Usually, the height of 30-40 mm; - type of construction. By itself, the sandbox is a rectangular, square or rectangular duct, but the roof structure may be different.
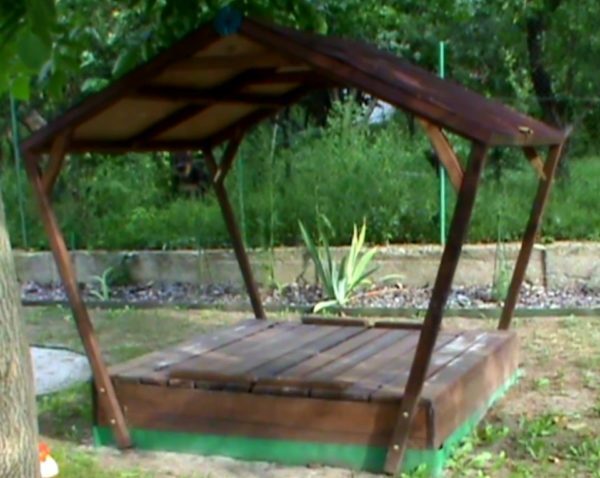
Canopy on four pillars
The most practical is the sandbox with a canopy on four pillars. In this case, the roof protects the sand from rain and even allows children to be under it when it rains. In this case, the support does not interfere with play in the sand.
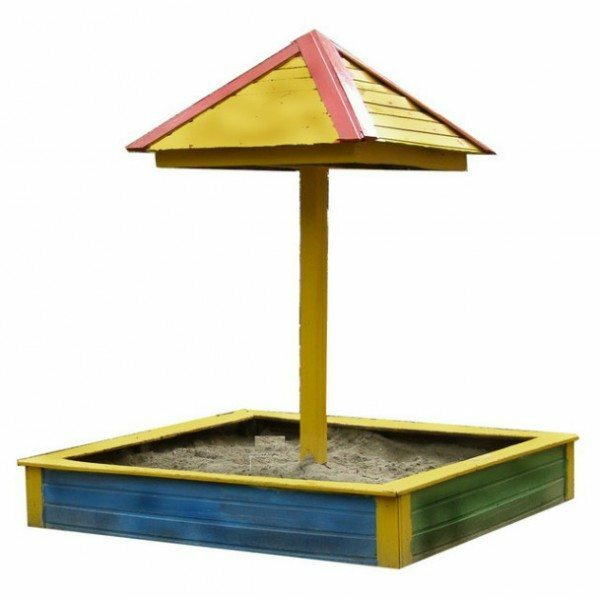
Canopy of the "fungus" creates shade and protects from the sun
A simpler option - a roof on the same support, the so-called fungus. The disadvantage of this design is that the support is located in the center of the sandbox prevents play in the sand. In addition, the roof protects herself from the sun, but is unable to fully protect from the rain.
However, the most simple variant - an open sandbox. Thus it is possible for her to do the cover to the sand is protected from rain and animals.
- Design. Structure can be painted and decorated in every way that she loved the child and served as area decoration. In terms of design you can implement absolutely any of your creative ideas;
You can install a sandbox under a tree. In this case, you do not need tinkering roof to provide shade. The only thing you can not install the structure of fruit trees as the fruit will fall into the sandbox, and above them are swarming wasps.
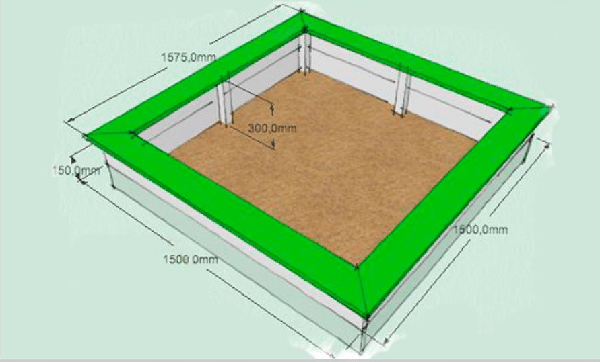
The project must contain all of the dimensions and design of the main parts
Determined with all these features of the sandbox, you need to draw the design on the paper chart. This can be done even by hand, the main thing - to specify the size and basic design details. This will simplify work and avoid errors.
Step 2: production of ducts
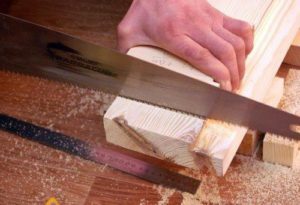
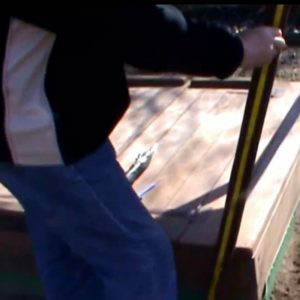
First of all you need to do box sandbox. Work is carried out as follows:
| illustrations | Description of action |
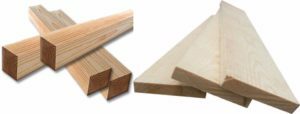 |
materials:
In addition, the screws need to connect all the parts. It is desirable that they were stainless steel. |
 |
Preparation details:
Feet necessarily treat antiseptic-impregnated wood. |
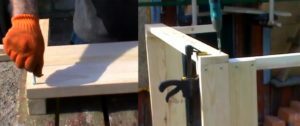 |
construction assembly:
|
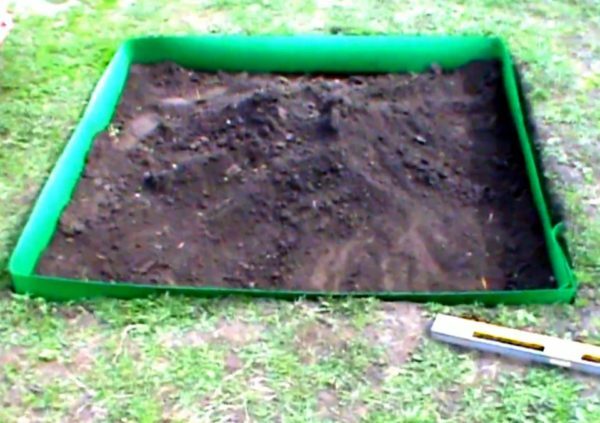
Before installation, you must prepare the site sandbox
To the sand from the ground is not crawling worms and all sorts of insects, the bottom of the sandbox, it is desirable to lay a film.
In this simple sandbox is almost ready. Now we need to prepare the ground and to dig feet.
Step 3: production overhang
Now you can make a canopy. For example, consider how to make the canopy on four pillars:
| illustrations | Description of action |
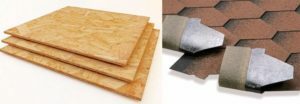 |
materials:
|
 |
Mounting pillars:
|
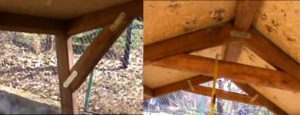 |
Assembling the roof structure:
|
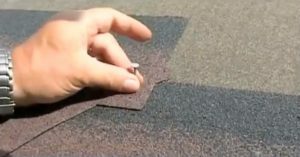 |
Mounting of roof covering. Fix the roofing assembly as in a conventional roof. |
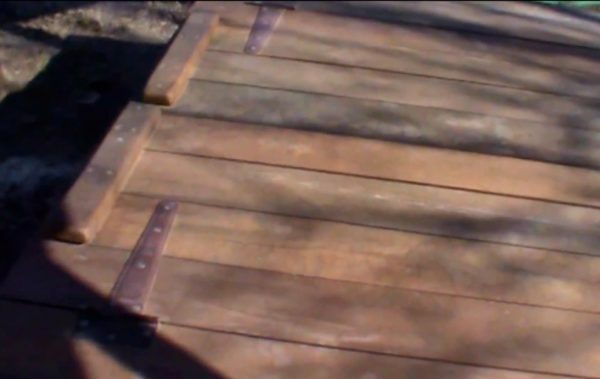
Sandbox with a lid to protect the sand from rain and animals
In this manufacturing process is completed the sandbox. The only thing you can do additional protection from animals and sand deposits.
To do this, on the sandbox two swing open door. Fix them you can with conventional door canopies. To make the door panels, you need to knock down a few boards.
Step 4: finishing sandbox
The final stage - finishing the construction. Since children's sandboxes wood must first be safe, you need to carefully polish the surface of wooden parts.
Be particularly careful to grind walls and all corners of the sandbox. In addition, carefully check the box that the surface was not protruding edges of nails or screws. This will eliminate the possibility to get hurt or get a splinter.
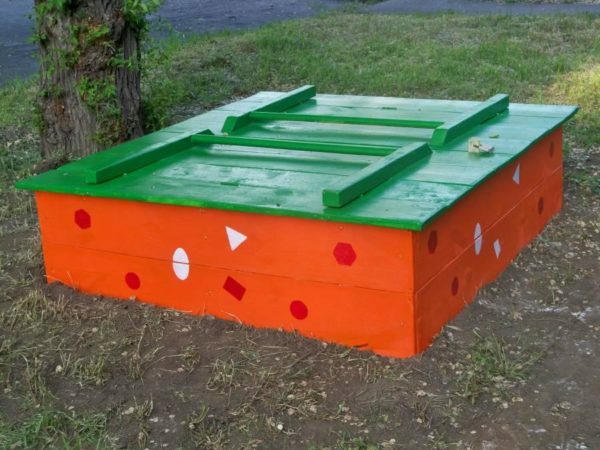
Sandbox can be painted in various bright colors
After this structure is necessary to paint or lacquering. I recommend to use for this purpose water-dispersion paints. The price of these coatings is higher than, for example, in oil paints, but they are eco-friendly, besides dry quickly.
Water soluble compounds are applied using conventional roller or brush. The only coating is desirably applied in 2-3 layers, since such dyes have a low hiding power.
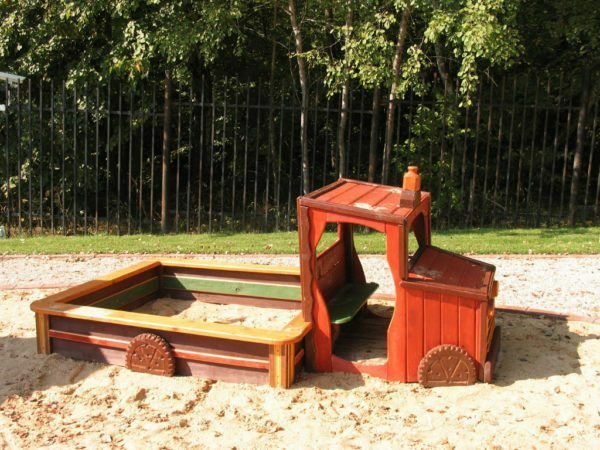
This machine will bring a lot of joy to the kid and decorate site
I must say that in the process of finishing the sandbox can not only color, but also to decorate. For example, it can be made into a truck. To do this, however, will have to attach to her cabin.
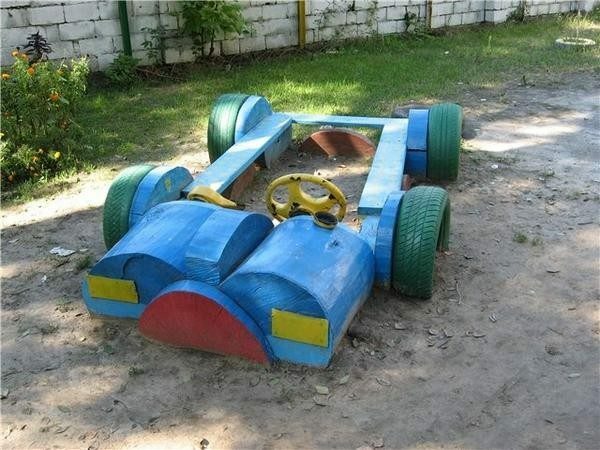
EXAMPLE decorating materials at hand sandbox
It is possible to realize a simpler variant - decorate construction materials at hand, for example, as shown in the above photo. For the manufacture of such a machine will need car ramps, multiple decks and a pair of wooden round timber.
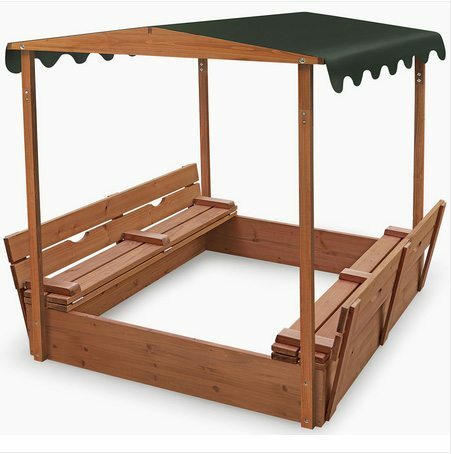
Folding-door shops allow you to turn the arbor sandbox
If the sandbox is shed, it can be made into a gazebo. Help in the folding-door shops.
Here, actually, and all the information about the construction of the sandbox.
Output
Now you know how self-made children's sandpit with his hands. Additionally, check out the video in this article. If some points are not clear - write comments and I will gladly answer.
