Step by step instructions for the construction of pergolas
Table of contents
-
1 The working process
- 1.1 materials
- 1.2 Tool
- 1.3 The working process
- 2 Output
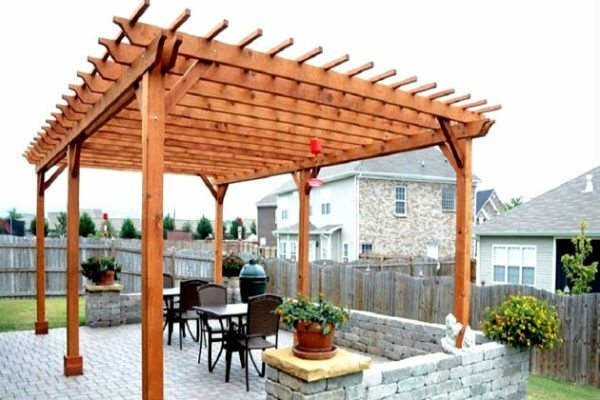
With pergolas can be equipped with a comfortable seating area
You need to build a structure to accommodate the climbing plants and construction of recreational areas? Today I will reveal in detail the process of building a pergola of wood. Using my recommendations, you will be able to carry out work on their own.
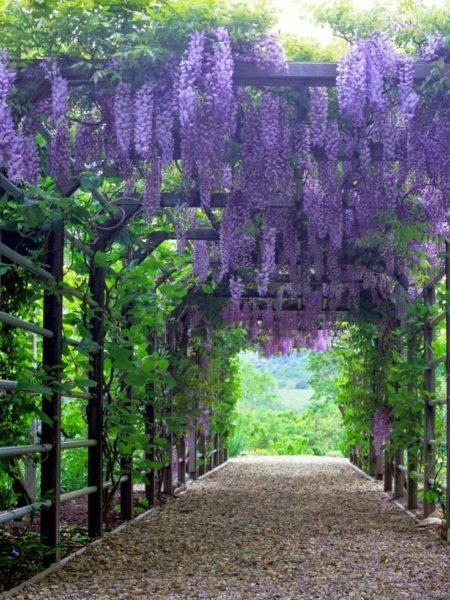
Pergolas can be used as a base for flowers, vines and other climbing plants
The working process
To begin with we shall understand that we will build. Pergolas can be connected in the form of arches or have a straight design. In our case it will use the second option - it is much easier to implement.
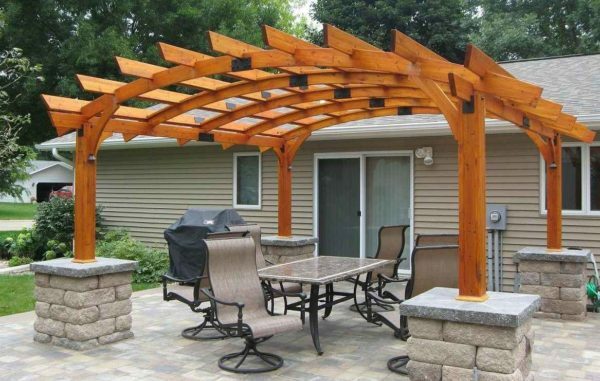
Arched pergolas more difficult to implement than direct
The main material used is wood, because it is easy to handle and can be bought in any city. The metal structure is more difficult to install as it is necessary to have the skills of welding.
materials
For the construction of pergolas need the following:
| Illustration | Description |
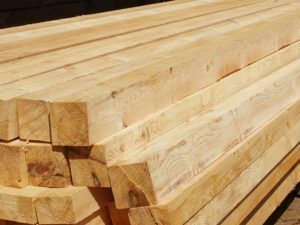 |
Beam 100x100 mm. Used for the construction of towers. You can take a large size options, the main thing - that they are durable and smooth. For pergolas need 4 support. Choose a dry material from the ground The height should be at least 250 cm. |
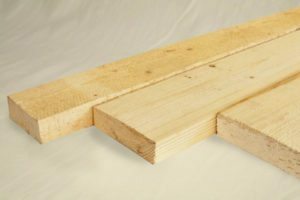 |
Board 40 mm. From it will be made all the jumpers, usually in construction takes about 20 pieces, length depends on the size of future pergolas. The most commonly used pine wood, but you can choose a more solid rock - a larch, cedar, etc. |
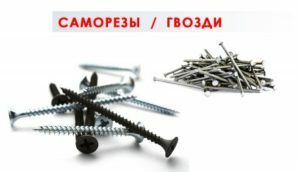 |
fasteners. To assemble the structure, you can use nails or screws. First Embodiment cheaper second reliable. If the support pillars are fastened to the concrete, the need further dowel 10 mm diameter nails or anchor bolts. |
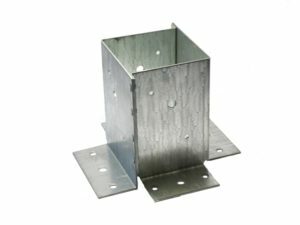 |
Attachments for posts. They may have a different configuration. The photo shows a variant, which is fixed to the screed, but there are sites that are cast in concrete. It all depends on the chosen method of attachment. Choosing a support, first of all, consider the size of the pillars - on them and selected data elements . |
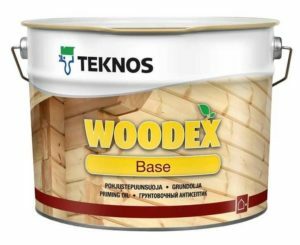 |
Antiseptic for wood. In order to protect wood from pests and adverse effects of moisture, the surface is treated with a special compound. Choose nevymyvaemye options with decorative effect, which give the surface a certain shade and highlight the natural beauty of wood. |
Tool
To build a pergola with your hands, you need to have a set of tools:
- Hammer. Required if you use nails or dowels quick installation;
- screwdriver. Used for tightening screws. Included nozzle should be appropriate configuration. It is better to buy them a few pieces, as if they actively work wear;
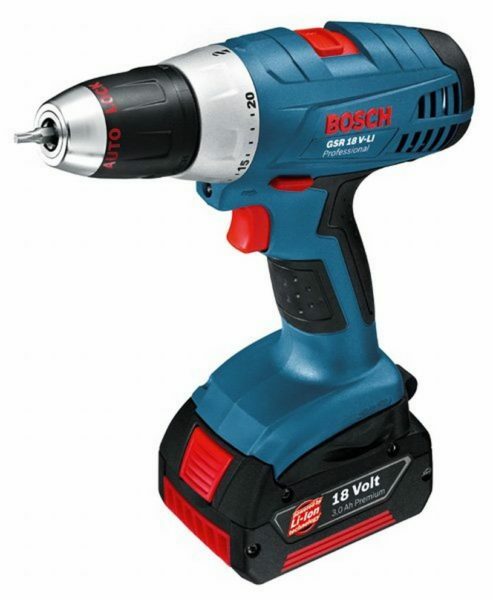
Screwdriver - an important tool when working with a screwdriver to tighten the screws in hard wood
- Building level. Even better to have two levels, as it is necessary to constantly monitor the position of the elements;
- clamps. With their help, you can clearly capture design elements before they are mounted and work even without assistants. If you have 1-2 helpers who will assist in the installation, you can do without clamps;
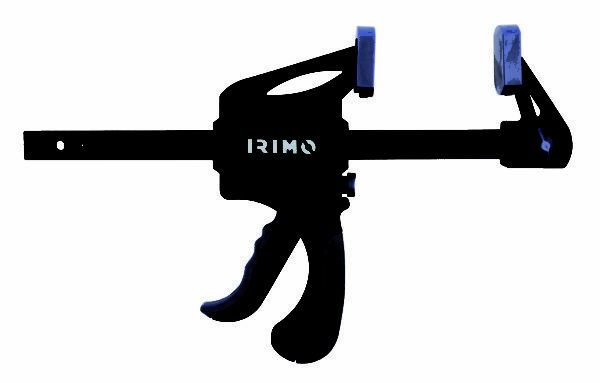
Clamp greatly simplifies workflow fixing board in the desired position
- Tape measure, ruler, triangle and pencil;
- Jigsaws and electric saw. The first device can be done easily shaped cutouts at the ends of the elements, the second - to cut slots for fixing. You can do hand-held devices, but then you have to spend a lot of time and effort in cutting;
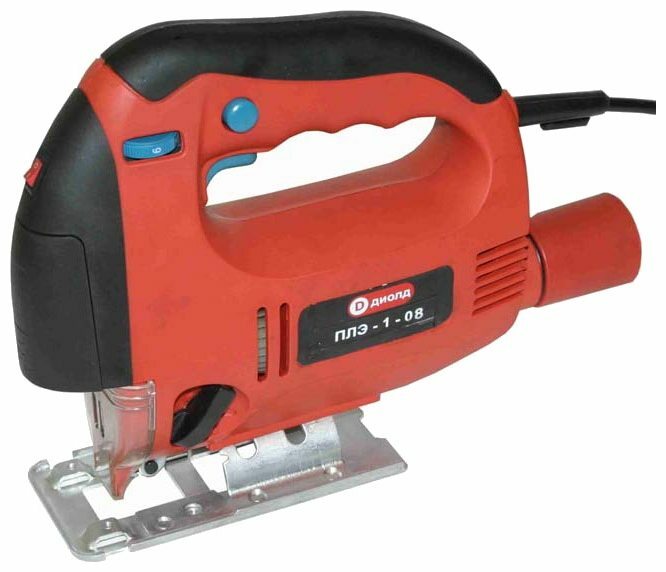
Jigsaw allows you to quickly cut the wooden elements of small height
- Brush. Need for applying a protective composition on wooden elements.
The working process
Beautiful pergola - a real decoration of landscape design. It is important to consider their location and size. You must decide in advance what will be decorated with vines design.
Most often it erect for grapes - get cozy place to relax, protected from sunlight. But you can not put plants - will separate decorative element.
We will understand how to make pergola below presents the work circuit, and under it a process is described in detail and illustrated.

Here is the diagram of the main stages of construction of pergolas
Wooden pergola is going well:
| Illustration | Description stage |
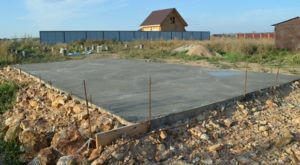 |
preparing ground. If you will be equipped with a place of rest, it is best to pour the concrete floor. If the design is to be used as a basis for the plant, it is filled with four legs under the columns at the right distance. Foundation for pergolas can do whatever you like, the main thing - to create a solid basis for the design. |
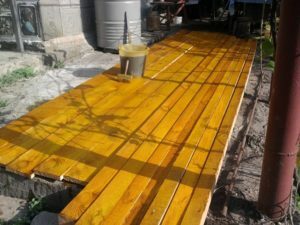 |
wood treated. Antiseptic applied on all sides, it is better to repeat the process at least twice. Use high-quality formulations, their price is higher, but they serve and at times longer. You can find a suitable container or dig a hole and lay it with polyethylene. There poured antiseptic, and elements of the dipped - so they soaked even better. |
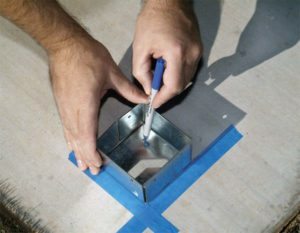 |
Partitioning the space supports mounting. They are located in the right places and a marker or pencil marked points drill holes for dowels. It is important to do everything exactly to place items on the same line. Drilling hammer and drill is made of appropriate diameter and length. |
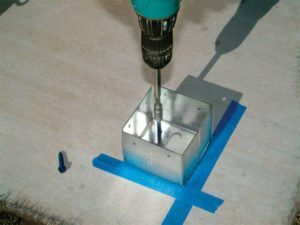 |
Fastened to poles. Screws into dowels can twist screwdriver, but you can score a hammer. Anchor wrapped wrench or screwdriver, everything depends on the mounting configuration. |
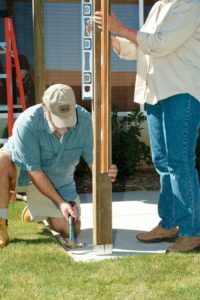 |
installed poles. Work done as follows:
The reliability of the fastening depends on the strength of a pergola, remember this. |
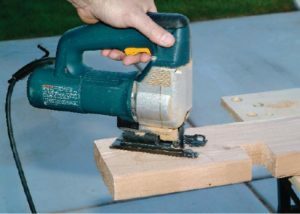 |
edge stabbed. Beauty ends are made in the shape of a semicircle. To do this, first on the board layout is then performed using a sawing jigsaw. To obtain the same ends of all pre-fabricate pattern of paperboard and produce markings thereon . |
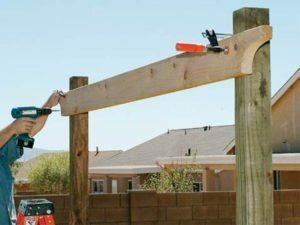 |
Fastens the first longitudinal support. To do this, the pillars are made horizontal marks which exhibited board. It is possible to fix clamps, as in the photo, but you can attract mates. To build the pergola is better to use screws - they are best kept design. |
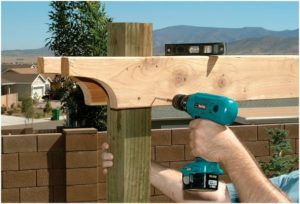 |
It is attached to the second support column side. To the elements on the same level, use a level to check. This embodiment provides a high stiffness pergolas and enhances the appearance of the structure. Each connection is fastened by at least three screws. |
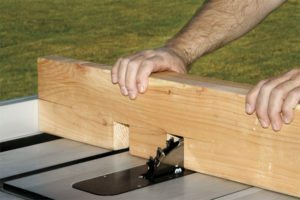 |
On the crossbeams are made under the dual slot support. You must clearly mark the element and make it notch depth of 70-100 mm. Work is easiest to carry out a small circular saw. |
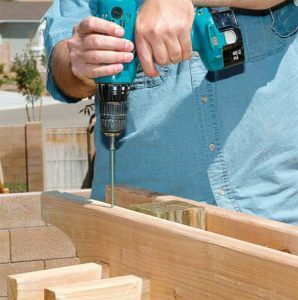 |
Cross member bolted on top. This ensures the best tightness. It is important to securely fasten all the elements of pergolas - wooden parts should be securely tightened to each other. |
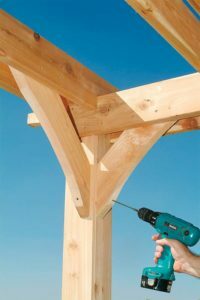 |
Cut and bolted diagonals. Beauty pergolas can be made on them cuts, but it is possible to set and straight elements. |
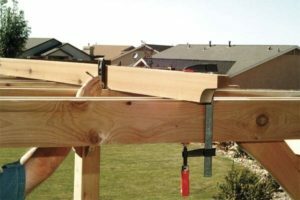 |
Upper members are marked. Pergolas amplify another jumper next to them can take the board narrower. |
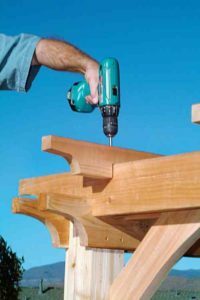 |
The upper elements are screwed pergolas. And in this case, the screws are better placed on top. The result is a structure as in the photo - three rows of planks, a classic pergola. |
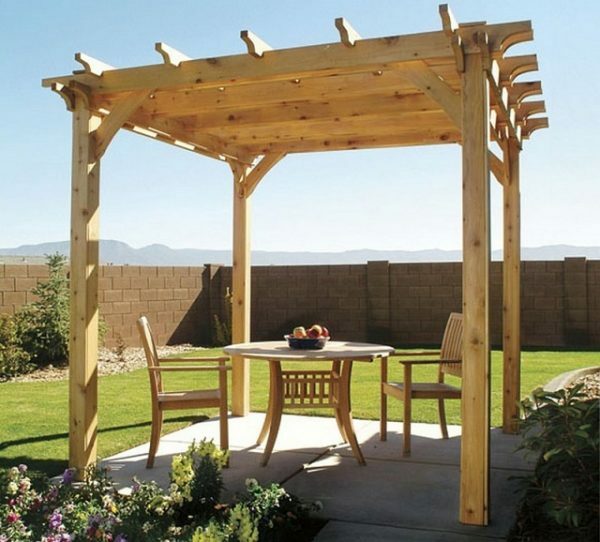
Here's a turned pergola - a wooden structure will stand for many years if periodically update a protective impregnation
Output
You will learn all about the process of construction of pergolas and will be able to carry out works and unaided. Videos in this article will help to understand the issue better, and if you do not understand something - ask in the comments.
