Polished marble: how to get a perfectly smooth surface in 3 steps
Table of contents
- 1 Fundamentals of the polishing process
-
2 What you need to do the job
- 2.1 Tools for care of stone
- 2.2 Materials used
-
3 Process polishing stone
- 3.1 Step 1. Prepare the floor for polishing
- 3.2 Step 2. Grinding marble surfaces
- 3.3 Step 3. Polishing and crystallization
- 4 conclusion
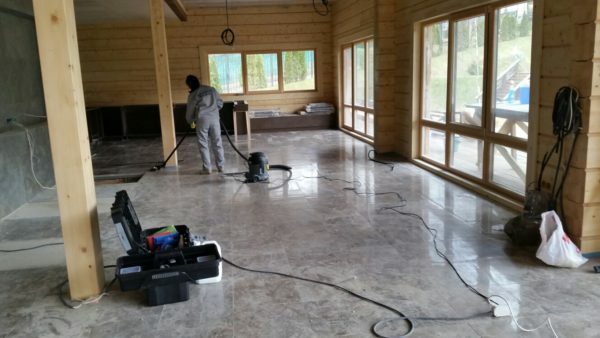
Stone floor, despite its strength, also requires care - the only way he will look perfect!
Grinding and polishing of marble may be needed during the restoration a variety of surfaces. Still, marble - a material soft enough, and so over time it is necessary to restore the shine. I will tell you that it will take to solve this problem, and by the example of the marble floors show how to perform basic operations.
Fundamentals of the polishing process
One of the features of stone surfaces - marble, granite, etc... - it is easy to clean. These materials are strong enough to damage because of their more complex than wood or plastic.
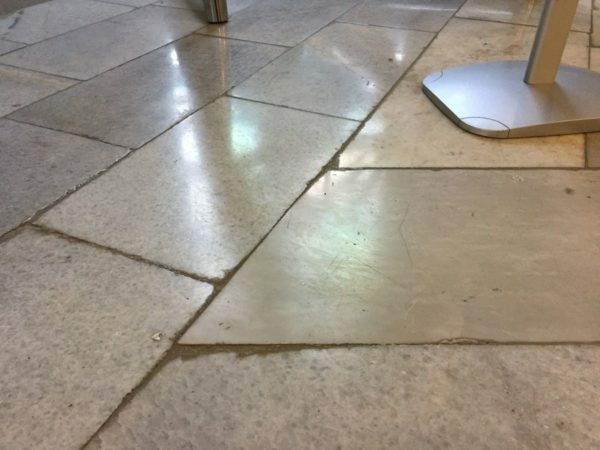
Worn floor needs attention - otherwise destruction will increase
But it must not be forgotten that the marble - a material porous, and density, it is inferior to other minerals. On the one hand, it makes it easier to process, but on the other hand - significantly reduces the service life of surfaces. That is why over time the appearance and marble floor and countertops, window sills and significantly deteriorates.
The only way to regain the beauty - is grinding marble with subsequent polishing. This procedure is labor intensive, and involves the following stages:
- Training. Before sanding and polishing the stone surface, all its defects must be eliminated. This means that we need to remove dust material, to repair all cracks, perform unravel and grouting.
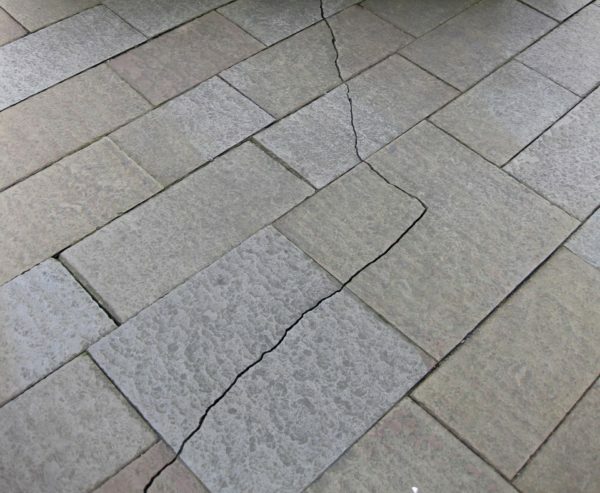
Cracks, such as in this photo, you must carefully repaired, and only then start polishing
- multiple grindingIn which process thin layers of material are removed with a marble surface. Most often polished in three steps, first performing rough alignment, followed by finishing in the end - finishing. When grinding using strong abrasives with different grain size that allows to adjust the thickness of the removed layer.
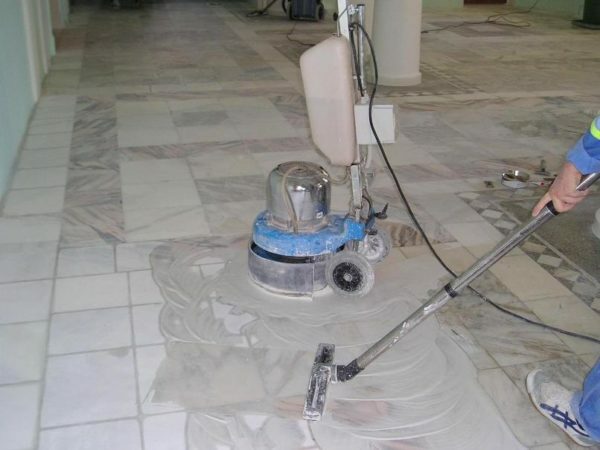
First, the stone is polished with abrasives - this can eliminate the surface defects
- polish. In contrast to grinding, is performed not using abrasives, as with the use of liquid and pasty formulations. Polished marble floors, stairs, countertops and window sill not only makes them shine, but also increases their life. This is achieved by filling the pores in the material polishing agents: they penetrate into the marble column and prevent its destruction.
And when grinding, and polishing do not use aggressive cleaning agents and other chemicals containing acid. The whole point is that the basis of marble - it is calcite, which is rapidly destroyed by reaction with acid.
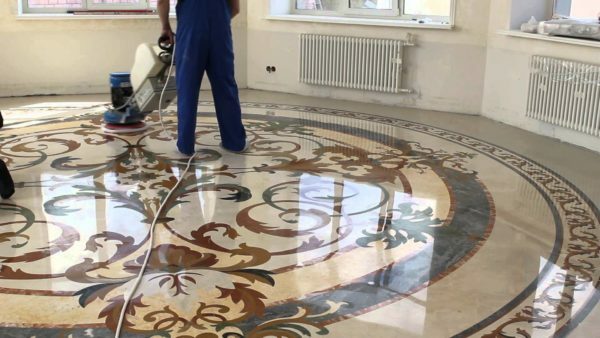
To get a perfectly smooth polished marble, it is treated with soft circles with the addition of the mold
- Finishing. Sometimes after polishing (or parallel to it - it depends on the initial surface condition) perform crystallization. When this material is treated with weakly acidic compositions, which are first partially dissolved topsheet marble, and then contribute to strengthen it.
Briefly summarized, the polishing with polishing and finishing of marble and granite allows you to achieve these results:
- eliminate coating defects;
- operation to remove traces of (wear, damage);
- add luster to the surface;
- protect the material that reduces the level of wear in the future.
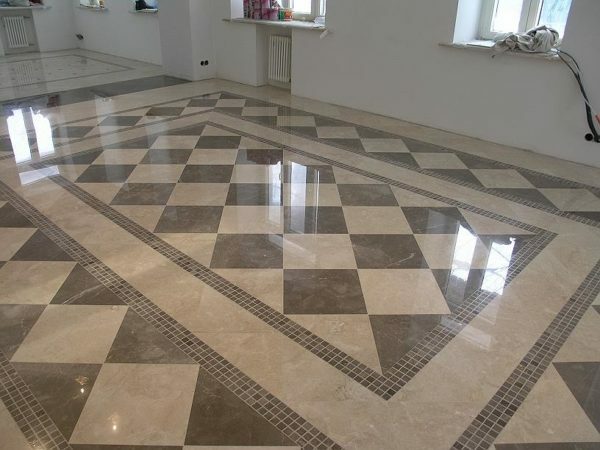
The result of this should be approximately
What you need to do the job
Tools for care of stone
If the appropriateness of care you are sure - let's look at how polished marble in the home. This task is difficult enough, the amount of work depends on the surface to be treated.
If the surface is not uniform, and includes fragments from different materials, the labor costs will increase even more.
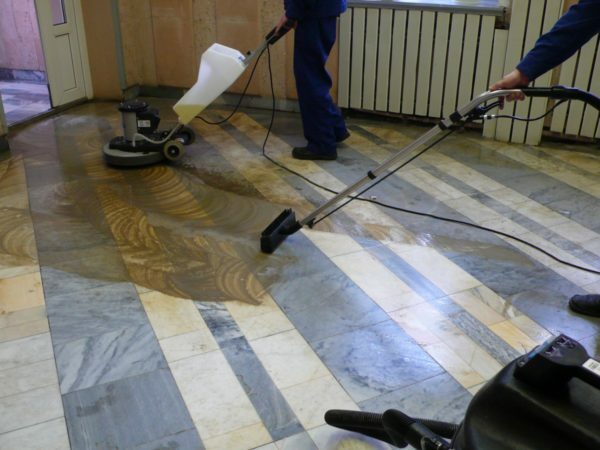
you need to use special equipment for high-quality polishing of large areas - the only way the result will be acceptable
A small piece of stone or marble insert and can be sanded with sandpaper. But for large-scale work, it is desirable to have on hand special equipment for polishing marble. His usually rent rather than buy - such machines are expensive, and use them very often.
To care for the surfaces of natural stone, we will need:
| Illustration | Tool |
 |
Grinder machine. For primary use or planetary disc grinding machines. They allow to process a large area, uniformly removing the thin layer of material. |
 |
Polishing machine. You can use a sanding unit, replacing her drive, you can take a dedicated device. |
 |
Hand grinder (Bulgarian). The main instrument is suitable only when we have to treat a relatively small area (sill or countertop). When polishing floors or stairs used for finishing individual sections and for the seams. |
|
A vacuum cleaner. Grinding of marble with your hands results in a large amount of dust. Even if we grind and polish the surface of the water, you need marbles will be cleaned regularly. It is best to cope with this high-quality building cleaner. | |
 |
Hand tool:
|
 |
Gloss meter. A special device that allows you to evaluate the quality of the stone polishing. |
Materials used
Technology polishing marble surfaces involves the use of various consumable materials.
The most popular consumables:
| Illustration | Material |
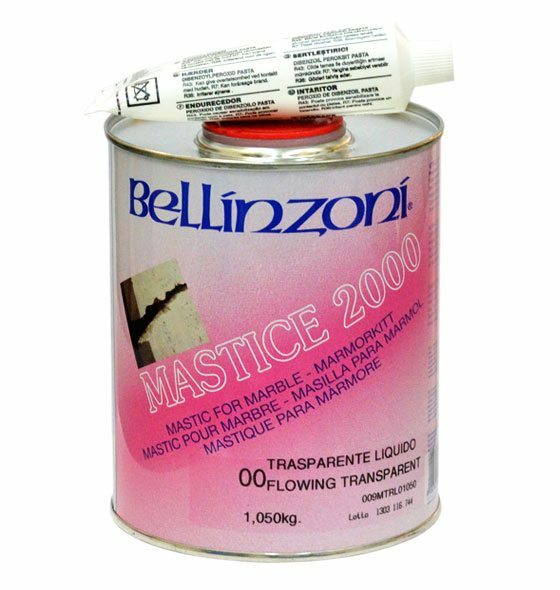 |
Two-component adhesive for stone. It is used for caulking, crevices and cracks. Usually mixed with pigments to obtain natural coloring. |
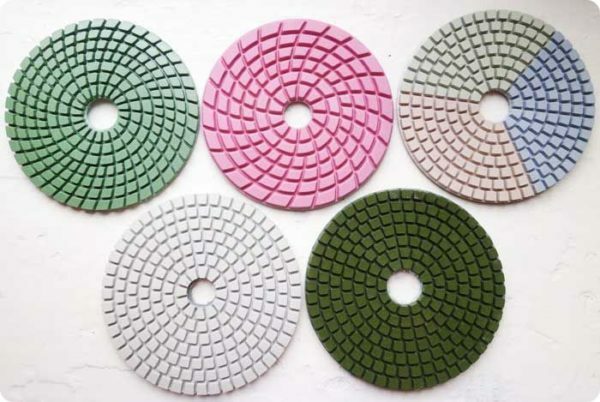 |
Abrasive Grinding machines. Use abrasives with different grain sizes - from very coarse grinding to final finishing. disk heads Price ( "bug") - from 350 to 1200 rubles, depending on the diameter and quality, but this is exactly the case when it is not worth saving. |
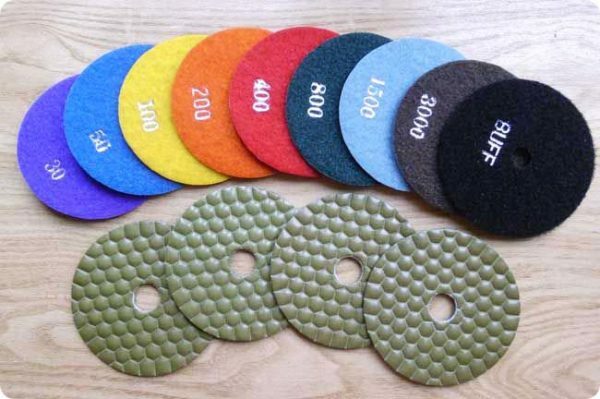 |
Polishing wheels for marble. Apply nozzles made of felt, felt or similar material. |
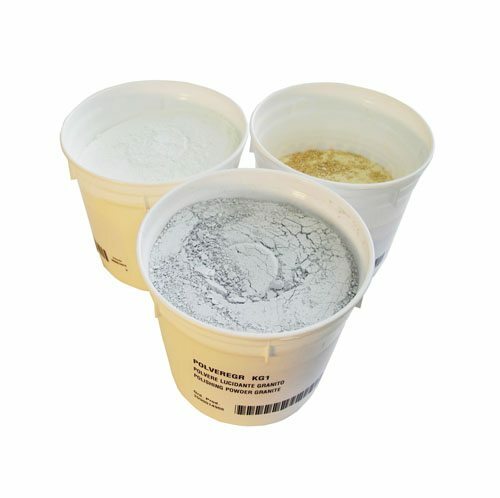 |
Powdered abrasives. |
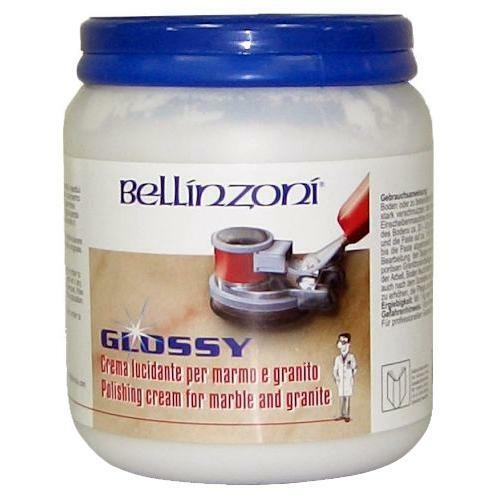 |
Polishing paste for marble. |
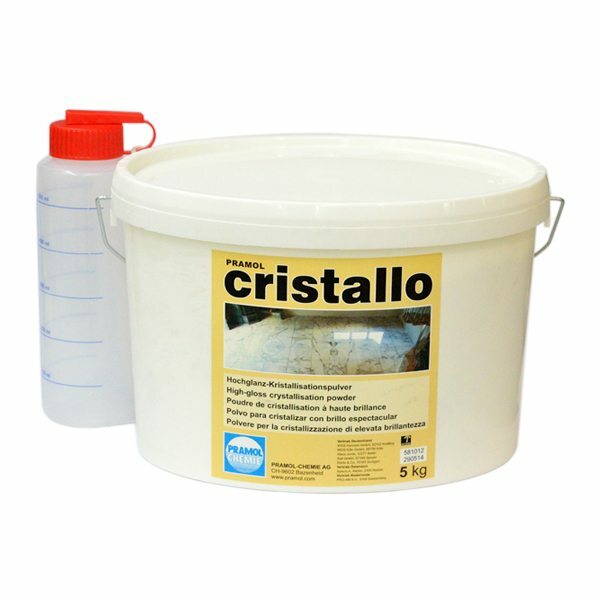 |
Crystallizer for finishing. |
Process polishing stone
Step 1. Prepare the floor for polishing
Before you polish the marble, it is necessary to prepare for processing. Typically, for floors in good condition sufficiently thorough cleaning of the vacuum cleaner to remove debris from the joints and subsequent washing.
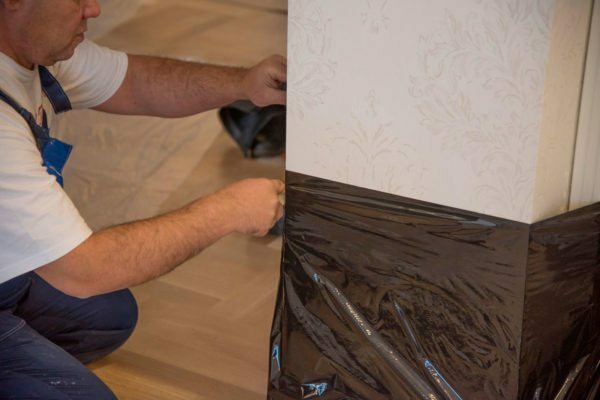
The lower parts of walls to protect against pollution
If the floor tiles are damaged or partly formed therebetween large gap it is necessary to perform the sealing of the bicomponent glue.
| Illustration | stage work |
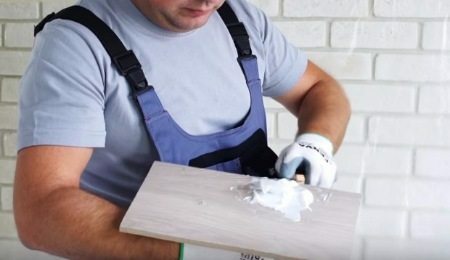 |
Prepare repair structure. The composition to be used for sealing cracks and repair chips may be single or two-component. In the first case, simply mix the material and type grater small amount. In the second - mix base and hardener and get gradually polymerizing mass. Do it with a reserve is not necessary - it hardens on air, and maintain it, you can not. |
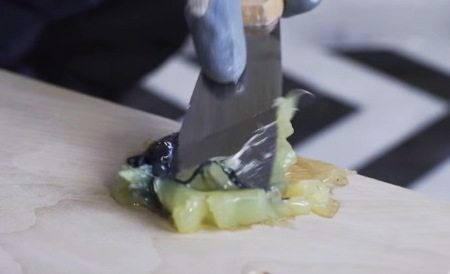 |
Coloring glue. When terminating defects colored marble in the adhesive composition add Kohler component. Thoroughly mix the mass with a spatula until then, until you get the desired shade of the adhesive. |
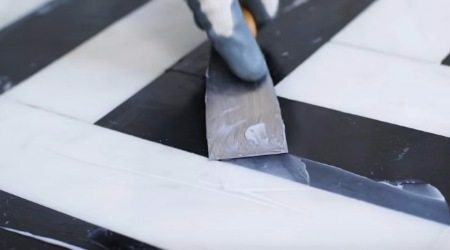 |
Embedding the seams between the marble tiles. Using a metal spatula, embedded gap between the floor tiles. Also fill the adhesive composition of cracks, potholes and other defects. |
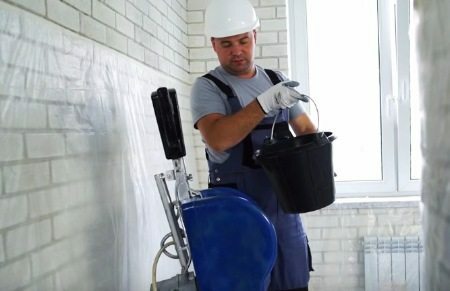 |
Preparation of premises and equipment. Until the adhesive polymerizes, preparing premises, okleivaya walls with plastic wrap. In the grinding machine set starting abrasive elements for primary (most rough) polishing. The container fill clean water. |
Step 2. Grinding marble surfaces
After that, the floor can be sanded. Processing is performed as follows:
| Illustration | stage work |
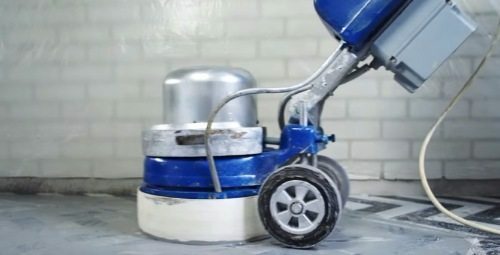 |
Primary grinding with water. Using diamond nozzles perform primary polishing of marble surfaces. To improve efficiency and reduce the amount of dust is required to use a water cooling. |
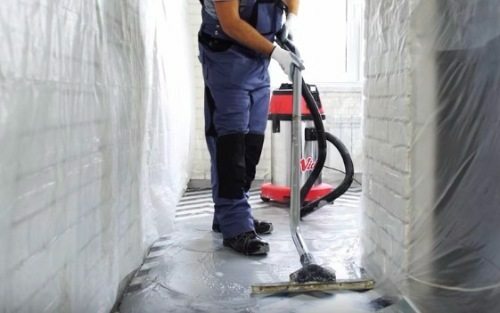 |
Purification surface. In the roughing process on the surface of marble, a sufficiently thick layer of the wet mixture of abrasive residues and marble dust. Before the next step it is desirable to remove by an industrial vacuum cleaner. |
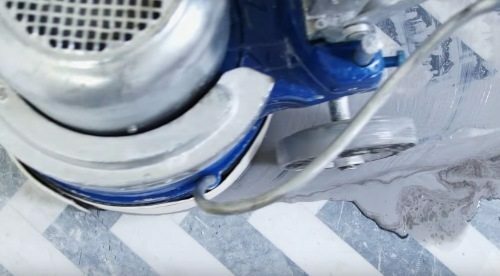 |
Fine grinding. Changing the nozzle to the grinding machine and repeat the processing surface. At this time, a thin layer of marble removed material. |
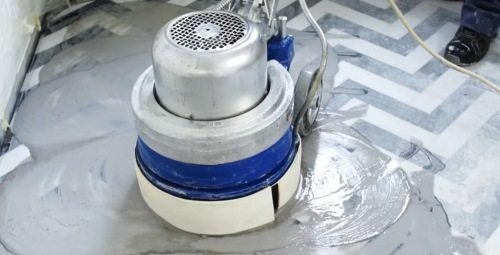 |
Lapping surface. Set nozzle with an even smaller grain size and then process the entire surface. When fine-tuning the water flow will be minimal, as the dust generated quite a bit. |
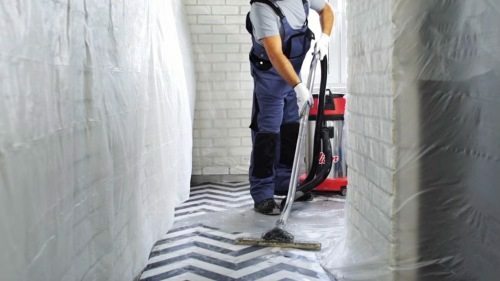 |
Final cleaning. carefully remove residual grit and dust mixture with water before the finishing processing. It must be done in order to avoid damaging the polishing has ground areas. |
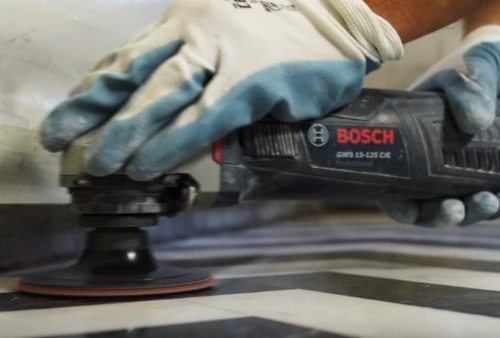 |
Doshlifovka hand tools. On hand sander set the disc with the fine grain. Carefully treat those areas that are difficult to qualitatively sanded great tool - joints of walls and floors, corners, angles, etc... |
Step 3. Polishing and crystallization
Next you need to polish the leveled surface. The table provides the user with a floor polishing mold:
| Illustration | stage work |
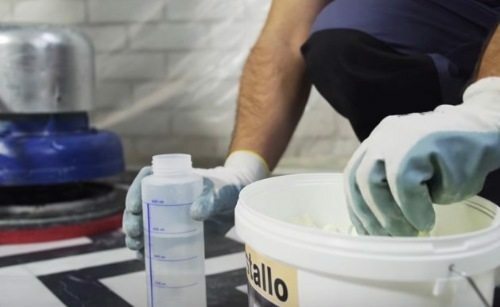 |
Preparation of the mold. Using the container-dispenser, diluted with dry powder of the mold in the desired proportions. Thoroughly mix composition until homogeneous. |
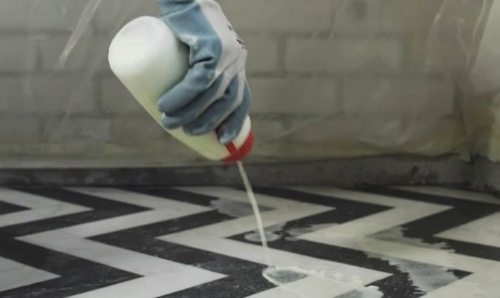 |
Application of mold on the surface. Using either the dispenser or sprayer, causes the mold to the surface of marble. The reaction time depends on the type of the mold, because before starting study the instructions is desirable. |
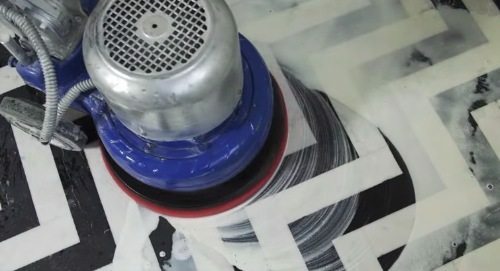 |
Wet polishing. Using the polishing disk handle marble surface for maximum efficiency of the reaction mold. This typically requires 10 to 15 passes. |
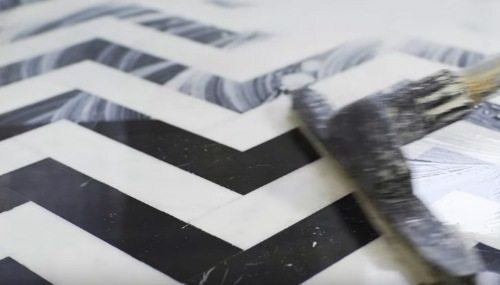 |
Removing mold residue. Residues fluid and abrasive particles remove the marble using building cleaner. |
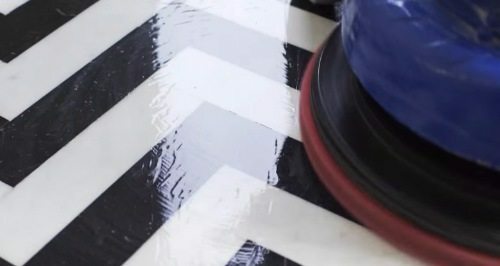 |
The final polishing. Perform final polishing felt or a felt circle. When the polishing surface can be wetted with pure water or to use a special paste wax / silicone based. polishing quality check belskomerom. |
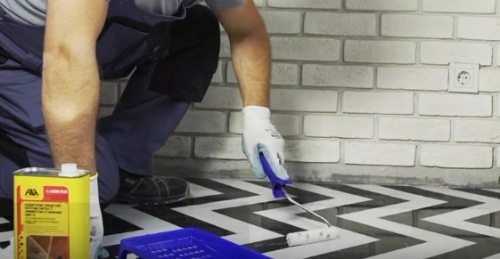 |
Application of the protective coating. Protective lacquer for a marble floor poured into a tray and put on the entire surface using a roller. Spraying is carried out in two or three layers. |
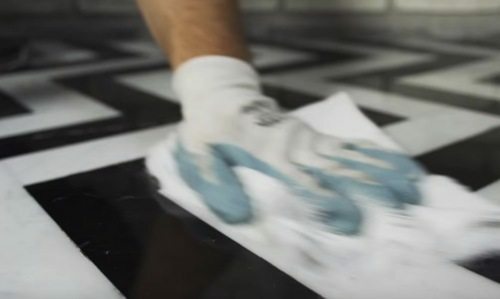 |
Wiping cloth. After the polymerization, the upper lacquer layer take a soft cloth and rub the entire treated surface to impart gloss characteristic. |
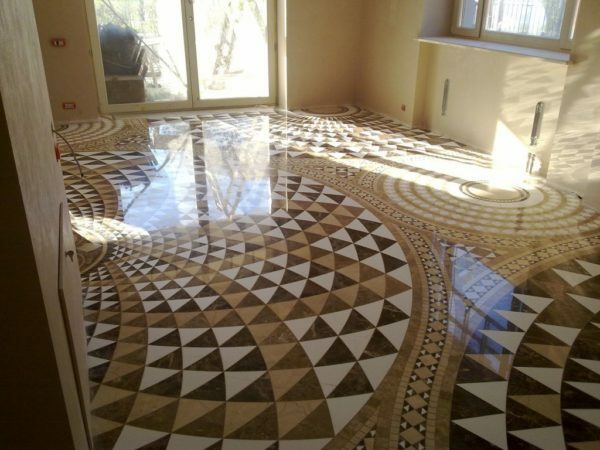
So it should look like the surface after polishing
conclusion
I described in detail how to polish the marble in the home. In the choice of consumables and the very procedure of the processing will help you better understand the video in this article. In addition, in the comments, you can always get good advice!
