Headroom for wells: 3 main types, construction and installation technology
Table of contents
-
1 The basic design element top of the well
- 1.1 Why is this detail?
- 1.2 Types and headroom design
- 2 Self-assembly of end walls
- 3 conclusion
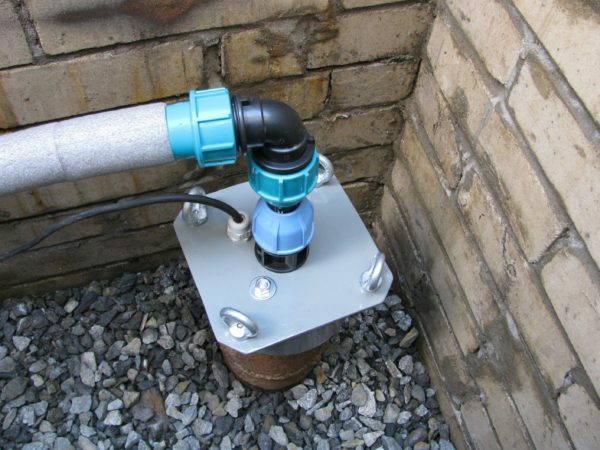
So that the water did not get contamination, and the pump was working as efficiently as possible - on the neck you want to install a special design
This item as well head to the well established with their hands quite simple: most models design well thought out. Yet at the top of the source equipment such as downhole sometimes have to tinker - especially if you do it the first time. Let's see, what's the need of the well headroom, what elements it consists of and how to fix it properly.
The basic design element top of the well
Why is this detail?
With deep bedding aquifer primary source for independent water becomes well. And to this source provides a stable supply of water (and even necessary quality), it should be equipped properly.
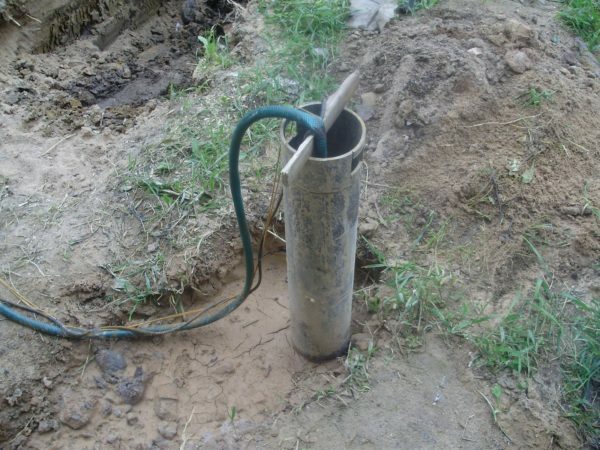
Here is the unformed tube: it can get anything you want
One of the major components influencing the efficiency of the entire system - the well headroom. This robust sealed cover, which is attached to the upper edge of the casing.
Headroom to well perform a variety of functions:
- Sealing source. Installation tip allows overlap wellhead protecting the aquifer and from contamination and from moisture. This is especially true during the autumn rains and the spring thaw.
- Formation of an optimum microclimate. Hermetically closing the pipe, we reduce the heat loss in the cold season. Due to this, even close to the surface of the cable sections, the hose and cable are not frosted over, which significantly increases their reliability and durability.
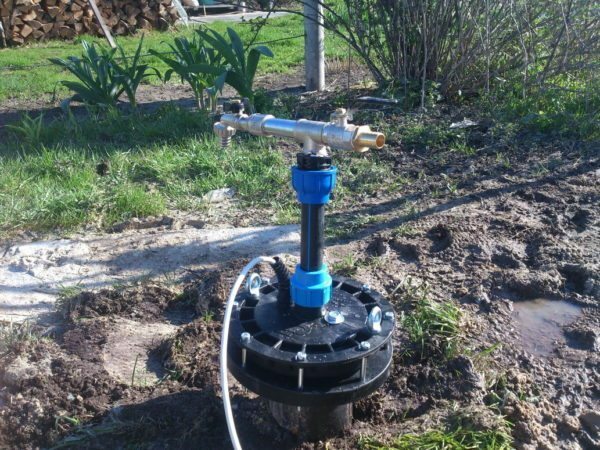
The protective structure provides the functionality of the whole system, insulating the aquifer from the external environment
- Improving the efficiency of the SPLA work. Sealing of the mouth creates tension within the casing, whereby the water is literally "sucked" from the horizon. For wells with a slight debit in dry seasons it becomes literally salvation!
- Improving the reliability of the equipment fixing. Setting the headroom at the well, we are able to fix the pump on a cable attached to the eyebolt in the cap of the device. This mount will be much stronger than the fixing of the pump means at hand.
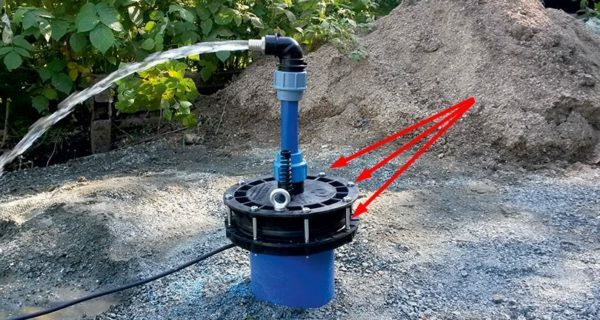
Due to the mounting by means of several bolts of the pump is protected from theft
- Protection against theft. Fixing the tip on the neck of the tube is carried out by means of bolts, which, even with a special tool to unscrew it is not so simple. Yes, when removing tip is necessary to tinker, especially with the old fixture - but virtually guaranteed an attacker will not be able to get to the downhole pump.
And when you consider that the price-quality unit starts from 6000 rubles, then this becomes a precaution is not superfluous.
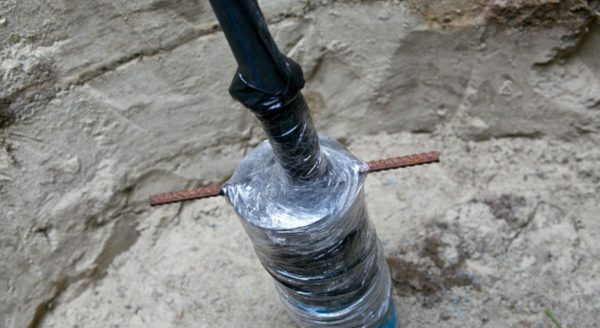
Such a method of sealing a pipe, as pictured, is cheaper, but its effectiveness is questionable
In general, the installation of wells tip - it is quite viable solution. Of course, it is possible to seal the upper edge of the casing and at a lower cost (e.g., wound with polyethylene). But this approach does not provide us with the necessary protection against ingress of groundwater and surface water, not to mention other factors.
Types and headroom design
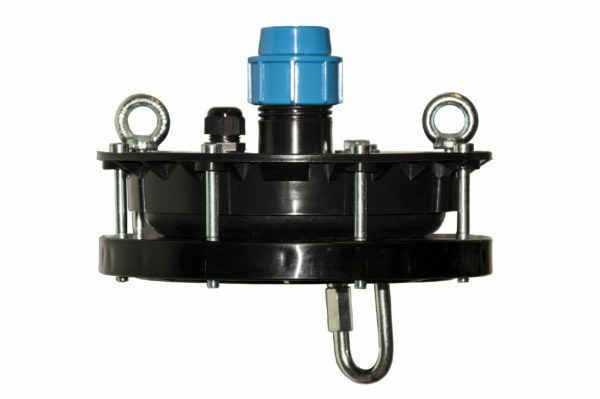
Plastic model (pictured) are designed for household wells
Installation tip starts with the selection of a suitable model. Today, manufactured products for the most common diameter of the casing, and they can be made of such materials:
| Material | Benefits | disadvantages |
| Plastic |
|
|
| Steel |
|
|
| Cast iron |
|
|
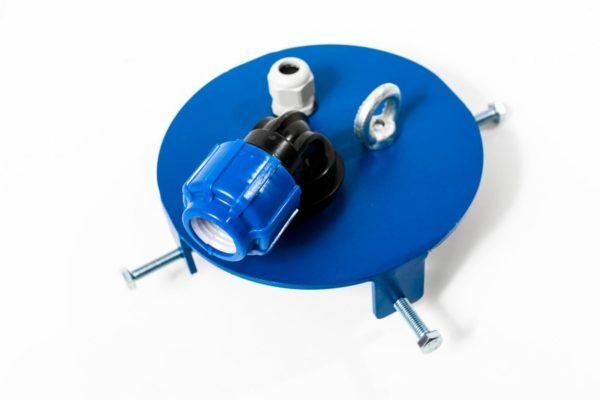
Steel models combine low weight with sufficient strength
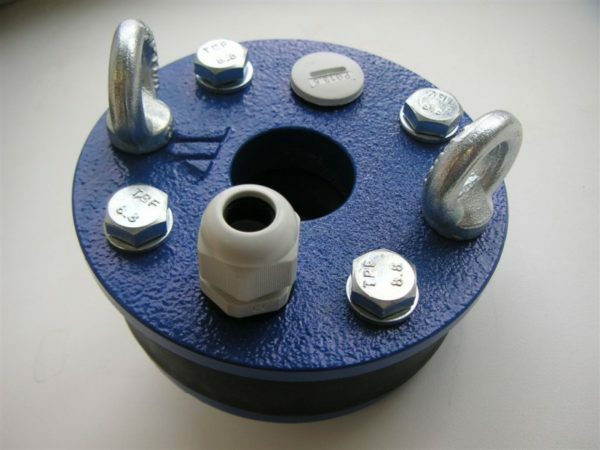
If you need maximum strength, choose a cast-iron model
By and large, you can choose any downhole well head - while respecting the role of material production technology is secondary.
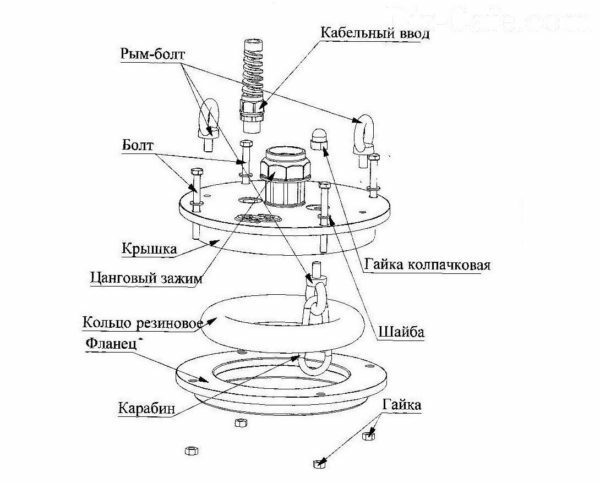
Diagram of a generic tip structure
By design, the well headroom also not too complicated. In the selection of the model should pay attention to the following elements:
- Flange - an annular part, which fits over the upper portion of the casing and used for fixing the cover. The most common diameters - from 60 to 160 mm.
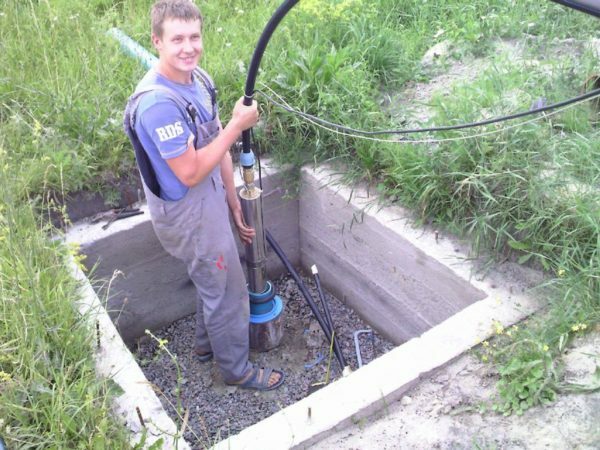
When mounting the pump on a cable with a hose is passed through the flange with the seal ring
- Sealing ring. Located between the cover and the flange, is used to seal the connection.
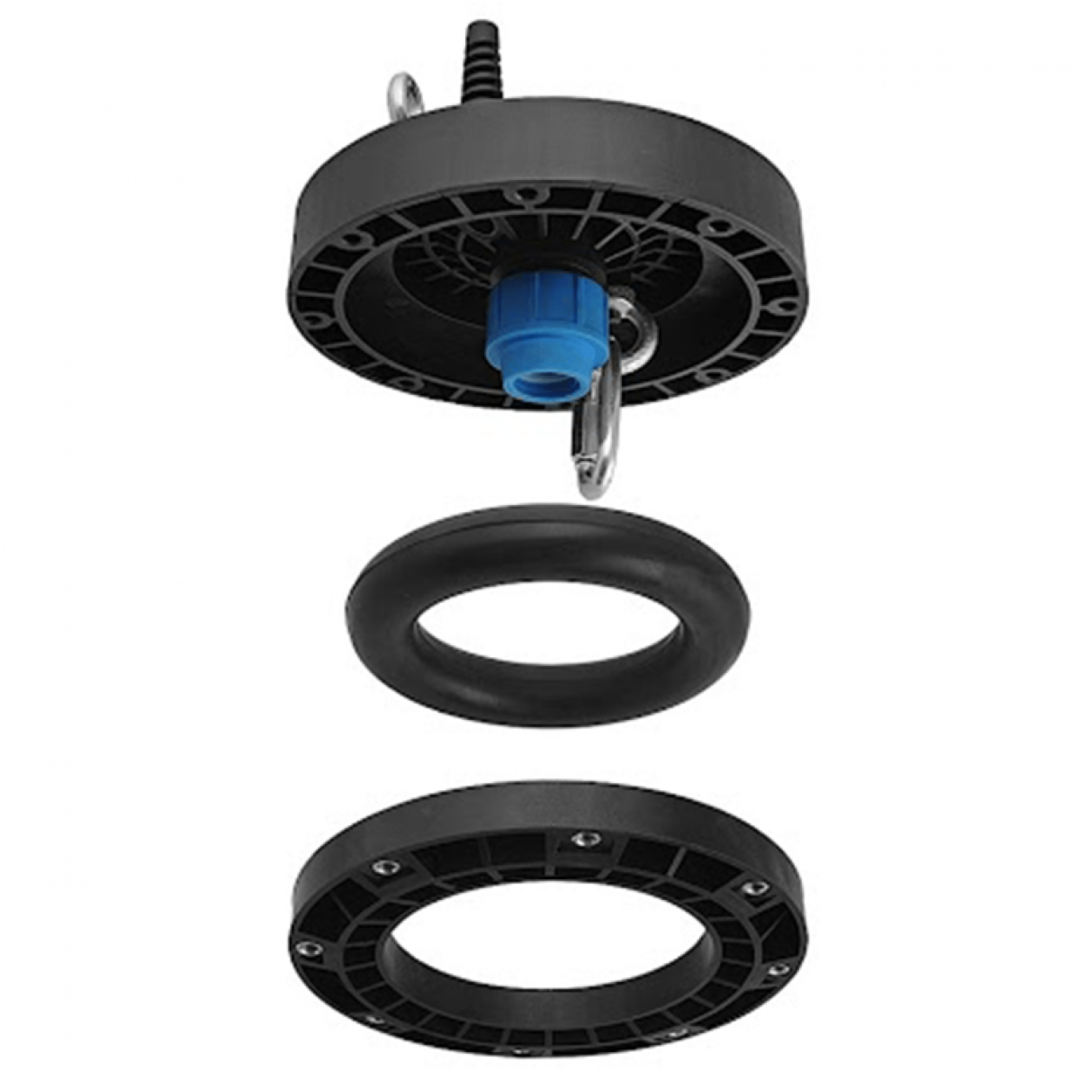
The seal provides a sealing interface between the flange ikryshkoy
- Cap. The upper part of the structure, installation is pressed against the flange via an elastic seal. Cover holes intended for the passage of the power cable and pipe / hose to the water supply. In the lower part there is a carbine bolt - to him on a rope suspended from the pump.
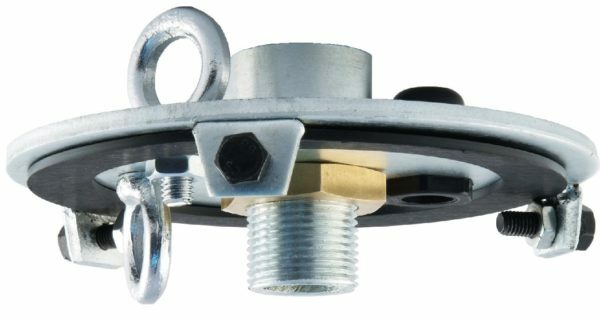
Cover with a fastening ring on the lower surface
For maximum integrity of the pipe diameter for the water must strictly match the diameter of the hole in the lid.
- fixing bolts (4 or more) - connect the lid to the flange, provide the desired clamping force.
Self-assembly of end walls
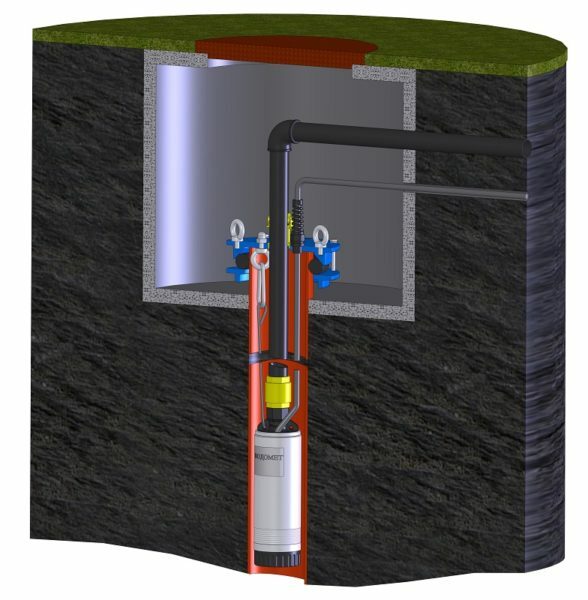
The general scheme properly installed in the caisson tip
Installation tip on the well includes a number of works in a specific sequence. Instruction in the table will allow you to understand the main points and do not miss important operations:
| Illustration | installation stage |
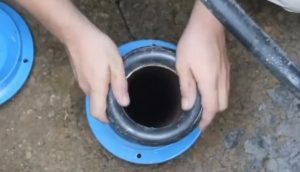 |
Start the installation. At the cut edge of the casing flange don. Seal compound by a rubber ring, with a force pulling it in the casing. |
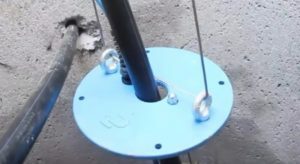 |
Preparing the cover. Through the holes in the lid miss the water supply hose and power cable. A cable of a suspended pump is first passed through the ring on the cap, and then, when it is fully metered length to fix carabiner. |
 |
Fixing hose. Set the cover on the neck of the casing, and then put on over the hose fitting. Rounded up to the fitting hole in the cover and fix it tightly pressing the gasket. |
 |
Fixing the power cable. On the power cord put on the sealing element, which is inserted into the hole of the cover. |
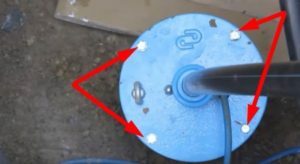 |
Securing the cover. The mounting holes insert bolts. Evenly tighten to seal the knot. |
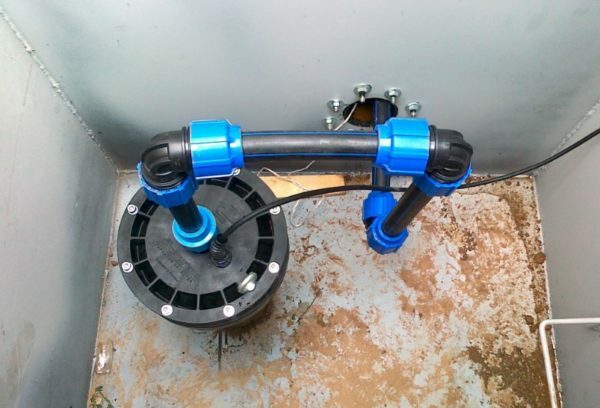
Mounted within the box structure
conclusion
headroom for a well established for such an algorithm will seal the lumen tube, protecting the source and ensuring its smooth operation. To understand the nuances of installation videos will help you in this article, as well as the advice of experienced craftsmen. You can get them by asking a question in the comments.


