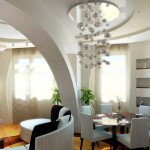
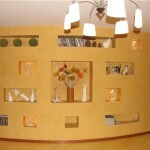
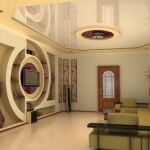
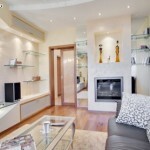
Shelves made of plasterboard with their hands (30 photos). The materials and tools. Designing, mounting frame, paneling and lighting
Table of contents
- 1 Why drywall?
- 2 We define requirements for future construction
- 3 We buy materials and tools
-
4 stages of work
- 4.1 Design
- 4.2 Mounting frame
- 4.3 plasterboard paneling
- 5 Highlighting shelves
- 6 Summarizing
- 7 Photo Gallery
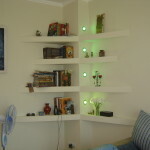
Modern apartment is hard to imagine without a comfortable, durable and beautiful at the same shelves. After all, they perform the function of not only economic, but also aesthetic. One of the best options - to make corner shelves of plasterboard with their hands.
This is quite a modern design solution. In addition to being quite functional. For information on how to implement it, tell our article.
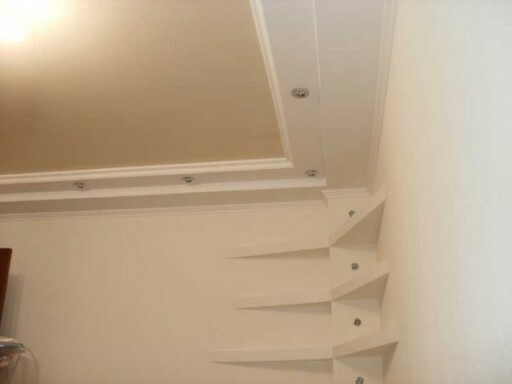
Corner shelves plasterboard
Why drywall?
Shelves can be made from a variety of materials: wood, glass, plastic. But there is one material that is perfect for this purpose. This drywall.
He has a number of advantages:
- environmentally friendly (does not contain harmful impurities);
- non-flammable;
- suitable for subsequent finishing paneling, tiles, panels;
- easy to install;
- products made of it can fit into almost any decor.
We define requirements for future construction
Before you begin construction, you need to decide what will be used by the regiment. This will help make the right decisions when designing future products.
For example, if we plan to put on the shelf heavy things, its construction should be stronger. In this case, you need to use a larger number of metal profiles. Or instead take metal corners, to which several layers of plasterboard will be attached.
If nothing hard put not planning, product design will be easier. In the case of shelves having rounded edges have to consider a method of fastening a rounded portion of the carcass. This is an order of magnitude will complicate the work.
We buy materials and tools
For work, we need:
- drywall (for a small shelf and enough scraps left over from the ceiling trim or septa devices);
- metal profiles (guides);
- screws for metal;
- dowel-nails;
- Metal scissors;
- screwdriver;
- drill;
- Construction knife;
- long range;
- level;
- hacksaw with fine teeth.
stages of work
Creating a corner shelf includes several stages:
- Design
- Mounting frame
- Plasterboard paneling.
Design
The first step - drawing the future construction. Thus already at this stage it is possible to adjust dimensions in the direction of increase or decrease.
Tip! The sketch is better to do in life-size. This will allow, attaching it to the wall, to see how it will look the future product.
Plans should be simple and straightforward. About the same as in this photo:
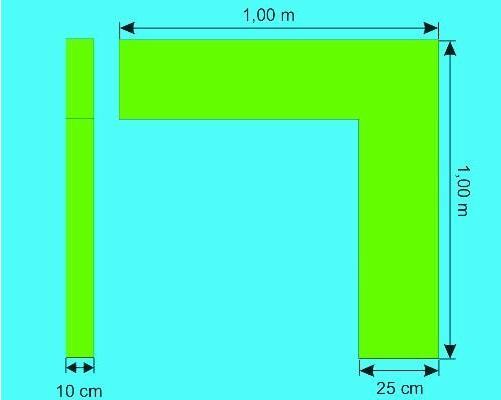
drawing a sample
In addition to making clear plan, design helps to calculate the exact amount of material required. This will avoid unnecessary spending when buying.
Mounting frame
- Assembly design start with the frame. Because it will be connected to the supporting wall, it will need to be fixed to the wall plugs.
- To do this, drill a hole in the wall with the help of appropriate drill. Should proceed to the manufacture of frame components.
- In order to realize an angular shape shelves make two pieces. Take two guides (two metal profile) desired length.
- Measured from the beginning of the profile 99 cm incision is made on both sides. Lay off another 24 cm and then make the cut on both sides.
- Through 99 and 24 cm make more cuts. Since the second guide proceed similarly.
- Take one workpiece and fasten it with the dowel to the wall. In this case, do not forget to use a level to check the levelness of attachment.
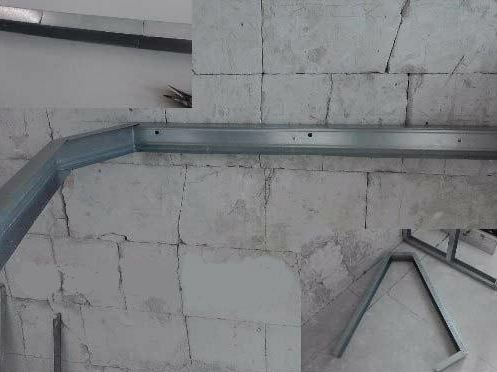
Fasten the first rail on the wall
- Fixed guide bend in the cut area, turning it into a rectangle. To save a form in the corners of the figures obtained by means of the screwdriver twirl screws for metal.
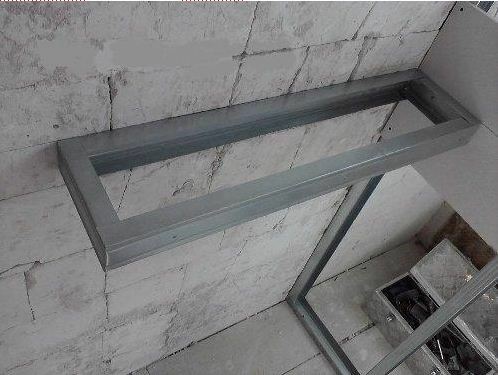
The resulting rectangle
- Take the second workpiece. Bend one of its side at the tear notches. Attach to the wall plugs. Fold the second side of the fold and fix screws.
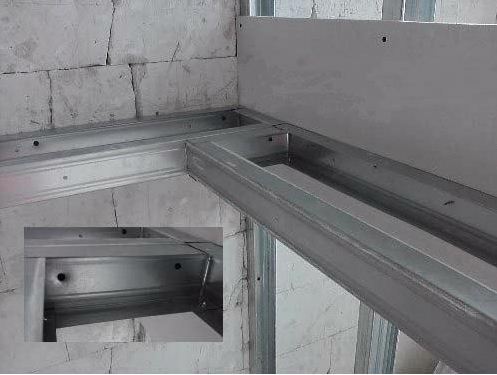
Fasten the second workpiece
plasterboard paneling
Our step by step guide to your next step involves the frame paneling. It starts with the marking sheets.
Noting the desired part, cut it with a knife construction. cutting technology is simple and consists of three stages. The first step we make an incision along a line from one side of the sheet.
Bend sheet cut out (if shaped cutout, skip this step). And the third step of making an incision on the other hand, cutting the sheet in half.
Tip! The upper part of the corner shelf plating better cut from a single piece of material.
This eliminates the problem of cracks in the joints of sheets.
Cut parts attach to the frame with screws. Thus it is necessary that the screw heads fully came into the material.
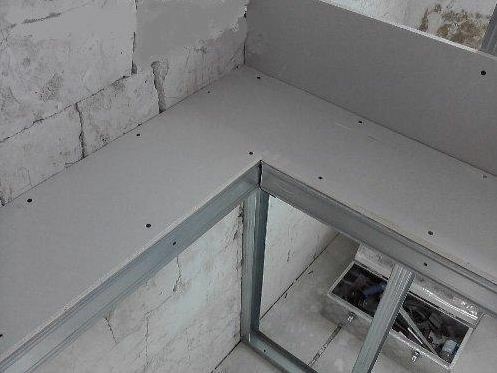
Sheathe the top shelf
By making the upper casing, proceed to the bottom. We produce exactly the same procedure as with the first part.
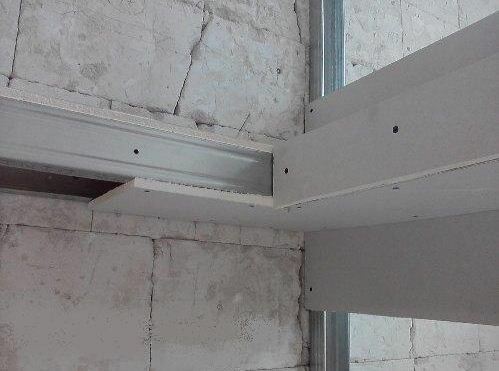
Attach lower drywall sheets
Proceed to trim the ends. Cut suitable pieces and fasten them with screws. At the same time, we observe the evenness corners.
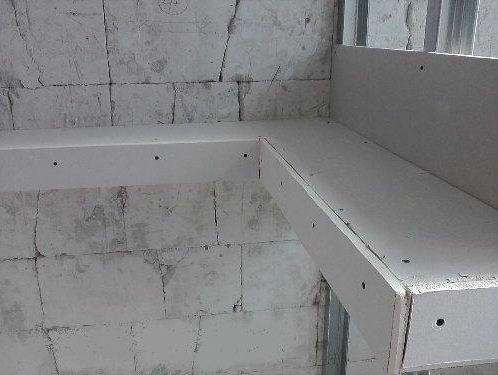
sheathe ends
To regiment of drywall made with their own hands, looked perfect angles papered plaster grid. This will avoid cracks.
In the future, all the angles need to be carefully zashpatlevat (see. also the paper Finishing plaster for plasterboard - all the highlights). And only then can we move on to finishing.
Highlighting shelves
This detail of the interior will look more impressive, if supplemented with backlit. It can cover not only the shelf, but also part of the premises. The emitted light can be a variety of colors.
Correctly picked up illumination will feature an interior room, its "highlight".
Such a solution may be implemented both via fixtures and via LED strip. To insert the lamp will require drill with paddle-crown.
With the tool to cut a hole in the flange and insert it in our lamp. After just need to connect the wiring. (cm. Niche article also made of plasterboard in the bedroom: create a unique effect in your room)
But just looks spectacular LED ribbon. Its price can vary greatly depending on the brightness and the number of functions.
It illuminates only the surface to which is attached. It is very flexible, so it can be installed on curved surfaces. In addition, it consumes little electricity. (cm. also Article Niche plasterboard backlit own hands: decorate the ceiling light-emitting diodes)
Yet it is compact and easy installation. Attach it is possible by means of an ordinary tape.
Summarizing
If you have any questions about how to install corner shelves, it is advisable to look at the video in this article is posted on our website. We are confident that it will help you find answers to questions emerged.
Photo Gallery

