Frame for a mirror with your hands: 4 manufacturing stage
Table of contents
-
1 Process description
- 1.1 Stage №1: training materials and tools
- 1.2 Stage №2: assembly frame
- 1.3 Stage №3: Decoration frame
- 1.4 Step №4: installing mirrors
- 2 More ideas
- 3 conclusion
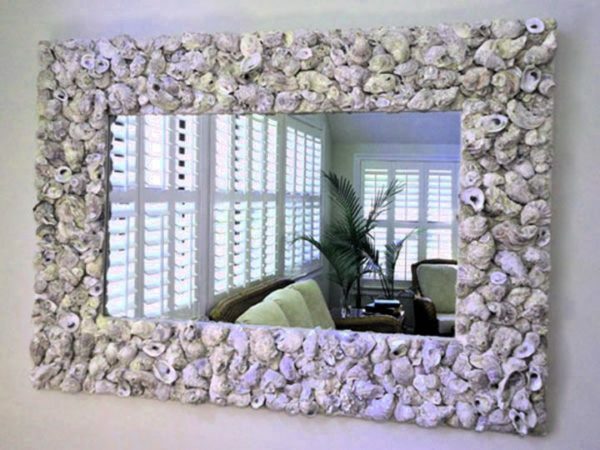
The main and indisputable advantage of home-made frames can be considered their uniqueness
You do not know how to make a frame for a mirror with your hands? I'll tell you what this procedure and whether to order it from the professionals. Our experience allows me to state that anyone afford to cope with this task, and step by step photo report clearly confirms my words.
Process description
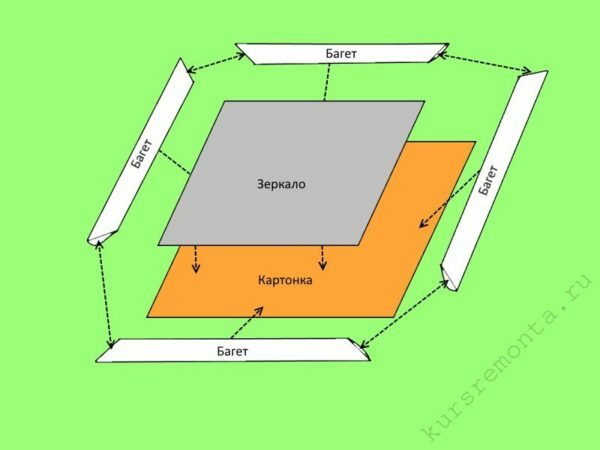
Connecting diagram the main elements of a mirror in a frame
Creating a mirror frames includes four stages:
- Preparation of materials and tools;
- frame assembly;
- frame decoration;
- Installing mirrors
Let's start with the first:
Stage №1: training materials and tools
- cardboard sheet or plywood;
- Two ceiling moldings from foam with the pleasant design. You can take and wooden fillets, but note that the price of such scope and above will do it will be more difficult;
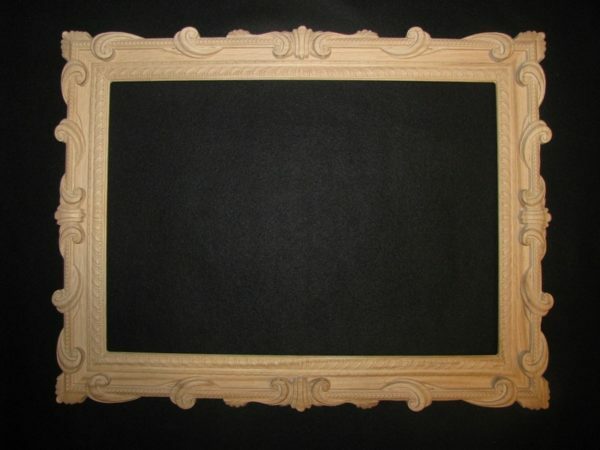
Wooden frame will cost considerably more expensive than the foam despite the fact that differences in the case of correct dressing will not outwardly noticeable
If you make a frame to the bathroom, then the use of plinths of wood should be immediately abandoned, because this material does not tolerate moisture unlike styrofoam, characterized by high moisture resistance.
- Square mirror;
- Glue;
- plaster;
- varnish;
- Black and silver paint;
I recommend putty, paint and varnish Acrylic take. They do not contain solvents and is absolutely harmless even for children and people with allergies.
- Cord silver;
- flat brush with stiff bristles;
- thin brush. You can use cheap synthetic instrument;
- Palette knife or an ordinary kitchen knife;
- Stationery knife.

Part of what is necessary for the production of frames for mirrors can be found at home, the rest is easy to purchase in the nearest hardware store
Stage №2: assembly frame
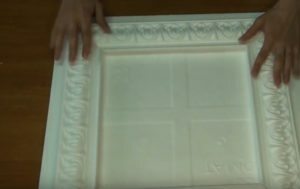
The frame for a mirror with your hands going like this:
| Photo | Description |
 |
|
 |
|
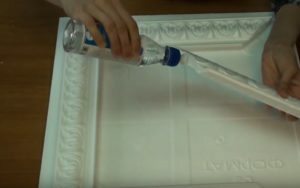 |
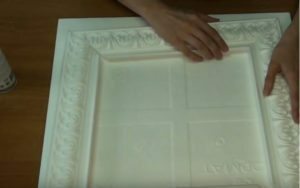
Apply the adhesive on beveled ends of the segments ceiling skirtings |
 |
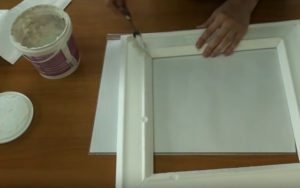
glue All four fragments together |
 |
|
 |
|
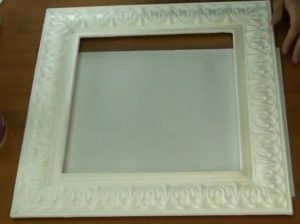 |
reserve frame for three hours until dry bonding agents mixture before you start to perform its decoration |
During cutting baguettes sure to pay attention to the fact that the pattern of one fragment smoothly into the pattern on the fragment, which will adhere to it. Otherwise the product will look ugly.
Stage №3: Decoration frame
Now consider how to decorate the frame of fillets:
| Photo | Description |
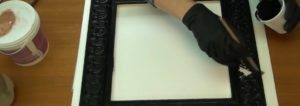 |
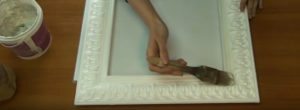
paint the entire front side of the crafts in the black, leaving no white spot |
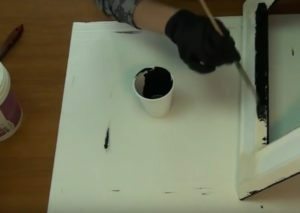 |
overturn frame and an inner border paint |
 |
|
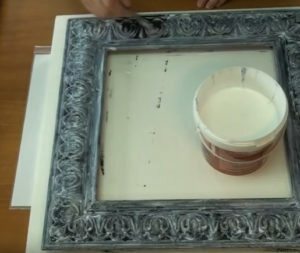 |
|
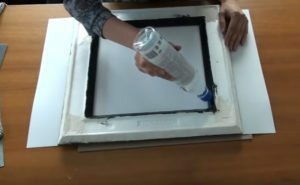 |
Apply the adhesive the internal border after curing lacquer |
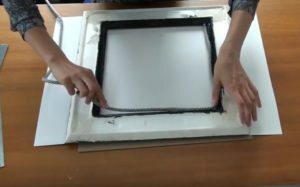 |
glue around the perimeter of the curb silver cord. Its task is to fill the void between the frame and the mirror |
In this frame finish almost over, and you can proceed to the design and installation of the back of the mirror itself.
Step №4: installing mirrors
| Photo | Description |
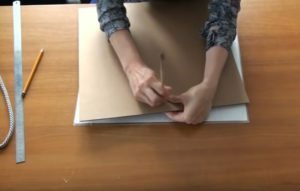 |
vent in the center of the top of the cardboard sheet reverse side brush |
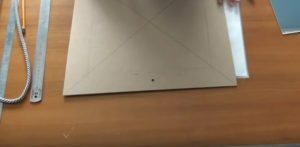 |
Apply layout using a pencil and a ruler:
|
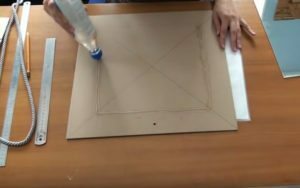 |
Apply the adhesive along the lines traced square |
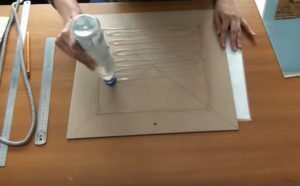 |
Then fill with glue full middle square |
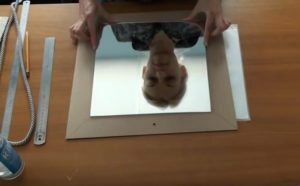 |
glue a mirror with your hands to the cardboard |
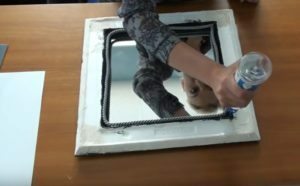 |
Apply the adhesive on the back side of the frame |
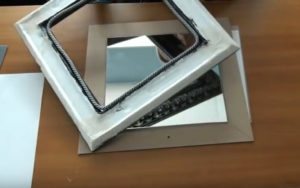 |
carefully turn over product |
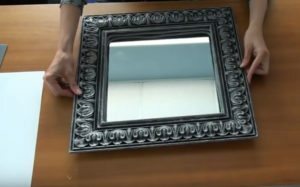 |
|
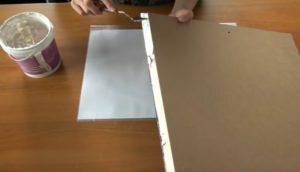 |
Shpaklyuem the side ends of the resulting structure |
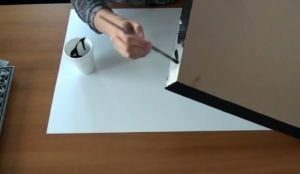 |
Next paint their thin brush in black |
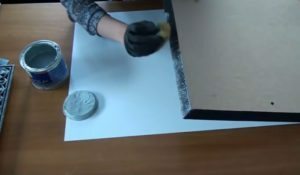 |
and deals sponge silver paint. All the latest procedures are performed only after complete drying of the previous layer |
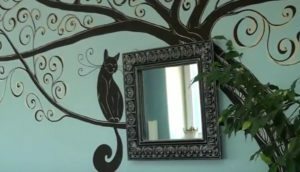 |
The finished mirror framed hang in the right place, where it will not only perform its basic function, but also beneficial to supplement the design of the entire premises |
Not necessarily decor mirror with your hands to do it in the described colors. Instead of silver, for example, you can use any other colors that are more suitable to the interior of your room is.
More ideas
Framing mirrors can be done in many ways more. Here are some of them:
- paste over the perimeter large mirror with many small;
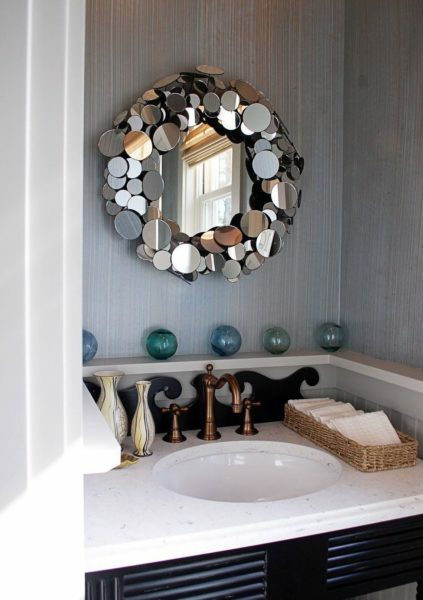
Mirror mirror frame looks very unusual and makes the room much brighter
- Round frame can be made from thin wooden slats, similar to the sun's rays;
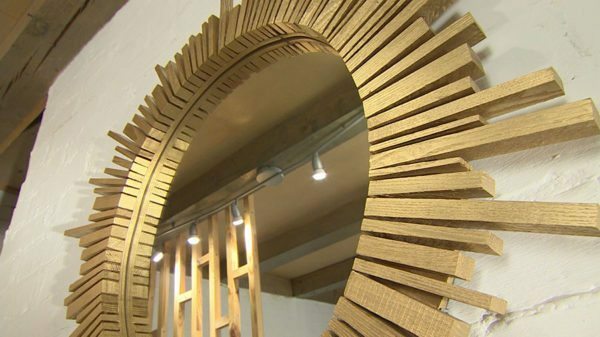
Mirror-sun is particularly appropriate in combination with an ethnic style
- Decoupage and is able to focus completely on the frame, and not on the mirror. The main thing to choose the suitable for your interior images to the design did not look in the end is too pretentious;
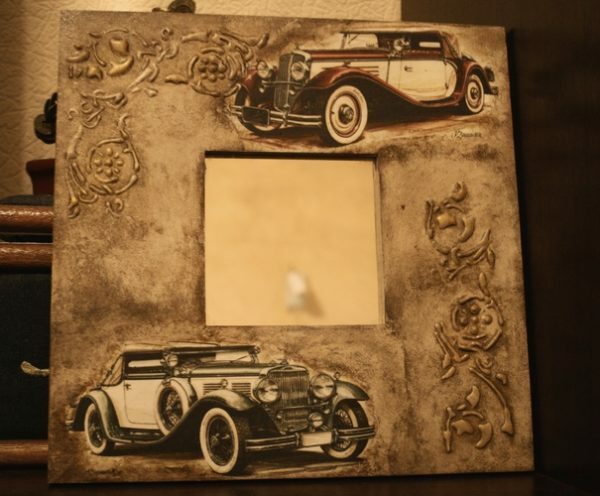
An interesting solution for the design of the room frame in retro style
- floor mirror capable of withstanding heavy loads than the wall so that its frame can decorate even small vases with flowers or other weighty decorative elements;
- Sometimes even products come into play when decorating mirrors. It can be dried peas and corn, as well as seeds, pasta, rice and buckwheat;
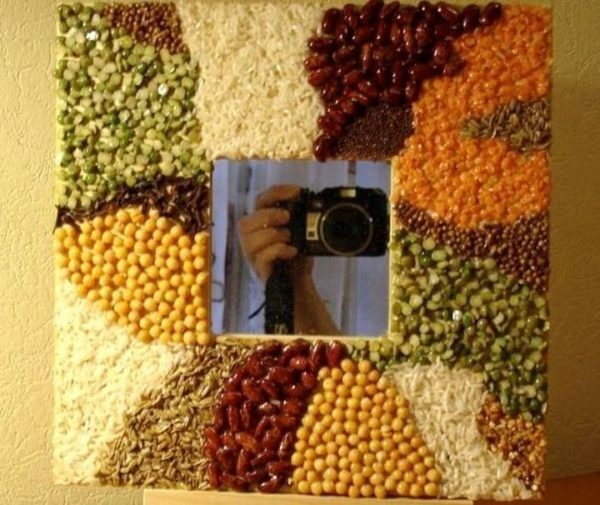
Mirror with frame of products sometimes want to first take a bite, and then hung on the wall
conclusion
Now that you know all about the process of manufacturing frames for mirrors. Videos in this article provides additional information and any questions you may have, you can ask in the comments.
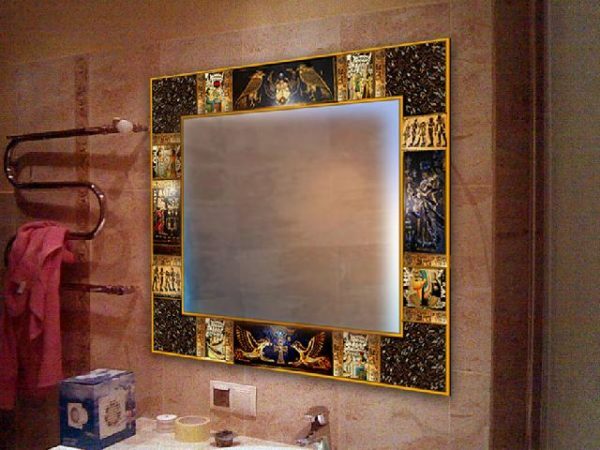
If desired, a homemade frame for the mirror can select any style, even Egyptian
