Crosses for tile: the types and features of the application
Table of contents
- 1 functions
-
2 existing varieties
- 2.1 classic
- 2.2 T-
- 2.3 wedges
- 2.4 SVP
- 3 select the Features
- 4 conclusion
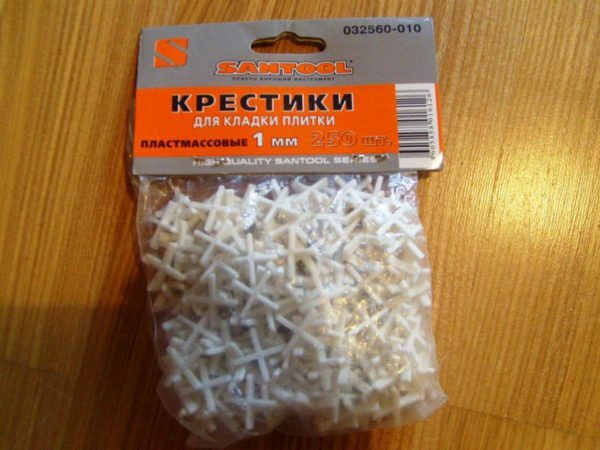
Using plastic allows you to put a tile crosses exactly even the layman
What are the crosses for the tiles, what are and how to use? I thought about it before. Now, having gained experience in this business, I am willing to talk about all the technical aspects of these products, and how to apply them correctly.
functions
What is the purpose of plastic crucifixes? Let's deal:
- Fixing vertical and horizontal tile,. For this viewed products are inserted vertically between the tiles and their rays reliably pressed without giving "swim";
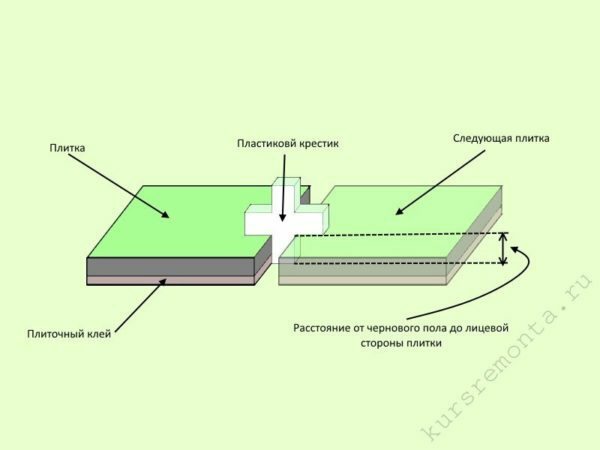
Horizontal beams press down the plate without letting it move and climb above a predetermined height
- Control joint widthbetween the tiles. In this case, considered plastic consumables with their hands stacked horizontally between the four corners of adjacent tiles, thereby making the gaps between them are absolutely identical.
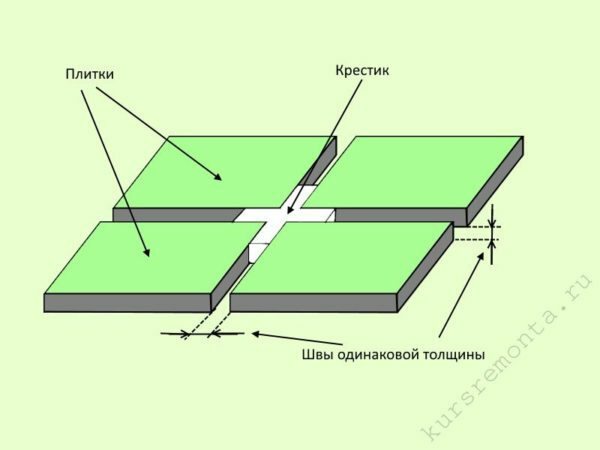
It adjusts the width of the beam thickness seam between tiled or pottery
Thus, by using such simple devices can fully control the position of the wall or floor tiles, which considerably facilitates the mounting process.
existing varieties
Consider what are the crosses:
classic
This is the most simple crosses for laying tiles. By the above functions have nothing to add here. As same examples can be found with the following characteristics trohmillimetrovyh samples:
| Parameter | Description |
| country of Origin | Russia |
| The thickness of the beam | 3 mm |
| Weight | 39 g |
| Price per Unit | 11 rubles |
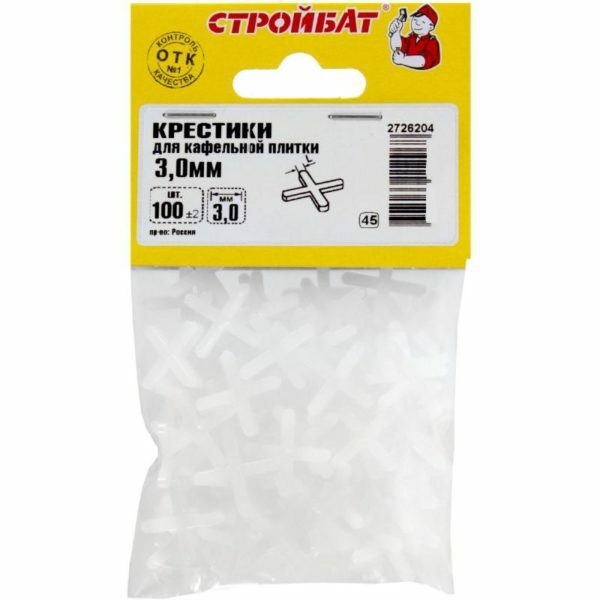
Dimensions crosses to be specified on the package, define the width of the gaps between the board body, in this case 3 mm
I encouraged to acquire crosses with jumpers. They will allow directly control the width and seams, and cover height.
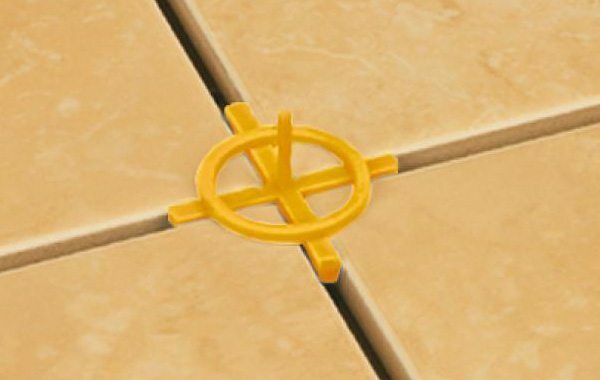
Crosses for tile joints with jumpers fix and control the height of the laid covering
T-
Designed to align tiles in cases where it is placed with a shift in the image of the brickwork. For example, consider the five millimeter samples:
| Parameter | Description |
| country of Origin | Russia |
| Consumption per 1 m2 | 50 pcs. |
| Thickness | 5 mm |
| Price per Unit | 25 rubles |
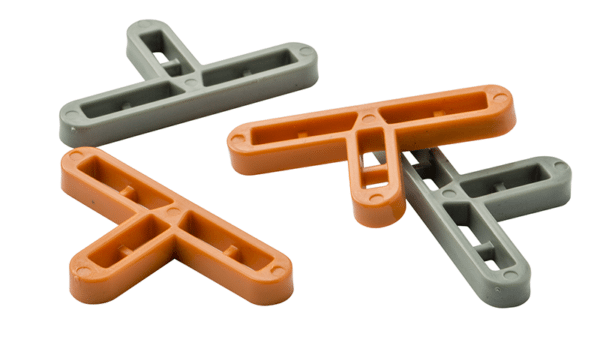
T-shape helps to cope with alignment crosses tile during its laying offset
wedges
Are wedge-shaped and are inserted narrow end downwards. With the deepening of such products can increase the gap between the tiles.
Wedges are used in those cases when it is necessary to work with tiled or ceramic plates, whose hand is not enough flat, or if mistakes were made when installing the previous series.
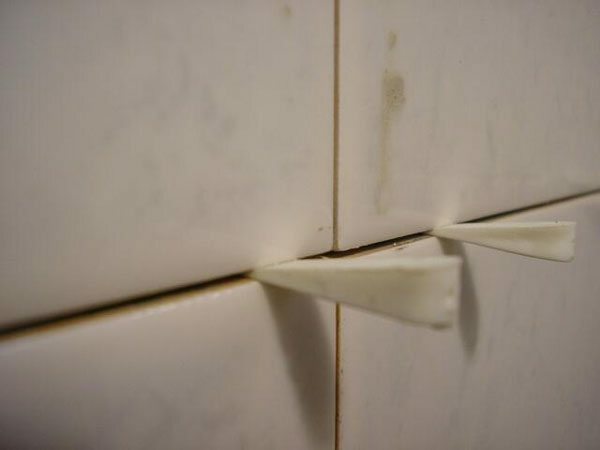
If tile products have different sizes, covering everything can be leveled by altering the width of the joints with plastic wedges
SVP
tile leveling system (SVP) or 3D crosses represent more complex products, which consist of the following fragments:
- Wedge;
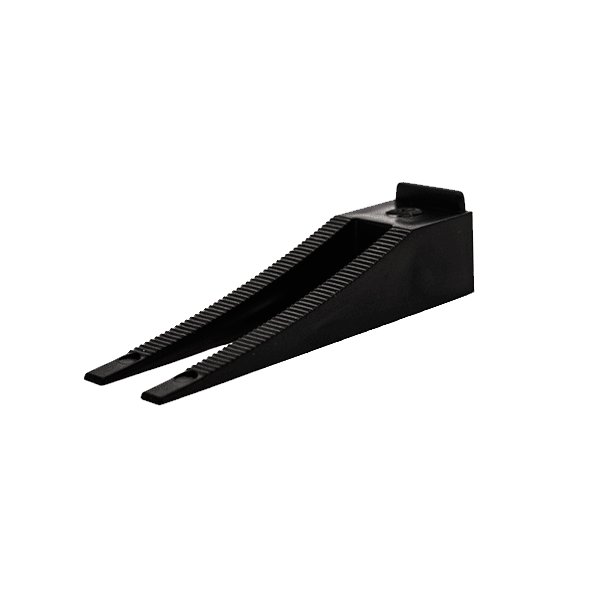
Wedge into the SVP can be used up to fifty times
- clip with a powerful anatomical ring.
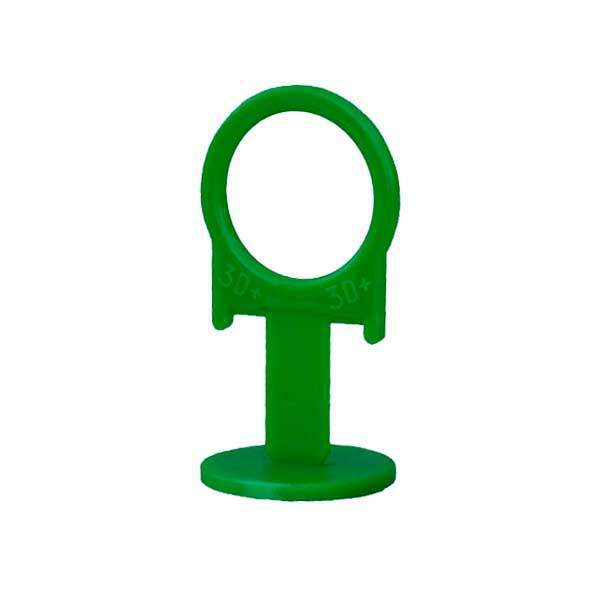
Clips break off after every use 3D cross
Why these products are called 3D crosses? Because they are able to fix the ceramic tile or slab in a predetermined position until the adhesive solidification.
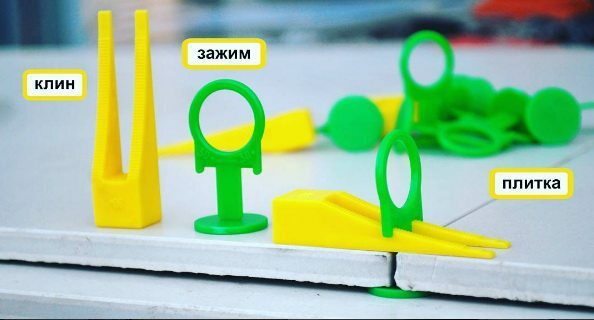
3d crosses for tiles allow to create the most even coverage, even in the absence of relevant skills
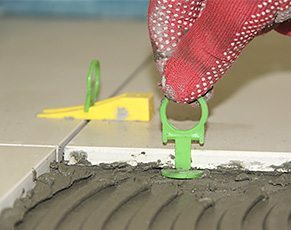
How to use 3D tic? Consider:
| Photo | instruction |
 |
|
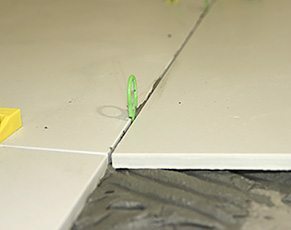 |
Puts next tile with one of the parties |
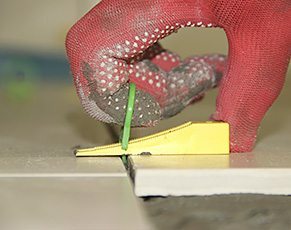 |
|
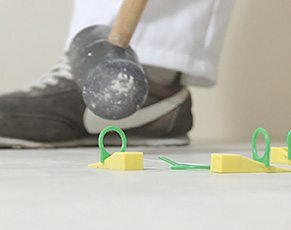 |
We bring down the upper part of the clamp after complete solidification of the adhesive solution using a rubber mallet or any other convenient means |
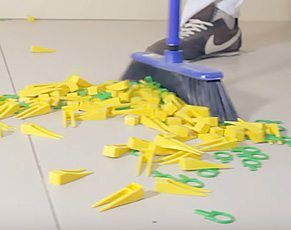 |
We collect wedges for reuse |
SAP makes it easy to oblitsevat tiled floor and walls of any room, even though its use and take a little longer in comparison with the classic crosses.
select the Features
Choosing the right crosses in view of all the important points, among which a special attention should be taken to the following:
- quality plates. Check the finger edge products. If the error, which is usually not more than 0.5 mm, is detected, the crosses have to buy those in which the beam depth is less than the width of 0.5 mm. Then when Consumable not be put horizontally, it can be inserted vertically;
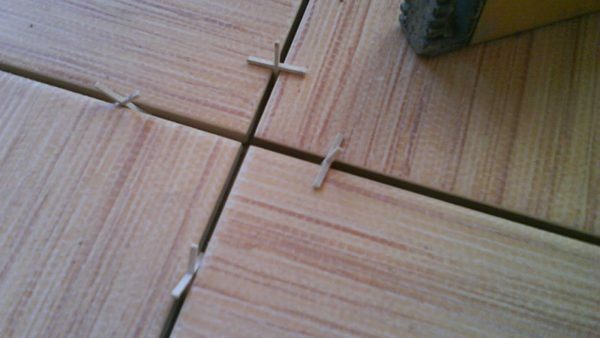
If the depth is less than the width of the cross beam, then it will stand upright where it does not fit horizontally
- The presence of the chamfered profile. With a tile products to each other, you may find that the factory has laid a certain width of the joints due to the slightly beveled perimeter. Depending on the size of the tile, it is 0.5-1 mm. This value should take when selecting suitable crosses;
- stiffness crosses. Too hard will not allow to fully adjust the clutch, and too soft will sag under the pressure of ceramics. So the choice must be done in favor of the samples of medium hardness.
I recommend not to stop your choice on one only type of consumables and purchase, for example, in addition to the classic and the cheapest, yet a number of wedges and products with jumpers. Some allow to adjust the seam in accordance with the defective tiles, and the latter to better cope with the fixation in problem areas.
- The presence of defects. Crooked or damaged beams have a negative impact on the gap figure that can spoil the overall look and the whole masonry. Of course, the whole package does not get reviewed, but at least a few random samples taken scrutinize. This will give you an idea about the whole party.
conclusion
You are familiar with what are crosses for the tiles, and how they are used. Videos in this article provides additional information and questions you can ask in the comments.
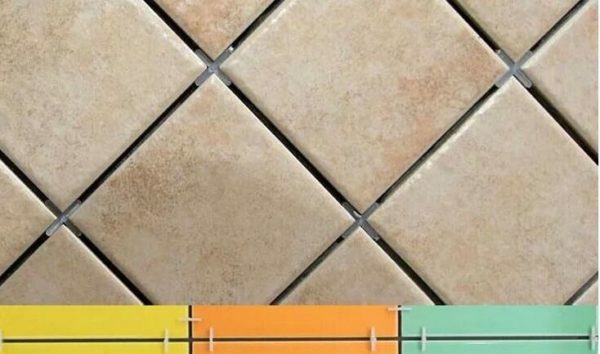
Due crosses the joints between the slabs produced perfectly smooth


